Replacing or servicing a 2015 GMC Acadia headlight requires understanding the vehicle’s specific lighting configuration, trim variations, and assembly mounting. Whether you are dealing with a burnt-out low beam, a cracked housing from road debris, or an upgrade to improve night visibility, proper execution ensures optimal performance and safety on the road. The 2015 model year bridges an era of changing automotive lighting technology, utilizing standard halogen bulbs for base trims while incorporating projector-style setups or available high-intensity discharge (HID) configurations on higher trim levels like the Denali.
Proper maintenance of your GMC Acadia lighting system is essential for safe driving conditions and compliance with state and federal vehicle inspection standards. This comprehensive guide outlines everything owners need to know about the 2015 GMC Acadia headlight, covering bulb types, step-by-step replacement procedures, assembly removal, cost analysis, and troubleshooting techniques to restore full illumination.
Understanding the 2015 GMC Acadia Headlight System
The lighting architecture of the 2015 GMC Acadia depends heavily on the specific vehicle trim level—such as the SLE, SLT, or luxury-focused Denali. Knowing your exact trim is the first prerequisite before purchasing replacement components, as ordering the wrong bulb size or housing unit will lead to installation failure.
Bulb Specifications and Design Layout
The front fascia of the 2015 Acadia features a distinct layout housing multiple lighting elements within a single composite assembly.
- Low Beam Headlights: Typically utilize an H11 halogen bulb in standard reflector or projector housings.
- High Beam Headlights: Generally utilize a 9005 (HB3) halogen bulb, providing long-range illumination for unlit roadways.
- Turn Signals and Parking Lights: Standard 3157 or similar wedge-type amber bulbs integrated into the outer edges of the assembly.
- Daytime Running Lights (DRLs): Depending on the trim package, the DRLs may be integrated LED strips running along the lower bumper or bezel, or handled by dedicated filament bulbs.
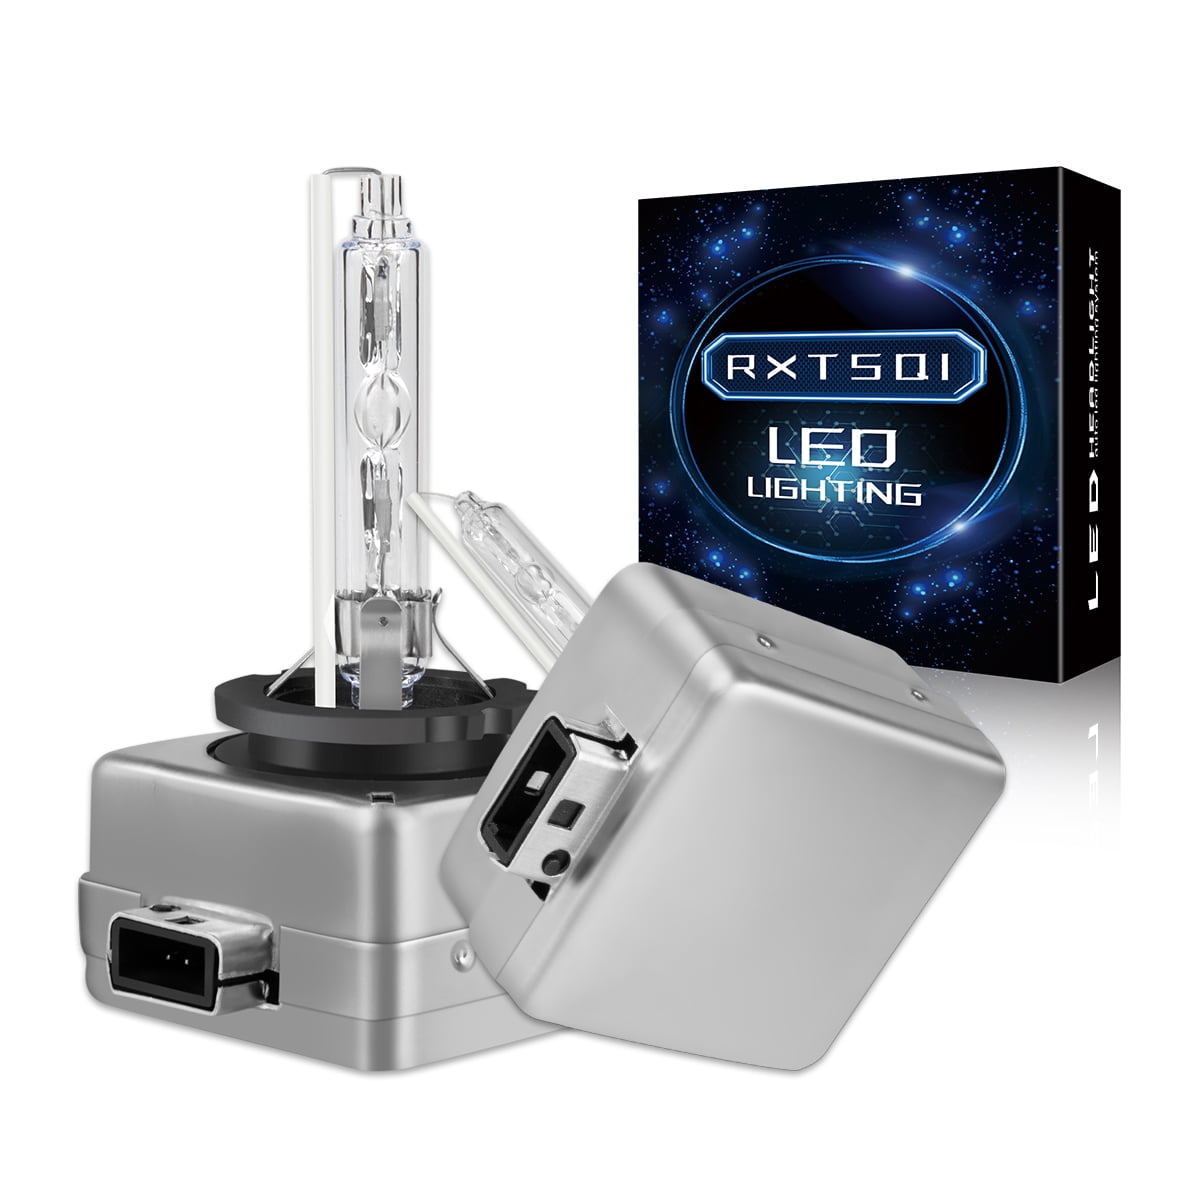
Higher trim levels, particularly the Denali, often feature factory projector lenses that concentrate light output more efficiently than base reflector bowls. If your vehicle is equipped with factory HID (High-Intensity Discharge) Xenon low beams (D3S bulbs), exercise extreme caution, as these systems operate on high voltage and require disconnecting the vehicle battery before servicing.
Safety Implications and Compliance
Headlights degrade over time. Halogen bulbs experience filament thinning, which reduces light output and shifts the color temperature toward a dull yellow. Furthermore, polycarbonate headlight lenses on the 2015 Acadia are susceptible to UV oxidation, resulting in a cloudy, yellowed haze that scatters light and blinds oncoming traffic while severely reducing driver visibility. Maintaining clear lenses and functioning bulbs is vital for preventing accidents during night driving, heavy rain, or snowstorms.
Tools and Preparation Required for Headlight Service
Before attempting any work on your 2015 GMC Acadia headlight, gather the appropriate tools to ensure a smooth process. While changing a high-beam bulb can sometimes be done directly from under the hood, accessing the low-beam bulbs or replacing the entire headlight assembly typically requires removing or pulling back the inner fender liner or removing the front bumper fascia.
Recommended Tool Checklist
- Socket Set: 7mm, 10mm sockets with a ratchet and extension bar.
- Trim Removal Tools: Plastic panel poppers to remove push-pins safely without breaking them.
- Screwdrivers: Both Phillips and flathead screwdrivers.
- Safety Equipment: Clean nitrile gloves (essential when handling halogen bulbs) and safety glasses.
- Work Light: A portable LED drop light or headlamp to illuminate dark wheel wells and bumper corners.
Handling Precaution: Never touch the glass portion of a new halogen bulb (H11 or 9005) with your bare fingers. The natural oils from human skin deposit on the quartz glass, creating a hot spot when the bulb heats up. This localized overheating causes premature bulb failure or shattering. Always wear gloves or handle the bulb using a clean paper towel.
Step-by-Step Bulb Replacement Procedure
If your primary issue is a burnt-out bulb rather than a damaged housing, you can replace the bulb without removing the entire headlight assembly. However, tight clearances under the hood of the Acadia mean you will need to work largely by feel or access the bulbs through the wheel well.
| Bulb Position | Industry Standard Size | Common Application | Access Method |
|---|---|---|---|
| Low Beam | H11 | Primary nighttime driving | Wheel well flap / Under hood |
| High Beam | 9005 (HB3) | Long-range illumination | Directly under hood |
| Front Turn Signal | 3157 / 4157 | Signaling and parking | Rear of headlight housing |
| Fog Light (if equipped) | H16 or 5202 | Inclement weather low-level | Under bumper / splash guard |
Accessing and Replacing the Low Beam Bulb (H11)
- Secure the Vehicle: Park on level ground, engage the parking brake, and turn off the ignition. Turn the steering wheel completely inward toward the opposite side of the headlight you are replacing to maximize workspace in the wheel well.
- Loosen the Inner Fender Liner: Remove the plastic push-pins securing the front section of the inner plastic wheel well liner using a trim tool or flathead screwdriver.
- Pull Back the Liner: Gently pull the plastic liner back and tuck it out of the way to expose the rear dust cap of the headlight housing.
- Remove the Dust Cap: Twist the rubber or plastic protective cover counter-clockwise to pull it off, exposing the back of the bulb socket.
- Disconnect the Electrical Harness: Press down on the locking tab of the wiring connector and pull straight back to release it from the bulb base.
- Remove the Old Bulb: Twist the bulb base counter-clockwise roughly a quarter-turn and pull it straight out of the housing reflector.
- Install the New Bulb: Insert the new H11 bulb into the housing, ensuring the alignment tabs seat correctly, and twist clockwise until it locks firmly.
- Reconnect and Test: Plug the electrical connector back in until it clicks. Turn on the headlights to verify operation before reassembling the vehicle.
- Reinstall Liner: Push the fender liner back into position and secure it with the push-pins.
Complete Headlight Assembly Replacement
If your 2015 GMC Acadia headlight housing is cracked from an impact, deeply oxidized beyond restoration, or suffering from severe internal moisture accumulation, you must replace the entire composite assembly.
Bumper Fascia and Assembly Removal Steps
Unlike vehicles where headlights can be unbolted directly from the top, the 2015 Acadia design requires partially loosening or removing the front bumper fascia to access the hidden mounting bolts beneath the outer edge of the headlight.
- Disconnect the Battery: Disconnect the negative battery terminal to protect electrical components and prevent accidental short circuits.
- Remove Upper Grille Fasteners: Open the hood and locate the push-pins and bolts securing the top edge of the front grille and bumper fascia. Remove them carefully.
- Remove Wheel Well Fasteners: Remove the screws and push-pins attaching the bumper fascia edges to the inner fender liners on both sides.
- Unclip the Bumper Fascia: Gently pull outward on the corners of the bumper fascia near the front wheels to release it from the plastic retaining clips. Support the fascia so it does not hang by its wiring harness.
- Unplug Auxiliary Lights: If your Acadia is equipped with fog lights or parking sensors integrated into the bumper, disconnect their wiring harnesses to fully lower the fascia.
- Locate Headlight Mounting Bolts: With the bumper pulled away, locate the 3 to 4 mounting bolts securing the headlight assembly—typically two on top and one or two hidden on the lower outer side.
- Remove Bolts and Withdraw Assembly: Use a 10mm socket to remove all mounting fasteners. Slide the headlight assembly forward out of its alignment guides.
- Disconnect Main Harness: Disconnect the multi-pin main electrical connector from the rear of the housing.
- Install New Assembly: Transfer any reusable bulbs or install new ones into the replacement housing. Connect the wiring harness, slide the assembly into its alignment pins, and secure all mounting bolts. Reinstall the bumper fascia in reverse order.
Cost Considerations and Professional Service
When faced with a damaged or failing 2015 GMC Acadia headlight, owners must weigh the costs of DIY repair versus professional mechanic labor.
- Replacement Bulbs: Standard halogen bulbs (H11 or 9005) typically cost between $15 and $40 per pair, depending on whether you choose standard equipment or upgraded performance bulbs with increased luminosity.
- Headlight Assemblies: Aftermarket replacement assemblies range from $70 to $200 per side. Original Equipment Manufacturer (OEM) GM assemblies can cost significantly more, often ranging from $250 to $500 per side.
- Professional Labor: Because replacing the entire assembly requires removing the front bumper fascia, professional mechanics usually quote between 1.5 and 2.5 hours of labor. At standard shop rates ($100–$180 per hour), labor alone can add $150 to $450 to the total bill.
For DIYers with basic hand tools, replacing bulbs takes roughly 30 to 45 minutes, while a full assembly swap takes about 1.5 to 2 hours.
Troubleshooting Common Headlight Issues
If your 2015 GMC Acadia headlights are malfunctioning, a simple bulb replacement may not resolve the underlying root cause. Systematic troubleshooting prevents unnecessary spending on parts you do not need.
1. Both Headlights Fail Simultaneously
If both low beams or both high beams stop working at the exact same time, the issue is rarely a blown bulb, as bulbs typically fail individually. Instead, check:
- The Fuses: Consult your owner's manual to locate the under-hood fuse block and inspect the specific fuses assigned to the left and right headlights.
- The Headlight Relay: A faulty relay switch can cut power to the entire lighting circuit.
- The Interior Headlight Switch: Malfunctions in the dashboard rotary switch or stalk switch can prevent signal transmission to the lighting control module.
2. Condensation and Moisture Inside the Housing
It is common to see minor fogging inside a headlight lens immediately after a heavy rainstorm or car wash, which should clear up once the vehicle is driven with the lights on. However, standing water droplets or persistent heavy condensation indicate a compromised seal. Inspect the rubber dust caps on the rear of the housing to ensure they are seated tightly. If the housing plastic is cracked, moisture will continue to enter, leading to corrosion of the bulb terminals and premature electrical failure.
3. Dim or Flickering Output
If a bulb flickers or appears significantly dimmer than the other side, check the ground wire connection and the electrical plug. Corrosion, rust, or loose terminal pins inside the plastic connector create high electrical resistance, resulting in voltage drops that starve the bulb of adequate power. Clean any corrosion with electrical contact cleaner before installing a new bulb.
Frequently Asked Questions
Can I upgrade my 2015 GMC Acadia halogen headlights to LED bulbs?
Yes, many aftermarket manufacturers produce plug-and-play LED replacement bulbs designed to fit into standard H11 and 9005 sockets. However, ensure you select LEDs with a beam pattern specifically engineered to mimic the filament position of a halogen bulb. Poorly designed LED bulbs scatter light uncontrollably in reflector housings, creating dangerous glare for oncoming drivers without improving your actual road visibility.
Do I need to remove the bumper to change a 2015 GMC Acadia headlight bulb?
No. Changing individual bulbs (such as the H11 low beam or 9005 high beam) can be accomplished through the wheel well liners or under the hood without removing the front bumper. You only need to remove or loosen the bumper fascia if you are replacing the entire composite headlight housing unit.
Why is my headlight lens turning yellow and cloudy?
Factory headlight lenses are made of polycarbonate plastic coated with a protective UV sealant. Over years of exposure to sunlight, road salt, and harsh weather, this UV coating breaks down, oxidizing the outer plastic layer. This creates a yellow, hazy appearance. You can restore clarity using a commercial headlight restoration kit that involves fine sanding, polishing, and reapplying a fresh UV-blocking clear coat.
Are the headlight assemblies for the SLE and Denali trims interchangeable?
Generally, standard halogen headlight assemblies and Denali-specific projector or HID assemblies have different internal wiring configurations and connector pins. Always verify the part number and match your specific trim level before purchasing a replacement assembly to avoid compatibility issues.
Conclusion and Next Actions
Maintaining the headlights on your 2015 GMC Acadia is a manageable task that directly impacts nighttime driving safety and vehicle appearance. Begin by diagnosing whether you are dealing with a simple burnt-out bulb or a damaged housing assembly. For bulb swaps, utilize the wheel-well access method while taking care to avoid touching the glass element. If your housing requires complete replacement due to cracks or severe oxidation, take your time removing the bumper fascia carefully to prevent breaking plastic clips. For optimal results, address cloudy lenses promptly through restoration or replacement, and always verify proper headlight alignment after completing any major front-end service.