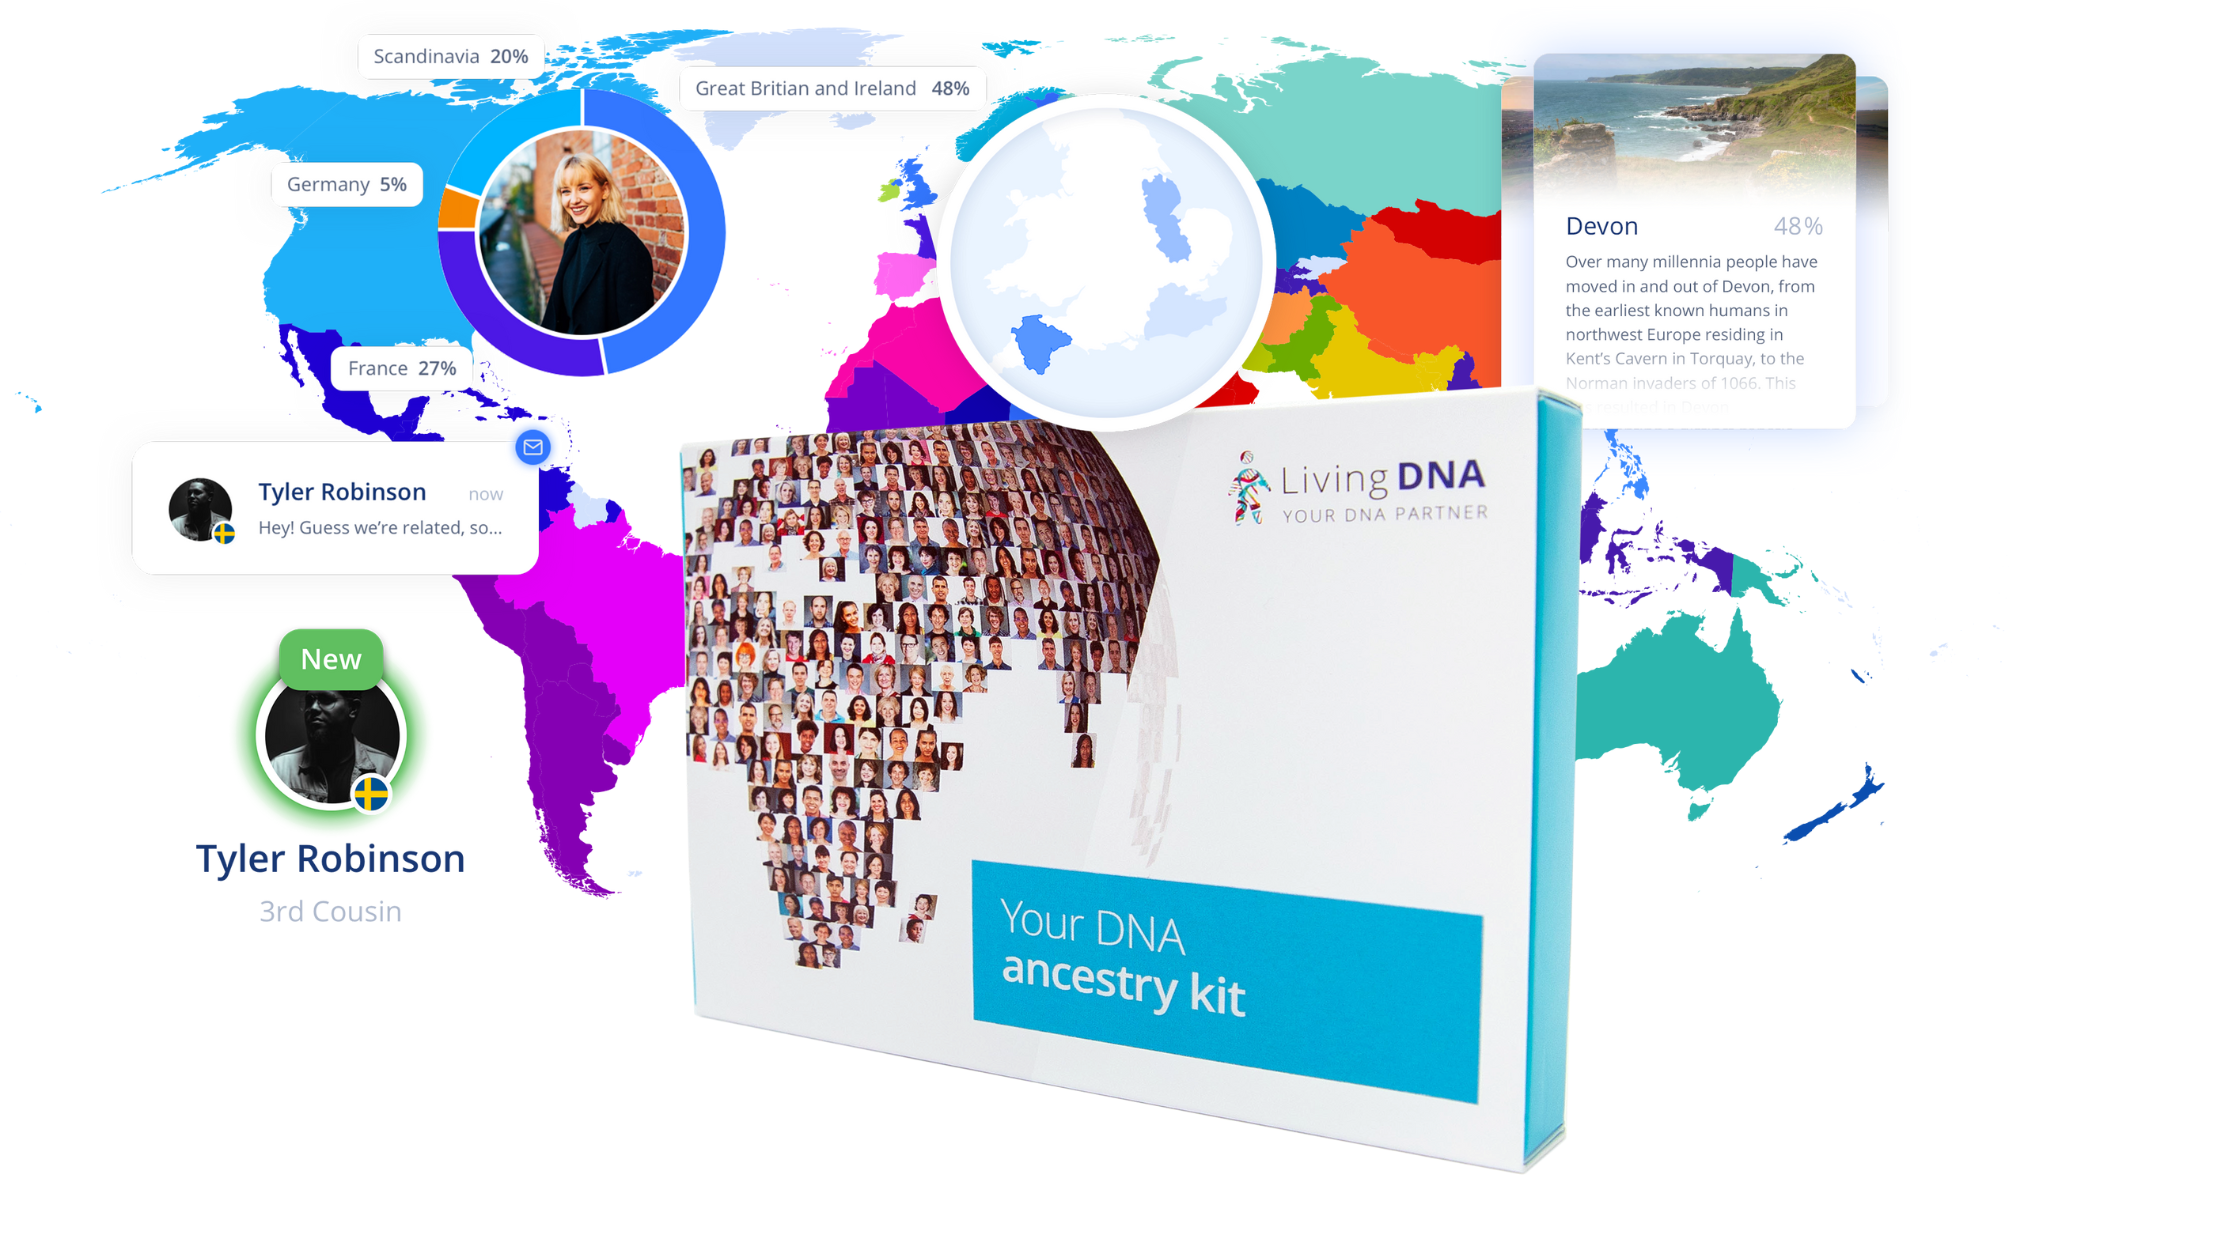
The AncestryDNA process transforms a small sample of your saliva into a detailed report on your genetic origin, family history connections, and ancestral heritage. Once you register your kit online and mail your sample, the laboratory extracts your DNA, analyzes roughly 700,000 single nucleotide polymorphisms (SNPs) on a specialized microarray chip, and processes the raw biological data using computational algorithms to generate your ethnicity estimate and biological relative matches within six to eight weeks.
Stage 1: Kit Registration and Sample Collection
The AncestryDNA workflow begins before your sample ever reaches a testing facility. Registering your kit online links the unique barcode printed on your collection tube directly to your personal user account. Because Ancestry operates a anonymized laboratory pipeline, your physical tube carries no personal identifying information—such as your name, date of birth, or address—other than this unique alphanumeric tracking code.
- User Registration
- Saliva Sample Collection
- Buffer Solution Mix
- Postal Transit
How to Collect a Valid Saliva Sample
To collect a sample, you spit into the provided plastic tube until the liquid saliva reaches the designated fill line. Bubbles or foam do not count toward this measurement; the clear liquid itself must sit directly on the fill indicator.
Saliva contains a mixture of cheek cells (buccal cells) and white blood cells (leukocytes). Both cell types contain complete copies of your genome in their nuclei. For the highest laboratory success rate:
- Avoid eating, drinking, or chewing gum for at least 30 to 60 minutes prior to collection.
- Do not smoke or brush your teeth immediately before spitting into the tube.
- Rub your cheeks gently against your teeth prior to collection to loosen buccal cells into your saliva.
Preserving the Sample for Transport
Once the tube is filled to the line, you snap the provided cap shut or screw it down tight to release a built-in stabilizing liquid. This blue fluid contains a chemical buffer solution that serves two vital functions:
- Cell Lysis: It breaks open cell membranes to begin releasing genomic DNA while deactivating enzymes (like DNases) that break down nucleic acids.
- Antimicrobial Preservation: It halts bacterial and fungal growth inside the tube, allowing the sample to remain stable at room temperature for several weeks during postal transport without requiring refrigeration.
After mixing the sample with the stabilization buffer by shaking the tube for five to ten seconds, you seal the tube inside the provided biohazard bag and place it into the pre-addressed shipping box.
Stage 2: Laboratory Receipt and DNA Extraction
When your kit arrives at the designated biological processing lab, technicians scan the barcode to mark your status as "Sample Received" in your online dashboard. From this point, your sample undergoes a series of automated molecular biology procedures.
- Sample Arrival
- Barcode Scan
- Cell Lysis & Binding
- Washing & Elution
- Purified DNA
Unpacking and Barcode Verification
High-throughput automated systems sort incoming tubes. The laboratory scans the exterior tracking code to confirm that the package matches an active registration in the Ancestry database. If a user failed to register the barcode before shipping, laboratory processing is paused until the user completes registration.
The Extraction Chemistry
Once cleared for processing, liquid handling robotics remove a fraction of the saliva-buffer mixture and subject it to a chemical extraction protocol designed to separate human DNA from protein, lipids, cellular debris, and microbial DNA:
- Lysis: Enzymes (such as Proteinase K) digest proteins and break open cell nuclei completely.
- Binding: The solution passes over silica-coated magnetic beads or filtration columns. Under specific salt and pH conditions, negative charges on the backbone of double-stranded DNA bind tightly to the silica surfaces.
- Washing: Impurities, cell debris, and chemical inhibitors are washed away using alcohol-based washing buffers while the DNA remains bound to the solid substrate.
- Elution: A low-salt aqueous solution (or sterile water) frees the purified genomic DNA from the silica beads, yielding a liquid volume of high-quality human DNA.
Before moving to analysis, the lab measures the concentration and purity of the extracted DNA using spectrophotometry or fluorometry. If the sample yields insufficient DNA density—a scenario known as low yield—the extraction fails, and the user is notified that a replacement kit is needed.
Stage 3: Polymerase Chain Reaction (PCR) Amplification and Genotyping
Consumer DNA tests do not read every single one of the 3 billion base pairs in the human genome (a process known as whole-genome sequencing). Instead, AncestryDNA uses microarray genotyping, which targets specific, highly informative locations across your genome called Single Nucleotide Polymorphisms (SNPs).
- Purified DNA
- PCR Amplification
- DNA Fragmentation
- Microarray Hybridization
- Laser Scanning
Amplification and Enzymatic Cleavage
Because microarrays require millions of copies of your DNA to generate a reliable signal, the lab uses Polymerase Chain Reaction (PCR) amplification. PCR acts as a molecular photocopier: targeting enzymes synthesize millions of identical copies of your DNA fragments over several thermal cycles. Once amplified, the DNA is enzymatically broken into smaller, predictable fragments so that the double strands can easily separate (denature) into single strands.
The Microarray BeadChip Analysis
The single-stranded DNA fragments are washed across an advanced DNA microarray chip developed in partnership with biotechnology leaders like Illumina. The chip surface is covered with microscopic beads attached to synthetic DNA strands called "probes." Each probe corresponds to a specific genomic coordinate.
- Hybridization: Your single-stranded DNA fragments seek out and bind (hybridize) to complementary probes on the surface of the chip.
- Single-Base Extension: Fluorescently labeled nucleotides (adenine, thymine, cytosine, and guanine) are added to the chip. An enzyme attaches the correct fluorescently labeled base to the probe based on your DNA sequence.
- Laser Scanning: High-resolution optical scanners shine lasers onto the array to illuminate the fluorescent signals. A red light might indicate an Adenine (A) at a specific coordinate, while a green light indicates a Cytosine (C).
By scanning hundreds of thousands of distinct locations across your 22 pairs of autosomal chromosomes and sex chromosomes, the instrument records raw data representing your unique genotype (e.g., AA, AG, or GG at position X on chromosome 4).
Stage 4: Bioinformatics, Phasing, and Ethnicity Estimation
Once the lab scanner generates the raw genotyping file containing roughly 700,000 SNP calls, the digital phase of the AncestryDNA process begins. Ancestry's bioinformatic pipelines convert millions of microscopic light signals into historical and geographical insights.
- Raw SNP Calls
- Quality Control Filtering
- Phasing (Parental Separation)
- Reference Panel Comparison
Data Quality Control and Imputation
Before running genetic models, automated algorithms evaluate the quality of the raw microarray scan. If certain SNPs are missing or produce ambiguous fluorescence signals, quality control algorithms remove those data points. In some cases, biological algorithms perform statistical imputation, using known patterns of genetic linkage in large human populations to accurately infer unread SNPs based on surrounding, highly confirmed markers.
Phasing: Assigning DNA to Chromosomes
Humans inherit two sets of 23 chromosomes—one set from their biological mother and one from their biological father. Microarray chips read both strands at once, giving a combined result at each SNP location (for example, showing you have one 'A' base and one 'G' base) without showing which parent contributed which base.
To resolve this, computational algorithms use phasing. Phasing compares your combined genotype data against vast population statistics to reconstruct continuous haplotype blocks. This mathematically separates your genetic data into two distinct parental strands, allowing downstream algorithms to analyze inherited genetic segments accurately.
Comparing Against the Reference Panel
AncestryDNA compares your phased genomic segments against a global Reference Panel composed of thousands of individuals with deep, verified native origins in specific global regions. These reference individuals show long-standing continuous ancestry in a single location, providing a baseline genetic signature for distinct geographic populations.
- Windowing: Algorithms divide your phased genome into short, overlapping segments (windows).
- Probability Assignment: The bioinformatic software measures how closely the genetic markers in each window match the marker frequencies of each population in the Reference Panel.
- Smoothing and Confidence Calculations: Statistical models aggregate these segment probabilities across all 22 autosomal chromosomes, running thousands of computational simulations to calculate your final percentage breakdown across global geographic regions.
For more information on human genetic diversity, population structures, and comparative genomics research, explore the resources available through the National Center for Biotechnology Information (NCBI).
Stage 5: DNA Matching and Genetic Relationship Calculation
Beyond historical ethnicity estimates, AncestryDNA identifies living relatives within its global user database. This relative-matching engine compares your phased genetic data against hundreds of millions of other registered profiles.
- Phased Genome
- Database Scan
- Identified Shared Segments
- cM Summation
- Relationship Prediction
Shared Segments and Identical-by-Descent (IBD)
When two people inherit the exact same sequence of DNA markers from a shared historical ancestor, that genetic segment is classified as Identical-by-Descent (IBD). Ancestry’s matching algorithms scan the entire customer database, searching for long continuous stretches of matching DNA between your profile and other users.
Short matches can occur by chance or through ancient population overlaps (a phenomenon called Identical-by-State or IBS). To reduce false-positive matches, Ancestry applies proprietary filtering algorithms like TIMBER. TIMBER down-weights or eliminates genetic segments that appear frequently across large populations without indicating recent shared biological lineage.
Measuring DNA in Centimorgans (cM)
The strength of a genetic match is measured using two key metrics:
- Centimorgans (cM): A unit of measurement that describes the genetic distance and likelihood of genetic recombination across a chromosome segment.
- Longest Unbroken Block: The length (in cM) of the largest single continuous shared DNA segment between two individuals.
The system sums the total centimorgans across all valid shared IBD segments to estimate how closely related two individuals are:
- Parent/Child or Identical Twin: ~3,400 to 3,700 cM across 22 to 23 shared segments.
- Full Sibling: ~2,200 to 3,400 cM.
- First Cousin: ~575 to 1,300 cM.
- Third Cousin: ~90 to 180 cM.
- Fourth Cousin or Distant Relative: ~20 to 80 cM.
ThruLines and Tree Integration
If you attach a public or searchable family tree to your Ancestry profile, the platform uses an automated engine called ThruLines. This system combines your DNA match results, total shared centimorgans, and published genealogical records across millions of user trees to illustrate potential direct lines of descent connecting you to a shared ancestor.
Summary of the AncestryDNA Pipeline
The table below outlines each phase of the AncestryDNA process from sample receipt to digital results.
| Stage Name | Primary Action | Average Duration | Key Technical/Biological Function |
|---|---|---|---|
| 1. Registration & Collection | Spitting into tube, mixing buffer, mailing package | User-dependent (1–3 transit days) | Preserves buccal cellular DNA; links sample barcode to anonymized user account. |
| 2. Laboratory Receipt | Unpacking, scanning, liquid extraction | 1–3 business days | Cell lysis, removal of cellular contaminants, isolation of purified double-stranded human DNA. |
| 3. Microarray Genotyping | Amplification, hybridization, laser scanning | 3–5 business days | PCR photocopies DNA fragments; Illumina microarray chip reads ~700,000 specific SNP coordinates. |
| 4. Bioinformatic Phasing | Digital data processing and quality control | 2–4 business days | Quality filtering; computational phasing separates combined SNP calls into maternal and paternal strands. |
| 5. Ethnicity Calculation | Reference panel statistical comparison | 1–2 business days | Windowing algorithm compares phased strands against global reference populations to calculate percentages. |
| 6. Relative Matching | Database-wide identity-by-descent scan | 1–2 business days | TIMBER algorithm filters false positives; calculates shared centimorgans (cM) to identify genetic relatives. |
| 7. Final Report Delivery | Online dashboard update, email notification | Instant (End of week 6–8 total) | Aggregates ethnicity maps, match lists, and genealogical connections into interactive user interface. |
Troubleshooting Sample Failures and Pipeline Delays
While the AncestryDNA laboratory pipeline operates with high precision, issues occasionally arise during processing.
Why Do DNA Extractions Fail?
A small percentage of submitted saliva samples fail to yield sufficient high-quality human DNA. Common causes include:
- High Bacterial Content: Eating, drinking, or using mouthwash immediately prior to sample collection increases oral bacteria levels, which can swamp human cell counts during extraction.
- Low Cell Count: Dry mouth, dehydration, or natural variation in buccal shedding can lead to low white blood cell or cheek cell counts in saliva.
- Stabilizer Fluid Errors: Failing to snap the cap completely, overfilling past the line, or underfilling the tube alters the salt and chemical ratio of the preservative buffer, degrading DNA integrity during transit.
When a sample fails processing, Ancestry automatically places a free replacement kit in your user portal, allowing you to submit a fresh sample for re-testing.
Understanding Processing Delays
Processing timelines typically average four to eight weeks from the date the lab receives your kit. However, turnaround times can stretch during high-volume periods—such as the winter holidays or major promotional events.
If your kit status remains stuck on a single phase (such as "Extracted" or "Genotyped") for more than two weeks outside peak seasons, contact Ancestry Customer Support to confirm that your batch has not been flagged for re-extraction or quality verification.
Privacy, Data Security, and Third-Party Management
Because genetic code is deeply personal, understanding data handling protocols is a key part of evaluating the testing process.
Anonymized Laboratory Handling
Throughout the extraction and genotyping process, laboratory technicians work exclusively with the alphanumeric barcode on your collection tube. Personal identifiers—such as your real name, biological gender, billing information, and email address—are stored on separate, encrypted servers detached from the laboratory processing platform.
- User Identifiers (Encrypted Database)
- Raw SNP Data (Anonymized Server)
- Secure Linkage via Barcode Key
Data Ownership and Destruction Options
- Raw Data Downloads: Users retain ownership rights over their genomic information and can download a copy of their uninterpreted raw SNP text file at any time.
- Sample Disposal: You can instruct Ancestry to destroy your physical saliva sample after processing, preventing its long-term storage in liquid biorepositories.
- Account Deletion: Requesting complete account deletion purges your genetic records, ethnicity calculations, and relative-match links permanently from the active system database.
To learn more about general biosecurity policies, privacy frameworks, and consumer protection standards regarding direct-to-consumer genetic testing, consult the consumer guidance provided by the Federal Trade Commission (FTC).
Frequently Asked Questions
How long does the entire AncestryDNA process take?
The standard processing time is six to eight weeks from the day the laboratory receives your physical sample. During off-peak periods, results may arrive in as few as three to four weeks. High-volume seasons like holidays can push fulfillment times closer to the full eight-week window.
Does AncestryDNA test blood or saliva?
AncestryDNA uses saliva samples collected via an at-home kit. Blood draws are unnecessary because saliva contains abundant buccal cells (from your inner cheek lining) and leukocytes (white blood cells), both of which supply high-density genomic DNA identical to the DNA found in blood tissue.
What is the difference between DNA sequencing and microarray genotyping?
Whole-genome sequencing reads all 3 billion base pairs of your DNA from start to finish. Microarray genotyping, which AncestryDNA uses, reads approximately 700,000 specific genetic markers (SNPs) scattered across your genome. Genotyping focuses on locations known to vary between human populations, delivering high accuracy for ethnicity and relative matching at an affordable price point.
What happens if my AncestryDNA sample fails laboratory processing?
If your sample fails due to low DNA concentration or excess bacterial contamination, Ancestry notifies you via email and automatically issues a replacement kit free of charge. You simply register the new barcode, follow the collection tips carefully, and return the new sample to the lab.
Can AncestryDNA determine my biological gender or health conditions?
The standard AncestryDNA process analyzes autosomal chromosomes, as well as sex chromosomes (X and Y), to calculate heritage and relative matches. While the raw DNA file contains markers linked to physical traits and biological sex, basic Ancestry reports focus primarily on ethnicity and familial matching. Health, wellness, and trait insights are offered as distinct, specialized report upgrades depending on regional availability.
Final Recommendation: Next Actions for Success
To ensure a smooth experience with your AncestryDNA kit:
- Register your kit before mailing: Always link the barcode printed on the side of the plastic tube to your online account before sealing the return box.
- Follow sample collection rules strictly: Hydrate well, but do not eat, drink, smoke, or brush your cheeks for at least 30 to 60 minutes prior to collection to minimize sample failure rates.
- Track your status online: Monitor your kit's step-by-step progress—from receipt and extraction to genotyping and matching—directly inside your online dashboard or via email notifications.