Performing an oil and filter change on a 2011 Toyota Camry is a fundamental maintenance task that ensures the longevity of the vehicle's engine. For the 2011 model year, which features the 2.5L 4-cylinder or the 3.5L V6 engine, Toyota utilizes a cartridge-style oil filter system rather than a traditional spin-on metal canister. This process requires specific tools, including a 64.5mm 14-flute housing wrench, 0W-20 or 5W-30 synthetic oil, and a replacement filter element with new O-rings.
Understanding the 2011 Camry Engine Configurations
Before beginning the oil filter change, it is essential to identify which engine powers your 2011 Toyota Camry. While the procedure is remarkably similar for both, the oil capacity and filter part numbers differ slightly. The 2011 model year was part of the XV40 generation, a period where Toyota transitioned almost entirely to cartridge filters to reduce environmental waste.
The 2.5L 4-Cylinder (2AR-FE)
The 2.5L engine is the most common configuration for this year. It is a highly reliable power plant but is sensitive to oil quality due to its sophisticated Variable Valve Timing-intelligent (VVT-i) system. This engine requires 0W-20 synthetic oil, which flows better at cold starts and helps maintain the tight tolerances of the internal components. The oil filter housing is located on the bottom of the engine, pointing downward, protected by a plastic splash guard.
The 3.5L V6 (2GR-FE)
The V6 engine offers significantly more power and requires a higher oil volume. Like the 4-cylinder, it uses a cartridge filter. The V6 housing is also located on the underside, though the positioning is slightly different relative to the subframe. This engine often specifies 5W-30 oil, though many owners in 2026 have transitioned to 0W-20 where permitted by local climate and updated Toyota technical service bulletins for better fuel efficiency.
Required Tools and Supplies
One of the primary reasons DIY mechanics find the 2011 Camry oil filter change challenging is the requirement for a specialty tool. Unlike older vehicles where a strap wrench or even a pair of pliers might suffice, the plastic or aluminum cartridge housing on the Camry is easily damaged if the incorrect tool is used.
- Oil Filter Housing Tool: You need a 64.5mm 14-flute cap-style wrench. Brands like Motivx or the official Toyota service tool are recommended because they engage with both the flutes and the "ears" of the housing to prevent slipping.
- Socket Set and Wrench: A 14mm socket is required for the oil pan drain plug. A 3/8-inch drive ratchet is usually sufficient for both the drain plug and the filter housing.
- Torque Wrench: To prevent leaks or cracked housings, tightening to the manufacturer's specification is vital.
- Drain Pan: A container capable of holding at least 7 quarts of liquid.
- Jack and Jack Stands: Never work under a car supported only by a hydraulic jack. Always use rated jack stands.
- Funnel: To prevent oil spills across the top of the engine.
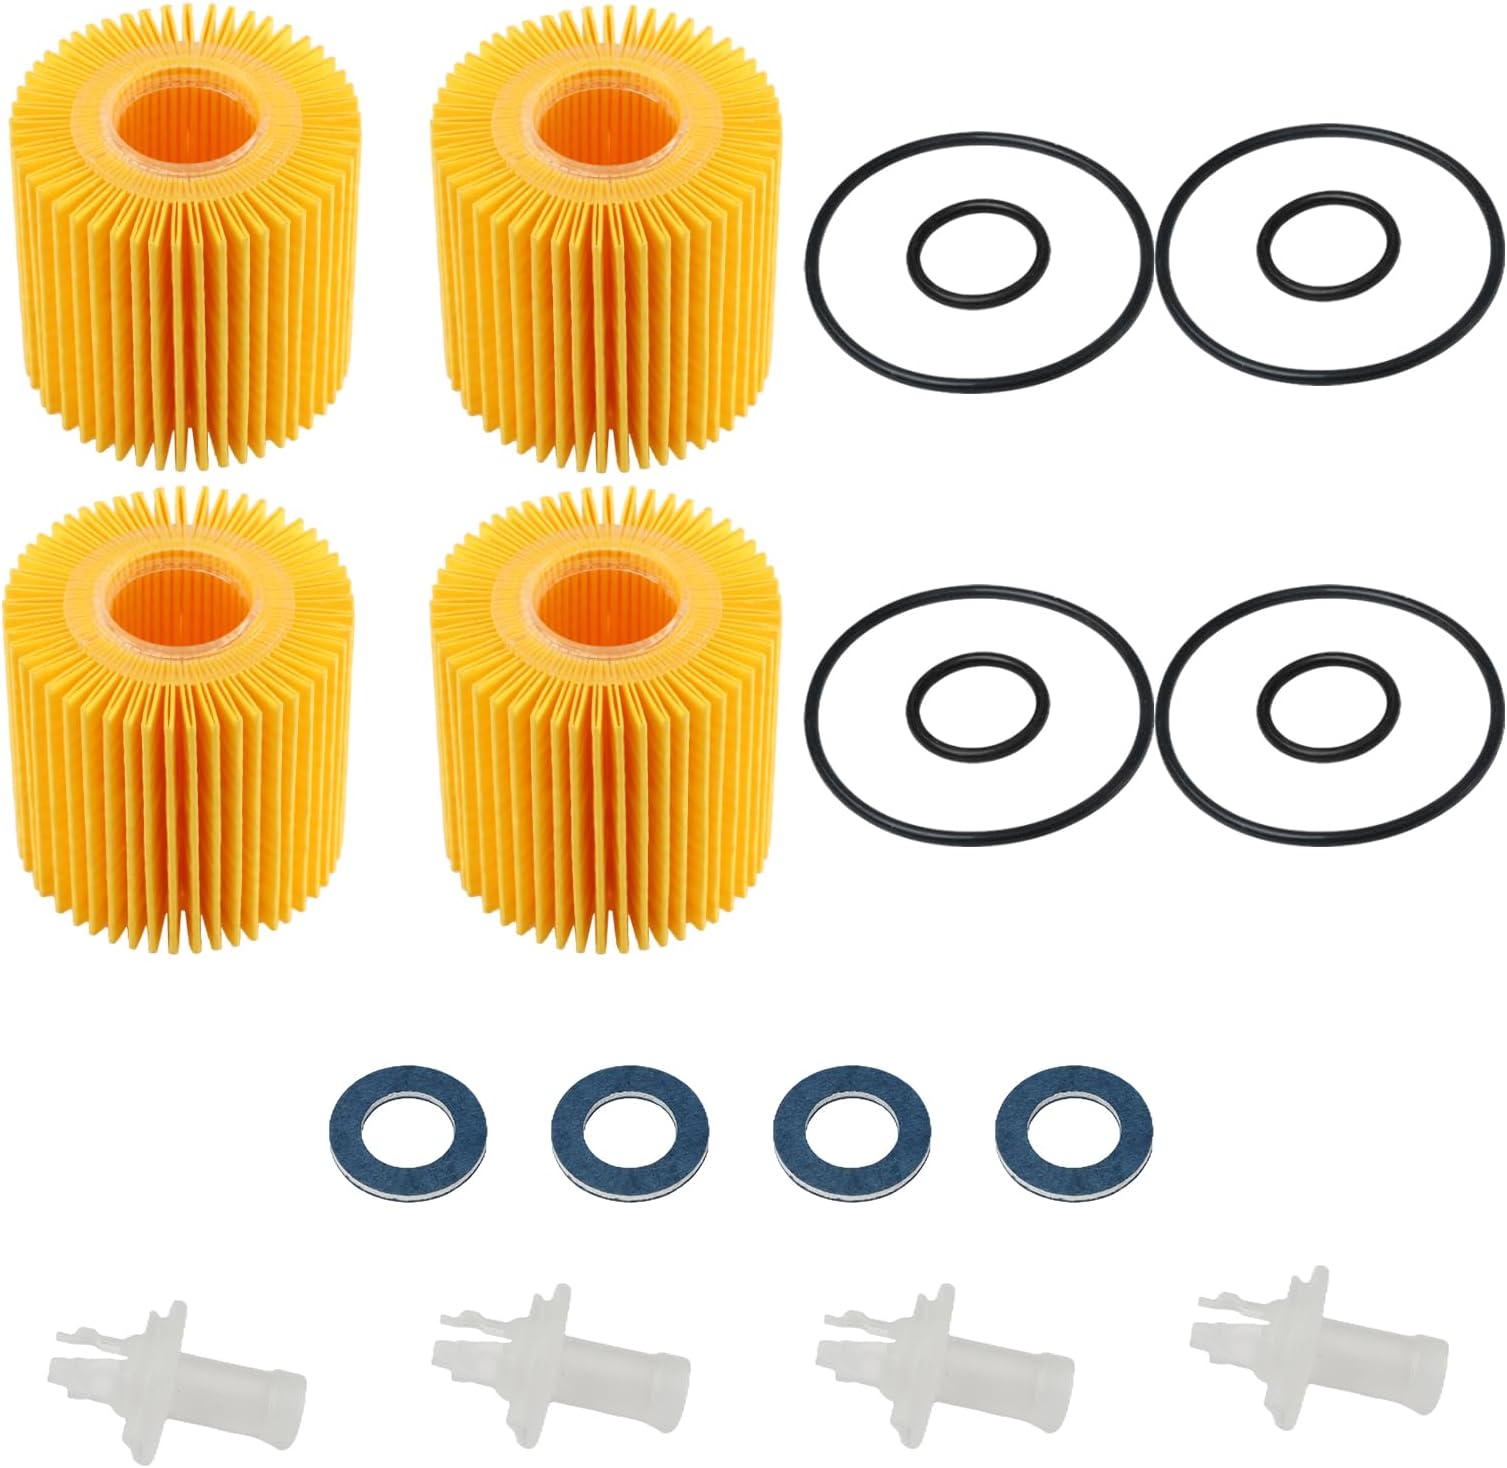
- Replacement Parts: An OEM Toyota oil filter kit (which includes the paper element, a large O-ring, a small O-ring, and a plastic drain tool) and the appropriate volume of synthetic oil.
2011 Toyota Camry Oil Change Specifications
| Specification | 2.5L 4-Cylinder (2AR-FE) | 3.5L V6 (2GR-FE) |
|---|---|---|
| Oil Capacity (with filter) | 4.7 Quarts (4.4 Liters) | 6.4 Quarts (6.1 Liters) |
| Oil Viscosity (SAE) | 0W-20 Synthetic | 5W-30 or 0W-20 |
| Filter Type | Cartridge Element | Cartridge Element |
| OEM Filter Part # | 04152-YZZA1 | 04152-YZZA8 |
| Drain Plug Torque | 30 ft-lbs (40 Nm) | 30 ft-lbs (40 Nm) |
| Filter Housing Torque | 18 ft-lbs (25 Nm) | 18 ft-lbs (25 Nm) |
| Drain Plug Gasket | Non-reusable Crush Washer | Non-reusable Crush Washer |
Step-by-Step Oil Filter Change Procedure
1. Preparation and Safety
Drive the vehicle for five minutes to warm the oil, which allows it to flow more freely and carry out more contaminants. Park on a level surface, engage the parking brake, and lift the front of the vehicle. Place jack stands under the reinforced lift points. Open the hood and remove the oil fill cap; this prevents a vacuum from forming and allows the oil to drain faster.
2. Draining the Engine Oil
Locate the 14mm drain plug on the rear of the oil pan. Position your drain pan underneath and loosen the bolt. As you remove the bolt by hand, keep inward pressure on it until the last thread, then quickly pull it away to avoid getting oil on your hands. Allow the oil to drain until it is a very slow drip. While the oil drains, inspect the drain plug. Remove the old crush washer and replace it with a new one to ensure a leak-free seal. Reinstall the drain plug and torque it to 30 ft-lbs.
3. Accessing the Filter Cartridge
Locate the cylindrical oil filter housing. On the 2011 Camry, there is a small metal cap in the center of the housing. You can remove this first using a 3/8-inch drive extension. Once the cap is off, take the plastic drain tool provided in your filter kit and push it into the center of the housing. This will snap into place and allow the oil trapped inside the filter housing to drain into your pan. This step is "optional" but highly recommended to prevent a mess when you remove the main housing.
4. Removing the Housing
Using the 64.5mm specialty wrench, turn the housing counter-clockwise. These housings can become quite tight due to heat cycles. Once loosened, unscrew the housing by hand. Be careful, as the housing will still contain some residual oil and the filter element itself.
5. Replacing the Element and Seals
Pull the old paper filter element out of the housing and discard it. Use a clean, lint-free rag to wipe out the inside of the housing.
Crucial Step: Locate the large rubber O-ring on the threads of the housing. Remove it using a small pick or screwdriver, taking care not to scratch the plastic threads. Lubricate the new O-ring with fresh engine oil and slide it into the correct groove. Many DIYers mistakenly place the O-ring at the very top flange of the housing; it must be seated in the dedicated groove just above the threads. If placed incorrectly, the housing will spray oil under pressure.
If you removed the small metal center cap, replace the small O-ring located there as well. Insert the new paper filter element into the housing. It can go in either direction; there is no "up" or "down" for the element itself.
6. Reinstallation
Thread the housing back onto the engine by hand. It should spin easily. If you feel resistance immediately, stop and restart to avoid cross-threading. Once hand-tight, use your filter wrench and a torque wrench to tighten the housing to 18 ft-lbs. Reinstall the center drain cap if you removed it.
7. Refilling and Verification
Using a funnel, pour the required amount of fresh synthetic oil into the filler neck on top of the engine. For the 2.5L, start with 4.5 quarts; for the 3.5L, start with 6 quarts. Replace the fill cap, start the engine, and let it run for about 60 seconds. Check underneath the car for any signs of leaks around the drain plug or filter housing.
Turn off the engine and let it sit for 5 minutes to allow the oil to settle back into the pan. Pull the dipstick, wipe it clean, reinsert it, and check the level. Add small increments of oil until the level is exactly between the two dots on the dipstick.
The Importance of the Maintenance Reset
After physically changing the oil, the 2011 Camry requires a manual reset of the "MAINT REQD" light on the dashboard. This light is a simple mileage counter that triggers every 5,000 miles.
- Turn the ignition to the "On" position (engine off).
- Set the LCD display to "Trip A" using the odometer button.
- Turn the ignition off.
- While holding down the odometer/trip button, turn the ignition back to the "On" position.
- Continue holding the button until the dashed lines on the display count down to zero and the "MAINT REQD" light turns off.
Common Mistakes and Troubleshooting
Stuck Oil Filter Housing
The plastic housings on the 2011 Camry are notorious for being over-tightened by quick-lube shops. If the housing will not budge with a standard ratchet, use a long breaker bar and ensure the specialty wrench is fully seated. If the plastic housing cracks or the "ears" break off, you can purchase an aftermarket aluminum housing replacement, which is a popular upgrade for 2011 Camry owners in 2026.
Oil Leaks After the Change
If you notice a puddle under the car after the change, the most likely culprit is the large O-ring on the filter housing. If it was pinched, twisted, or placed in the wrong groove, it will not seal. You must drain the housing and inspect the O-ring. Another common source of leaks is failing to remove the old crush washer from the drain plug, resulting in "double-gasketing," which prevents a proper seal.
Choosing the Right Oil Filter
While aftermarket filters are available, many Toyota enthusiasts and professional technicians recommend the OEM Toyota (Denso) filters. The 04152-YZZA1 (for the 2.5L) is designed with the specific bypass valve pressures and filtration media density required for the 2AR-FE engine. Aftermarket filters sometimes lack the structural integrity to prevent the paper pleats from collapsing over a 5,000 or 10,000-mile interval.
Long-Term Engine Health in 2026
As of 2026, many 2011 Toyota Camrys have surpassed the 200,000-mile mark. Regular oil filter changes are the single most important factor in reaching these high mileages. The VVT-i solenoids and the timing chain tensioners in these engines rely on hydraulic pressure from the oil. Contaminated oil or a clogged filter can lead to "sludging," which restricts oil flow to these critical components, resulting in expensive timing chain rattle or camshaft sensor errors.
By performing this service yourself, you ensure that high-quality synthetic oil is used and that the filter housing is handled with the care it requires.
Frequently Asked Questions
Can I use a traditional spin-on filter on my 2011 Camry?
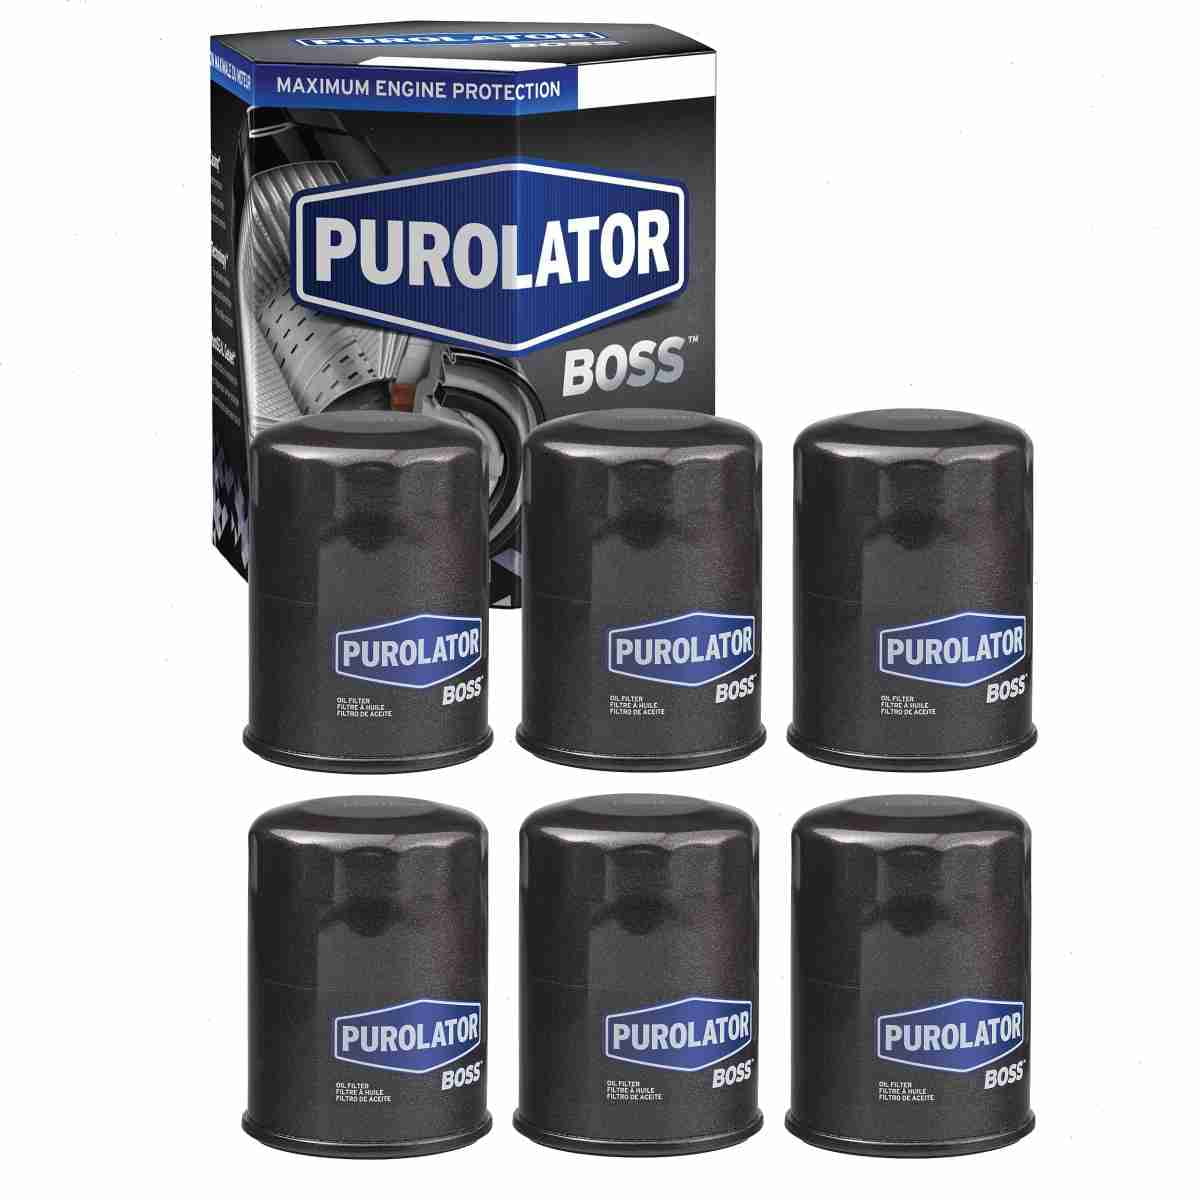
No. The 2011 Camry engine is specifically designed for a cartridge-style housing. There is no threaded stud for a spin-on filter. While some aftermarket conversion kits exist, they are generally not recommended as they can alter oil pressure characteristics and potentially void any remaining powertrain warranties or service contracts.
How often should I change the oil and filter in a 2011 Camry?
Toyota's official interval for synthetic 0W-20 oil is every 10,000 miles or 12 months. However, for vehicles with high mileage or those driven in "severe conditions" (short trips, extreme heat, or heavy traffic), most technicians in 2026 recommend a 5,000-mile or 6-month interval to prevent oil consumption and internal wear.
What happens if I don't use the special oil filter wrench?
Attempting to use a universal strap wrench or "channel lock" pliers will almost certainly crack the plastic housing. These housings are made of a glass-filled thermoplastic that is durable under pressure but brittle under shearing force. If you break the housing, the car cannot be driven until a replacement is installed.
Is 0W-20 oil too thin for an older engine?
No. If your 2011 Camry was designed for 0W-20, you should continue to use it. The "0W" refers to the oil's flow characteristics at startup, which is when most engine wear occurs. Even as the engine ages, the internal clearances do not expand enough to warrant a thicker oil unless there is significant mechanical damage or excessive oil burning.
Do I really need to replace the drain plug crush washer every time?
Yes. The washer is made of a soft material (often aluminum or a fiber composite) designed to deform and create a seal when torqued. Once it has been crushed, it loses its elasticity. Reusing a crush washer often leads to slow drips that can eventually loosen the drain plug over time.
Final Recommendation
For the best results, use a high-quality full synthetic oil and an OEM Toyota filter element. Ensure you have the 64.5mm 14-flute wrench before you begin, as this is the most common point of failure for the DIY process. Always double-check the O-ring placement in the housing groove, as this is the most frequent cause of post-service leaks. By following these details, you can maintain your 2011 Toyota Camry's engine efficiency and reliability well into the future.