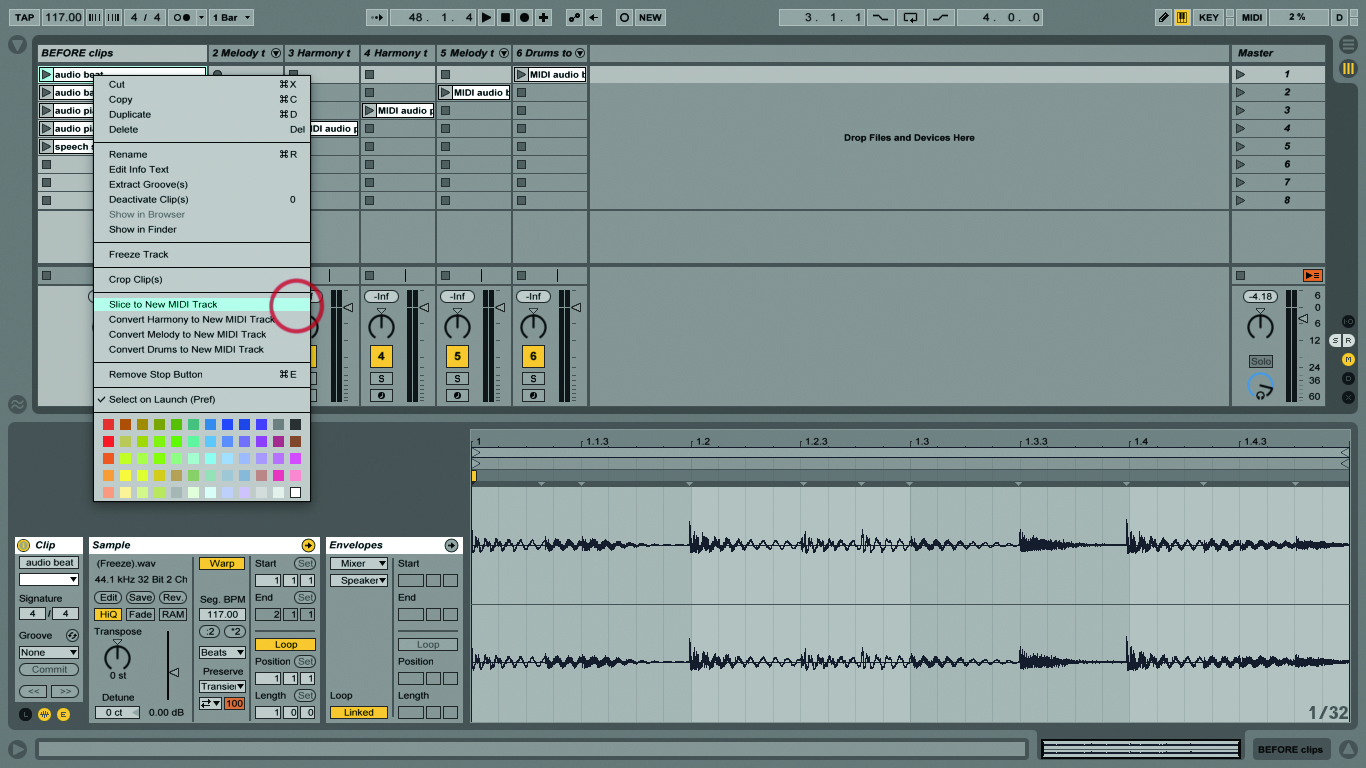
Ableton Live Lite is a streamlined version of Ableton’s digital audio workstation (DAW) designed for recording, producing, and performing music. Included free with many MIDI controllers, audio interfaces, and mobile apps, it provides fundamental production tools—including up to eight audio and MIDI tracks, built-in virtual instruments, essential audio effects, and Ableton's dual-view workflow—without requiring a paid subscription.
Understanding Ableton Live Lite: Features, Limits, and Setup
Ableton Live Lite serves as an entry point into digital music creation. While it shares the core engine and user interface of full Ableton Live editions (Standard and Suite), it operates under specific functional parameters designed for introductory and compact setups.
Obtaining and Activating Your License
Live Lite is not sold as a standalone retail product. Instead, registration codes are bundled with hardware devices such as Novation Launchpads, Focusrite Scarlett interfaces, Korg MIDI controllers, and Arturia KeyLab keyboards. After creating an account on Ableton's official website, entering your serial number grants a perpetual license for Live Lite, including incremental software updates within that major version cycle.
Live Lite vs. Standard vs. Suite Specifications
Understanding the structural boundaries of Live Lite allows you to plan projects efficiently without hitting technical ceilings mid-session.
| Feature / Specification | Ableton Live Lite | Ableton Live Standard | Ableton Live Suite |
|---|---|---|---|
| Audio & MIDI Tracks | 8 Tracks Max | Unlimited | Unlimited |
| Scenes (Session View) | 8 Scenes Max | Unlimited | Unlimited |
| Send & Return Tracks | 2 Return Tracks | 12 Return Tracks | 12 Return Tracks |
| Audio Inputs / Outputs | 8 Inputs / 8 Outputs | 256 Inputs / 256 Outputs | 256 Inputs / 256 Outputs |
| Included Instruments | Simpler, Impulse, Drift | Simpler, Impulse, Drift, Drum Rack | All Instruments + Max for Live |
| VST / VST3 / AU Support | Full 64-bit support | Full 64-bit support | Full 64-bit support |
| Warping Modes | All Modes (Beats, Complex, etc.) | All Modes | All Modes |
Audio and MIDI Audio Setup
Proper hardware configuration prevents playback latency, audio glitches, and recording delays.
- Connect Your Audio Interface: Connect your USB or Thunderbolt audio interface prior to launching Live Lite.
- Access Audio Preferences: Open Preferences (
Ctrl + ,on Windows,Cmd + ,on macOS) and navigate to the Audio tab. - Select Driver Type:
- On Windows, select ASIO as the Driver Type and select your interface’s dedicated driver (e.g., Focusrite USB ASIO). If using onboard sound, download ASIO4ALL or use FL Studio ASIO for low-latency performance.
- On macOS, select CoreAudio and designate your hardware interface under Audio Input Device and Audio Output Device.
- Adjust Buffer Size: Set the Buffer Size to 128 or 256 samples during recording to minimize input latency. Increase the buffer to 512 or 1024 samples when mixing heavy projects to prevent CPU audio crackling.
- Configure MIDI Devices: Navigate to the Link / Tempo / MIDI tab. Under Input Ports, ensure Track and Remote are toggled On for your connected controller to enable note playback and knob mapping.
Navigating the Dual-Interface: Session View vs. Arrangement View
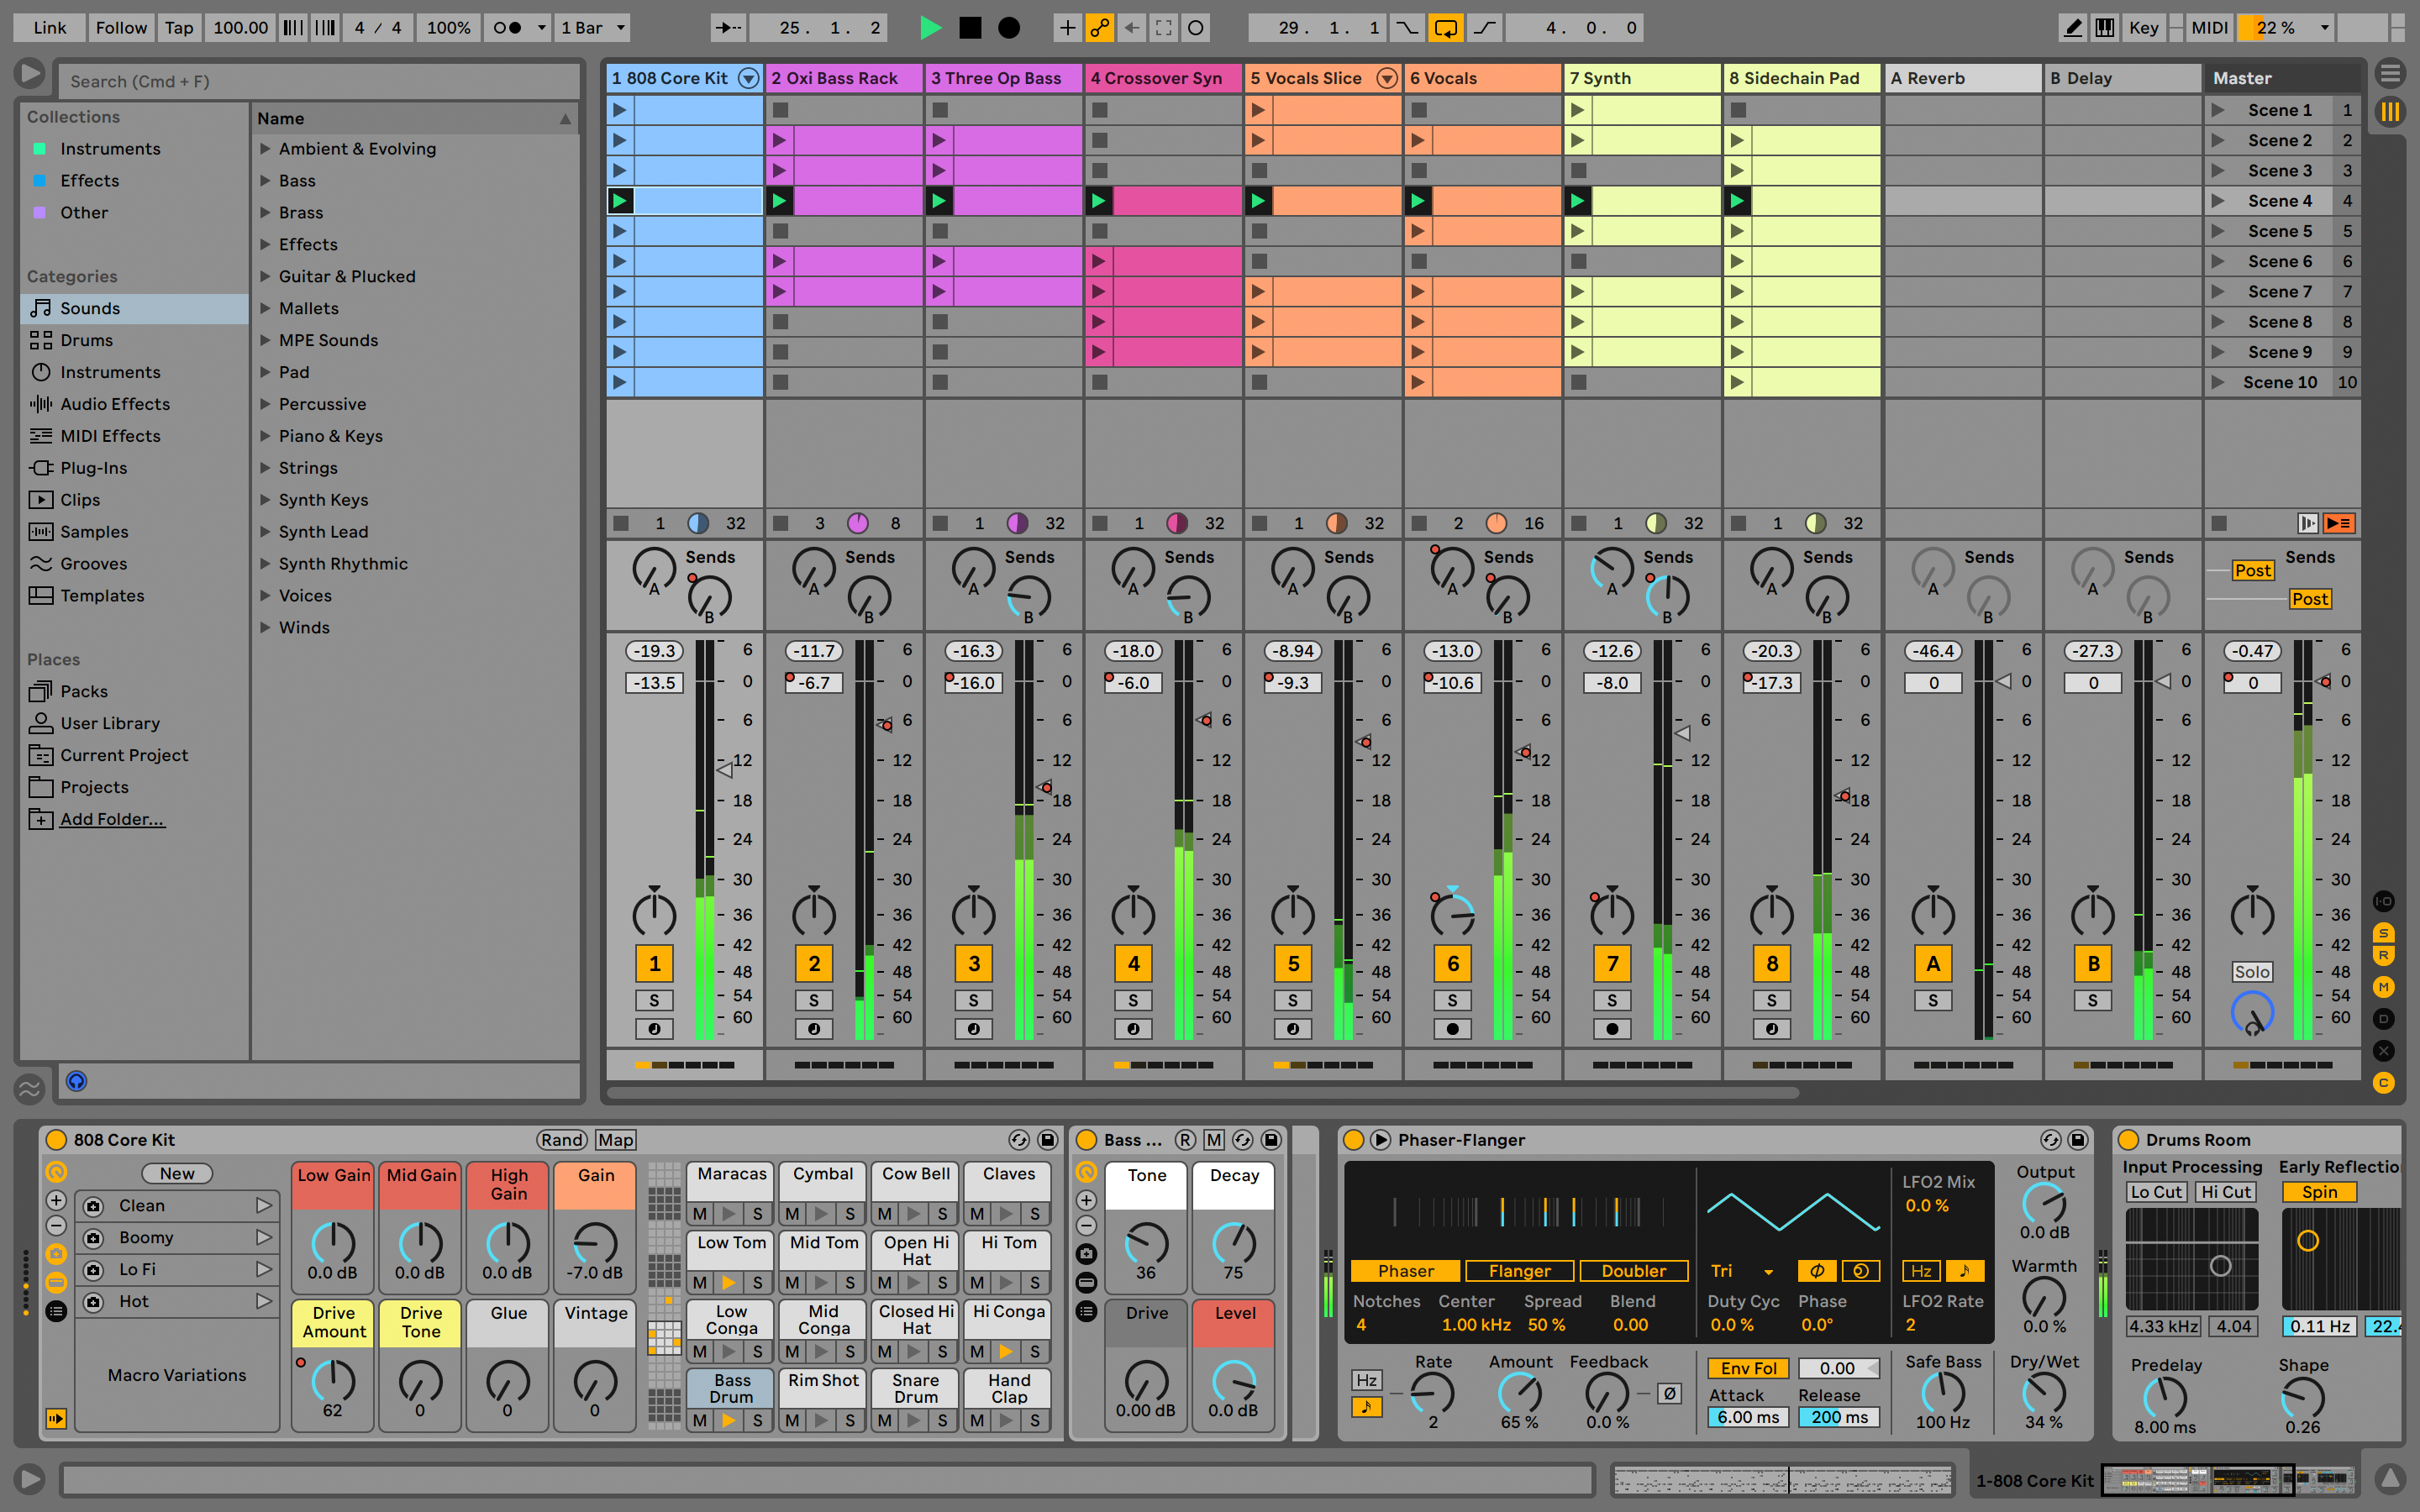
Ableton Live utilizes an interface split into two distinct operational layouts: Session View and Arrangement View. You can toggle between these layouts instantly using the Tab key or by clicking the selector icons in the top-right corner of the application screen.
- Session View: Grid-Based Clip Launching
- Tab Key
- Arrangement View: Linear Timeline Recording
Session View: Grid-Based Sketching and Live Performance
Session View arranges tracks vertically in a grid format. Rather than running along a left-to-right timeline, audio and MIDI material is stored inside individual container cells called Clips.
- Clips and Rows: Horizontal rows of clips across multiple tracks are called Scenes. Triggering a Scene Play button on the Master track launches every clip in that row simultaneously.
- Non-Linear Jamming: Session View allows you to audition loop combinations, stack drum patterns, and test basslines without committing to a fixed song structure.
- Mastering the Launcher: Quantized clip launching ensures that clips start in perfect sync with the project tempo, making it ideal for live performance improvisation.
Arrangement View: Linear Timeline and Track Production
Arrangement View presents a traditional horizontal timeline running from left to right, calibrated in bars and beats.
- Structure and Arrangement: This layout is designed for laying out complete track structures (Intro, Verse, Chorus, Outro), editing micro-timing, and adding automation curves over time.
- Recording from Session View: Clicking the main Record button on the transport bar while playing clips in Session View streams your live clip switches directly into Arrangement View as permanent linear regions.
Core Browser and View Panel Sections
The interface remains streamlined by organizing functions into dedicated collapsible panels:
- Left Panel (Browser): Houses your organized library of Instruments, Audio Effects, MIDI Effects, Drum Hits, Samples, and third-party VST/AU plugins.
- Bottom Panel (Detail View): Toggles between Clip View (showing MIDI note editors or audio waveforms) and Device View (showing active synth parameters, effects chains, and plugin interfaces).
- Right Panel (Mixer Controls): Displays volume faders, panning, track activation switches (Solo/Mute), and record arm buttons.
Step-by-Step Production Guide: Building a Song in Live Lite
Creating a complete track within Live Lite requires smart structural choices to maximize its eight-track ceiling. Follow this sequential workflow to construct a balanced song from scratch.
Step 1: Building a Drum Kit with Drum Rack
A single track in Ableton Live Lite can house a complete drum kit using the Drum Rack device, saving your available track count for other instruments.
- Open the Browser, navigate to Instruments > Drum Rack, and drag it onto an empty MIDI track.
- Open the Samples section in the Browser. Find individual kick, snare, hi-hat, and percussion samples.
- Drag individual audio samples directly onto the sample pads inside the Drum Rack interface (correlating to standard MIDI note numbers like C1 for Kick, D1 for Snare).
- Double-click an empty clip slot in Session View (or highlight a 2-bar region in Arrangement View and press
Ctrl + Shift + M/Cmd + Shift + M) to open the MIDI Note Editor. - Draw in your drum pattern using the Pencil tool (
B) or by double-clicking on the grid. Position your kick drum on beats 1 and 3, snares on 2 and 4, and closed hi-hats on 8th or 16th note divisions.
Step 2: Programming Bass and Synths with Drift and Simpler
Ableton Live Lite includes Drift, a flexible subtractive synthesizer capable of producing modern leads, warm pads, and deep bass lines.
- Drag Drift from the Browser onto a second MIDI track.
- Select a bass preset or set Oscillator 1 to a Sawtooth waveform, turning down the Frequency Cutoff on the low-pass filter to remove harsh top-end frequencies.
- Record a bassline using an external keyboard or write the notes into the MIDI editor, ensuring the root notes align with the harmonic key of your project.
- For melodic sampling, load Simpler onto a third track. Drag any vocal chop or instrument sample into Simpler to automatically map it chromatically across your MIDI keyboard.
Step 3: Recording Live Audio (Vocals, Guitar, or Hardware)
To record real-world sound sources directly into Live Lite:
Connect your microphone or instrument cable into Input 1 of your audio interface.
Create an Audio Track (
Ctrl + T/Cmd + T).Set the track's Audio From dropdown menu to Ext. In and choose channel 1.
Set monitoring:
- In: Routes input directly to outputs (ideal if monitoring via low-latency hardware mixers).
- Auto: Monitors input only when the track is record-enabled.
- Off: Disables input monitoring through Ableton to prevent echo when using direct interface monitoring.
Click the Record Arm button (circle icon at the bottom of the track strip).
Enable the Metronome in the top-left control bar, click Record, and perform your take.
Audio Input (Mic/Inst)
Audio Interface
Live Lite Track (Audio From: Ext. In)
Monitoring Selection (Auto)
Step 4: Arranging the Performance into a Song Structure
Once you have created several clip variations in Session View (e.g., Verse clips, Chorus clips, and Fill patterns):
- Click the main Record button on the top transport toolbar.
- Launch your initial Scene to start recording into Arrangement View.
- Progressively launch new Scenes or individual clips as the track progresses through its sections.
- Press Stop when finished, then press Tab to switch to Arrangement View.
- Click the orange Back to Arrangement button in the top right of the timeline display to re-engage linear control over all recorded clips.
Essential Processing Devices Built into Live Lite
Processing audio effectively ensures tracks sound distinct, balanced, and punchy. Ableton Live Lite comes with native audio effects tailored for core sound manipulation.
- Track Audio Output
- EQ Eight / Channel EQ
- Compressor
- Reverb/Delay (Sends)
- Master Bus
EQ Eight and Channel EQ
Frequency carving removes boxiness, mud, and harshness from recorded tracks:
- High-Pass Filtering (Low Cut): Apply a high-pass filter on all non-bass tracks (vocals, guitars, high percussion) around 80 Hz – 100 Hz to cut out sub-bass rumble that eats up headroom.
- Channel EQ: Offers straightforward Low, Mid, and High frequency parameters, allowing quick tonal shaping without overwhelming visual charts.
Compression and Dynamics Control
The native Compressor device controls the dynamic range of instruments, taming volume spikes and gluing sounds together.
- Threshold: Lower this slider until the Gain Reduction meter registers 3 dB to 6 dB of attenuation on peak hits.
- Attack and Release: Use slow attack settings (30 ms) on drums to preserve initial transients, and fast release times (50 ms–100 ms) to keep the sound natural and bouncy.
- Limiter: Place the Limiter device on the Master track. Set the Ceiling to -0.3 dB to prevent digital clipping when pushing output levels.
Delay, Reverb, and Space Creation
- Reverb: Controls acoustic environment modeling. Use short decay times (0.8s - 1.5s) on vocals and snare drums to add space without blurring the soundscape.
- Delay: Creates rhythmic echo repeats. Synchronize delay times to tempo fractions (such as 1/4 or 1/8D) for stereo width on synth leads.
Strategies for Overcoming the 8-Track Limit
Working under an eight-track constraint requires strategic production workflows. These techniques maximize available resources without upgrading hardware or software licenses immediately.
1. Freezing and Flattening Audio Tracks
When working with heavy VST instruments or complex processor chains, CPU usage can spike, causing buffer dropouts. Freezing locks the track into a temporary render.
- Right-click the track header and select Freeze Track. Live Lite temporarily renders the track as audio while maintaining MIDI accessibility.
- Right-click again and select Flatten Track. This permanently replaces the MIDI instrument track with a bounce of raw audio. You now have a light audio file that uses virtually zero synth CPU budget, freeing up CPU resources for further work.
2. Consolidating Micro-Samples inside Drum Racks
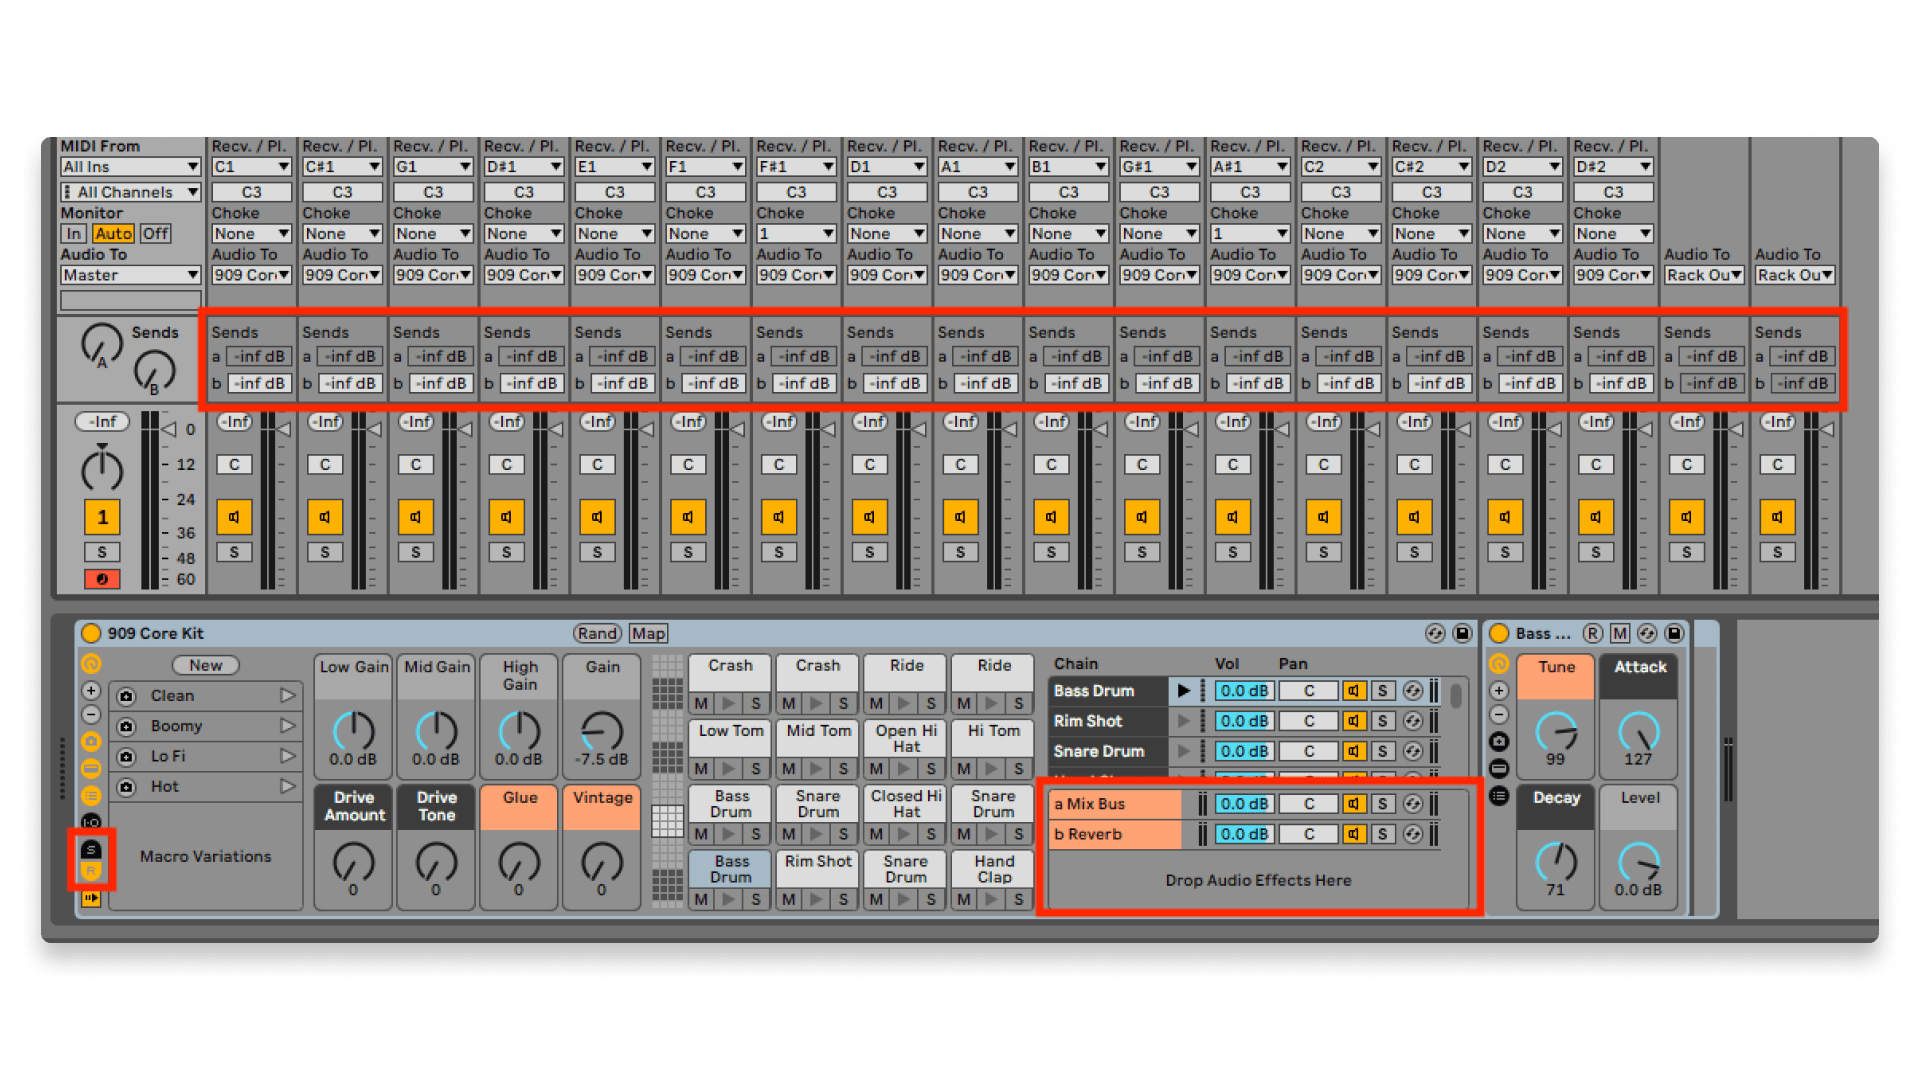
Instead of putting kick, snare, hats, and auxiliary percussion onto separate audio tracks, group all one-shot percussion elements into a single Drum Rack track.
- A single Drum Rack occupies only one track slot out of your eight-track limit.
- Internal processing for individual drum pads (volume adjustments, individual panning, and filtering) takes place inside the Drum Rack's internal mixer panel.
3. Sub-Mixing with Group Tracks
Combine related instruments together to clean up your project layout and process multiple sources together.
- Highlight multiple tracks (e.g., Track 4 Vocal Lead and Track 5 Backing Vocals) using
Shift + Click. - Press
Ctrl + G/Cmd + Gto create a Group Track. - Apply collective EQ, Bus Compression, or saturation to the single group folder rather than applying duplicate effects across independent tracks.
Mastering Signal Routing: Send and Return Tracks
Return tracks allow you to run global effects chains that multiple tracks share simultaneously, reducing CPU overhead and preserving your core track count.
Setting Up Shared Effects
Live Lite supports up to two Return Tracks (labeled Return A and Return B by default).
- Insert a Reverb onto Return Track A and set the device's Dry/Wet knob to 100% Wet.
- Insert a Delay onto Return Track B and set its Dry/Wet knob to 100% Wet.
- On your individual instrument tracks, turn up the Send A or Send B knobs in the mixer area.
- Dialing up Send A routes a portion of that track’s signal into the shared Reverb processor without duplicating the effect across multiple channels.
Exporting Your Finished Audio
Once your arrangement, mixdown, and master dynamics are finalized, render your project into an audio file for distribution or streaming services.
- Open Arrangement View and set the loop selectors across the entire start and end of your song.
- Select File > Export Audio/Video (
Ctrl + Shift + R/Cmd + Shift + R). - Set your render parameters in the export dialog menu:
- Selection: Master Track.
- File Type: WAV or AIFF for high-resolution distribution; enable MP3 if an extra compressed copy is required.
- Sample Rate: 44,100 Hz or 48,000 Hz.
- Bit Depth: 24-bit.
- Dither Options: Select Triangular if reducing bit depth from 32-bit float to 24-bit or 16-bit.
- Click Export, designate your destination folder, and save your final master.
Common Mistakes to Avoid
- Leaving Buffer Sizes Low During Mixing: Low buffer sizes (64/128 samples) are intended solely for live recording monitoring. Switch to 512 or 1024 samples when mixing complex sessions to prevent CPU stutter.
- Forgetting Dry/Wet Levels on Send Channels: Placing an effect directly on a Return Track with a 50% Dry setting causes signal phase issues. Always keep effects on Return Tracks at 100% Wet.
- Overlooking Track Headroom: Keep peak meter levels on individual tracks peaking between -12 dB and -6 dB. Pushing individual tracks to 0 dB saturates your Master bus, leading to digital clipping during exporting.
- Misplacing Plugins in Audio Chains: Order matters in signal paths. Placing an EQ after a heavy reverb shapes the tail sound, while placing an EQ before a reverb shapes what enters the spatial processing.
Frequently Asked Questions
Is Ableton Live Lite completely free?
Ableton Live Lite is free to use perpetually, but requires a valid serial code to activate. Serial codes are distributed as complimentary software licenses when buying compatible hardware equipment like MIDI keypads, controllers, or audio interfaces.
Can I install 3rd-party VST plugins in Live Lite?
Yes. Ableton Live Lite supports standard 64-bit VST2, VST3, and Audio Units (macOS) plugins. You can designate your custom system plugin folders inside the Plugins section of the Preferences menu.
What is the maximum number of tracks available in Ableton Live Lite?
Live Lite allows a maximum limit of 8 Audio and MIDI tracks combined. Additionally, it permits 2 Return tracks and up to 8 Scenes in Session View.
How do I upgrade from Live Lite to Standard or Suite?
Ableton provides discounted "Lite-to-Standard" or "Lite-to-Suite" upgrade paths on their official store. Activating your Lite license inside your registered Ableton account automatically unlocks discounted upgrade pricing.
Why is there no sound coming out of Ableton Live Lite?
Ensure your Audio Driver is correctly selected under Preferences > Audio. Verify that your Master track output is mapped to your hardware interface's main channels (1/2), and verify your computer system audio output selection match.
Summary and Next Steps
Ableton Live Lite provides a complete foundation for learning electronic music production, audio recording, and sound design. By mastering the dual-view workflow, using Drum Racks efficiently, and leveraging Freezing and Flattening options, you can create professional-quality tracks even within an eight-track constraint.
To develop your production skills further:
- Connect a basic USB MIDI controller to practice hands-on parameter tweaks and clip launching.
- Build an active sample library of high-quality drum shots and instrument loops inside the Ableton Browser.
- Construct three short practice tracks relying entirely on native Live Lite devices like Drift, Simpler, and Drum Rack before incorporating heavy third-party plugins.