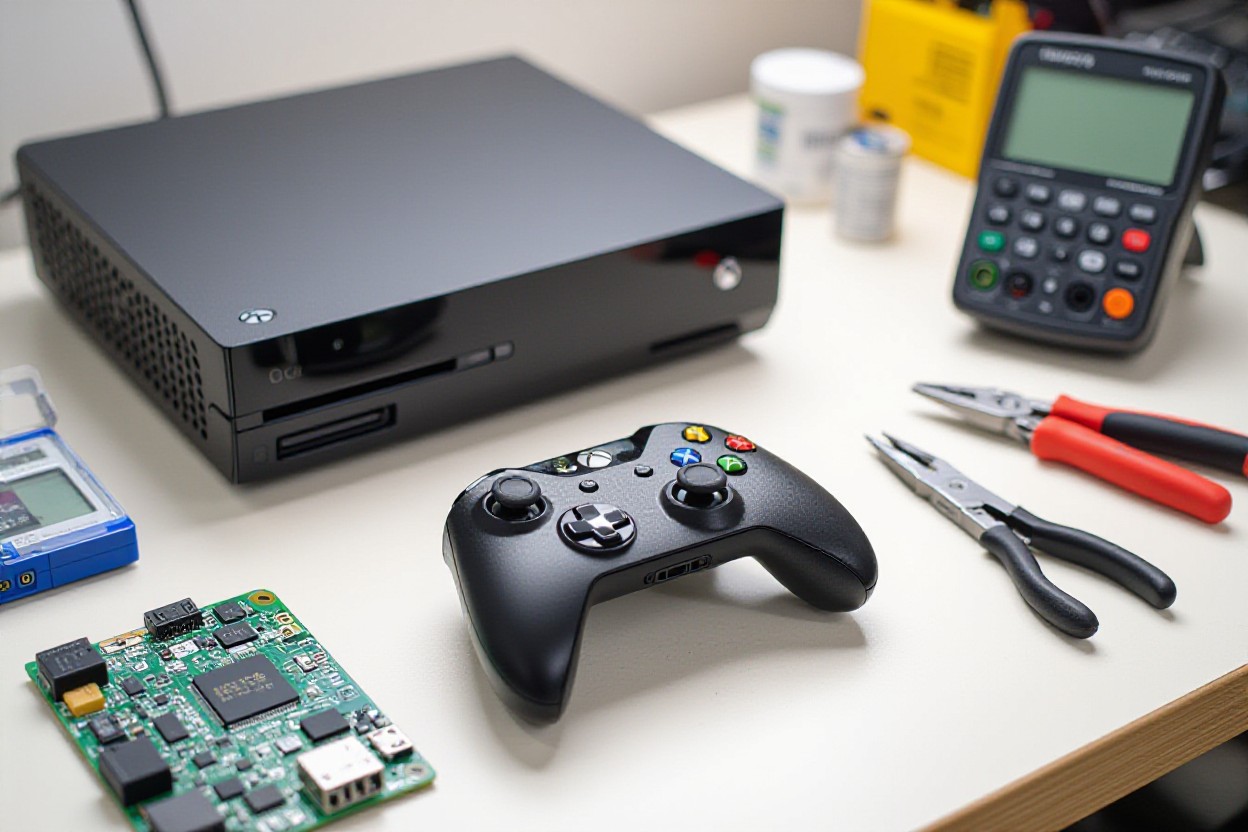
When your Xbox 360 Slim experiences unexpected shutdowns, disc-reading errors, or power supply failures, you do not immediately need to invest in professional repair services or a replacement console. Many common hardware anomalies stem from minor dust accumulation, faulty power cycling, or surface scratches on media that can be resolved at home using basic household items and methodical troubleshooting steps.
Understanding the Xbox 360 Slim Hardware Architecture
Released as a redesign of the original console architecture, the Xbox 360 Slim (often referred to as the "S" model) introduced a smaller form factor, integrated Wi-Fi 802.11n, a quieter fan system, and a redesigned power supply unit (PSU). Despite these engineering improvements, aging hardware components after years of continuous use frequently exhibit predictable failure patterns. Recognizing how these systems interact helps isolate problems before opening the chassis or attempting physical repairs.
The most critical subsystems prone to user-facing issues include the optical disc drive, the thermal management array (heatsinks and the integrated central processing unit/graphics processing unit package), and the external power brick. Unlike the original "Phat" model—infamously plagued by the "Red Ring of Death" indicated by four red quadrants—the Xbox 360 Slim utilizes a centralized red warning light in the power button, accompanied by specific error codes displayed on the television screen, known as secondary error codes.
Fix 1: Resolving Power Supply Failures and the Red Dot Error
One of the most frequent panic-inducing moments for owners is pressing the power button, hearing a short beep, and watching the console instantly shut down with a solid or flashing red light in the center of the power ring. In many instances, this indicates a power supply protection mode rather than permanent internal component failure.
Diagnosing the Power Brick Status Indicator
The external power supply brick features a built-in LED indicator light that communicates its operational status directly to the user. Before assuming the console is broken, inspect this light while the brick is plugged into both the wall outlet and the console:
- Solid Green: The power supply is operating normally and delivering stable voltage.
- Solid Orange / Standby: The power supply is in standby mode, receiving wall power but not actively powering the console.
- Flashing Orange: The power supply has entered a fault protection mode due to a power surge, short circuit, or overheating.
- Off / Unlit: The power supply is receiving no power, or an internal fuse has blown.
Step-by-Step Power Hard-Reset Procedure
If your Xbox 360 Slim refuses to stay powered on, or if the power brick shows a flashing orange light, perform a complete power discharge cycle:
- Unplug the power cord from the back of the Xbox 360 Slim console.
- Unplug the AC power cord from the wall electrical outlet.
- Disconnect the cord running from the power brick to the wall.
- Leave all components completely disconnected for a minimum of five minutes to allow the internal capacitors to fully discharge.
- Plug the power brick directly into a wall outlet (avoid surge protectors or extension cords during this diagnostic phase to rule out strip failures). Verify that the LED on the brick turns solid orange.
- Firmly reconnect the DC output cable back into the rear port of the Xbox 360 Slim until it clicks into place.
- Press the power button on the console.
If the power brick LED turns solid red or fails to illuminate at all, the power supply unit itself has likely failed and requires replacement rather than the console.
Fix 2: Fixing Disc-Reading Errors and Tray Sticking
Disc read errors ("Open Tray," "Unreadable Disc," or games failing to spin up) plague aging Xbox 360 Slim consoles. Over time, the laser lens accumulates microscopic layers of dust, cigarette smoke residue, or pet dander, which scatters the laser beam and prevents it from reading the data tracks on optical media. Additionally, the rubber drive belt responsible for opening and closing the tray can stretch or slip.
Cleaning the Optical Laser Lens Safely
Never use standard household glass cleaners, abrasive cloths, or uncalibrated liquid sprays on optical lenses, as these leave chemical residues or scratch the delicate glass or plastic focusing elements.
- Method A (Media-Based Cleaning): Insert an official Xbox 360 lens cleaner disc equipped with micro-brushes designed specifically to sweep dust away from the laser diode.
- Method B (Manual Cotton Swab Method): For advanced users comfortable removing the top outer shell of the console, locate the optical drive, gently slide the metal cover open, and use a clean, dry cotton swab (or one very lightly dampened with isopropyl alcohol of 90% concentration or higher) to gently wipe the laser lens in a linear motion. Allow it to dry completely before reassembling.
Resolving a Stuck Disc Tray
If the disc tray fails to eject when pressing the eject button, but you can hear the motor whirring, the rubber loading belt has likely lost its elasticity.
- Turn off the console and unplug it.
- Locate the emergency manual eject hole. On the Xbox 360 Slim, this is often accessed by removing the hard drive enclosure on the side or bottom vent grille, revealing a small yellow or white plastic tab.
- Insert a straightened paperclip into the manual eject hole and push gently until the tray pops open a centimeter or two.
- Pull the tray out gently by hand, remove your disc, and push the tray back in.
- To permanently fix a slipping tray, open the outer chassis, remove the rubber belt from the drive mechanism, wash it in warm water with mild dish soap to restore friction, or replace it with a new aftermarket belt of identical dimensions.
Fix 3: Clearing Cache and Rebuilding Storage Integrity
Software stuttering, slow dashboard load times, missing texture assets in games, and unexpected freezes during gameplay often point toward corrupted system cache files or fragmented storage partitions. Clearing the system cache forces the console to rebuild temporary operational files without deleting your game saves, downloaded arcade games, or gamer profile data.
Step-by-Step Cache Clearing Guide
- Turn on your Xbox 360 Slim without a disc in the drive.
- Navigate to the Settings hub from the main dashboard ribbon and select System.
- Choose Storage (or Memory).
- Highlight any storage device (such as the Hard Drive or internal memory unit) by pressing the Y button on your controller to open Device Options. Do not select an option yet.
- Select Clear System Cache.
- When prompted to confirm storage maintenance, select Yes. The console will clear temporary cache files and restart automatically.
Checking Storage Health
If games continue to freeze after clearing the cache, your hard drive might be experiencing bad sectors. Navigate back to Storage, highlight your storage device, and check for available free space. If the drive is filled to maximum capacity, internal caching operations fail due to a lack of scratchpad space. Deleting unused game demos or old title updates often restores stable performance.
Comparison of Common Xbox 360 Slim Issues and Solutions
| Symptom | Primary Probable Cause | Quick Fix Method | Estimated Cost / Effort |
|---|---|---|---|
| Flashing Red Power Brick | Power supply protection mode / Surge | Hard reset power brick & wall cycle | Free / Low |
| "Open Tray" / Unreadable Disc | Dusty laser lens or stretched belt | Clean lens / Manual eject & belt wash | Free to $10 / Low |
| Random Freezing / Stuttering | Corrupted temporary system files | Clear system cache via storage menu | Free / Minimal |
| Console Shuts Down Instantly | Overheating due to blocked vents | Dust clearance & unobstructed placement | Free / Low |
Preventative Maintenance and Best Practices
Extending the operational lifespan of an Xbox 360 Slim requires proactive environmental management and basic physical upkeep. Because the console relies on forced-air cooling via internal fans, proper placement dictates thermal longevity.
Thermal Management Guidelines
- Surface Placement: Always place the console on a hard, flat, horizontal surface (such as a wooden entertainment center shelf or glass media rack). Never place the console directly on carpet, blankets, or inside a tightly enclosed, unventilated cabinet.
- Clearance Zones: Maintain a minimum clearance of six inches on all sides of the console, particularly around the side intake grilles and the rear exhaust port.
- Dust Mitigation: Dust the surrounding entertainment area weekly. Use a can of compressed air to gently blow dust out of the console's side vents every three to six months while the console is powered off and unplugged. Hold the can upright to prevent liquid propellant from spraying onto the plastic housing.
Frequently Asked Questions
What should I do if my Xbox 360 Slim shows a flashing red light on the power button?
Unlike the original model's four red lights, a single flashing or solid red light on the power button indicates an error code. Look at the top-left corner of your television screen for an error message or code (such as E74). If no display appears, count the flashing quadrants of the power ring while holding the sync button and tapping the eject button to reveal the multi-digit error code.
Can I use a standard USB flash drive to clear the cache or update storage?
Yes. The Xbox 360 Slim supports USB flash drives configured directly through the console's storage settings menu. However, USB flash drives cannot replace the internal hard drive for playing original Xbox backwards-compatible titles, which require official Microsoft storage partitions containing emulator files.
Is it safe to use rubbing alcohol to clean the laser lens?
Yes, provided you use high-purity isopropyl alcohol (90% concentration or higher) applied sparingly to a cotton swab. Lower concentrations contain water percentages that can leave mineral deposits or corrode microscopic circuit traces inside the optical assembly.
Why does my console make a loud grinding noise when I insert a game?
A grinding noise typically occurs when a disc is warped, cracked, or improperly seated in the tray, or if the magnetic spindle clamp inside the optical drive has slipped out of alignment. Stop using the disc immediately to prevent permanent damage to the laser assembly.
How often should I clean the dust out of my Xbox 360 Slim?
For homes with pets, carpets, or active dust accumulation, inspecting and clearing the side intake vents with compressed air every three months prevents thermal throttling and extends hardware life.
Next Actions for Long-Term Reliability
If you have executed the power reset, cleaned the optical laser lens, and cleared the system cache without achieving a stable console state, document the specific error code displayed on your screen. When troubleshooting exceeds home remedies, consult certified electronic refurbishment specialists or consider sourcing replacement OEM components such as power bricks or replacement laser assemblies from reputable electronics suppliers. Maintaining proper ventilation and practicing regular digital hygiene ensures your hardware continues to function reliably.