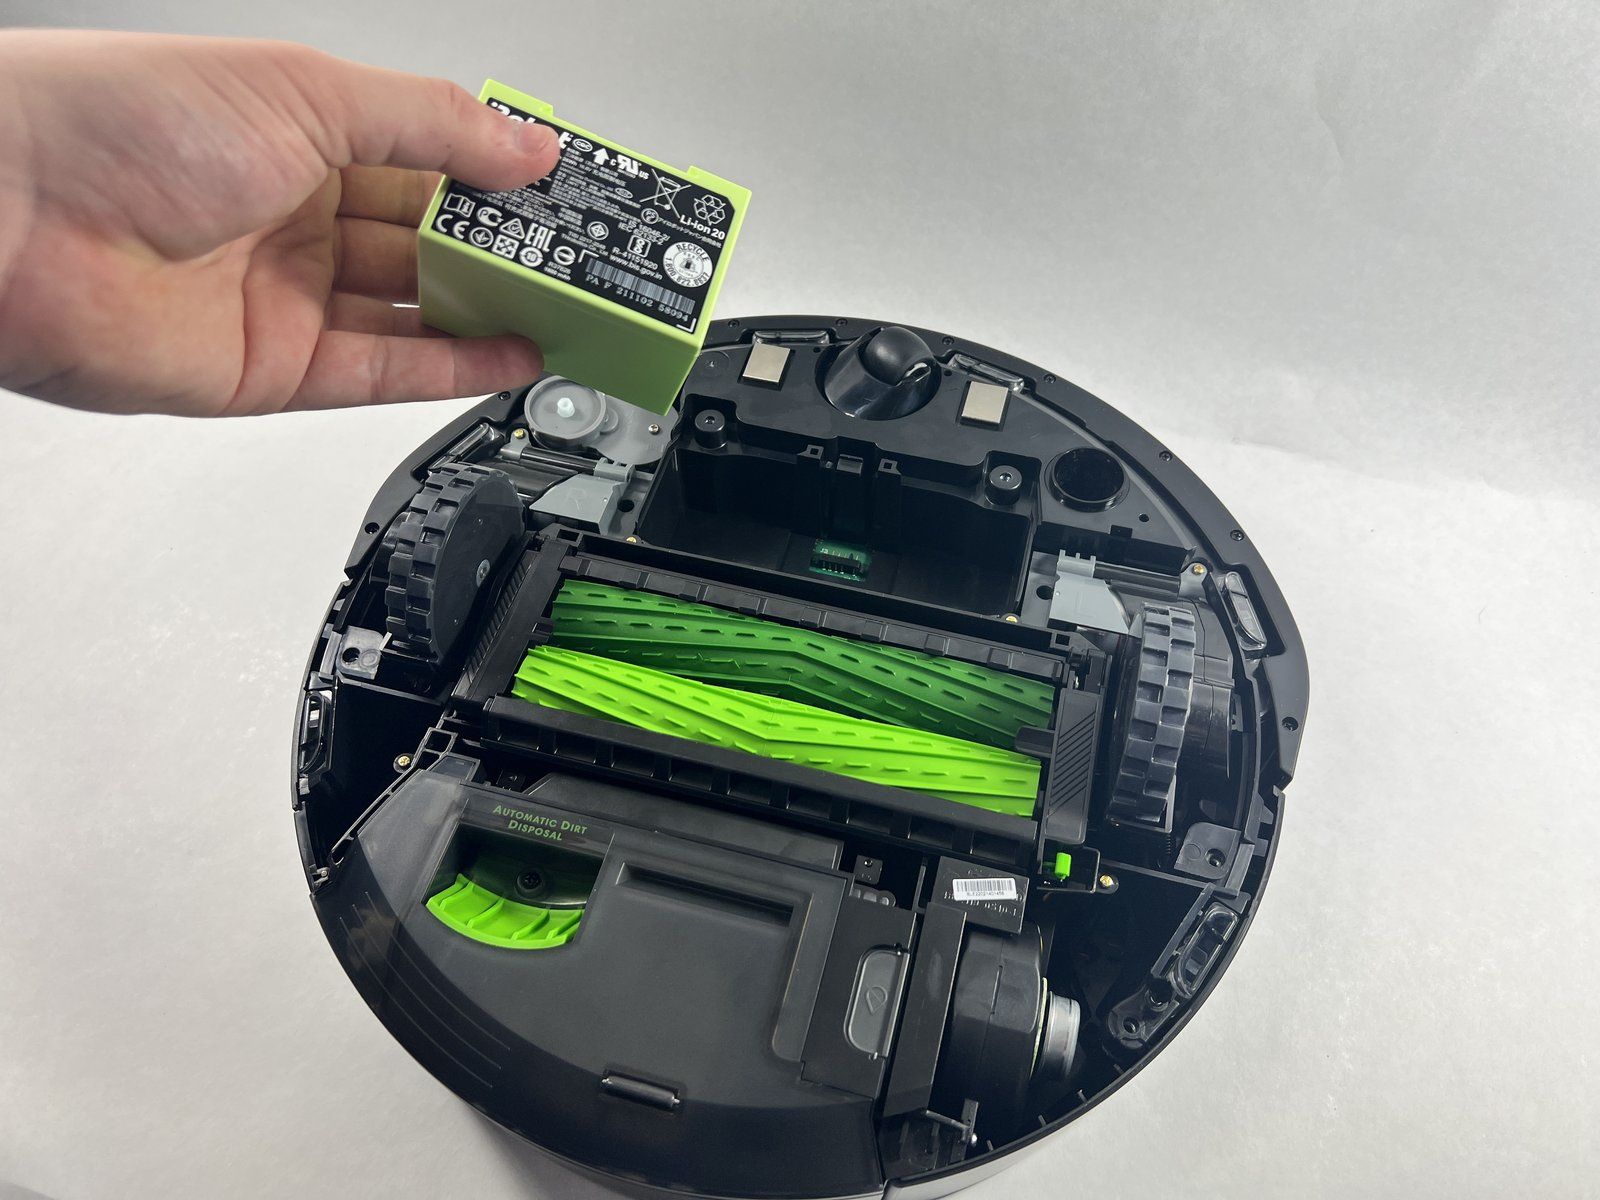
The Roomba 560, a staple in the evolution of domestic robotics, often reaches a point where its original power source degrades, resulting in reduced runtime or the unit’s failure to undock and start a cleaning cycle. Replacing the battery is a straightforward, user-serviceable task that involves removing the bottom cover to swap the old nickel-metal hydride (NiMH) or lithium-ion upgrade pack for a new, compatible unit, effectively extending the lifespan of your robotic cleaner.
Understanding the Roomba 560 Power System
The iRobot Roomba 560 belongs to the 500 series, a line that set the standard for autonomous vacuuming in the late 2000s. Unlike modern robots that utilize advanced lithium-ion management systems, the 560 was originally designed around NiMH battery technology. These batteries are characterized by their sensitivity to discharge cycles and long-term storage habits.
As of 2026, many original Roomba 560 units still in operation rely on either factory-original batteries that have long since been cycled out or third-party replacement packs. Understanding the chemistry of your replacement battery is the first step in ensuring safety and longevity. While original units used NiMH, many modern aftermarket replacements are lithium-ion (Li-ion) packs designed to fit the 560's form factor. These offer higher energy density and less "memory effect," though they require a compatible charging circuit or the use of the original base station as designed.
Identifying When a Battery Replacement is Necessary
The most common indicator that your Roomba 560 requires a new battery is a significant drop in cleaning duration. A healthy 560 should operate for approximately 60 to 90 minutes on a full charge. If your unit stops after 15 to 20 minutes, or if it immediately returns to the Home Base after launching, the battery’s capacity has likely diminished beyond a useful threshold.
Additional symptoms include:
- The Charging Error: The "Clean" button light pulses amber or red quickly, or the unit displays an error code indicating it cannot hold a charge.
- Failure to Dock: If the Roomba 560 constantly circles the Home Base without successfully docking or begins a cycle only to die mere feet away, the voltage sag under load is often too high for the robot's logic board to maintain operation.
- Rapid Charging Cycles: If the unit indicates a "full" charge in under an hour, the battery has likely developed high internal resistance, meaning it can no longer hold the chemical potential required for cleaning.
Prerequisites for Replacement
Before beginning the physical replacement, ensure you have the correct tools and a suitable replacement battery. The 560 uses a standard modular battery pack located on the underside of the chassis.
Tools required:
- A Phillips head screwdriver (typically a #2 size).
- A clean, flat workspace with adequate lighting.
- A soft towel or microfiber cloth to protect the surface of the Roomba's sensor array while it is upside down.
Safety Considerations: Always unplug the Home Base before working on the robot, and ensure the Roomba is powered off. Do not force the battery into the compartment; if the battery does not slide in smoothly, check for debris or misalignment. Never attempt to open or dismantle the battery casing itself, as the cells inside are pressurized and reactive.
Step-by-Step Replacement Procedure
The replacement process for the Roomba 560 is designed to be accessible to the average homeowner. Follow these steps to ensure a successful installation:
- Prepare the Workspace: Place the Roomba 560 upside down on a flat, protected surface. Ensure the side brushes and wheels are not exerting pressure on the casing.
- Remove the Bottom Plate: The battery compartment is located beneath the primary bottom cover. Locate the screws holding the bottom cover in place. Usually, there are four screws securing this plate. Remove them and set them aside in a secure location.
- Extract the Old Battery: Once the plate is removed, you will see the large, rectangular battery pack. Most units have two pull-tabs or a frame that holds the battery in place. Gently pull the battery out by these tabs.
- Inspect the Contacts: Before installing the new battery, check the metal contact pins within the compartment. If you see oxidation or dust buildup, gently wipe the contacts with a dry, lint-free cloth. Do not use liquids or abrasives.
- Install the New Battery: Align the new battery pack with the compartment, ensuring the contacts on the battery match the terminals inside the robot. Slide the battery into place until it seats firmly.
- Reassemble the Unit: Place the bottom cover back onto the chassis. Reinsert the screws and tighten them until they are snug. Avoid over-tightening, as the plastic threads in the 560 housing can strip easily.
- Perform an Initial Charge: Place the Roomba back on the Home Base. Allow it to charge for at least 16 hours during the first charge, even if the indicator light changes color sooner. This "conditioning" helps calibrate the battery management system.
Comparison of Battery Types for Roomba 500 Series
| Battery Type | Chemistry | Pros | Cons |
|---|---|---|---|
| Standard NiMH | Nickel-Metal Hydride | Affordable, reliable with legacy hardware. | Shorter lifespan, high self-discharge. |
| Upgrade Li-ion | Lithium-ion | Higher capacity, lighter weight, longer life. | Higher cost, requires compatible BMS. |
| Extended Life NiMH | Enhanced NiMH | Longer runtimes, lower self-discharge. | Still prone to memory effect over time. |
Troubleshooting Post-Replacement Issues
If the Roomba 560 fails to operate after installing a new battery, perform these troubleshooting steps:
- Check Contact Alignment: If the robot does not "wake up" when placed on the charger, the battery may not be fully seated against the internal contact springs. Remove and re-insert the battery.
- Reset the Internal Firmware: Press and hold the "Spot" and "Dock" buttons simultaneously for 10 seconds. This resets the Roomba’s brain and may help it recognize the new battery’s voltage characteristics.
- Verify Charger Health: If the Roomba is not charging at all, the fault may lie with the Home Base or the power adapter rather than the battery. Test the voltage output of the power brick if you have a multimeter, or attempt to charge the unit directly via the port on the side of the robot (if your specific model iteration includes one).
Long-Term Maintenance and Battery Longevity
To maximize the life of your new battery, minimize the time the Roomba spends in a fully discharged state. The Roomba 560 is designed to stay on its Home Base between cleaning cycles. The trickle-charging feature on the 560 is intended to keep the battery ready for action; removing it from the base for extended periods can lead to deep-discharge cycles that degrade battery health prematurely.
If you plan to store the Roomba for more than a few weeks, it is advisable to remove the battery entirely or charge it to approximately 50-70% before storing it in a cool, dry place. Avoid leaving the robot in areas with extreme temperature fluctuations, such as an uninsulated garage or direct sunlight, as heat is the primary catalyst for internal cell failure.
Frequently Asked Questions
1. Can I use a lithium-ion battery in a Roomba 560 originally made for NiMH? Yes, many modern aftermarket batteries for the 500 series are designed as "drop-in" replacements using lithium-ion chemistry. These packs include a built-in Battery Management System (BMS) to ensure safety and compatibility with the original charging hardware.
2. How long does a replacement battery typically last? Under normal household use, a quality replacement battery for a Roomba 560 typically lasts between 18 to 24 months. Factors such as the size of your home, the frequency of cleaning, and the floor surface (carpet vs. hardwood) will influence this duration.
3. Does the "Clean" light color indicate battery health? Yes. A pulsing orange light usually indicates that the battery is charging. A solid green light indicates a full charge. If the light flashes red or amber after a full charge cycle, it often signals that the battery is failing to hold the required voltage.
4. Is it necessary to reset the Roomba after replacing the battery? While not strictly required, performing a factory reset (holding the Spot and Dock buttons) is recommended after a battery swap to ensure the robot’s internal software correctly calibrates to the capacity of the new power cell.
5. What is the standard voltage for a Roomba 560 battery? The standard nominal voltage for a Roomba 500-series battery is 14.4 volts. Always verify that the replacement battery you purchase lists 14.4V on its specifications label to ensure it matches the electrical requirements of the vacuum.
Final Recommendation
The Roomba 560 remains a highly capable machine for basic floor maintenance. If your unit is struggling with battery life, purchasing a reputable replacement battery is a cost-effective way to restore its performance. When selecting a replacement, prioritize high-capacity packs from established providers that include a warranty and clear instructions. Once installed, commit to leaving the unit on its base to ensure the battery remains conditioned and ready for its next cleaning session.