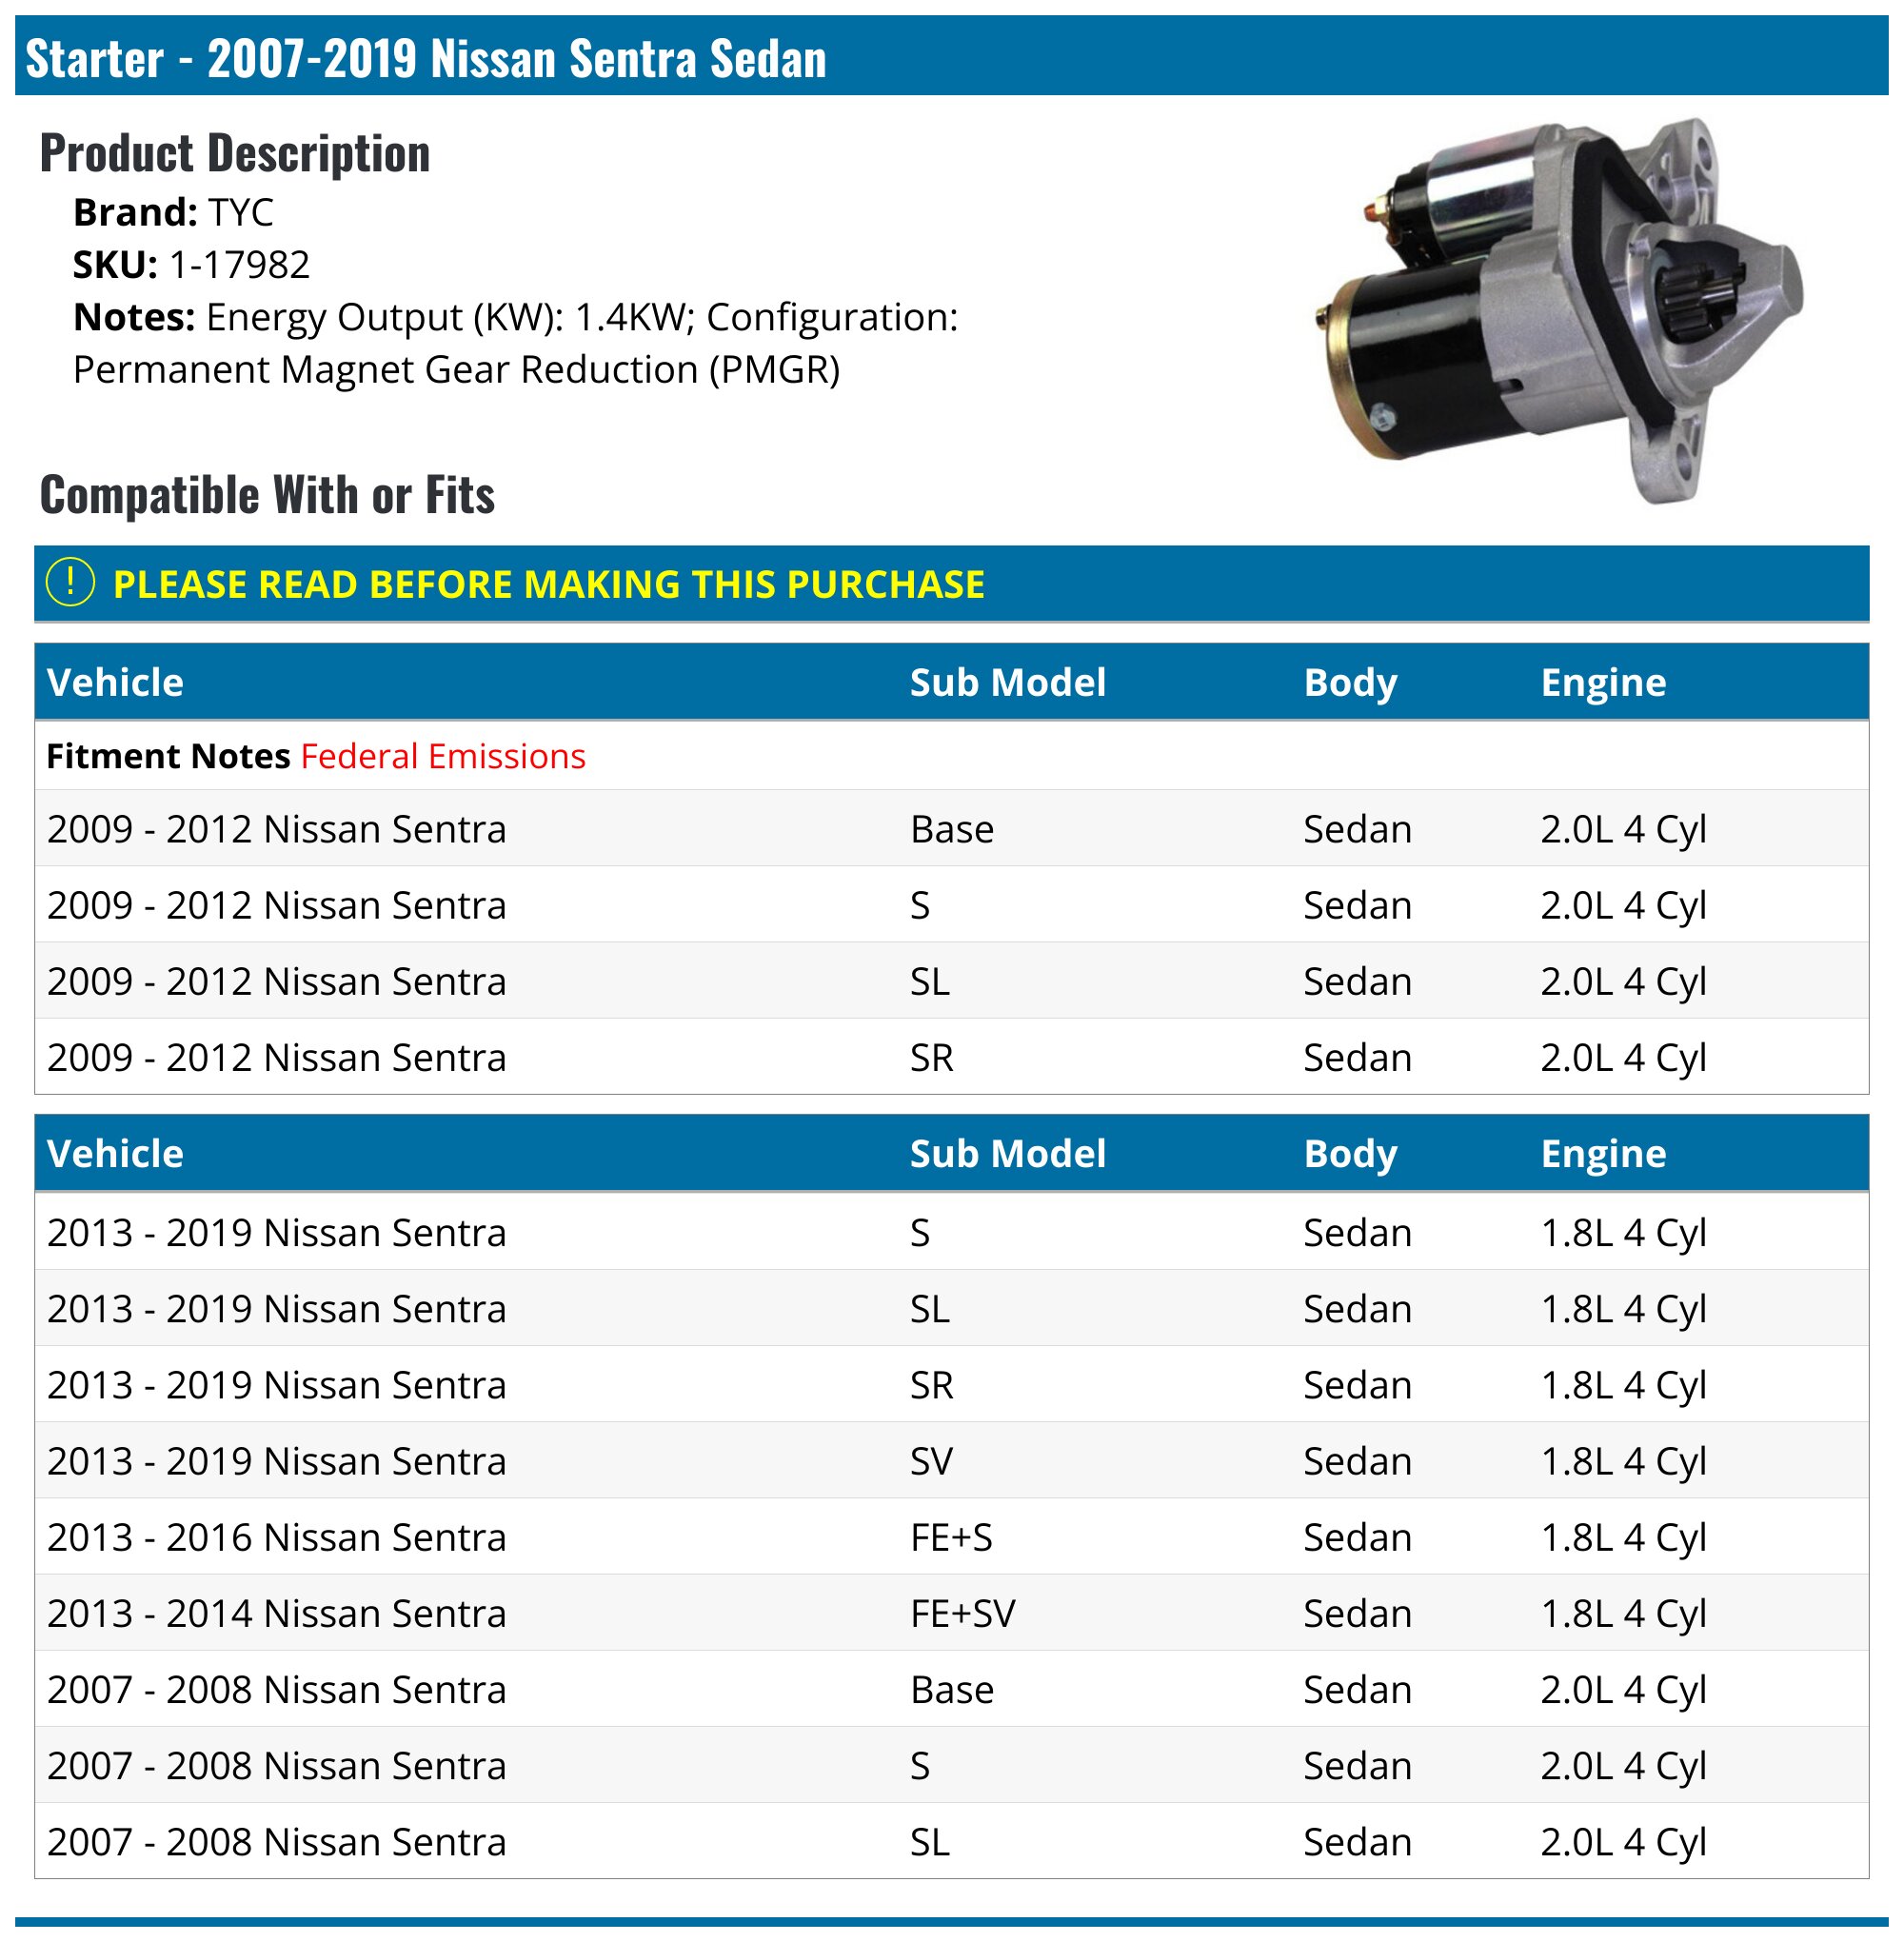
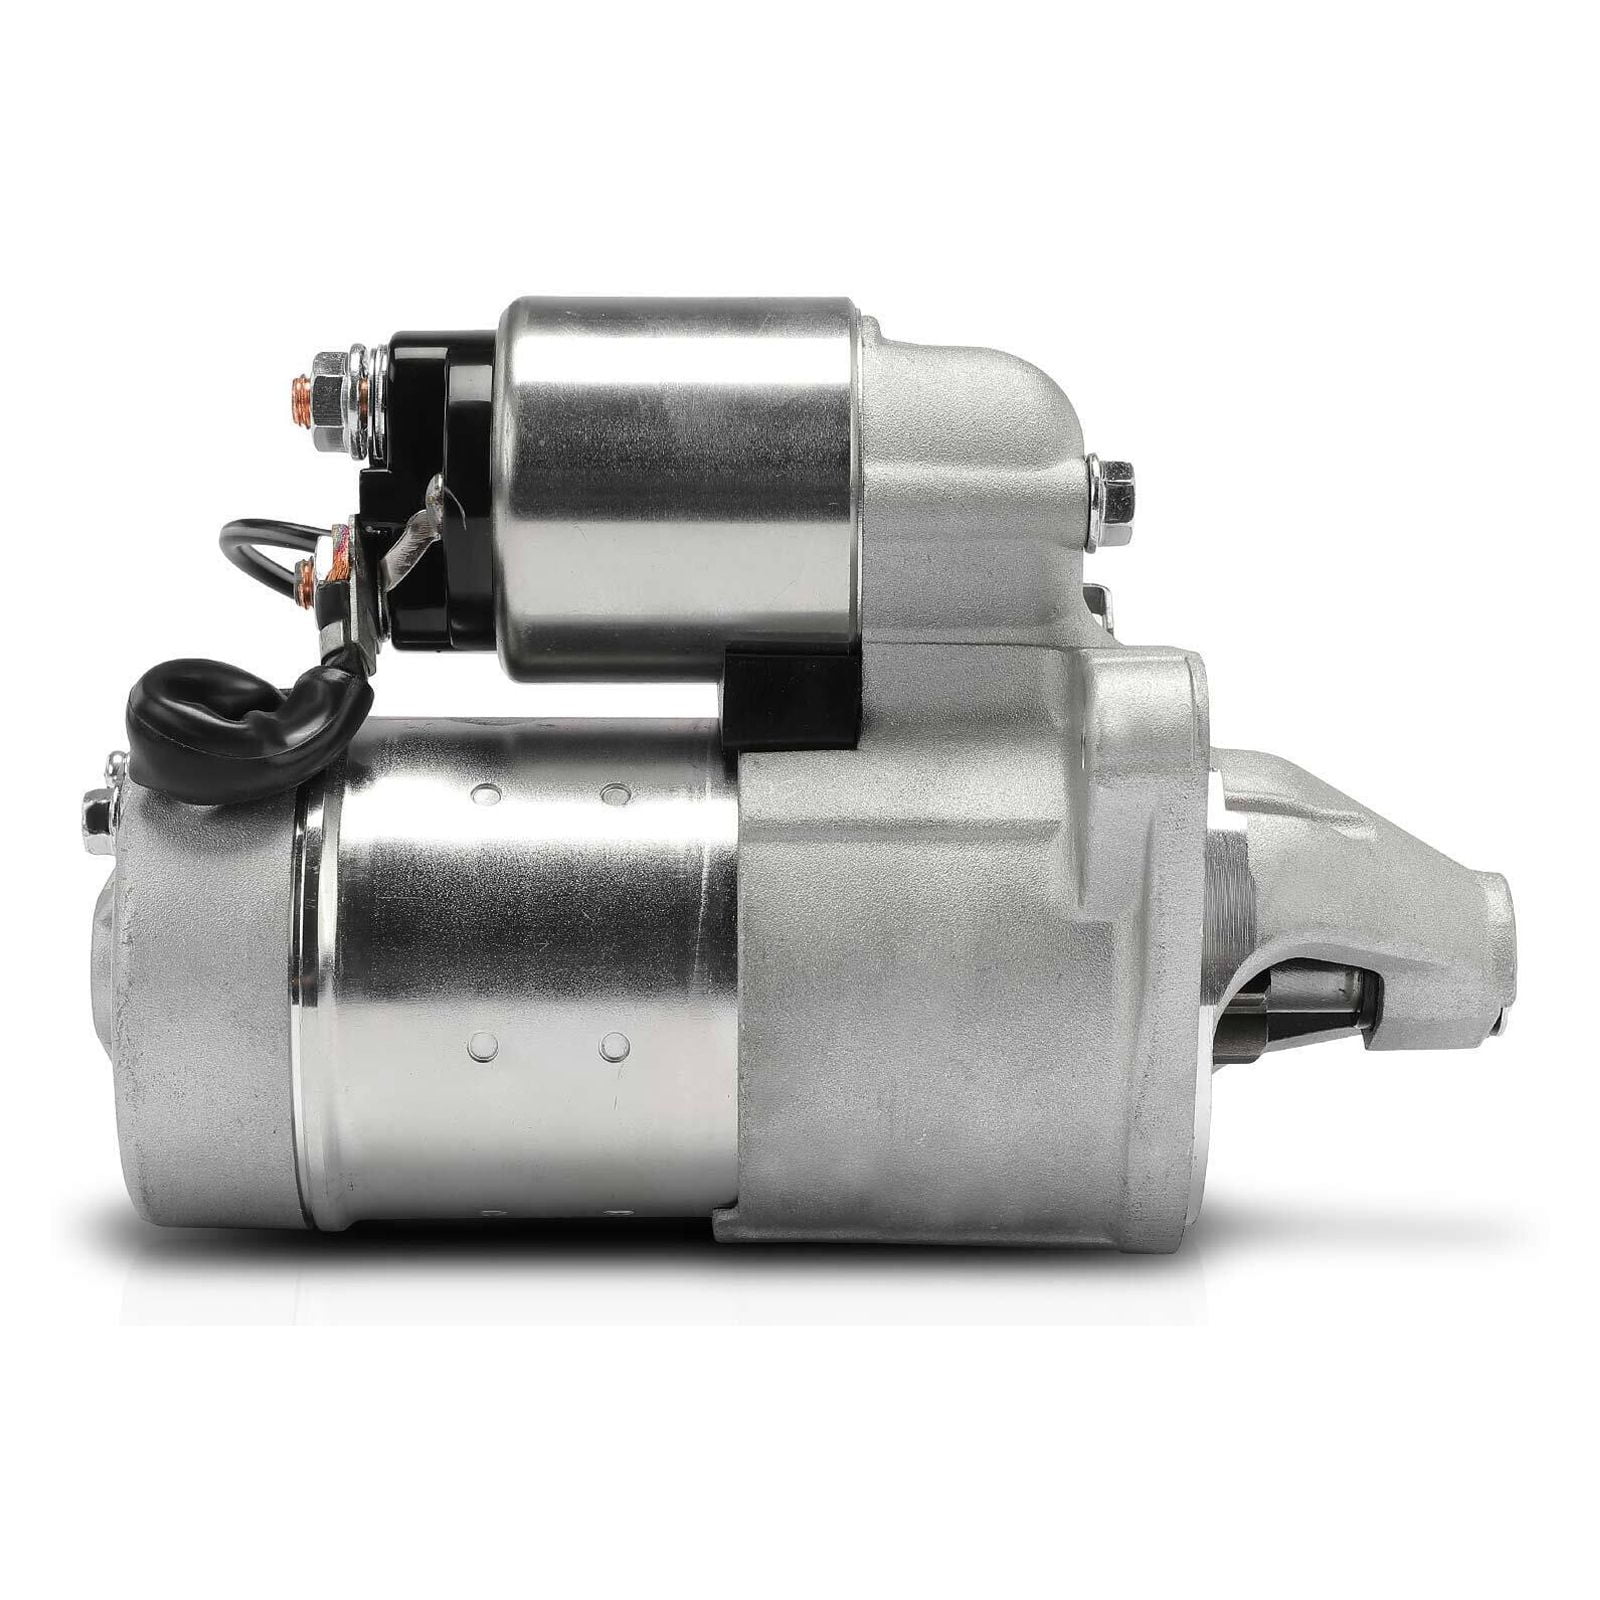
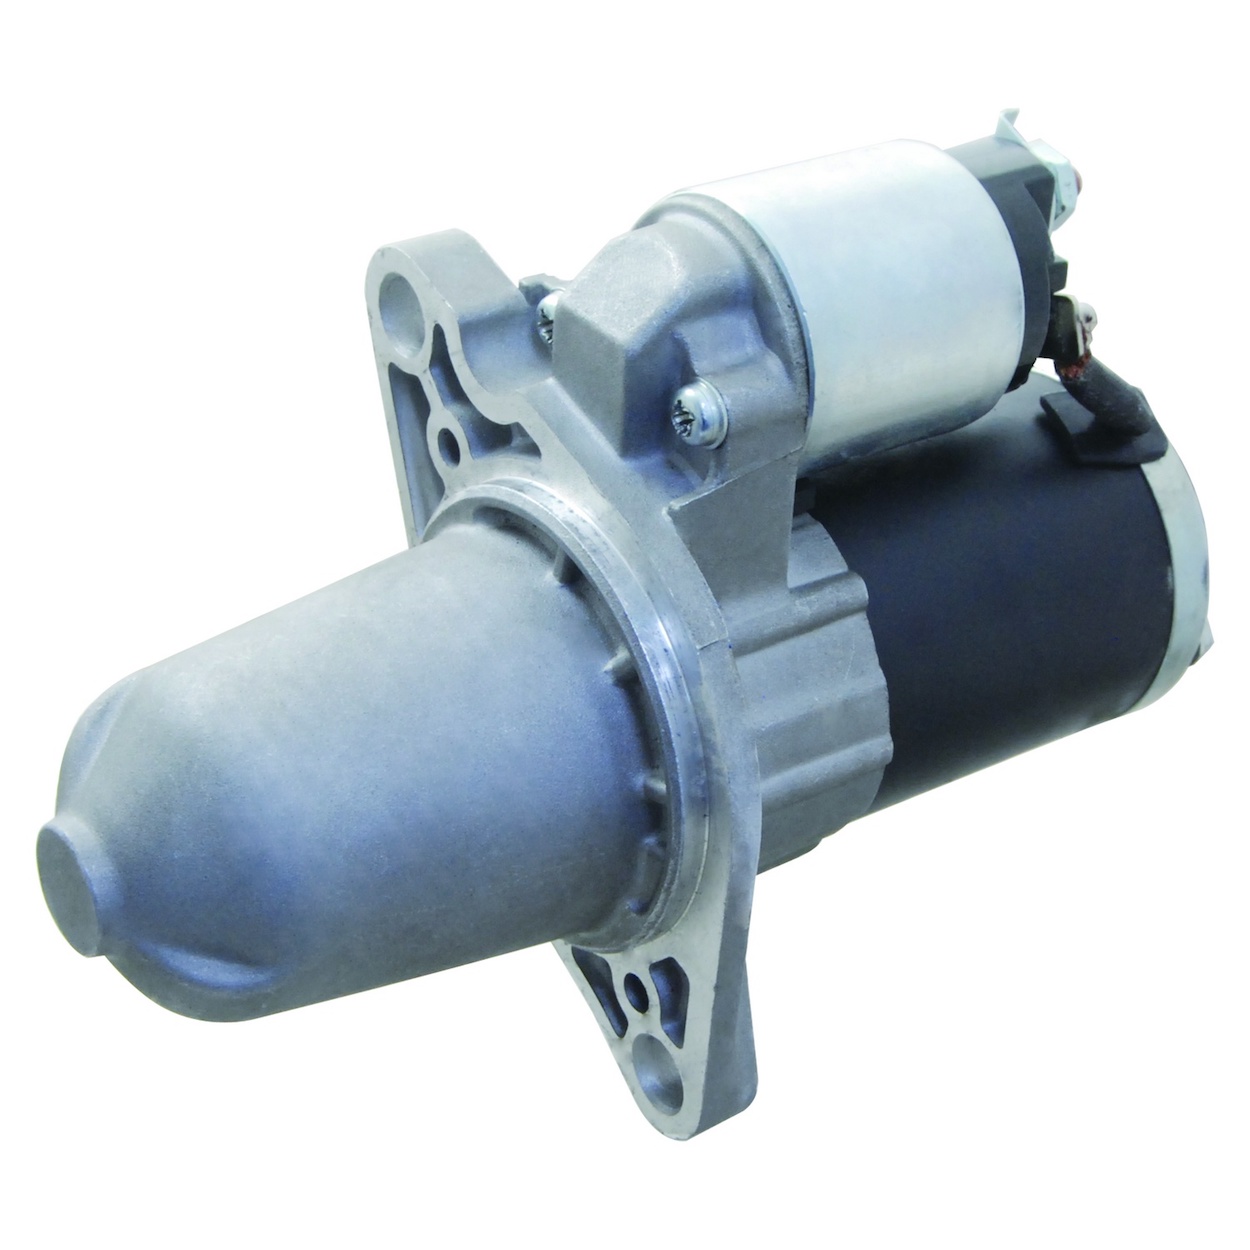
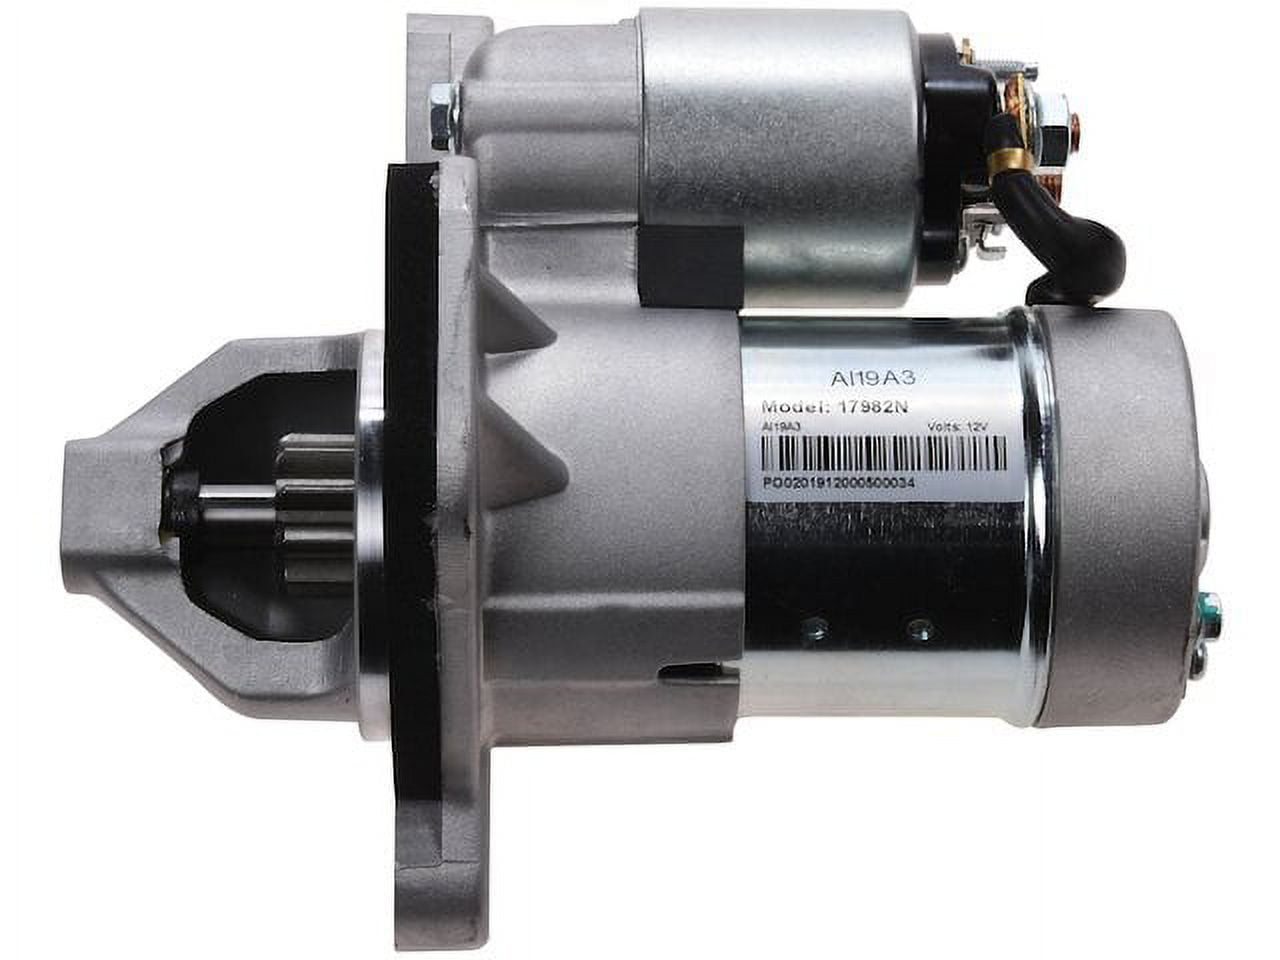
To replace the starter on a 2012 Nissan Sentra, you must disconnect the battery, remove the air intake assembly to gain access, and disconnect the electrical leads from the starter solenoid. Finally, unscrew the two mounting bolts securing the starter to the transmission bellhousing and install the new unit in reverse order.
The 2012 Nissan Sentra remains a common sight on roads in 2026, often serving as a reliable commuter or a first car for new drivers. However, as these vehicles surpass the 14-year mark, original equipment manufacturer (OEM) components like the starter motor reach the end of their functional lifespan. The starter is a high-torque electric motor responsible for turning the engine over to initiate the combustion cycle. When it fails, the vehicle becomes an immobile weight, necessitating either a costly tow to a mechanic or a focused DIY intervention.
This guide provides a technical walkthrough for replacing the starter in both the 2.0L (MR20DE) and 2.5L (QR25DE) engine variants, focusing on the more prevalent 2.0L model.
Identifying Starter Failure in the B16 Sentra
Before committing to a replacement, it is vital to confirm that the starter is indeed the culprit. Many "no-start" conditions are misdiagnosed as starter failure when the actual issue lies with the battery, the alternator, or the neutral safety switch.
Common Symptoms
- The Single Click: When you turn the key (or press the start button on Intelligent Key models), you hear one distinct metallic click, but the engine does not rotate. This often indicates the solenoid is engaging, but the motor brushes are worn or the internal armature is seized.
- Rapid-Fire Clicking: This is usually a sign of low voltage. The solenoid has enough power to engage but not enough to sustain the connection under the heavy load of the starter motor. In this case, the battery is more likely the issue.
- The Grinding Noise: A harsh, metallic screeching sounds like gears clashing. This suggests the starter drive gear (Bendix) is not extending fully or the teeth on the flywheel/flexplate are damaged.
- Intermittent Starting: The car starts fine some days but requires multiple attempts on others. This "dead spot" on the starter motor is a classic sign of impending total failure.
The Voltage Drop Test
In 2026, diagnostic tools are more accessible than ever. Use a multimeter to check the battery voltage; it should be at least 12.6V at rest. While an assistant attempts to start the car, observe the voltage drop. If it drops below 10V and the engine barely turns, the battery is likely weak. If the voltage stays high (above 11V) but the starter does nothing, the starter or the wiring is likely at fault.
Required Tools and Materials
Having the correct tools prepared will reduce the "down-time" of your vehicle. For the 2012 Sentra, Nissan primarily uses metric fasteners, specifically 10mm, 12mm, and 14mm sizes.
- Socket Set (Metric): 10mm (for battery and air box), 12mm (for the starter "B" terminal nut), and 14mm (for the main mounting bolts).
- Extensions: A 6-inch and 10-inch extension are necessary to reach the mounting bolts through the engine bay clutter.
- Ratchet: A 3/8-inch drive is usually sufficient, though a 1/2-inch drive may be needed if the mounting bolts are rusted or over-torqued.
- Wrenches: A 10mm and 12mm combination wrench for tight spots.
- Flashlight or Work Light: The starter is tucked under the intake manifold area and is difficult to see without dedicated lighting.
- Safety Gear: Gloves and eye protection are mandatory, as you will be working near the battery and under components that may drop debris.
Safety and Preliminary Steps
Working on the electrical system of a 2012 Nissan Sentra requires strict adherence to safety protocols to prevent electrical shorts or accidental deployment of safety systems.
Disconnecting the Battery
This is the most critical step. The starter is connected directly to the positive terminal of the battery via a heavy-gauge wire that is not fused. If your wrench touches the frame while loosening this wire, it will create a massive electrical arc, potentially causing fire, battery explosion, or severe burns.
- Loosen the 10mm nut on the negative (black) terminal first.
- Remove the cable and tuck it aside so it cannot accidentally touch the post.
- Loosen the 10mm nut on the positive (red) terminal and move it aside.
- (Optional) If you need more room, remove the battery hold-down bracket and take the battery out of the car entirely. This is highly recommended on the Sentra as it opens up the "swing room" for your tools.
Component Access and Removal
On the 2.0L MR20DE engine, the starter is located on the front of the engine (towards the radiator), where the engine meets the transmission. Access is best achieved from the top by removing the air intake components.
Step 1: Removing the Air Intake Duct
The plastic air intake resonator and tubing block your view and reach.
- Locate the plastic clips holding the air duct above the radiator support. Use a flathead screwdriver to pop the center pins up and remove the clips.
- Loosen the hose clamp connecting the intake tube to the throttle body or air box using a 10mm socket or Phillips screwdriver.
- Pull the air ducting out of the engine bay.
Step 2: Disconnecting Starter Wiring
The starter has two electrical connections:
- The "S" (Signal) Terminal: This is a small wire with a plastic clip-on connector. Squeeze the tab and pull it off. This wire tells the starter when you have turned the ignition key.
- The "B" (Battery) Terminal: This is the heavy-gauge wire under a protective rubber boot. Peel back the boot to reveal a 12mm nut. Carefully remove this nut and pull the wire off the threaded stud.
Step 3: Unbolting the Starter
The starter is held in place by two long 14mm bolts.
- The upper bolt is usually visible from the top of the engine bay.
- The lower bolt may require reaching underneath or using a long extension with a swivel (U-joint) from the side.
- Pro Tip: These bolts can be very tight due to years of heat cycles. Use a penetrating oil like PB Blaster or WD-40 Specialist and let it sit for 10 minutes before attempting to loosen them.
- Once both bolts are removed, the starter may still be "stuck" to the housing due to the dowel pin or corrosion. Give it a gentle tap with a rubber mallet to break it loose.
Installation of the New Starter
When purchasing a replacement in 2026, you will likely choose between a "New" unit and a "Remanufactured" unit. Remanufactured units are common for older vehicles and usually require a "core charge" (a deposit you get back when you return your old starter).
- Compare the Units: Hold the old and new starters side-by-side. Ensure the mounting holes align and the gear (drive pinion) has the same number of teeth.
- Positioning: Maneuver the new starter into the bellhousing. Align it with the mounting holes. It is often helpful to start the upper bolt by hand to hold the weight of the unit while you align the lower bolt.
- Torquing the Bolts: Tighten both 14mm bolts. The standard torque specification for these bolts is approximately 32 to 38 ft-lbs. Do not over-tighten, as the transmission housing is made of aluminum and can strip.
- Reconnect Wiring:
- Place the heavy "B" terminal wire onto the stud and tighten the 12mm nut. Ensure it is snug but do not snap the stud. Replace the rubber boot.
- Snap the plastic "S" terminal connector back onto the spade terminal. You should hear a click.
- Reinstall Air Intake: Reattach the air ducting and tighten the hose clamps. Replace the plastic clips.
Reconnecting the Battery and Testing
Before starting the car, ensure all tools are removed from the engine bay.
- Clean the battery terminals with a wire brush to ensure a good connection.
- Connect the Positive terminal first and tighten the 10mm nut.
- Connect the Negative terminal last. You may see a small spark; this is normal.
- Enter the vehicle and attempt to start it. The engine should crank vigorously and fire up immediately.
Troubleshooting the New Installation
If the car does not start after replacement:
- Check the "S" terminal clip; it is common for it to feel plugged in when it is actually loose.
- Ensure the battery terminals are tight. If you can move the terminal by hand, it is too loose.
- Check the 10A "Starter Signal" fuse in the Intelligent Power Distribution Module (IPDM), located in the engine bay.
2026 Cost Analysis and Part Selection
In the current 2026 market, the cost of maintaining a 2012 Sentra is relatively low compared to modern electric or hybrid vehicles, but labor rates have risen.
| Service Method | Estimated Part Cost | Estimated Labor | Total Estimated Cost |
|---|---|---|---|
| DIY (Do-It-Yourself) | $110 – $180 | $0 (3 hours of time) | $110 – $180 |
| Independent Shop | $150 – $220 | $180 – $300 | $330 – $520 |
| Dealership | $280 – $400 | $350 – $500 | $630 – $900 |
Note: Prices are based on 2026 averages for aftermarket remanufactured parts and standard shop rates ($120-$180/hr).
Choosing a Brand
For a 2012 Sentra, Hitachi was the original equipment manufacturer. If you can find a Hitachi-branded starter, it is generally superior in longevity. Other reputable brands include Denso, Bosch, and TYC. Avoid "no-name" starters from unverified online marketplaces, as the internal solenoids often fail prematurely under high-heat conditions.
Common Mistakes to Avoid
- Ignoring the Ground Straps: The starter relies on the engine being properly grounded to the chassis. If your ground straps are frayed or corroded, even a brand-new starter will perform poorly or not at all.
- Overtightening the Solenoid Nut: The "B" terminal stud is made of copper or brass and is surprisingly brittle. If you "crank" on the 12mm nut, you can snap the stud off the solenoid, ruining the new starter.
- Mixing Up Bolts: The two mounting bolts are usually the same length, but it is good practice to keep them organized. Ensure they are threaded in by hand first to avoid cross-threading the aluminum transmission housing.
- Replacing the Starter When the Battery is Dead: Always jump-start the car first. If it starts with a jump, your starter is fine—your battery or alternator is the problem.
FAQs
How long should a starter last on a 2012 Nissan Sentra?
Typically, a starter motor lasts between 100,000 and 150,000 miles. However, this varies based on how often you start the vehicle. In 2026, most 2012 Sentras have reached this mileage threshold, making starter failure a high-probability maintenance item.
Can I tap the starter with a hammer to make it work one last time?
Yes, this is a legitimate "emergency" tactic. Tapping the starter housing (not the solenoid) with a wrench or hammer can sometimes jar the internal brushes back into contact with the commutator. This may give you one or two more starts to get the car home, but the starter must be replaced immediately after.
Do I need to remove the manifold to get to the starter?
No, on the 2012 Sentra 2.0L, you do not need to remove the intake manifold. Removing the air intake tube and the battery provides enough clearance to reach the starter from above. On the 2.5L SE-R models, space is tighter, but manifold removal is still generally unnecessary.
Does the 2012 Sentra have a starter relay?
Yes, the starter relay is integrated into the IPDM (Intelligent Power Distribution Module), which is the fuse box located near the battery. If you have no power at the "S" terminal when the key is turned, the relay or the fuse within the IPDM may be the culprit.
Is the starter different for automatic (CVT) and manual transmissions?
Yes, starters are often specific to the transmission type because the mounting depth and gear offset can differ. When ordering your part, specify whether your Sentra has the 6-speed manual or the Xtronic CVT.
Practical Recommendation
If you are performing this replacement in 2026, consider also inspecting your crankshaft position sensor, which is located in the same general vicinity on the back/side of the engine. Since you already have the battery and air intake removed, it is a convenient time to check for oil leaks or frayed wiring in that area. Once the new starter is installed, apply a small amount of dielectric grease or battery terminal protector to the electrical connections to prevent future corrosion, ensuring your 2012 Sentra remains reliable for years to come.