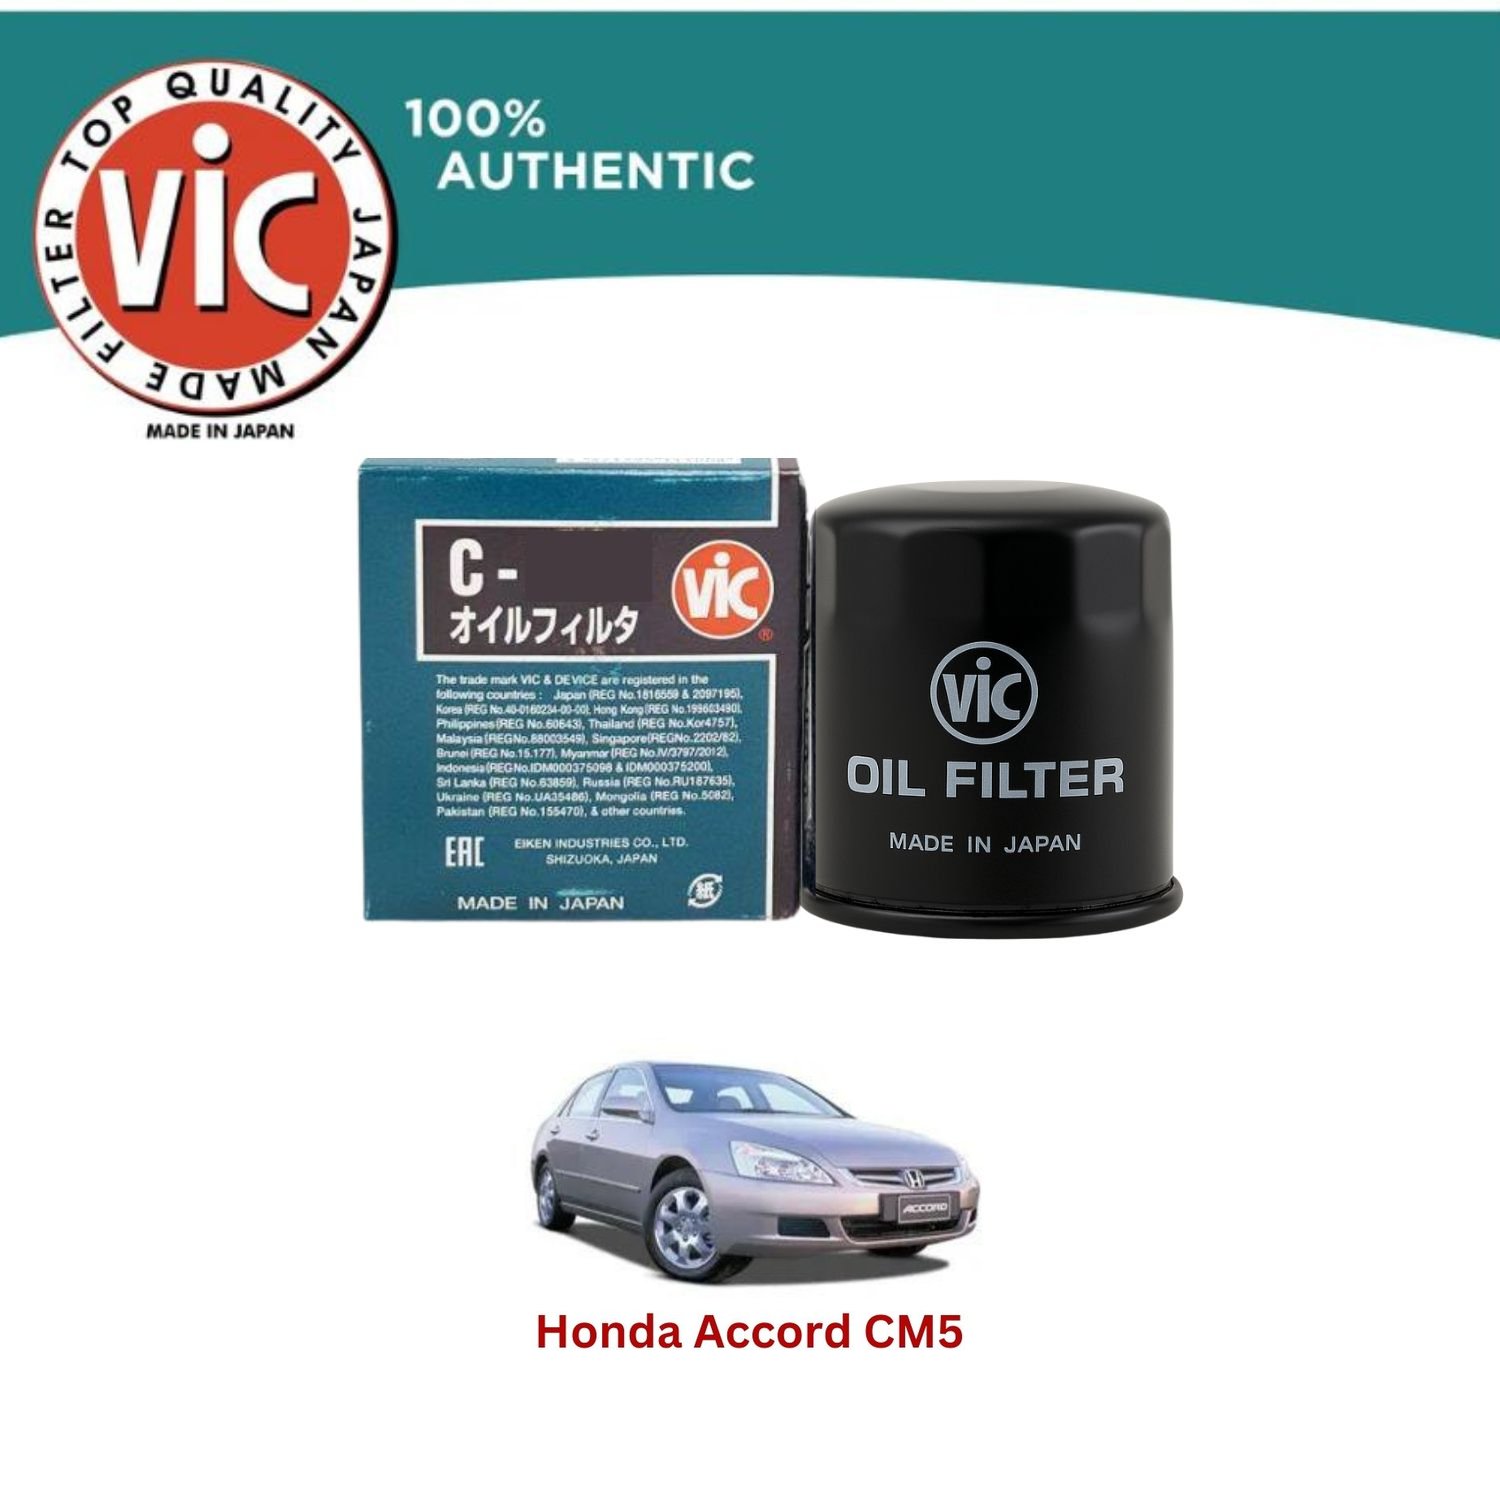
Performing a routine oil change on a 2010 Honda Accord equipped with the 2.4-liter 4-cylinder engine requires specific technical knowledge regarding oil filter specifications, correct torque values, and proper replacement procedures. The standard engine configuration for this model year uses an spin-on oil filter specification that meets Honda's exact OEM performance parameters, typically matched with a high-grade 5W-20 synthetic or conventional motor oil. Successfully completing this maintenance task helps ensure optimal engine longevity, consistent oil pressure, and protection against premature internal wear.
Understanding the 2010 Honda Accord 4-Cylinder Engine
The 2010 Honda Accord 4-cylinder features the reliable 2.4-liter K24Z2 or K24Z3 engine, depending on the specific trim level (LX, EX, or SE). Known for its durability, this powerplant relies heavily on clean lubrication to operate its Variable Valve Timing and Lift Electronic Control (VTEC) system. The oil filter acts as the primary defense against contaminants, trapping metallic particles, carbon deposits, and sludge before they circulate through the tight tolerances of the crankshaft bearings, camshafts, and cylinder head components.
Maintaining a regular service interval—typically every 5,000 to 7,500 miles depending on driving conditions and oil type—prevents oil breakdown and filter clogging. Using an incorrect filter or failing to replace the filter during an oil change can restrict fluid flow, potentially triggering low oil pressure warnings or causing long-term mechanical damage.
Oil Filter Specifications and Cross-References
When sourcing an oil filter for the 2010 Honda Accord 4-cylinder, vehicle owners have access to both original equipment manufacturer (OEM) options and reputable aftermarket alternatives. Using a filter that matches the physical dimensions, bypass valve pressure rating, and anti-drainback valve quality of the factory unit is critical.
OEM Specifications
- Honda Part Number: 15400-PLM-A02 (or the newer manufacturer-approved replacement, 15400-RTA-003)
- Thread Pitch: M20 x 1.5
- Bypass Valve Setting: Approximately 8-11 PSI
- Anti-Drainback Valve: Yes (silicone or nitrile rubber to prevent oil from draining back into the pan when the engine is off)
Popular Aftermarket Equivalents
Several aftermarket filter manufacturers produce direct-fit units that meet or exceed OEM standards. Selecting a reputable brand ensures proper filtration efficiency and sealing surface integrity.
| Brand | Part Number | Filter Type | Special Features |
|---|---|---|---|
| Honda OEM | 15400-PLM-A02 | Spin-on | Factory specification, engineered for K-series engines |
| Fram | PH7317 / XG7317 | Spin-on | Extra Guard (PH7317) or Ultra Synthetic (XG7317) |
| Wix | 51356 / 51356XP | Spin-on | Heavy-duty construction, synthetic media available |
| Mobil 1 | M1-110A | Spin-on | High-efficiency synthetic filtration media |
| Purolator | PL14610 / PSL14610 | Spin-on | Classic or Boss synthetic line |
Tools, Supplies, and Workspace Preparation
Before beginning the replacement process, gathering the correct tools prevents delays and minimizes the risk of damaging vehicle components. Working safely requires a stable environment and proper equipment to elevate the vehicle.
Required Tools and Equipment
- Floor Jack and Jack Stands: Never rely solely on a hydraulic jack; always support the vehicle with certified jack stands on level, solid ground.
- Wheel Chocks: To prevent unintended vehicle rolling.
- Oil Filter Wrench: A cap-style wrench (typically 65mm or 68mm with 14 flutes) or an adjustable band wrench to remove the stubborn factory or previously installed filter.
- Socket Set and Ratchet: 17mm socket for the oil drain plug.
- Torque Wrench: Essential for accurately tightening the drain plug to specification.
- Drain Pan: Large enough to hold at least 5 quarts of fluid.
- Funnel: For clean pouring of new motor oil.
- Shop Rags or Paper Towels: For wiping up drips and cleaning surfaces.
Consumables
- Engine Oil: 4.4 US quarts (with filter change) of 5W-20 motor oil. Synthetic oils meeting Honda HTO-06 or API certification standards are recommended.
- New Oil Filter: Selected from the approved specification list.
- Replacement Crush Washer: 14mm aluminum or copper crush washer for the oil drain plug to prevent leaks.
- Disposable Gloves: To protect hands from used oil and hot metal components.
Step-by-Step Oil Filter Replacement Guide
Executing the oil filter change alongside a standard engine oil drain ensures a complete fluid refresh. Follow these structured steps to complete the job correctly.
Step 1: Warm Up and Elevate the Vehicle
Start the engine and let it run for three to five minutes to warm the oil, which thins it out and allows contaminants to suspend in the fluid for easier drainage. Turn off the ignition, engage the parking brake, and place wheel chocks behind the rear tires. Safely raise the front of the vehicle using a hydraulic floor jack at the factory-designated front jacking point, and secure both sides with sturdy jack stands.
Step 2: Locate and Drain the Old Oil
Position your oil drain pan beneath the oil pan drain plug, located at the rear bottom of the engine block. Loosen the 17mm drain plug counterclockwise using your socket and ratchet. Once loose, carefully unscrew it by hand, pulling it away quickly at the final thread to avoid getting hot oil on your fingers. Allow the oil to drain completely into the pan. Inspect the old crush washer on the drain plug; discard it, as a new washer must be installed during reassembly.
Step 3: Locate and Remove the Old Oil Filter
The oil filter on the 2010 Honda Accord 4-cylinder is located on the front side of the engine block, near the exhaust manifold area. Because this area can remain extremely hot after driving, allow sufficient cooling time to prevent severe burns.
Place your drain pan directly beneath the filter mounting bracket. Use your oil filter wrench to turn the filter counterclockwise (looking at the face of the filter) to break its seal. Spin it off by hand, tilting the open end slightly upward as you clear the threads to minimize spills.
Critical Inspection Check: Always look at the face of the removed filter to ensure the old rubber gasket (O-ring) came off with it. Occasionally, the old gasket sticks to the engine mounting pad (known as "double-gasketing"). Installing a new filter over an old gasket will cause catastrophic oil leaks and rapid engine failure.
Step 4: Prepare and Install the New Oil Filter
Take your new oil filter and dip a clean gloved finger into a small amount of fresh motor oil. Smear a thin layer of clean oil across the entire rubber gasket of the new filter. This lubrication ensures a proper seal, prevents the rubber from sticking during the next oil change, and makes hand-tightening smoother.
Thread the new filter clockwise onto the engine mounting stud. Ensure the threads engage smoothly without cross-threading. Spin it by hand until the rubber gasket makes firm contact with the engine mounting pad. From that point of contact, turn the filter an additional 3/4 to 1 full turn by hand.
Warning: Never use a wrench to tighten a new oil filter. Over-tightening can crush the gasket, damage the threads, or make future removal nearly impossible.
Step 5: Reinstall the Drain Plug and Refill Engine Oil
Wipe the drain plug mounting surface clean on the oil pan. Place a new 14mm crush washer onto the drain plug and thread it into the oil pan by hand. Use a torque wrench to tighten the drain plug to 29 lb-ft (39 Nm). Avoid over-tightening, which can strip the aluminum threads of the oil pan.
Remove the oil filler cap located on top of the valve cover under the hood. Insert your clean funnel and pour in approximately 4.4 quarts of fresh 5W-20 motor oil. Remove the funnel, reinstall the oil filler cap securely, and wipe away any accidental spills.
Post-Replacement Verification and Maintenance
After completing the mechanical work, verifying system integrity prevents catastrophic leaks or low-pressure incidents.
- Check Fluid Levels: Pull out the engine oil dipstick, wipe it clean with a rag, reinsert it fully, and pull it out again to check the level. The oil level should fall between the upper and lower hash marks.
- Initial Start-Up: Start the engine and let it idle. Do not rev the engine. Observe the dashboard instrument cluster: the oil pressure warning light should extinguish within 3 to 5 seconds as the new filter fills and pressure builds.
- Leak Inspection: While the engine idles, look underneath the vehicle with a flashlight. Inspect the oil filter mounting area and the drain plug for any signs of active dripping or seepage. If leaks are visible, shut down the engine immediately and investigate.
- Clean Up and Disposal: Lower the vehicle off the jack stands. Transfer the old motor oil into a sealed container and take it to a local automotive parts store or recycling center that accepts used oil and filters. Reset your maintenance minder system on the dashboard if equipped.
Frequently Asked Questions
What size oil filter does a 2010 Honda Accord 4-cylinder take?
The standard replacement filter is an M20 x 1.5 thread pitch spin-on filter, matching OEM part numbers like Honda 15400-PLM-A02 or aftermarket equivalents such as Fram PH7317 and Wix 51356.
How much oil does the 2010 Honda Accord 4-cylinder hold with a filter change?
The total refill capacity for the 2.4-liter 4-cylinder engine when replacing both the oil and the filter is 4.4 US quarts (4.2 liters). Always verify the final level using the dipstick.
How tight should I hand-tighten the oil filter?
You should spin the filter by hand until the rubber gasket firmly contacts the mounting base, then turn it an additional 3/4 to 1 full turn. Tools should never be used to tighten a new filter.
Can I use synthetic oil in a 2010 Honda Accord 4-cylinder?
Yes, full synthetic 5W-20 motor oil is fully compatible and often recommended for extended engine life, improved cold-weather flow, and better thermal stability compared to conventional oils.
Why is my oil filter stuck and how do I remove it?
Filters can become stuck due to over-tightening during the previous change or heat-cycling. Use a dedicated cap-style socket wrench or an adjustable band wrench to gain better leverage. If the shell crushes, a specialized filter-piercing tool or driving a long screwdriver through the body can provide leverage, though care must be taken not to damage the threaded mounting stud.