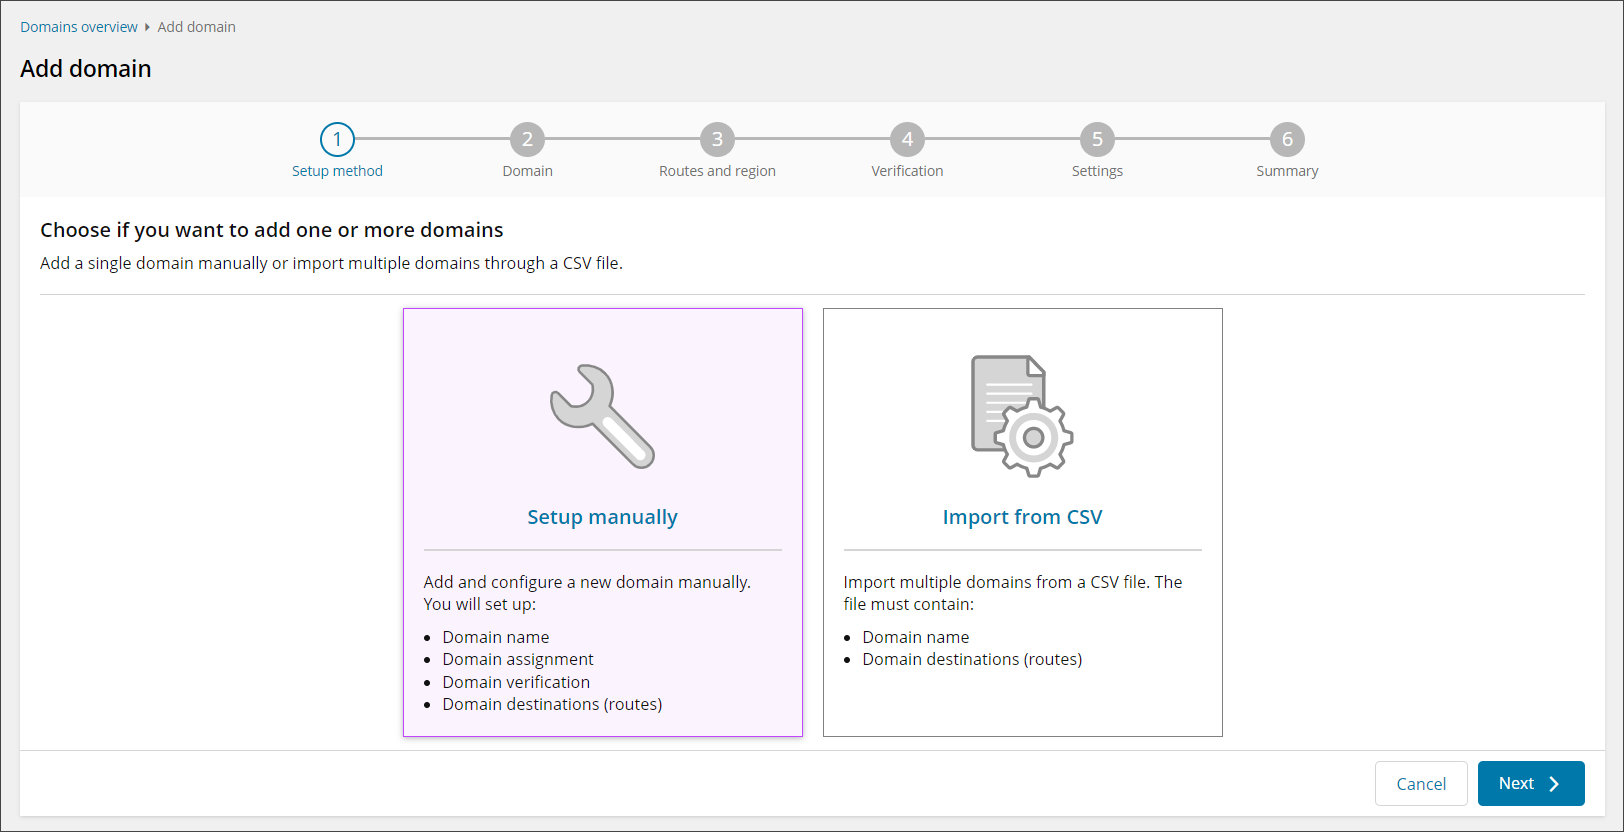
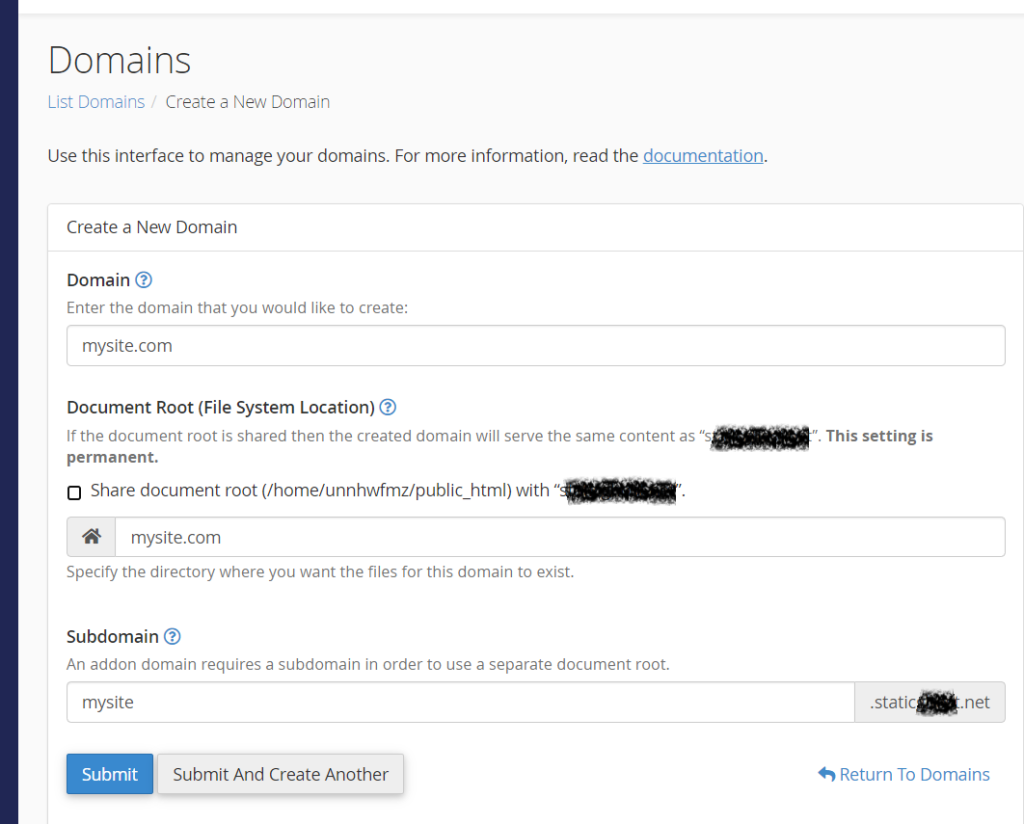
Adding a domain name to your web hosting environment is a foundational step in establishing your digital presence. Whether you have recently purchased a custom domain from a registrar or are migrating an existing one to a new service provider, the process involves linking your domain's identity to a specific server where your website files reside. This synchronization ensures that when a user types your address into their browser, they are correctly routed to your content rather than an error page.
Successfully connecting a domain name requires configuring Domain Name System (DNS) records, which act as the internet's phonebook, pointing your domain to your host's IP address. This guide details the essential requirements, technical steps, and common configurations necessary to ensure your domain is live and reachable. We cover the transition from domain ownership to active website resolution, including verification protocols and troubleshooting common connectivity barriers.
Understanding Domain Prerequisites
Before you attempt to add a domain name to your hosting account, you must have two primary components: a registered domain name and an active hosting subscription. A domain name is the human-readable address of your site (e.g., example.com), while hosting is the digital storage space where your website files, databases, and media reside.
If you purchased your domain through your hosting company, the integration is often automated, requiring only a few clicks within your dashboard. If your domain was purchased from a third-party registrar—such as Namecheap, GoDaddy, or Cloudflare—you must manually bridge the two services. This bridge is built using Name Servers or A Records. Before starting, ensure you have login credentials for both your domain registrar account and your web hosting control panel (such as cPanel, Plesk, or a proprietary cloud dashboard).
Methods for Connecting Your Domain
There are two primary ways to direct your traffic: changing nameservers or updating DNS records. Choosing the right method depends on your technical setup and whether you require advanced features like Content Delivery Networks (CDNs) or specific email hosting configurations.
1. Updating Name Servers
Updating nameservers is the most common method for beginners. By changing the nameservers at your domain registrar to point to your hosting provider's servers, you delegate all DNS management to your host.
- The Process: Log into your domain registrar, navigate to the "DNS" or "Nameservers" section, and replace the default records with the two or more nameservers provided by your hosting company (usually formatted as
ns1.hostingprovider.com). - The Impact: This method is effective because your host automatically manages necessary records, such as the A Record, CNAME, and MX (Mail Exchange) records. However, it takes control away from your registrar for other DNS configurations.
2. Updating DNS A Records
If you prefer to keep your domain registrar’s DNS interface for managing subdomains or specific integrations, you can point your domain via an A Record.
- The Process: You retrieve the IP address from your hosting provider’s dashboard. You then log into your domain registrar’s DNS management page and create a new "A Record." You set the "Host" to
@(or leave it blank to represent the root domain) and the "Value" to your host’s IP address. - The Impact: This allows you to retain control of DNS at your registrar while simply pointing the web traffic to your host. This is often the preferred method for advanced users or those using third-party email providers who do not want to risk breaking mail connectivity during a host migration.
Technical Comparison of Configuration Methods
| Feature | Nameserver Delegation | A Record Pointing |
|---|---|---|
| Ease of Setup | High | Medium |
| DNS Management | Handled by Hosting Provider | Handled by Registrar |
| Email Configuration | Integrated with Host | Independent of Host |
| Propagation Time | 24–48 Hours | 24–48 Hours |
| Recommended For | Beginners & Standard Sites | Advanced Users & Multi-Service Sites |
The Role of DNS Propagation
Once you save your changes in either your registrar or hosting dashboard, the internet does not update immediately. This delay is known as DNS propagation. When you update a domain's settings, this information must travel across global DNS servers.
While some systems update within minutes, others may take up to 48 hours to fully propagate worldwide. During this time, some visitors may see your new site, while others may still see the old version or an error message. It is vital to avoid making frequent, repetitive changes during this period, as it can cause instability in how your site is resolved by different internet service providers (ISPs).
Verifying Domain Ownership and Security
Modern hosting platforms often require proof of domain ownership before allowing you to "add" a domain to their system. This is a security measure to prevent unauthorized users from hijacking domains.
Common verification methods include:
- TXT Record Validation: The host provides a specific string of characters to add to your DNS records. Once detected, the host confirms you have control over the domain.
- HTTP File Upload: You upload a specific file to your server’s public directory. If the host can access that file, the domain is verified.
- Email Verification: You receive an automated email at your administrative contact address (e.g., admin@yourdomain.com), which you must click to confirm authorization.
Once the domain is added, you must immediately secure it. Ensure that you have an SSL/TLS certificate installed (often provided free by services like Let's Encrypt). An SSL certificate ensures that your site uses HTTPS, which is mandatory for security and a significant factor in search engine ranking algorithms in 2026.
Troubleshooting Common Connectivity Issues
If your domain is not loading after the expected propagation window, investigate these common failure points:
1. Incorrect DNS Syntax
A single typo in an IP address or nameserver entry will prevent a connection. Double-check that your A Records point to a numerical IPv4 address (e.g., 192.0.2.1) rather than a hostname, unless you are using a CNAME record.
2. Cache Interference
Your browser or local computer may be caching the old DNS information. To rule this out, try accessing your site from a different device (like a smartphone disconnected from Wi-Fi) or use an "Incognito" or "Private" browser window. You can also flush your DNS cache by running commands like ipconfig /flushdns on Windows or sudo killall -HUP mDNSResponder on macOS.
3. Conflicting Records
Check for redundant records. If you have both an A Record pointing to the wrong IP and a CNAME record trying to do the same thing, the conflicting instructions can prevent your site from loading. Delete any old, unused records that are no longer pointing to your active services.
Frequently Asked Questions
Why does my website show a "Not Secure" warning?
This warning appears when your site lacks an SSL certificate or is trying to load over insecure HTTP. Contact your hosting provider to ensure their automatic SSL generator has been activated for your domain, or manually request a certificate within your control panel.
Can I add a domain name that I have not yet purchased?
No. You must legally own or register a domain name through an ICANN-accredited registrar before it can be added to any hosting infrastructure. If you try to add a domain you do not own, the system will reject the request during the verification phase.
How do I know if my DNS propagation is complete?
You can use online DNS propagation checkers. These tools query servers across the globe to report how your domain is resolving. If most locations return the new IP address, your configuration is successful, and the lingering delay is likely local to your specific network or ISP.
Do I need to move my domain registration to my hosting provider?
It is not mandatory to transfer your domain registration to your hosting provider. You can keep your domain at a separate registrar (e.g., Namecheap or Cloudflare) and simply update the nameservers or DNS records to point to your host. This is often recommended for better separation of services.
What is the difference between a domain and a subdomain?
A domain is your primary address (example.com), while a subdomain is a prefix that acts as a separate section of your site (e.g., blog.example.com or shop.example.com). When you add a domain, you are establishing the root, and subdomains can typically be added afterward through your hosting control panel.
Next Steps for Your Domain
Once you have successfully added your domain name, the next immediate step is to configure your primary email accounts using your domain (e.g., info@yourdomain.com). Most hosting providers include email hosting within their dashboard. After verifying your domain resolution and securing it with an SSL certificate, you should configure your site's permalink structure and install a Content Management System (CMS) or upload your static files. Always keep your registrar account login information secure, as it is the master key to your digital identity. If you continue to experience connectivity issues after 48 hours of updates, contact your hosting support team with your domain name and the specific error message you see in your browser.