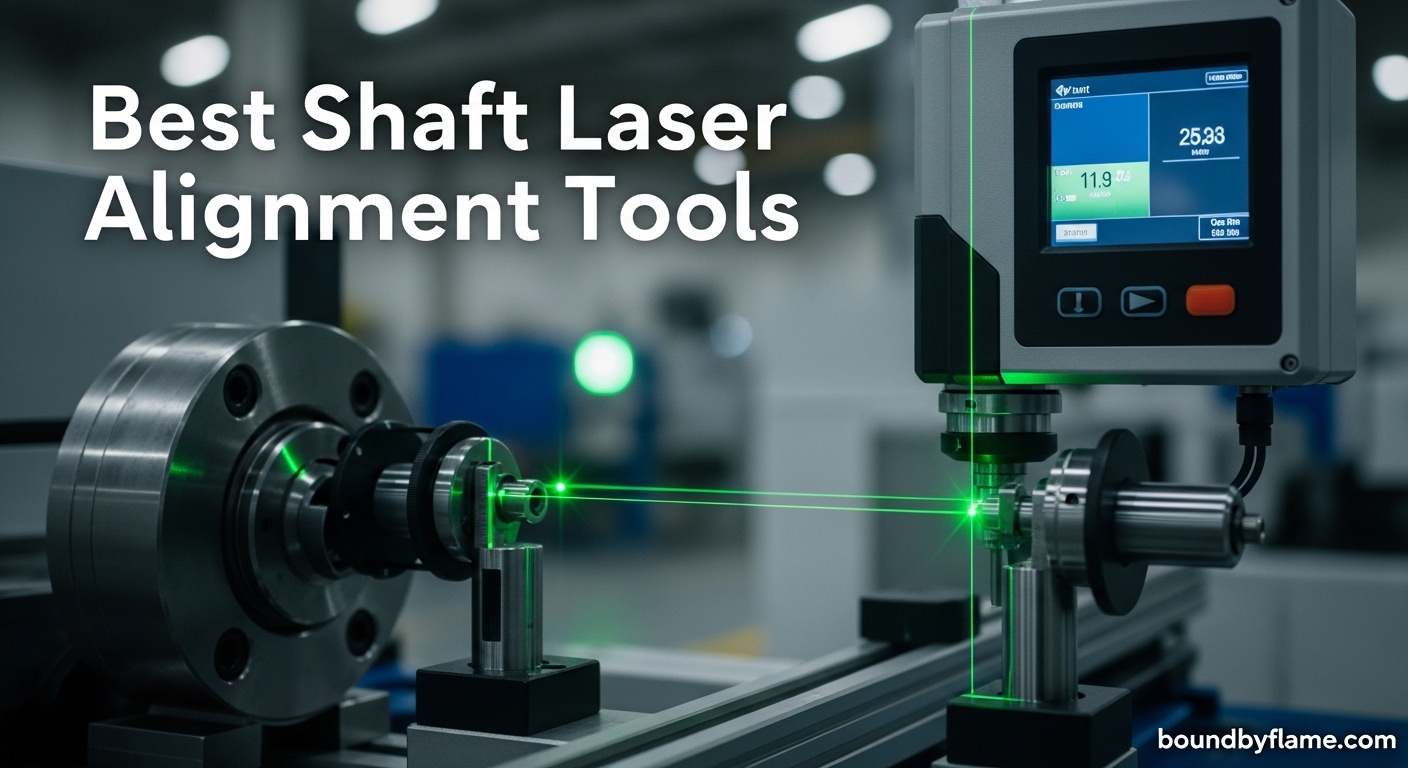
Selecting the optimal laser alignment tool for a workshop depends on balancing precision requirements, machine types, physical workspace limitations, and budgetary realities. Whether aligning table saw blades, lathe centers, or pulley systems, modern optical and laser alignment systems eliminate guesswork, minimize vibration, and drastically reduce setup times compared to traditional dial indicators and straight edges.
Understanding Workshop Alignment and Why Precision Matters
Precision alignment is the backbone of any professional or advanced hobbyist workshop. When machinery components are out of alignment by even a fraction of a millimeter, the downstream consequences compound rapidly. Woodworkers experience burning cuts, uneven jointing, and kickback risks. Metalworkers face premature tool wear, out-of-round turning, and dimensional inaccuracies. Traditional alignment methods—such as using combination squares, calipers, or trial-and-error test cuts—rely heavily on human tactile feel and visual estimation.
Laser alignment tools change this dynamic by projecting a high-intensity visible light reference line, dot, or plane across space. This establishes an absolute, unyielding geometric baseline. By bouncing or casting a laser reference against a moving or stationary machine component, operators can detect angular misalignment, parallel offset, and twist with microscopic accuracy.
However, not all alignment systems are created equal. The market ranges from compact, budget-friendly diode lasers designed for specific woodworking adjustments to heavy-duty industrial optical systems engineered for complex multi-axis machinery calibration. Evaluating your workshop's specific needs requires a clear understanding of the tools available, how they operate, and what level of investment matches your production or craft goals.
Core Categories of Workshop Laser Alignment Tools
Laser alignment tools can be broken down into distinct categories based on their primary application, design architecture, and mounting mechanisms. Identifying which category fits your machinery profile prevents you from purchasing an over-engineered industrial unit or, conversely, an underpowered gadget that fails to deliver repeatable results.
Dedicated Woodworking Alignment Systems
Woodworking shops present unique alignment challenges, primarily revolving around table saws, band saws, jointers, and planers.
- Table Saw Alignment Gauges: These systems typically feature an arbor-mounted or miter-slot-mounted bar that projects a laser beam or holds a dial indicator to check whether the saw blade is perfectly parallel to the miter slot and the rip fence.
- Multi-Purpose Jig Lasers: Versatile diode lasers mounted on adjustable magnetic bases or articulated arms can be positioned anywhere on cast iron tabletops to check fence squareness, blade runout, and cutterhead alignment.
Industrial Shaft and Pulley Alignment Tools
For workshops dealing with belt-driven machinery, drill presses, lathes, and milling machines, pulley and shaft alignment is critical.
- Laser Pulley Alignment Systems: These units use magnetically mounted transmitters and reflectors. A laser line is projected across the faces of two pulleys. If the belts are misaligned, the laser beam hits a specific grid on the reflector, instantly showing angular error, vertical parallel offset, and horizontal parallel offset.
- Rotary Laser Levels: Self-leveling rotary lasers project a 360-degree plane of light. While primarily used in construction, advanced workshop operators use them to level large assembly tables, check long bed jointer fences, and align overhead gantry systems in CNC routers.
Key Technical Specifications to Evaluate
When shopping for a workshop laser alignment tool, reviewing technical specifications prevents costly mistakes. Marketing terms can often obscure actual performance capabilities. Focus on the following parameters when comparing products:
- Beam Wavelength and Color: Red lasers (typically 630–680 nm) are standard, cost-effective, and highly visible in dim indoor environments. Green lasers (around 510–532 nm) are up to four times more visible to the human eye, making them superior in brightly lit workshops, though they are usually more expensive and sensitive to extreme temperature fluctuations.
- Accuracy and Tolerance: Look for stated angular and linear tolerances. High-end workshop tools should offer accuracy down to fractions of a degree or within 0.001 inches over a specified distance.
- Mounting Versatility: A laser is only as stable as its mount. Magnetic bases with switchable rare-earth magnets, precision-machined reference bars that fit standard 3/4-inch miter slots, and threaded tripod mounts provide the necessary stability during measurement.
- Power Source and Battery Life: Rechargeable lithium-ion batteries offer convenience and reduce ongoing maintenance costs, while standard alkaline batteries allow for quick field swaps if power runs out mid-project.
Comparison of Workshop Alignment Methods
To understand where laser alignment tools fit within a comprehensive workshop maintenance strategy, it helps to compare them directly with traditional mechanical methods.
| Alignment Method | Primary Use Case | Accuracy Level | Setup Time | Cost Range | Key Advantage |
|---|---|---|---|---|---|
| Machinist Dial Indicator | Lathe chucks, mill spindles, table saw blade runout | Very High (0.0005" - 0.001") | Moderate to High | Low to Moderate | Highly trusted industrial standard for physical contact measurement. |
| Combination Square / Feeler Gauge | General woodworking setup, blade squareness | Low to Moderate | Fast | Very Low | Inexpensive, requires no batteries or calibration. |
| Dedicated Laser Alignment Tool | Table saw blade/fence parallelism, pulley alignment | High (0.001" over distance) | Fast | Moderate to High | Visual, real-time feedback without physical contact deflection. |
| Rotary Laser Level | Large CNC gantry squaring, workbench leveling | High over long spans | Fast | High | Establishes a 360-degree room-scale reference plane. |
Practical Implementation and Step-by-Step Setup
Integrating a laser alignment tool into your routine requires a methodical approach to ensure that the tool itself is not introducing error.
Step 1: Clean and Prepare the Machine
Before mounting any alignment tool, thoroughly clean the machinery surfaces. Sawdust, metal chips, oil film, and burrs on cast iron tables or pulley faces can alter the seating of magnetic bases and reference bars. Disconnect power to the machine entirely before performing any physical adjustments.
Step 2: Calibrate and Verify the Laser Unit
Even high-end laser tools can experience minor calibration drift due to shop temperature changes or accidental drops. Mount the laser on a known flat reference surface, project the beam against a distant wall, and rotate the unit 180 degrees. If the dot or line traces an arc rather than hitting the exact same point, adjust the internal calibration screws according to the manufacturer's instructions.
Step 3: Execute the Measurement Sequence
Secure the tool in its designated mounting position—such as sliding a reference bar into a table saw miter slot or attaching magnetic targets to pulley faces. Power on the laser and observe the intersection point against the target scale. Document the initial reading before making any mechanical adjustments.
Step 4: Make Incremental Adjustments
Loosen trunnion bolts, motor mounting brackets, or fence clamps slightly, allowing for micro-adjustments using a non-marring dead-blow mallet or built-in adjustment screws. Watch the laser projection in real-time as you tap or torque the components back into alignment.
Step 5: Lock Down and Verify
Once the laser indicates absolute zero tolerance or target parallelism, gradually torque all mounting hardware back to manufacturer specifications. Re-check the laser projection one final time, as tightening bolts can occasionally shift components out of alignment.
Common Workshop Alignment Mistakes to Avoid
Even with advanced laser tools, operator error can compromise accuracy. Avoiding these pitfalls ensures reliable results across all workshop machinery:
- Ignoring Thermal Expansion: Machinery components expand and contract with temperature shifts. Aligning a machine in a freezing unheated garage during winter will yield different results once the shop warms up or motors run under heavy load.
- Assuming Factory Surfaces are Square: Never trust that a machine's cast iron edge or stamped steel wing is perfectly parallel to the internal mechanics. Always use the machine's primary datum—such as the miter slot on a table saw or the spindle axis on a drill press—as the primary reference point.
- Over-Tightening Mounts: Forcing magnetic bases onto warped or dirty surfaces can warp the reference bar of the alignment tool itself, resulting in false readings. Ensure clean metal-to-metal contact.
- Neglecting Periodic Checks: Alignment is not a one-time event. Heavy vibration from planers, shapers, and large saws gradually loosens bolts and shifts alignments over months of heavy production.
Frequently Asked Questions
Are laser alignment tools worth the investment for a small home workshop?
For workshops handling precision woodworking, cabinetry, or metal fabrication, laser alignment tools save hours of frustration and wasted material. While traditional squares and rulers work for rough projects, lasers quickly pay for themselves by eliminating setup errors that cause ruined stock.
Can a laser alignment tool replace a dial indicator entirely?
Not entirely. While lasers excel at visualizing parallelism, angular deviation, and long-distance alignment (such as pulley systems or gantry squares), dial indicators remain superior for measuring micro-depths, axial endplay, and absolute runout on rotating shafts where physical contact is required.
How often should workshop machinery be checked for alignment?
Heavy-use production shops should check primary machinery alignments monthly. For hobbyist or part-time workshops, a quarterly alignment check—or immediately after moving heavy machinery or experiencing a severe jam or kickback—is sufficient.
Do green lasers work better than red lasers in brightly lit workshops?
Yes. Green laser diodes emit light at a wavelength that is significantly more sensitive to the human eye, making the reference line easily visible under fluorescent or natural shop lighting where red lasers tend to wash out.
What should I do if my laser alignment tool gets knocked out of calibration?
Most professional-grade alignment tools feature accessible calibration set-screws. Review the user manual to locate the adjustment ports, mount the tool in a stable jig, and carefully adjust the diode housing until the projected line or dot matches the factory reference standard.
Conclusion and Next Action
Investing in a reliable laser alignment tool transforms workshop maintenance from a frustrating guessing game into a streamlined, scientific process. Start by auditing your current machinery to identify your most critical pain point—whether it is persistent blade burn on your table saw or belt squeal and vibration on your drill press. Select an alignment system that targets that specific bottleneck with verified accuracy, robust mounting options, and clear visibility. Clean your machine surfaces, follow a methodical setup routine, and enjoy the precision, safety, and superior finished quality that proper alignment brings to your craft.