To replace the headlight bulbs on a 2012 Chevy Malibu, you must partially remove the front bumper cover to access the mounting bolts for the headlight assembly. Once the assembly is pulled forward, you can disconnect the wiring harness and swap the H11 low-beam or H9 high-beam bulbs before re-securing the housing and bumper.
Replacing a headlight bulb in a 2012 Chevrolet Malibu (the final year of the seventh generation) is a task known among DIY mechanics and owners for being unexpectedly complex. Unlike many vehicles where you can simply reach behind the engine bay to swap a bulb, the 7th-generation Malibu features a design that prioritizes a seamless front-end aesthetic, which unfortunately buries the headlight mounting hardware beneath the front fascia.
As of 2026, these vehicles remain common on the road, but aging plastic components and weathered electrical connectors mean that what should be a five-minute job requires patience, the right tools, and a systematic approach. This guide provides an exhaustive walkthrough of the process, troubleshooting common electrical failures, and selecting the best replacement bulbs for modern driving conditions.
Understanding the Design: Why the Bumper Must Come Off
The 2012 Malibu utilizes a "wraparound" headlight design where the housing is tucked under the upper lip of the front bumper cover and the front edge of the fender. There are three primary 10mm bolts securing the headlight assembly. While two are visible from the top, the third is strategically hidden behind the bumper's side edge.
Because there is insufficient clearance between the radiator support and the back of the headlight housing, you cannot physically remove the bulb or the dust caps while the unit is bolted into the frame. Attempting to force your hand into the gap often results in broken plastic clips or improperly seated bulbs, which can lead to moisture intrusion or poor beam alignment. By loosening the bumper, you create the necessary 3 to 5 inches of clearance required to slide the entire headlight unit forward.
Tools and Materials Required
Before starting, ensure you have a clean workspace and the following tools. Using the correct tools prevents the stripping of plastic fasteners, which have likely become brittle by 2026.
- 10mm Socket and Ratchet: For the main headlight and bumper bolts.
- 7mm Socket: For the screws located inside the wheel well.
- T20 Torx Bit/Driver: For the fasteners along the top of the grille and wheel well liner.
- Plastic Trim Removal Tool: To pop out the plastic push-pins without snapping the heads off. A flat-head screwdriver can work but increases the risk of scratching the paint.
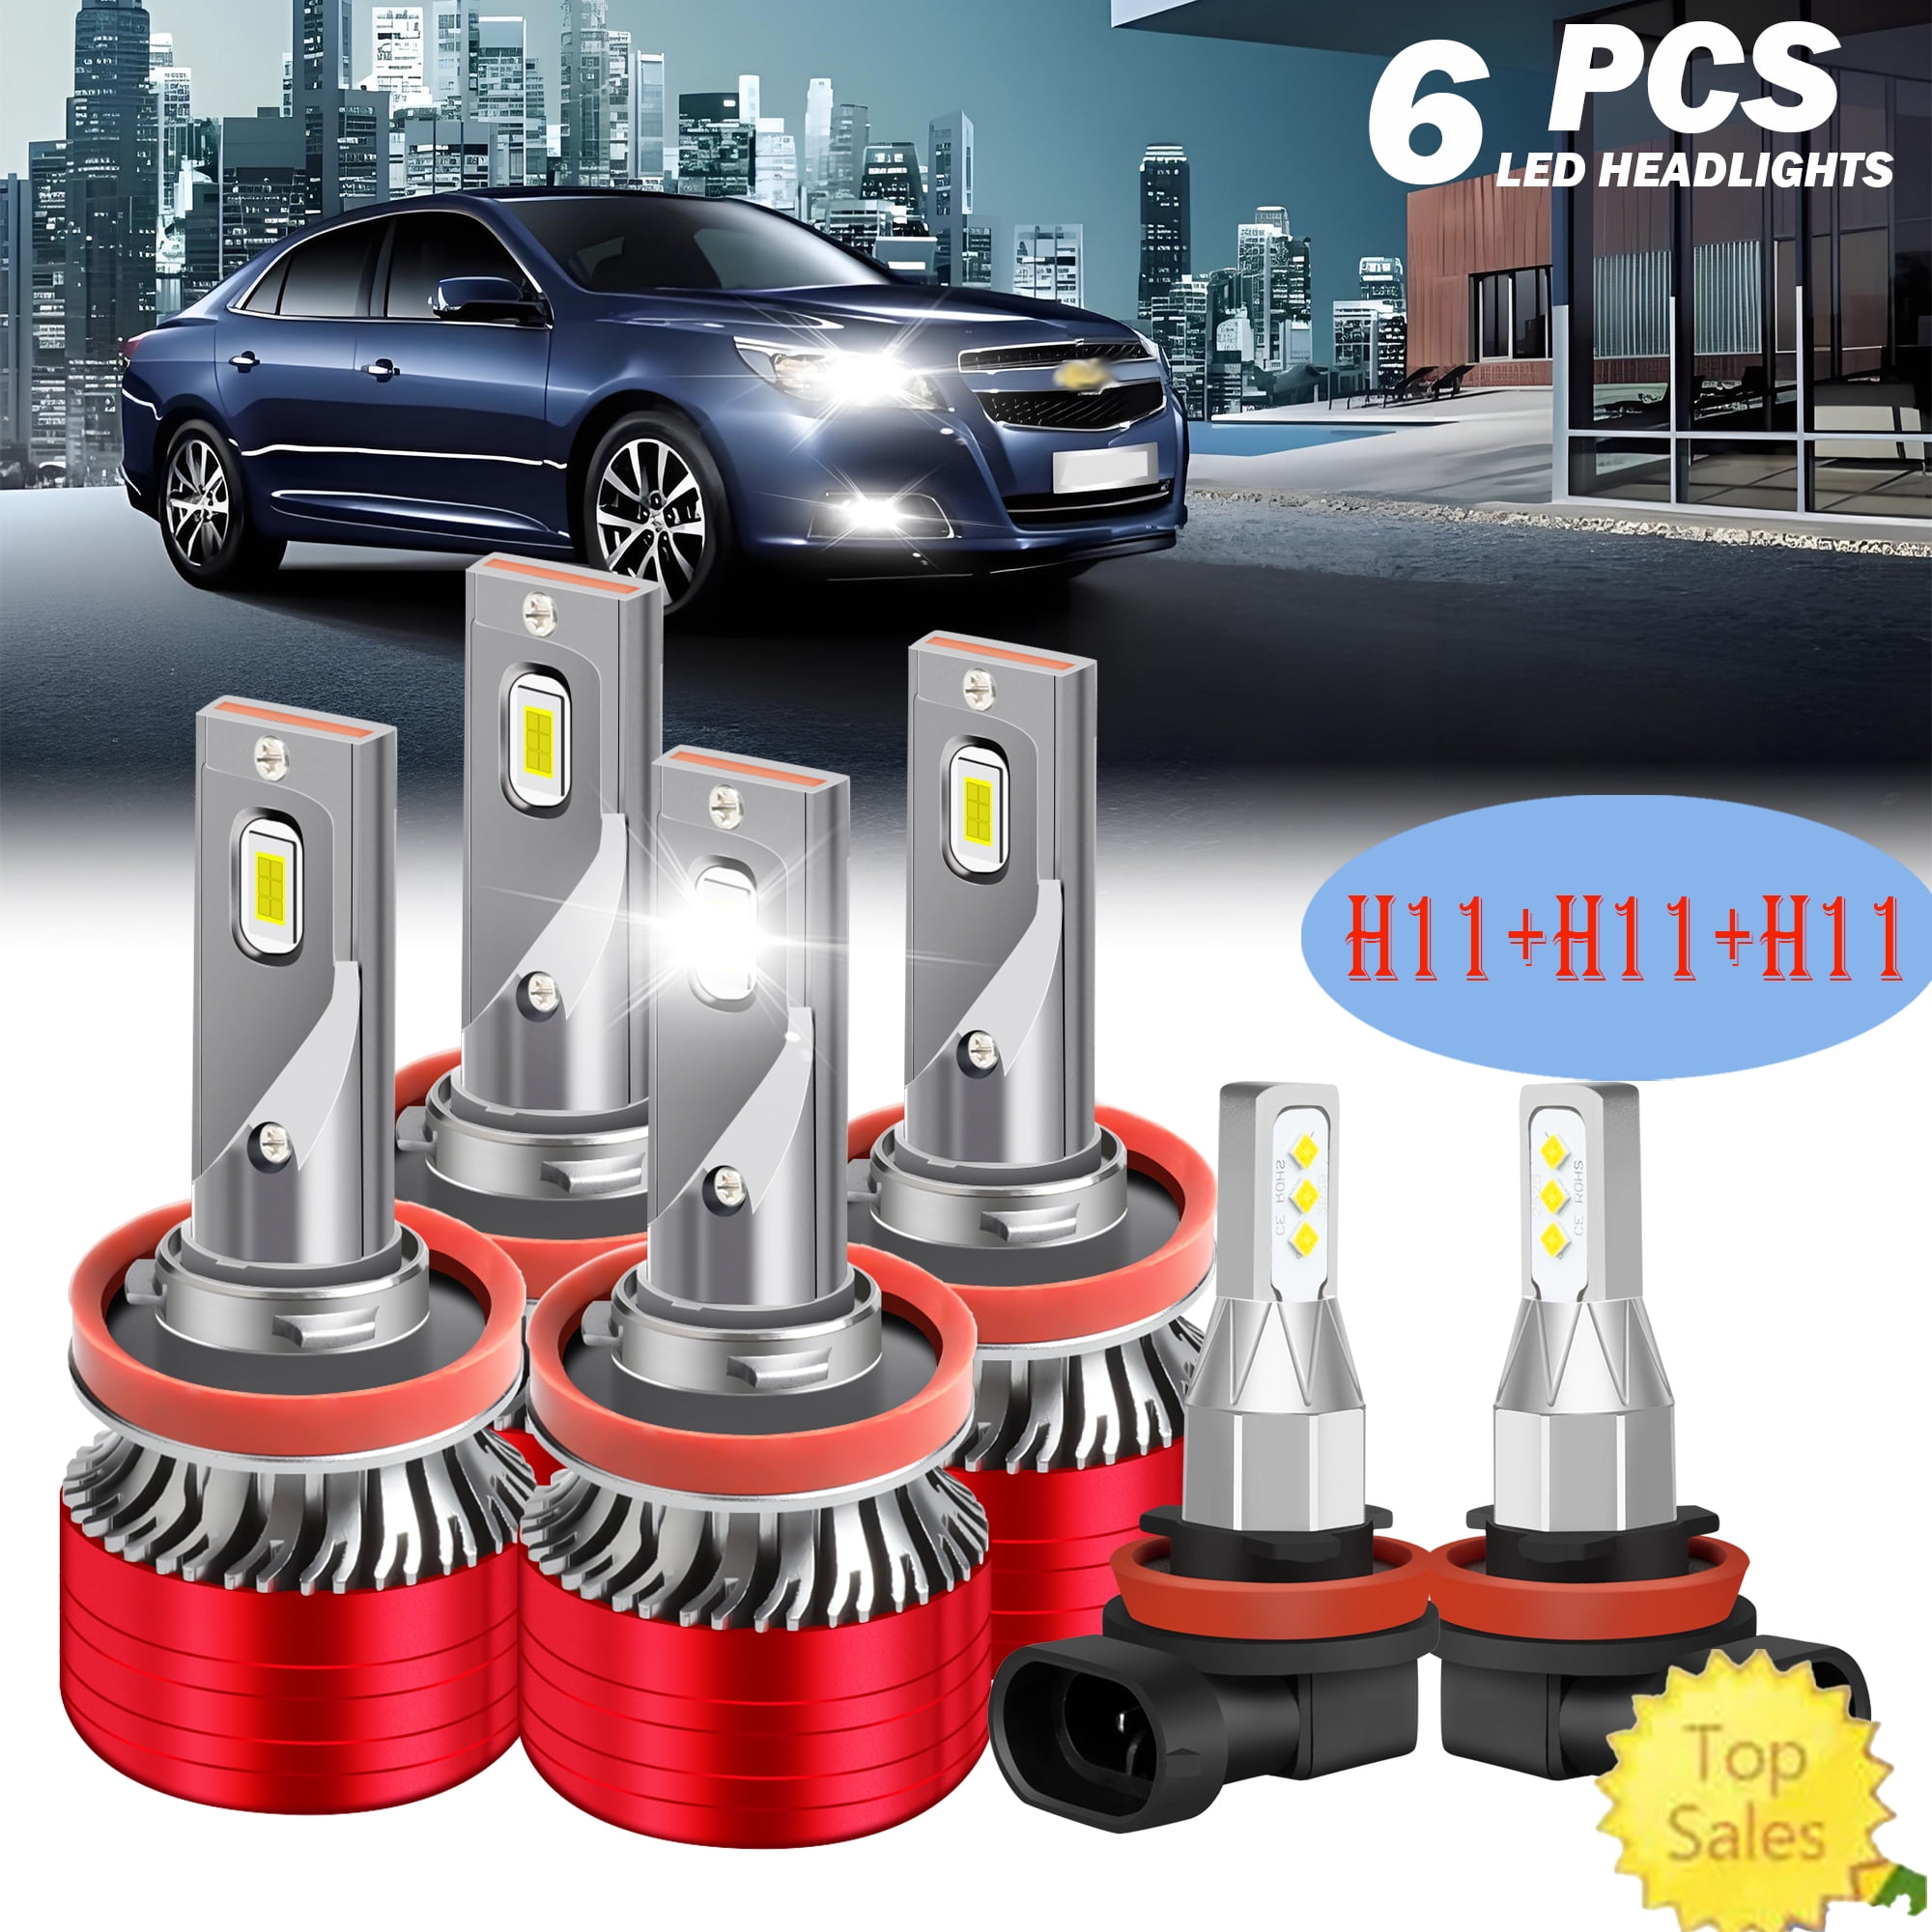
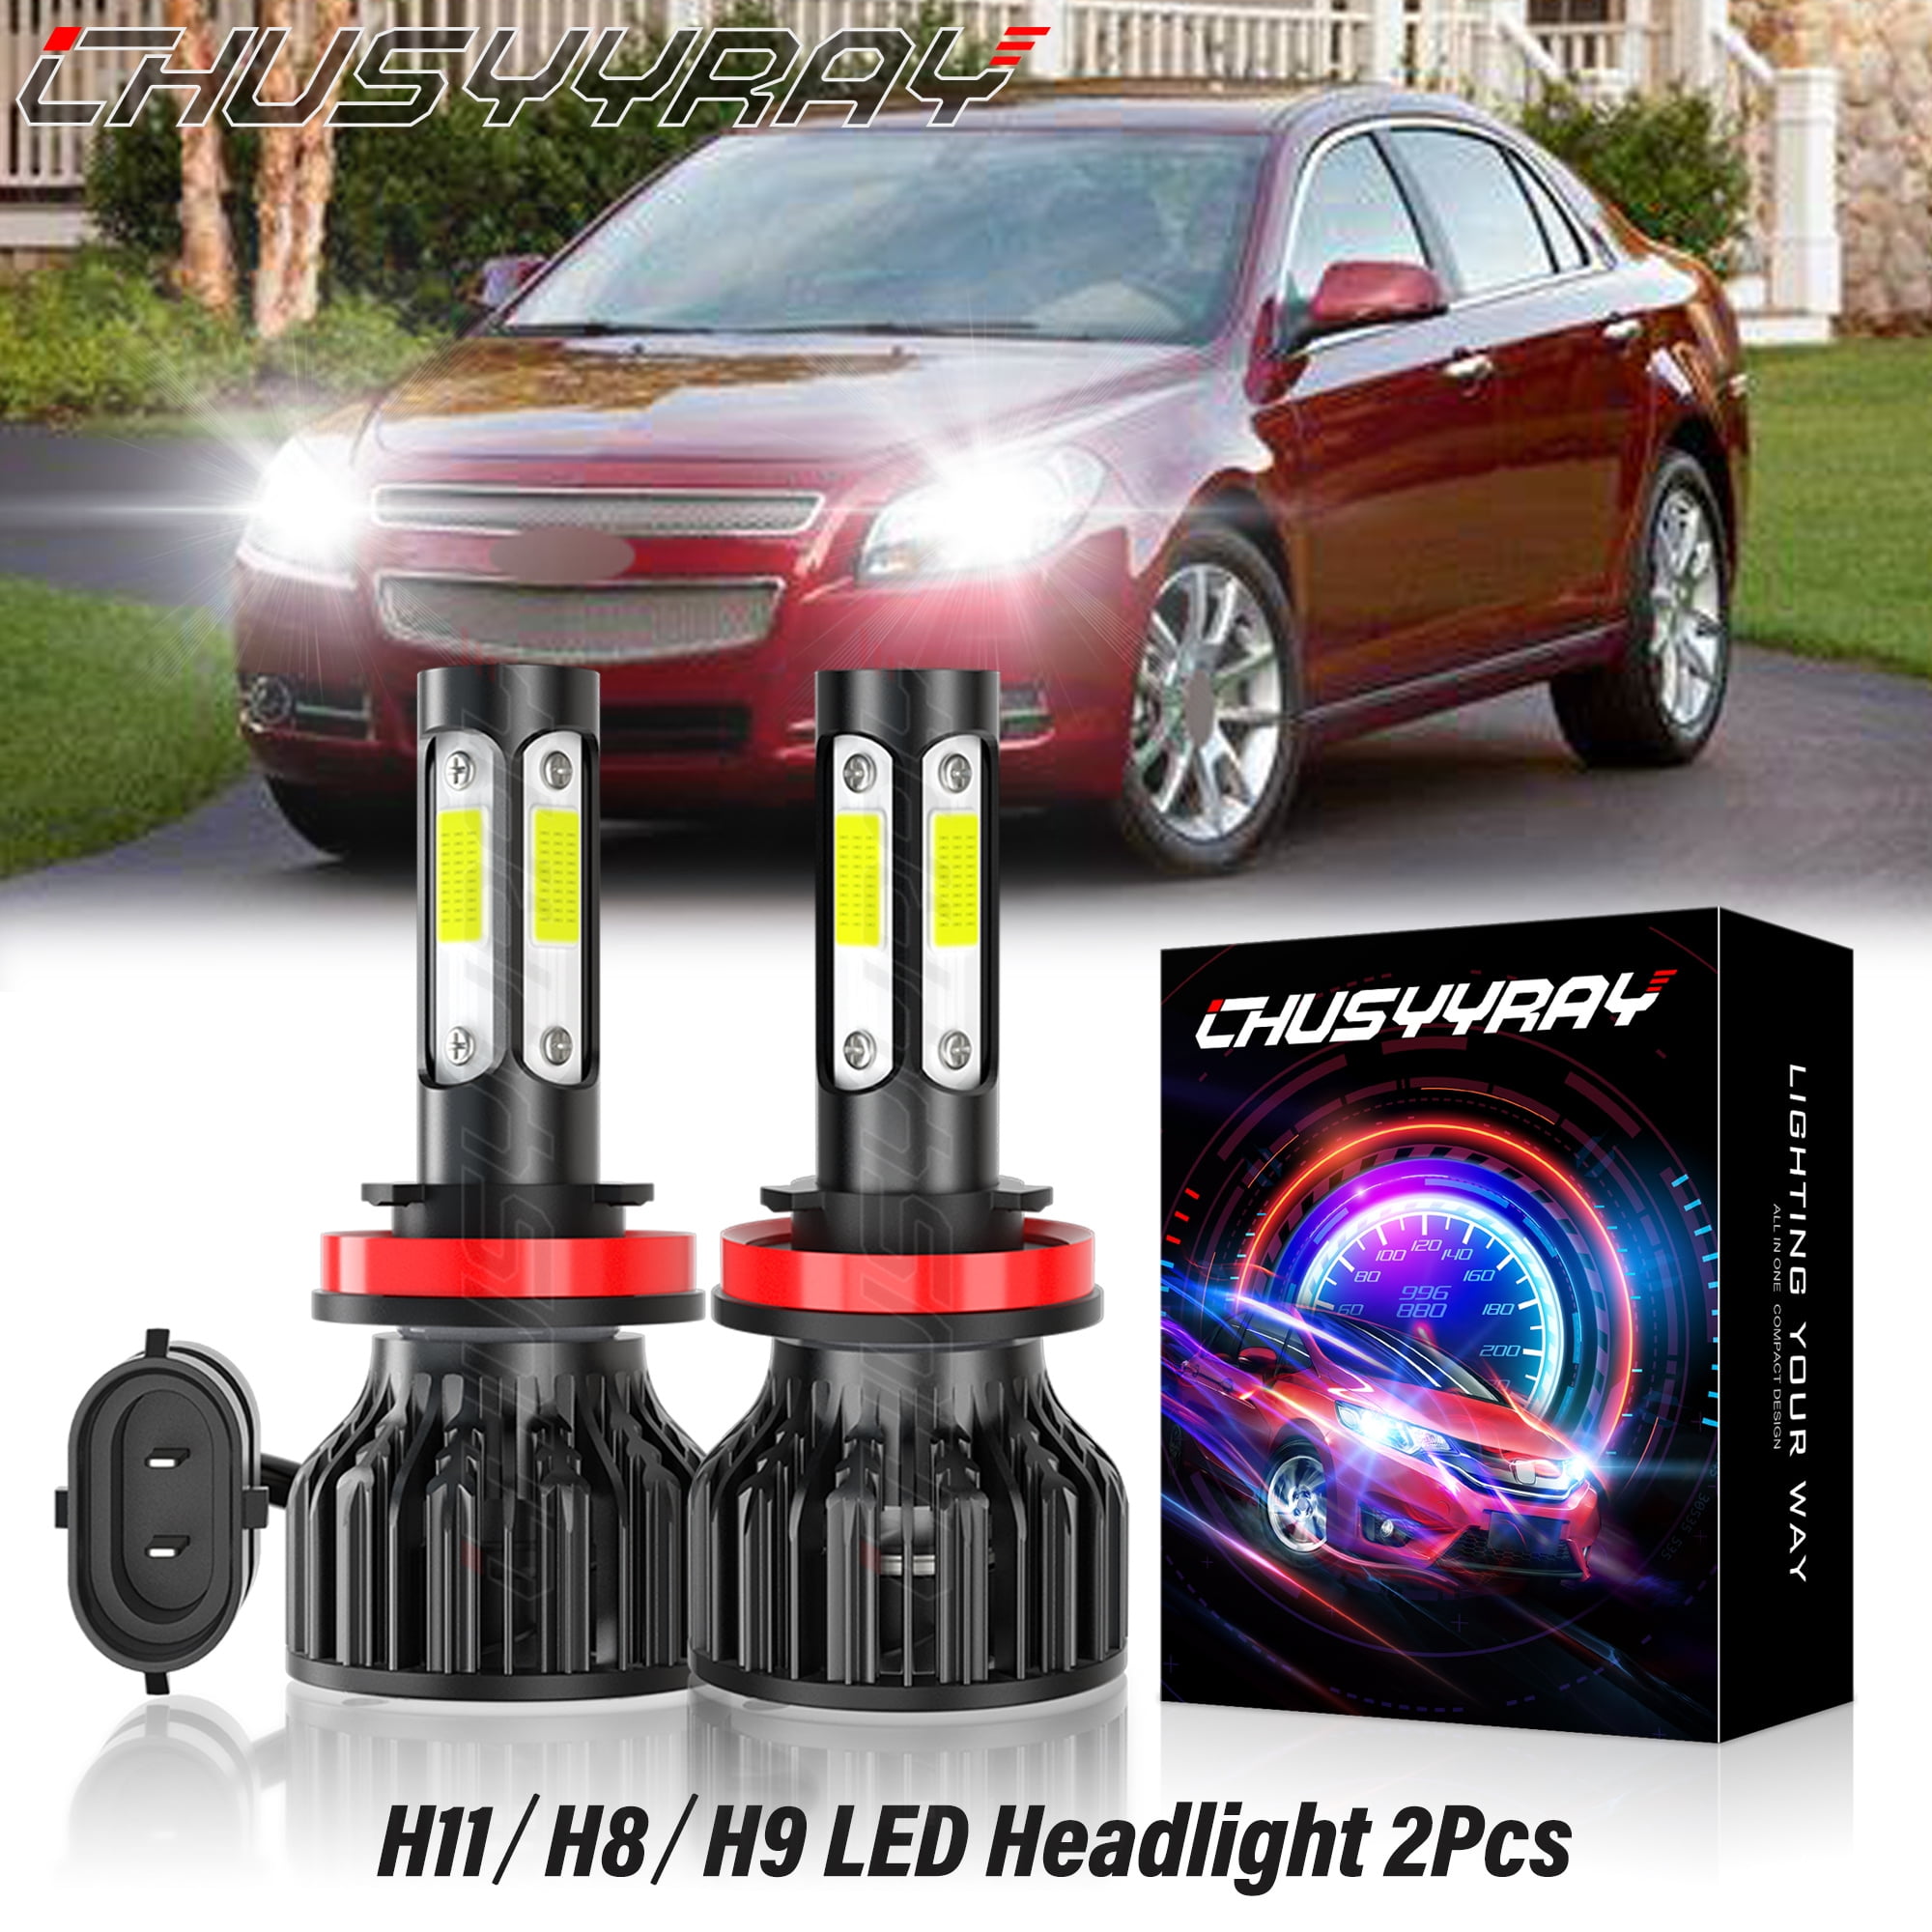
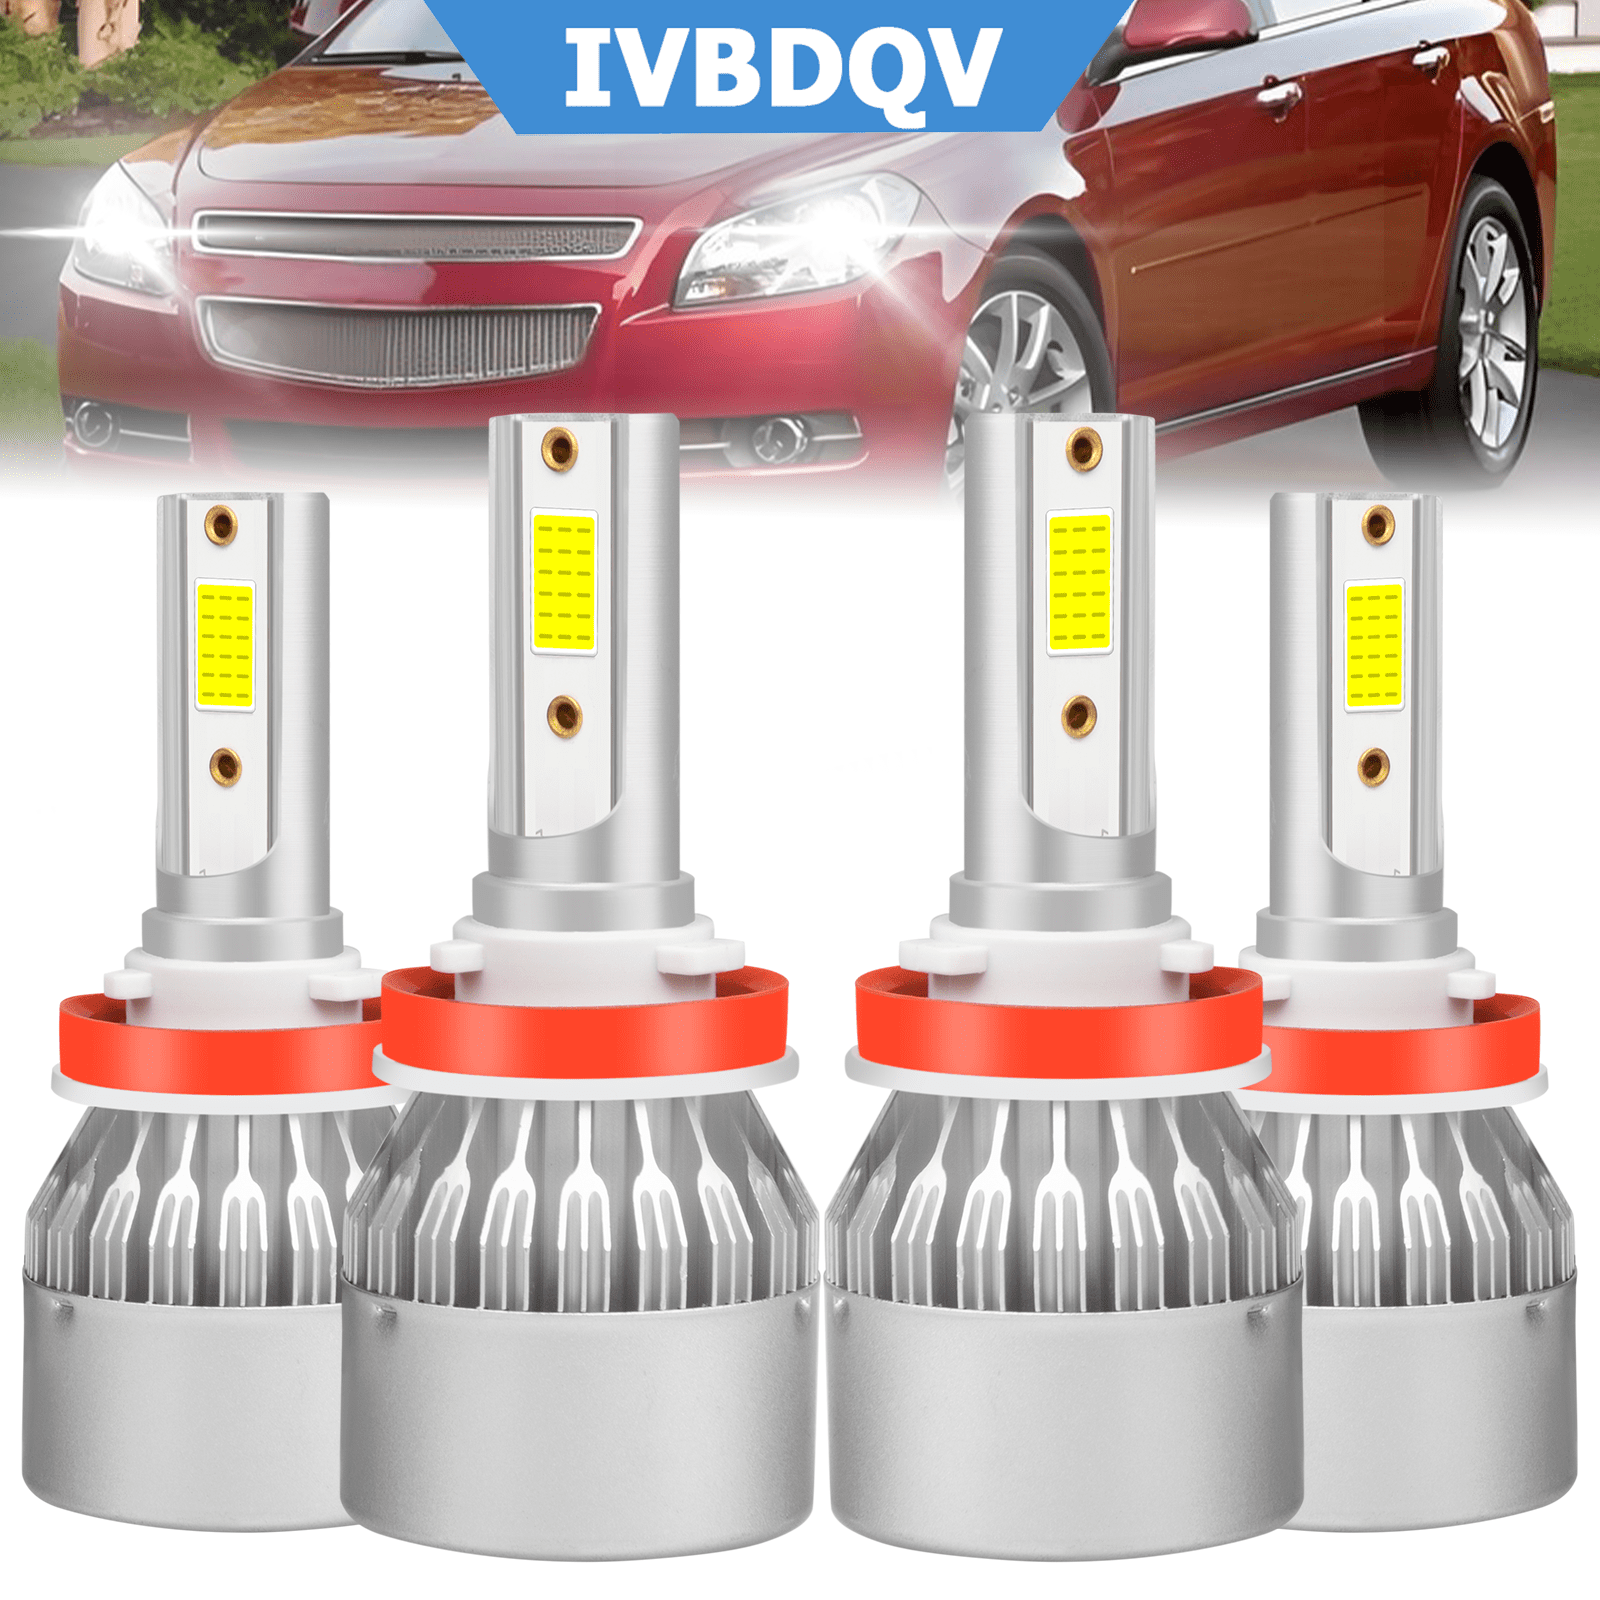
- Replacement Bulbs: H11 for Low Beam; H9 for High Beam.
- Nitrile Gloves: To prevent skin oils from touching the new bulb glass.
- Dielectric Grease (Optional): To protect the electrical connection from corrosion.
Step-by-Step Replacement Procedure
1. Preparation and Safety
Park the vehicle on a level surface, engage the parking brake, and turn off the ignition. Open the hood and locate the plastic shroud covering the gap between the grille and the radiator. While it is not strictly necessary to remove the entire battery connection for a bulb change, it is a safe practice whenever dealing with automotive electrical systems.
2. Loosening the Upper Bumper Fascia
The top of the bumper is held in place by a series of plastic push-pins and T20 Torx screws.
- Remove the four T20 Torx screws spanning the top of the grille area.
- Use your trim tool to remove the plastic push-pins. These pins consist of a center "nail" and an outer "anchor." Pull the center up first, then the whole unit will slide out.
- Keep these fasteners in a magnetic tray or a small cup; they are easily lost and essential for preventing bumper rattle.
3. Detaching the Wheel Well Liners
To reach the hidden 10mm bolt and the side bumper clips, you must gain access through the wheel well.
- Turn the steering wheel all the way to the left to access the right side (and vice versa).
- Locate the three 7mm screws (or T20 screws, depending on previous repairs) inside the leading edge of the wheel well liner.
- Peel the liner back just enough to see the interface where the bumper meets the metal fender.
4. Releasing the Bumper Sides
Inside the wheel well, where the bumper meets the fender, there is one 10mm bolt pointing upward. This bolt acts as a clamp.
- Remove this 10mm bolt on the side you are working on.
- Once the bolt is out, firmly but carefully pull the edge of the bumper away from the car. It is held by plastic "snap-in" tabs. You will hear a popping sound; this is normal as long as you pull straight out.
- Note: You do not need to remove the entire bumper. You only need to drop it enough to expose the bottom edge of the headlight housing.
5. Removing the Headlight Assembly
With the bumper pulled away, the three 10mm bolts securing the headlight are now accessible.
- Remove the two bolts on top of the housing.
- Remove the third bolt located on the side/bottom, which was previously covered by the bumper.
- Grasp the headlight housing and pull it toward the front of the car. It may stick slightly due to a guide pin on the back; a gentle wiggle will release it.
6. Swapping the Bulbs
Once the housing is loose, rotate it to access the rear.
- Remove the round plastic dust cover by turning it counter-clockwise.
- Disconnect the wiring harness from the bulb. Press the release tab and pull—do not pull by the wires themselves.
- Twist the old bulb counter-clockwise to remove it.
- Crucial Step: Put on your gloves. Take the new H11 (low beam) or H9 (high beam) bulb and insert it into the housing. Twist clockwise until it locks.
- Plug the wiring harness back in. You should hear a distinct "click."
- Replace the dust cover. Ensure the gasket is seated properly to prevent headlight fogging.
7. Testing and Reassembly
Before bolting everything back together, turn on the headlights to verify the new bulb works. If it doesn't, check the connection or inspect the harness for signs of melting (a common 2012 Malibu issue).
To reassemble, follow the steps in reverse:
- Slide the headlight housing back into position and start the three 10mm bolts by hand to avoid cross-threading.
- Snap the side of the bumper back into the fender clips.
- Reinstall the side 10mm bolt and the wheel well screws.
- Reinstall the top push-pins and Torx screws.
Replacement Bulb Specifications
Choosing the right bulb is vital for both visibility and the longevity of the headlight assembly. The 2012 Malibu uses high-heat bulbs in a relatively compact housing.
| Bulb Function | Socket Type | Standard Wattage | Recommended Upgrade (2026) |
|---|---|---|---|
| Low Beam | H11 | 55W | Long-life Halogen or Fan-cooled LED |
| High Beam | H9 | 65W | High-output Halogen |
| Front Turn Signal | 3157AK | 27W/7W | Amber LED (requires resistor) |
| Sidemarker | 194 | 3.8W | Cool White/Amber LED |
Troubleshooting Common Issues
The "Melted Harness" Phenomenon
A documented issue with the 2008–2012 Malibu is the tendency for the H11 low-beam connector to overheat and melt. This is often caused by the high current draw of the halogen bulb combined with a connector that may lose tension over time. If you notice your headlight is flickering or the plastic connector looks charred or discolored, simply replacing the bulb will not fix the problem. In 2026, many of these vehicles have already had "pigtail" repairs. If yours is melted, purchase an H11 heavy-duty ceramic pigtail, cut the old wires, and crimp/solder the new connector in place.
Moisture in the Headlight
If you notice condensation inside the lens after a bulb change, the dust cap or the bulb's O-ring is likely not seated correctly. The 7th-gen Malibu housings are sensitive to pressure changes. Ensure the rubber gasket on the back of the bulb is present and that the large circular dust cap is locked tight.
Beam Alignment
Because the entire housing is removed during this process, it is possible for the beam to be slightly off-center upon reinstallation. If oncoming drivers are flashing their lights at you, or if you notice one beam is higher than the other, use the adjustment screw located on the top of the headlight housing. Park 25 feet from a flat wall on level ground to aim the beams correctly.
Halogen vs. LED Upgrades in 2026
By 2026, LED technology has matured significantly, making it a tempting upgrade for 2012 Malibu owners. However, there are technical considerations:
- Halogen (Pros): Inexpensive, designed for the focal point of the Malibu's projector (low beam) and reflector (high beam) optics. They generate heat, which helps melt snow and ice off the lenses in winter.
- Halogen (Cons): Shorter lifespan (approx. 500–1,000 hours) and dimmer, yellowish light (approx. 3000K).
- LED (Pros): Extremely long life, bright white light (6000K+), and lower power draw, which can prevent the harness melting issue mentioned earlier.
- LED (Cons): Many "drop-in" LEDs do not play well with the Malibu’s dust caps. You must ensure the LED has a compact heat sink or fan that fits inside the housing, otherwise, the dust cap cannot be reinstalled, leading to debris entering the lens.
Frequently Asked Questions
Can I replace the bulb through the wheel well without loosening the bumper?
While some people with small hands claim to have done this by pulling the wheel well liner back and reaching up, it is not recommended. You are working entirely by feel, and it is very difficult to properly seat the bulb and the locking ring. If the bulb is even slightly crooked, it will create a "hot spot" that can melt the internal projector housing or result in a dangerous beam pattern.
Why do my bulbs keep burning out every few months?
If you are experiencing frequent failures, first ensure you aren't touching the glass with bare fingers. The oils from your skin create a localized hot spot that causes the glass to crack. Second, check the voltage at the harness. A failing alternator or a corroded ground wire can cause voltage spikes that shorten bulb life.
What is the average cost of professional replacement?
In 2026, a dealership or independent shop typically charges 1.0 to 1.5 hours of labor for this job because of the bumper involvement. Depending on local labor rates, this can cost between $120 and $200, plus the cost of bulbs. This makes it a highly cost-effective DIY project.
Are the low beam and high beam bulbs interchangeable?
No. The H11 (low beam) and H9 (high beam) look similar, but they have different tab configurations and wattage ratings. An H9 bulb produces significantly more lumens and heat; installing it in the low beam socket can damage the projector lens and blind other drivers.
Do I need to remove the tires to access the wheel well screws?
You do not need to remove the tires. Simply starting the engine and turning the wheels all the way to one side provides enough clearance for a standard screwdriver or a small ratchet.
Final Recommendations
The 2012 Chevy Malibu is a reliable sedan, but its headlight design is a clear example of form over function. If you are performing this replacement yourself, the most important advice is to take your time with the plastic fasteners. If a push-pin feels stuck, do not force it; use a bit of penetrating lubricant or a specialized removal tool.
Given the age of the vehicle in 2026, consider replacing both the driver and passenger side bulbs at the same time. If one has burned out, the other is likely near the end of its service life. Furthermore, if you find your factory wiring harnesses are in good condition, applying a small amount of dielectric grease to the terminals can prevent future oxidation and heat buildup, ensuring your Malibu’s lighting system remains functional for years to come.