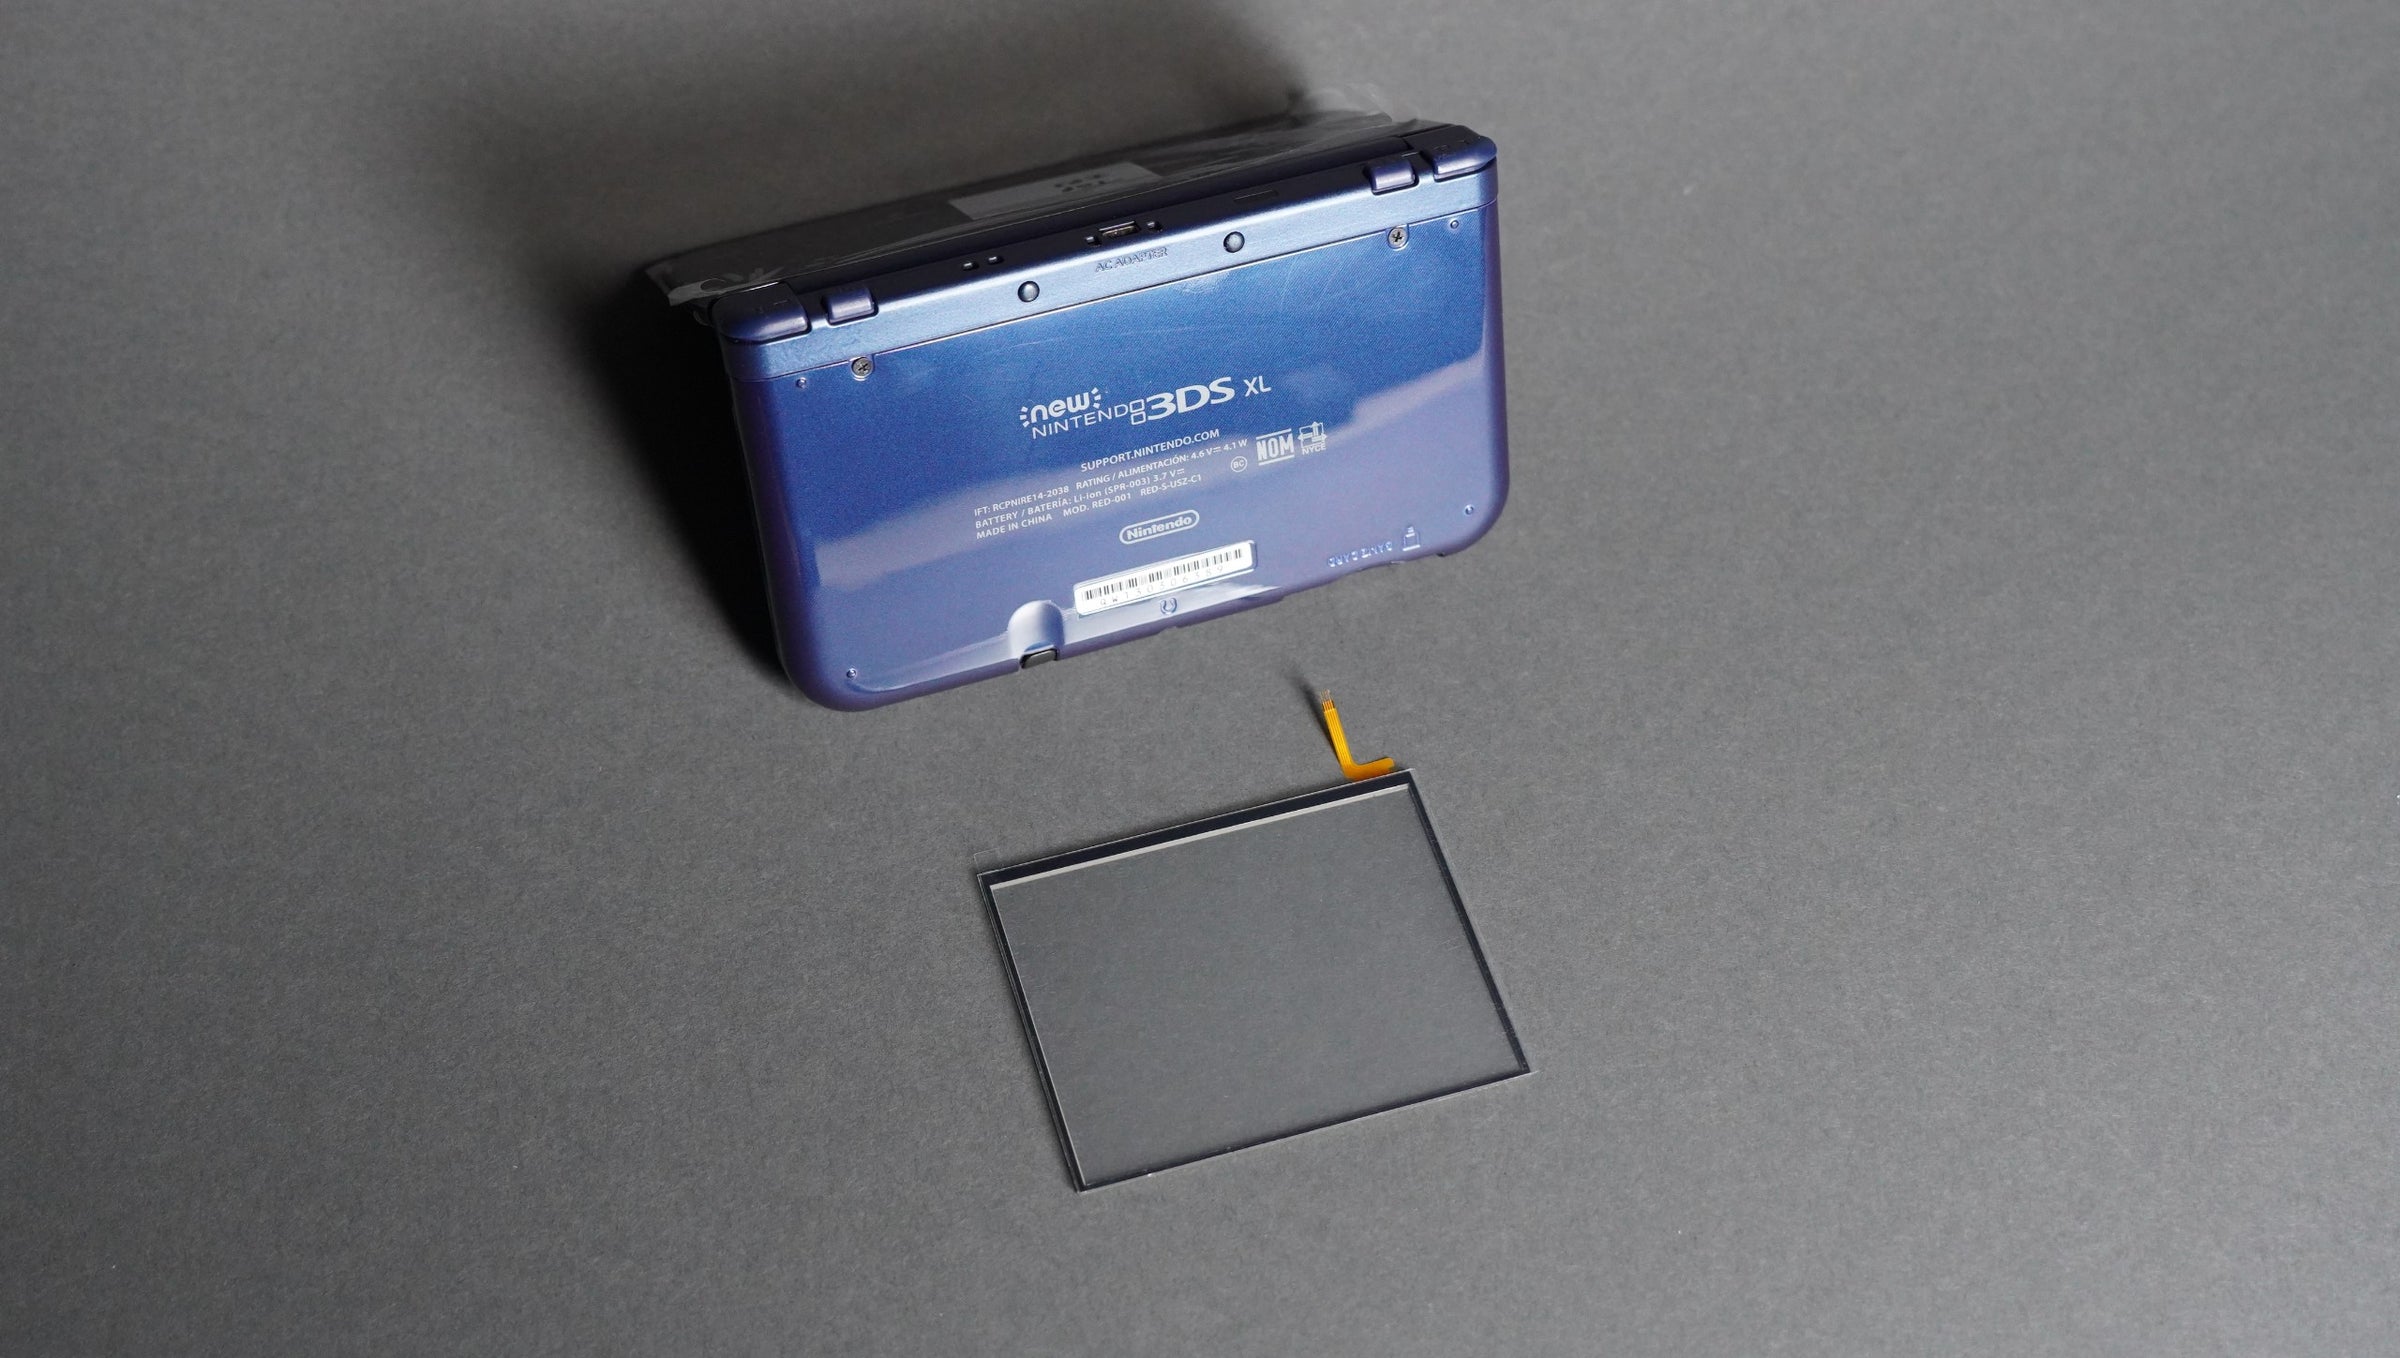
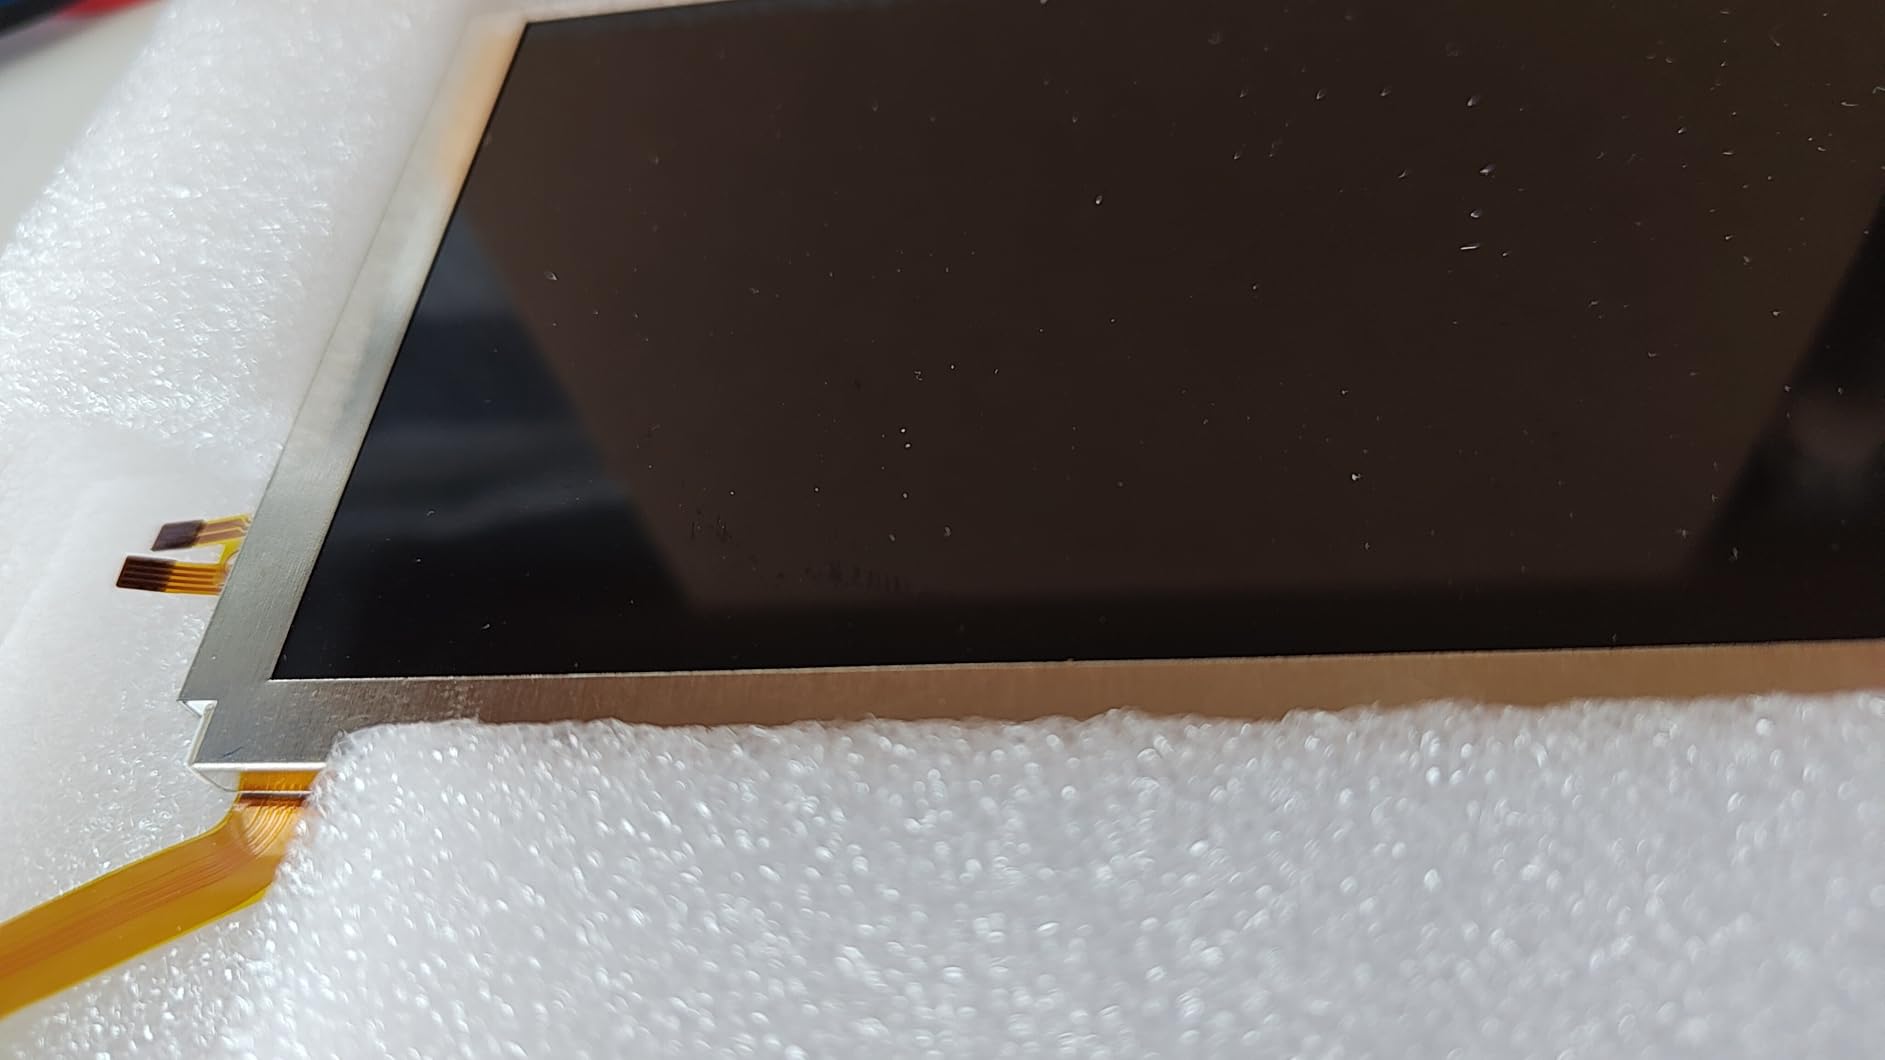
Replacing a Nintendo 3DS XL screen involves disassembling the chassis to install either a new upper LCD or a lower LCD and digitizer assembly. While the bottom screen is moderately accessible, the top screen is a high-difficulty repair requiring the complex routing of delicate ribbon cables through a narrow hinge mechanism.
The Nintendo 3DS XL (model SPR-001) remains a cornerstone of handheld gaming history. However, as we move through 2026, these devices have transitioned into the category of "legacy" hardware. Because Nintendo discontinued official repair services for the 3DS family years ago, enthusiasts and owners must now rely on third-party components and DIY techniques to keep these dual-screen consoles functional. This overview provides a technical deep dive into the requirements, risks, and procedures associated with 3DS XL screen restoration.
Identifying the Hardware: Original XL vs. New XL
Before sourcing parts or attempting a repair, it is vital to distinguish between the original Nintendo 3DS XL (released in 2012) and the New Nintendo 3DS XL (released in 2014/2015). Though they share similar names, their internal architectures are entirely different, and their screens are not interchangeable.
The original 3DS XL features a dedicated "Home" button below the bottom screen and does not have the "C-Stick" nub above the ABXY buttons. The "New" model includes ZL/ZR buttons on the shoulder and a small grey nub for camera control. If you are following a repair guide for the wrong model, you will find that the ribbon cable connectors are located in different positions on the motherboard, and the housing dimensions will not accommodate the incorrect screen. Ensure your replacement parts are specifically labeled for model SPR-001.
Diagnostics: Assessing Screen Damage
Repairing a 3DS XL screen is rarely a "one-size-fits-all" task. The console utilizes two distinct types of displays, and the nature of the failure determines the parts you need to buy.
Upper LCD Failures
The top screen is a non-touch, autostereoscopic 3D display. Common issues include:
- Cracks or "Ink Bleeds": This indicates physical damage to the liquid crystal layer.
- Black Screen with Sound: This often points to a torn ribbon cable or a backlight failure.
- Flickering: Usually caused by a loose connection at the motherboard or a failing speaker/camera ribbon assembly, as these are daisy-chained through the hinge.
Lower LCD and Digitizer Failures
The bottom display is a two-part assembly consisting of the LCD (which provides the image) and the digitizer (the clear plastic layer that detects touch).
- Image Distortions: If the image is garbled but the touch still works, you only need the LCD.
- Unresponsive Touch: If the image is perfect but the console doesn't register the stylus, you only need the digitizer.
- Scratches: Deep gouges in the touch surface usually only require a digitizer replacement, which is significantly cheaper than the LCD.
Essential Tools and Workstation Setup
Handheld repair is an exercise in precision. The 3DS XL uses very small screws and even smaller plastic latches (ZIF connectors) that are easily snapped. As of 2026, sourcing high-quality replacement screws is difficult, so keeping the original hardware organized is paramount.
- Screwdrivers: You will need a Phillips #00 or #000. Avoid using "precision" drivers from generic hardware store kits, as they often strip the soft Nintendo screws. Use a dedicated electronics driver from brands like iFixit or Wiha.
- Spudgers and Tweezers: Plastic opening tools are necessary to pry the shell without marring the plastic. Anti-static tweezers are required for seating the ribbon cables.
- Heat Gun or Hairdryer: This is specifically for the lower digitizer. The digitizer is held to the LCD frame by a thin strip of adhesive that must be softened before separation.
- Magnification: Because the ZIF (Zero Insertion Force) connectors are microscopic, a desk-mounted magnifying lamp or a digital microscope is highly recommended to ensure the cables are seated deeply enough.
The Technical Challenge of the Top Screen
The upper LCD repair is widely considered one of the most difficult tasks in the "retro" handheld repair community. The difficulty stems from the hinge assembly.
To reach the top screen, you must almost entirely gut the bottom half of the console, including removing the motherboard. The top screen’s ribbon cables—along with the cables for the speakers and the 3D camera—are tightly coiled and fed through a hollow metal cylinder inside the plastic hinge.
The "Rolled Cable" Technique
When installing a new top screen, you must gently roll the wide, flat ribbon cable into a cylinder to slide it through the hinge. If the roll is too tight, the internal copper traces will crack. If it is too loose, the cable will snag on the hinge mechanism and tear during the first time you open the console lid. This specific step is where most DIY repairs fail.
The Speaker Assembly
Unlike many modern devices where components are modular, the 3DS XL top screen often requires you to desolder the original speakers from the old screen's ribbon cable and solder them onto the new one. While some "pre-soldered" screens are available on the secondary market in 2026, they are often of lower quality. Being comfortable with a soldering iron is a significant advantage for this specific repair.
Replacing the Bottom Screen and Digitizer
The lower screen repair is much more accessible for beginners. The bottom LCD sits in a metal tray directly beneath the motherboard.
One critical detail often overlooked is the insulating tape. The back of the lower LCD is a metal plate. If this plate touches the underside of the motherboard, it can cause a short circuit that prevents the console from booting. Most replacement screens do not come with this insulation; you must carefully peel the yellow Kapton tape or foam from the old screen and transfer it to the new one.
If you are only replacing the digitizer, you must be in a "dust-free" environment. Any speck of dust trapped between the new digitizer and the LCD will be visible once the console is powered on and can interfere with touch sensitivity.
Comparison of Repair Complexity and Costs
| Component | Difficulty (1-10) | Estimated Time | Primary Risk | 2026 Market Cost (Est.) |
|---|---|---|---|---|
| Lower Digitizer | 3 | 45 Mins | Dust under screen / Scratched LCD | $10 - $20 |
| Lower LCD | 5 | 60 Mins | Snapping ZIF connectors | $25 - $45 |
| Upper LCD | 9 | 3+ Hours | Tearing hinge cables / Solder errors | $40 - $70 |
| Hinge Shell | 7 | 2 Hours | Breaking the plastic "snap" ring | $15 - $25 |
Common Risks and Troubleshooting
Even with the correct tools, several common pitfalls can turn a screen repair into a permanent hardware failure.
The "Popping" Sound and Shutdown
The most common issue after a 3DS XL repair is the console turning on for a split second, making a loud "pop" or "click" sound, and then shutting off. This is the console's BIOS performing a hardware check. If the BIOS detects that the backlight circuit is incomplete (usually because the top screen ribbon cable is not seated perfectly), it kills the power to protect the motherboard. If you experience this, you must re-open the console and reseat the three main cables in the upper-right corner of the motherboard.
Stripped Screws
The screws in the 3DS XL are notoriously soft. If a screw does not turn with moderate pressure, stop immediately. Use a rubber band between the driver and the screw head to increase grip, or apply a tiny amount of specialized screw removal fluid. In 2026, finding replacement internal frames is difficult, so avoiding damage to the screw posts is vital.
TN vs. IPS Panels
During the 3DS XL's production, Nintendo used two types of display technology: TN (Twisted Nematic) and IPS (In-Plane Switching). IPS panels have better color reproduction and wider viewing angles. When buying a replacement screen in 2026, most third-party screens will be TN. If your console originally had an IPS screen, you may notice a decrease in vibrancy unless you specifically hunt for a (more expensive) IPS replacement.
Professional Repair vs. DIY in 2026
Since Nintendo no longer accepts these units for official service, your options are local independent repair shops or self-repair.
A professional repair usually costs between $80 and $150, depending on the screen. While this may approach the market value of the console itself, it often comes with a warranty. For the upper screen, the professional route is highly recommended due to the high failure rate of DIY attempts. However, if the issue is merely a scratched lower digitizer, the DIY route is cost-effective and relatively safe for someone with basic mechanical skills.
For those pursuing the DIY path, it is helpful to reference iFixit’s Nintendo 3DS XL repair guides, which provide high-resolution photography of the internal components. Additionally, checking historical Nintendo Support documentation can help clarify the difference between software-related display glitches and hardware failures.
Frequently Asked Questions
Can I upgrade my 3DS XL screen to a higher resolution?
No. The resolution is hard-coded into the console's firmware and graphics processor. While you can sometimes swap a TN panel for an IPS panel of the same resolution, you cannot increase the pixel density.
Why does my 3DS XL screen look yellow after repair?
A yellow tint can be caused by a low-quality third-party screen or an improperly seated ribbon cable that isn't providing enough voltage to the backlight. In some cases, this can be slightly adjusted in the console's "Power Saving Mode" settings, which changes the color temperature.
Do I need to solder anything for a 3DS XL screen repair?
For the bottom screen, no soldering is required. For the top screen, you will likely need to solder the two speakers to the new screen's ribbon cable. Some vendors sell "full assemblies" that include speakers, but these are rarer and more expensive.
What should I do if the ribbon cable latch breaks off?
This is a common disaster. If the plastic "flap" that holds the cable in place snaps, the cable will not make contact with the pins. You can sometimes fix this by placing a small piece of electrical tape or a thin shim of plastic on top of the cable to create pressure, but often the only permanent fix is soldering a new ZIF connector to the motherboard—a task requiring advanced micro-soldering skills.
Is the 3DS XL screen the same as the "New" 3DS XL screen?
No. Despite having the same screen dimensions, the ribbon cables are shaped differently and are located in different positions. Always verify that your part is for the SPR-001 model rather than the RED-001 (New 3DS XL).
Practical Recommendation
If you are facing a broken lower screen, proceed with a DIY repair after watching a few video walkthroughs and securing a Phillips #000 screwdriver. It is a manageable task that can be completed in about an hour.
If you have a broken upper screen, evaluate your experience level. If you have never disassembled a modern handheld before, the 3DS XL hinge is an unforgiving place to start. Consider reaching out to a dedicated retro gaming repair specialist. If you do attempt it yourself, buy two replacement screens; the ribbon cables are so fragile that having a backup is a standard practice even among experienced technicians.