A 100-watt solar panel system typically costs between $100 and $300 for standalone hardware, while a professionally installed or complete DIY kit with a battery and inverter can range from $300 to $1,000+. Total expenses depend on whether you choose a rigid or flexible panel, mounting hardware, charge controllers, and labor if you hire a professional.
When exploring small-scale renewable energy solutions, a 100-watt solar panel represents the gold standard for entry-level off-grid power. Whether you want to trickle-charge a camper van battery, keep a shed illuminated, or maintain a marine battery bank, understanding the financial and technical landscape of 100-watt solar panel installations is essential. This comprehensive guide breaks down real-world costs, hardware options, component requirements, and installation strategies to help you design a reliable micro-solar setup tailored to your specific power needs.
Understanding the Scope of a 100-Watt Solar Panel
Before evaluating costs, it is crucial to understand what a single 100-watt solar panel can realistically accomplish. Under optimal laboratory conditions—known as Standard Test Conditions (STC)—a 100-watt panel generates 100 watts of direct current (DC) power per hour. However, real-world factors such as cloud cover, angle of incidence, temperature, and shading reduce this output.
On average, a 100-watt panel in a region receiving five peak sun hours per day will yield approximately 400 to 500 watt-hours (Wh) or 0.4 to 0.5 kilowatt-hours (kWh) of energy daily. This amount of electricity is sufficient to:
- Charge smartphones, tablets, and laptops multiple times.
- Run a 12-volt DC camping refrigerator for a few hours.
- Power several LED lights for an entire evening.
- Maintain and trickle-charge 12V lead-acid or lithium deep-cycle batteries.
Because a 100-watt panel produces DC power at low voltages (typically 12V to 24V nominal), it cannot be plugged directly into a standard household wall outlet. It requires a supporting ecosystem of hardware to safely store and convert the energy.
Hardware Options for a 100-Watt Solar Setup
A solar panel is only the capture mechanism. Building a functional installation requires choosing among various hardware configurations. Component quality directly impacts total expenditure and system longevity.
1. Solar Panel Types
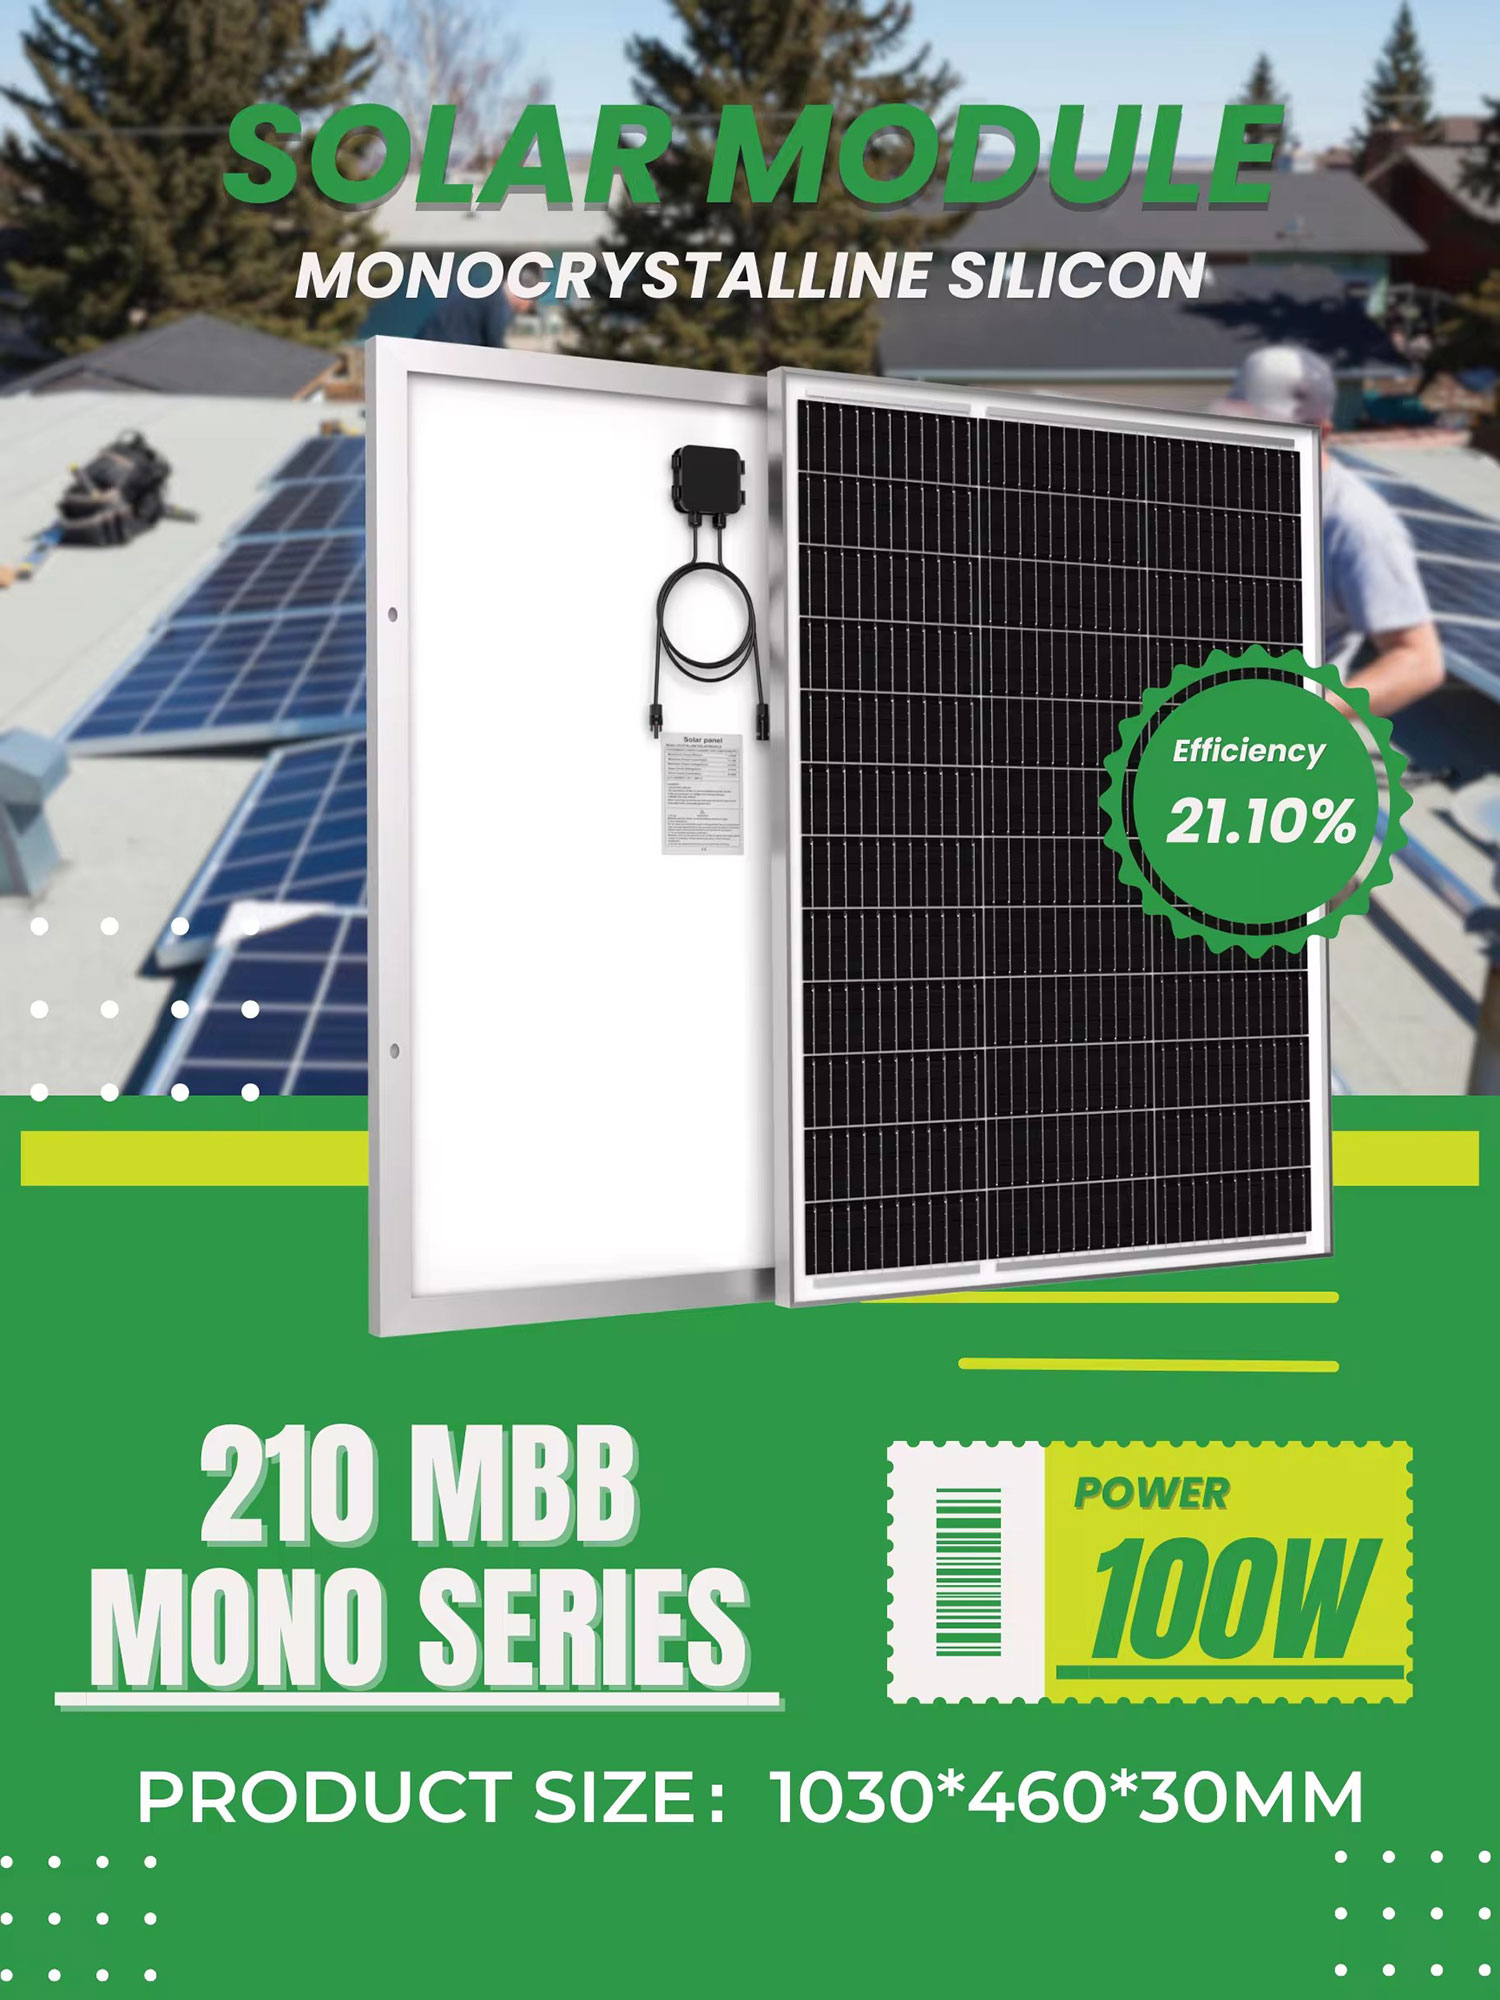
- Monocrystalline Panels: Built from a single silicon crystal, these panels offer the highest efficiency ratings (typically 19% to 22%) and perform better in low-light conditions. They are stiffer, more durable, and generally more expensive upfront.
- Polycrystalline Panels: Manufactured from multiple silicon fragments melted together, these panels have a lower efficiency (around 15% to 17%) and a distinctive blue hue. They are cheaper to produce but require more surface area to generate the same 100 watts.
- Flexible and Thin-Film Panels: Constructed using lightweight plastics instead of thick tempered glass, flexible panels can bend up to 30 degrees. They are ideal for curved RV roofs or boat decks, though they typically have a shorter lifespan and are more susceptible to heat degradation.
2. Charge Controllers
A charge controller regulates the voltage and current coming from the solar panel to prevent your battery from overcharging. There are two primary technologies:
- Pulse Width Modulation (PWM): An older, simpler technology. PWM controllers act like a switch that rapidly connects and disconnects the panel to the battery. They are inexpensive ($20 to $40) but less efficient, wasting up to 30% of the panel's potential energy if operating voltage differs significantly from battery voltage.
- Maximum Power Point Tracking (MPPT): Advanced and highly efficient. MPPT controllers convert excess panel voltage into higher charging current. While costlier ($70 to $150), they capture 15% to 30% more energy, making them the superior choice for maximizing a single 100-watt panel.
3. Batteries and Storage
To use power when the sun is not shining, you need a battery.
- Deep-Cycle Lead-Acid (AGM/Gel): Affordable upfront ($80 to $150 for a 100Ah battery), but heavy and limited to a 50% depth of discharge to preserve lifespan.
- Lithium Iron Phosphate (LiFePO4): Lightweight, capable of a 80% to 100% depth of discharge, and featuring a lifespan three to five times longer than lead-acid batteries. They carry a higher initial price tag ($200 to $400+), but offer better long-term value.
4. Inverters
If you need to power standard household AC appliances (120V), you will need an inverter. For a 100-watt system, a 300W to 500W pure sine wave inverter ($40 to $100) is typically adequate, ensuring sensitive electronics do not experience interference or damage.
| Component | Function | Typical Cost Range |
|---|---|---|
| 100W Solar Panel | Captures sunlight and generates DC electricity | $75 – $200 |
| Charge Controller (PWM/MPPT) | Regulates voltage to protect and charge the battery | $20 – $150 |
| Deep-Cycle Battery (100Ah) | Stores energy for use at night or on cloudy days | $80 – $350 |
| Inverter (300W–500W) | Converts 12V DC power into 120V AC household power | $40 – $100 |
| Mounting Hardware & Wiring | Secures panels and connects electrical components | $30 – $100 |
Cost Breakdown: DIY Kits vs. Professional Installation
When evaluating the financial commitment of a 100-watt solar panel system, the execution method dictates the final price.
DIY Component Assembly and Kits
Assembling a system yourself or purchasing an all-in-one starter kit is the most common approach for a 100-watt setup. Starter kits generally include the panel, brackets, a basic charge controller, and short connector cables.
- Basic Starter Kit (Panel + PWM Controller + Brackets): $100 – $180
- Complete Off-Grid Kit (Panel + MPPT Controller + Inverter + Small Battery): $300 – $600
- Hidden Costs to Anticipate: Fuses, circuit breakers, thicker gauge copper wire, mounting tape or roof sealants, and junction boxes can add $50 to $100 to a DIY project.
Professional Installation
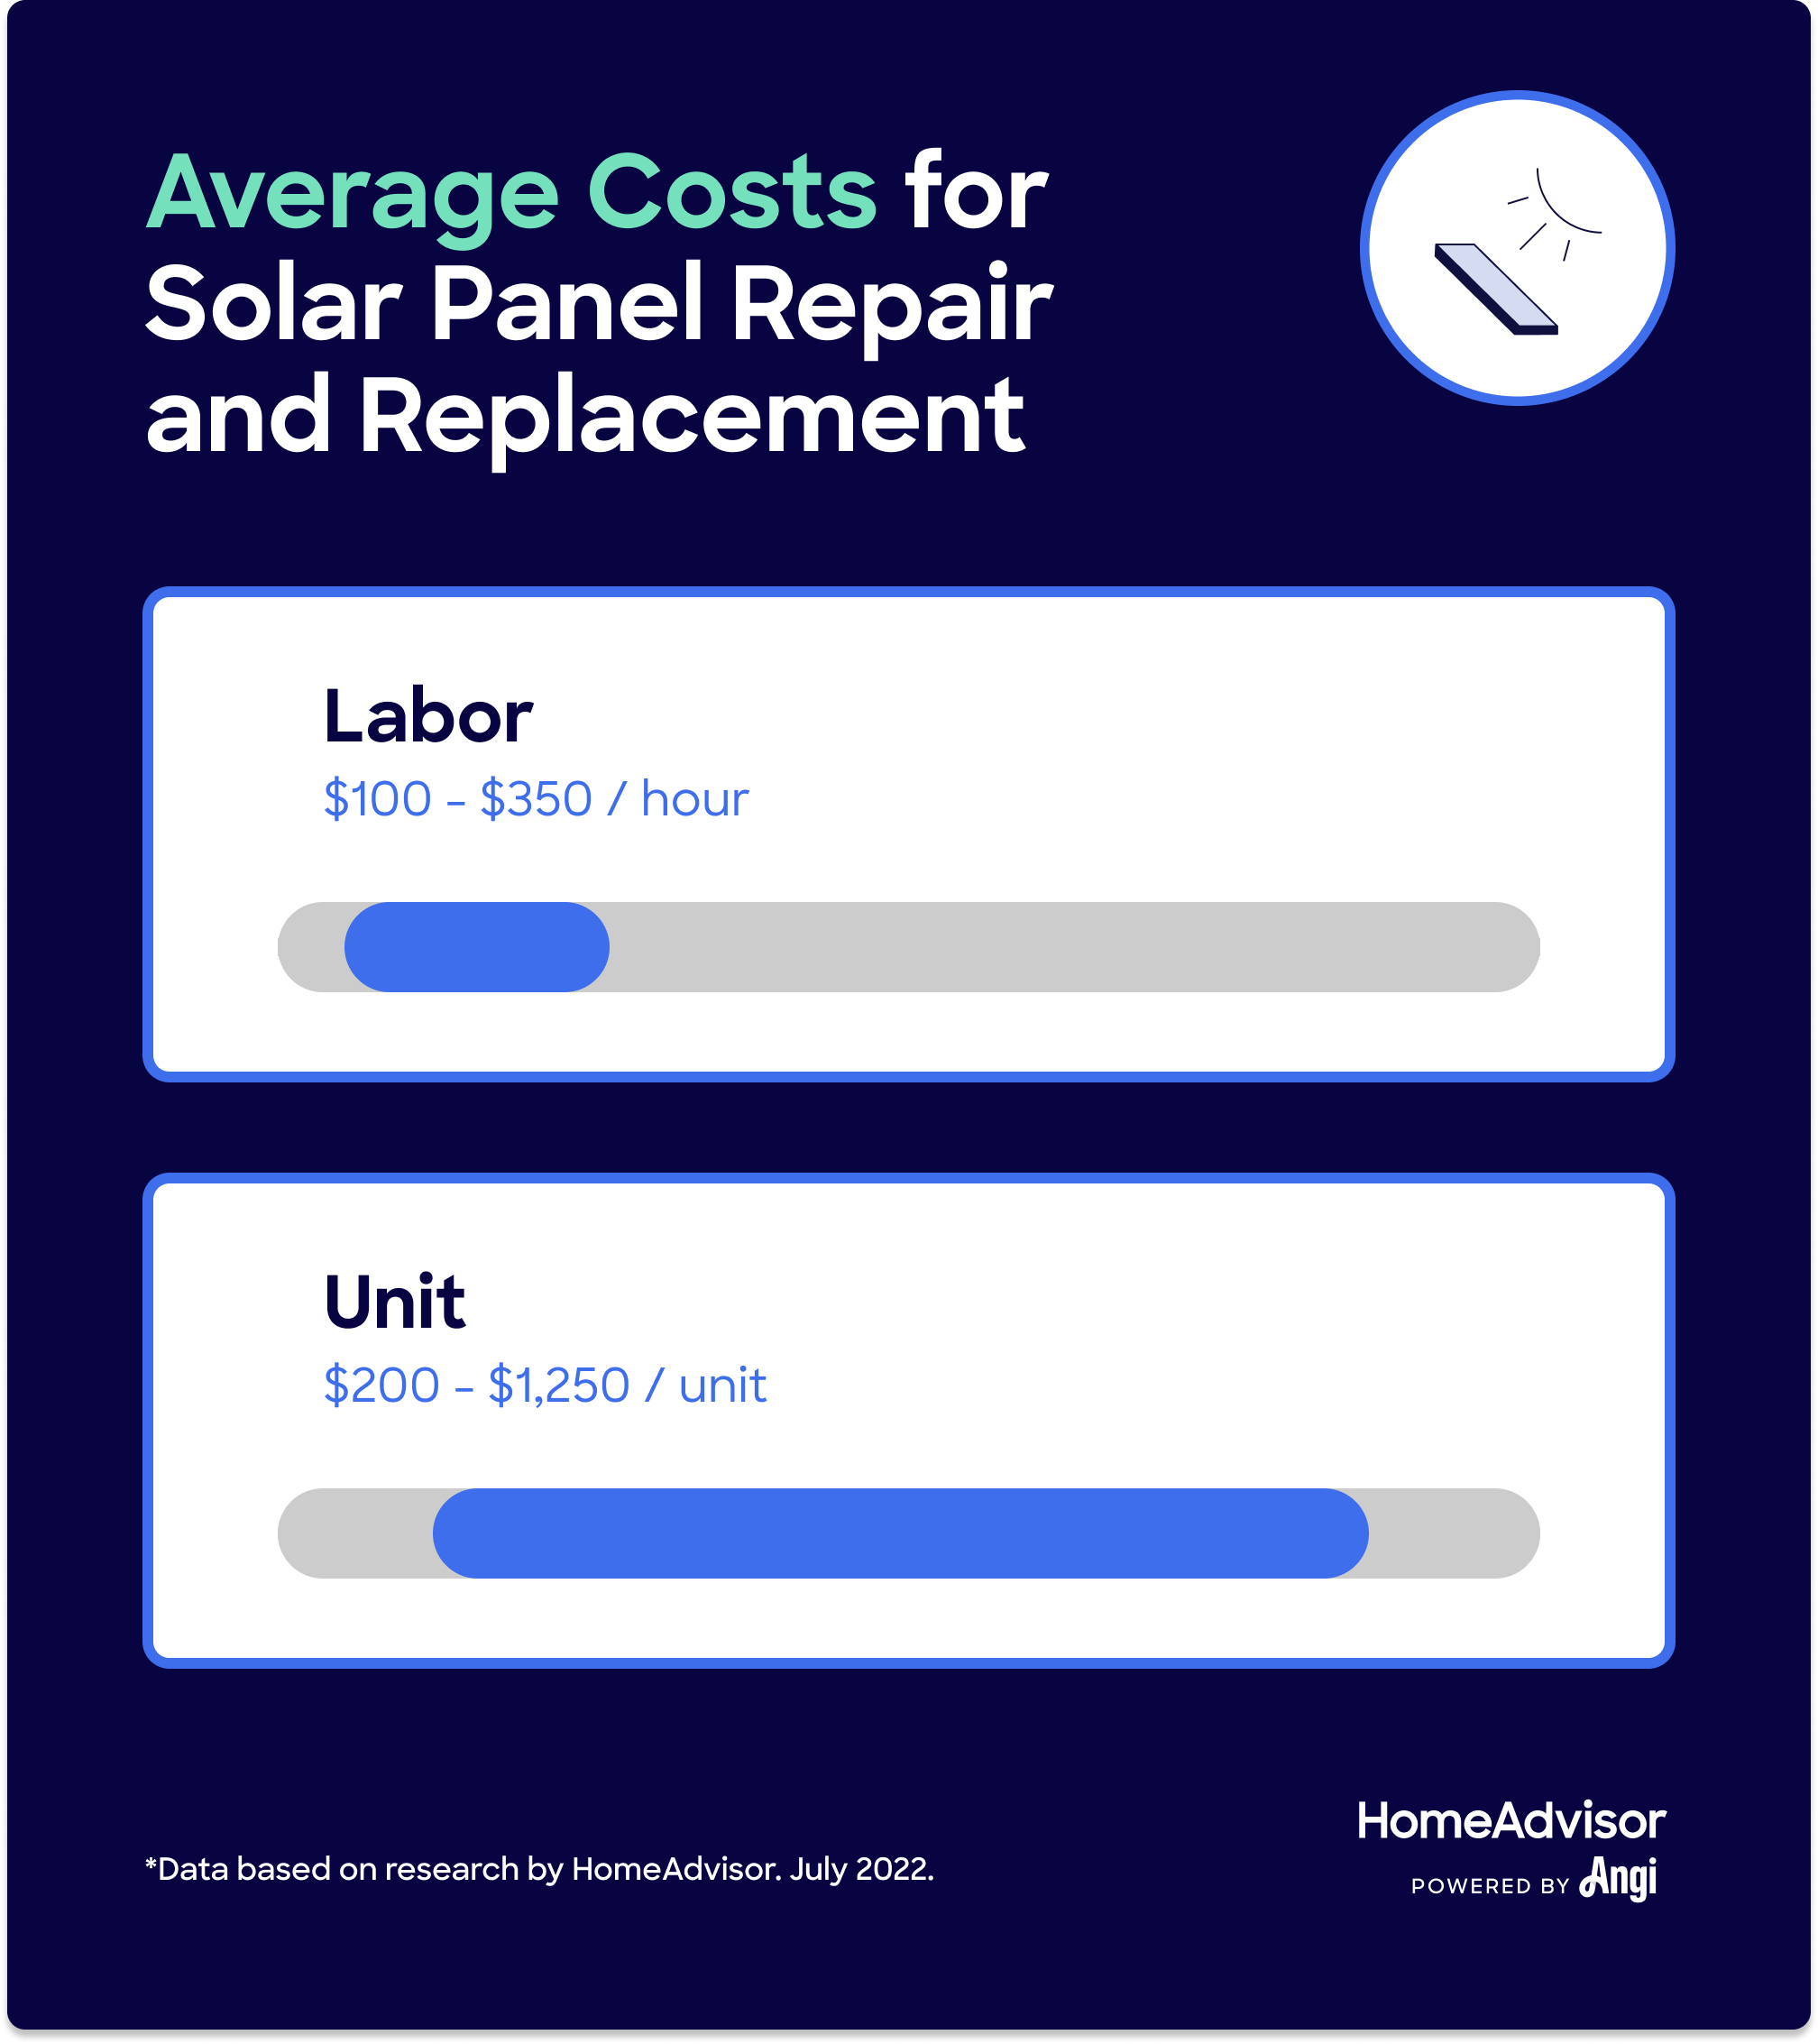
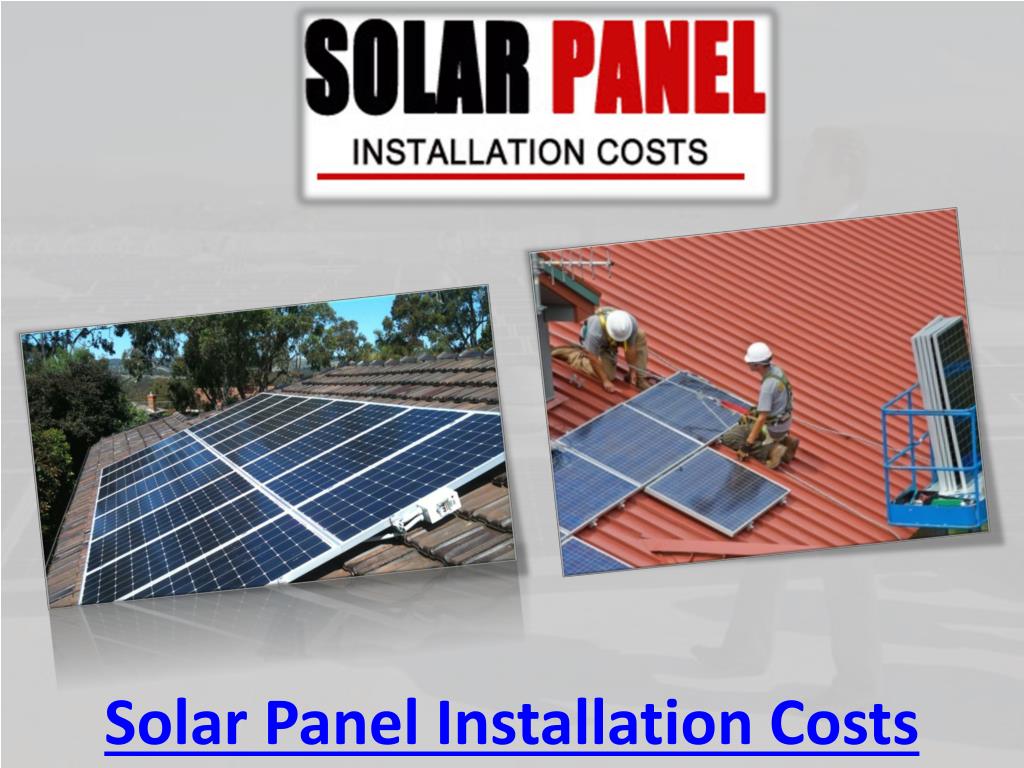
Hiring a licensed electrician or professional solar installer for a 100-watt system is rare because the equipment scale does not justify labor overhead. Professional labor rates typically range from $100 to $200 per hour. If a technician spends two to four hours designing, mounting, wiring, and testing a small system, labor charges alone will add $200 to $800 to the bill. Consequently, total professional installation costs for a standalone 100W system can easily reach $500 to $1,200+, making it financially inefficient compared to a DIY approach.
Step-by-Step Installation Options
Depending on your application—whether a camper van, backyard shed, or portable emergency kit—installation methods vary significantly.
Option A: Portable Generator / Power Station Integration
The simplest installation option involves pairing a 100-watt panel with a portable power station (such as units from EcoFlow, Jackery, or Bluetti).
- Unfold or Mount the Panel: Position the panel in direct sunlight, ideally tilted toward the equator at an angle roughly equal to your latitude.
- Check Connectors: Ensure the solar panel output matches the power station input (typically standard MC4 connectors adapting to DC7909, Anderson Powerpole, or XT60 plugs).
- Plug and Play: Connect the panel directly to the power station's built-in MPPT charge controller. The unit's internal battery handles storage and conversion, eliminating complex wiring.
Option B: Permanent Off-Grid Hardwired Setup
For sheds, tiny homes, or utility boxes, a hardwired setup requires careful electrical planning.
- Mounting: Secure Z-brackets or tilt mounts to the roof or ground rack using corrosion-resistant fasteners and waterproof sealants to prevent leaks.
- Run Wires: Route UV-rated solar cables (typically 10 AWG or 12 AWG) from the roof through a waterproof cable entry gland into the interior space.
- Connect to Charge Controller: Attach the positive and negative panel wires to the solar terminals on the charge controller before connecting the controller to the battery. This allows the controller to calibrate correctly.
- Connect Battery and Inverter: Wire the charge controller to the battery bank, placing an inline fuse on the positive wire for safety. Finally, connect the inverter directly to the battery terminals if AC power is required.
Common Mistakes to Avoid
Avoiding operational pitfalls ensures your equipment operates safely and efficiently over its design lifespan.
- Neglecting Shading: Even partial shade from a single leaf or branch across one cell of a 100-watt panel can drop power output by 50% or more, depending on the diode configuration. Always verify an unobstructed view of the sky.
- Using Incorrect Wire Gauges: Undersized wires cause significant voltage drop and resistance, which generates heat and risks electrical fires. Use proper wire gauge charts based on total amperage and run distance.
- Reversed Polarity: Reversing positive and negative leads when connecting batteries or controllers can instantly damage sensitive electronic components. Always double-check multimeter readings before finalizing connections.
- Skipping Fuses: Failing to install inline fuses between the battery and the charge controller or inverter leaves your system vulnerable to power surges and short circuits.
Frequently Asked Questions
Can a 100-watt solar panel run a refrigerator?
Most standard household refrigerators require far too much starting surge wattage (often 1,200W to 1,500W) for a 100-watt panel and small inverter to handle. However, specialized 12-volt DC camping or compressor refrigerators designed to draw 40W to 60W intermittently can run successfully if paired with a robust 100Ah battery and adequate daily sunlight.
Can I connect multiple 100-watt panels together?
Yes. You can wire identical 100-watt panels in parallel (to increase current while keeping voltage constant) or in series (to increase voltage while keeping current constant). Ensure your charge controller's maximum voltage and amperage ratings are not exceeded when expanding your array.
Do 100-watt solar panels work on cloudy days?
Yes, but at a heavily reduced capacity. On overcast days, panels typically generate only 10% to 25% of their rated capacity (10 to 25 watts) through diffuse ambient light. A reliable system design accounts for these low-yield days by sizing the battery bank with sufficient reserve capacity.
What is the lifespan of a 100-watt solar panel?
High-quality monocrystalline solar panels typically carry a performance warranty guaranteeing at least 80% output after 25 years. Physical degradation is minimal, though external factors like hail, heavy wind, or micro-cracks from improper mounting can shorten operational life.
Conclusion and Next Actions
Investing in a 100-watt solar panel system provides an affordable, scalable entry point into renewable energy. For a total expenditure of $150 to $400 in hardware, you can build a reliable off-grid charging station for portable power banks, lighting, or low-draw electronics. Begin by auditing your exact daily energy consumption in watt-hours. Select an MPPT charge controller and an appropriate battery storage option to match your power goals, prioritize a clean DIY installation, and expand your array modularly if your energy demands grow over time.