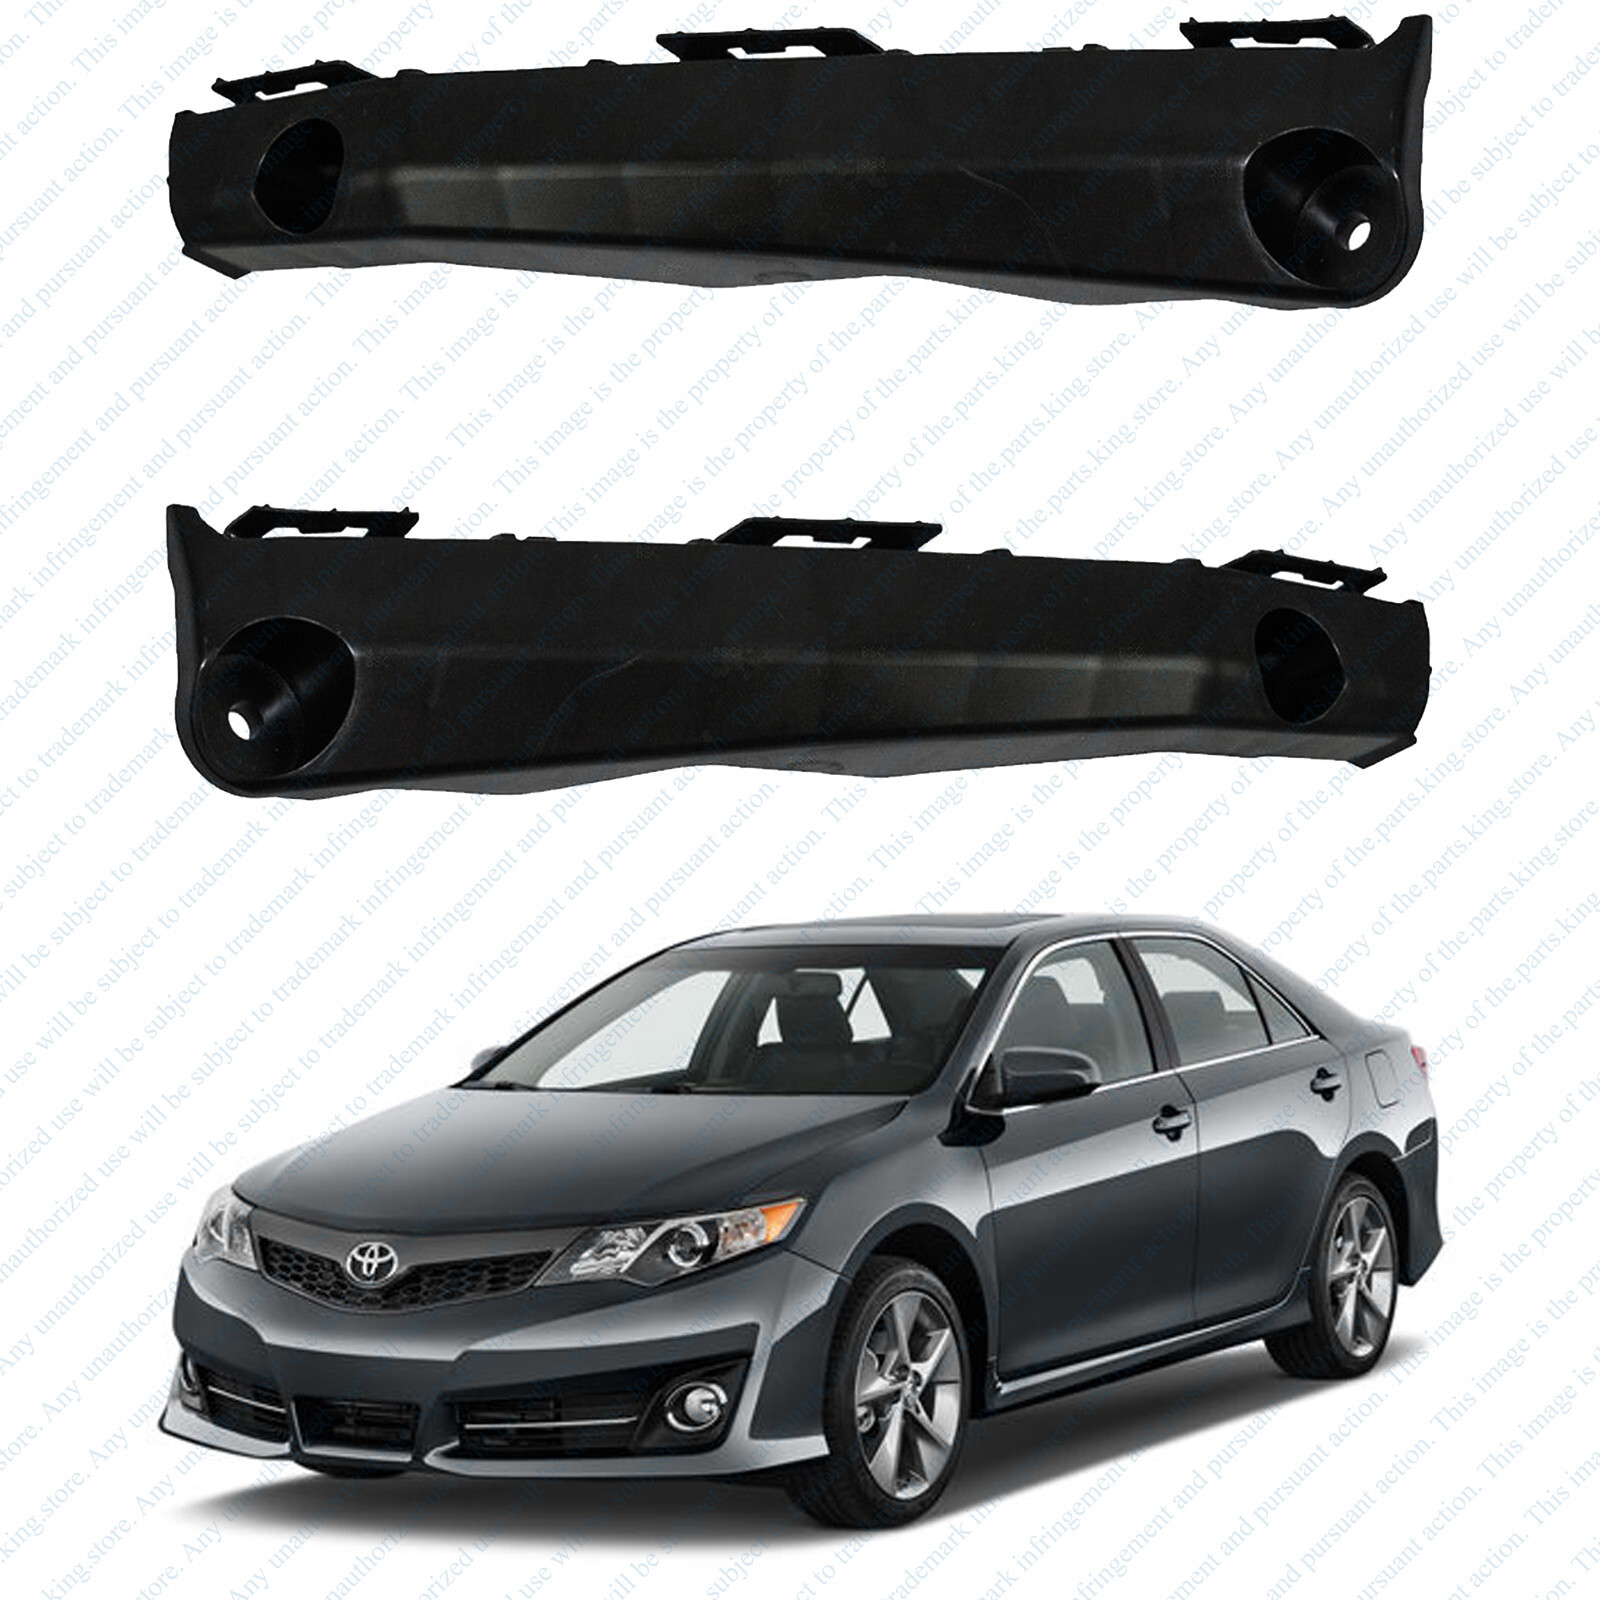
Replacing or repairing the front bumper on a 2014 Toyota Camry requires understanding trim-level variations, material options, and proper removal procedures. The 2014 model year features distinct bumper styles between standard trims (L, LE, XLE) and sport trims (SE, SE Sport). A complete replacement involves selecting between OEM or aftermarket parts, paint matching, and transferring original grilles, fog lights, and splash shields.
2014 Toyota Camry Front Bumper Overview and Trim Differences
The 2014 Toyota Camry belongs to the seventh-generation (XV50) chassis, which was produced from the 2012 through 2014 model years before receiving a major mid-cycle refresh for 2015. When sourcing a front bumper cover for a 2014 model, the most critical factor is identifying the exact trim level of the vehicle, as Toyota designed two completely different front-end fascias for this generation.
2014 Camry Front Bumper Styles:
- Standard Fascia (L, LE, XLE, Hybrid LE/XLE)
- Single wide lower grille
- Integrated round fog lamp pockets
- Smooth side bracket transitions
- Sport Fascia (SE, SE Sport, Hybrid SE)
- Split upper/lower honeycomb grille
- Angled lower fog lamp bezels
- Pronounced lower chin spoiler contour
Standard Trims (L, LE, XLE, Hybrid LE, Hybrid XLE)
The standard front bumper cover features a wide, horizontal lower air intake and smooth outer contours. The fog light openings (when equipped) are recessed within subtle outer bezels. The mounting tabs and clips on standard bumpers correspond directly to standard trim fender liners and lower splash shields.
Sport Trims (SE, SE Sport, Hybrid SE)
The sport front bumper cover displays a far more aggressive profile, featuring a dual-section honeycomb upper and lower grille assembly, pronounced lower chin moldings, and angular outer fog light bezels.
Important Compatibility Note: You cannot install an SE sport bumper cover directly onto an LE or XLE model without replacing surrounding support components. The lower grille inserts, fog light brackets, energy absorber foam block, outer bumper brackets, and underbody splash shields differ between sport and standard trims.
Direct Bumper Cover Comparison: Trims, Parts, and Features
The table below outlines the primary differences across 2014 Toyota Camry front bumper assemblies to help you identify the correct configuration for your vehicle.
| Trim Level | OEM Part Number (Base Cover)* | Upper Grille Style | Fog Light Cutouts / Bezels | Interchangeable with LE/XLE? |
|---|---|---|---|---|
| Camry L / LE | 52119-06975 | Chrome frame with gray horizontal slats | Optional round cutouts (plugs inserted if non-fog) | Yes (Direct fit across L, LE, XLE) |
| Camry XLE | 52119-06975 | Chrome frame with dark chrome/painted slats | Standard round chrome-trimmed bezels | Yes (Direct fit across L, LE, XLE) |
| Camry SE / SE Sport | 52119-06976 | Gloss black / dark metallic mesh | Standard angular sport bezels | No (Requires SE-specific grilles & brackets) |
| Camry Hybrid LE / XLE | 52119-06975 | Chrome frame with blue-accented emblem cutout | Standard or optional depending on package | Yes (Direct fit with standard gas trims) |
| Camry Hybrid SE | 52119-06976 | Gloss black mesh with blue-accented emblem cutout | Standard angular sport bezels | Fits SE gas models (emblem mount varies) |
*Part numbers may vary slightly based on factory manufacturing location (USA vs. Japan build) and production date. Always verify using your Vehicle Identification Number (VIN).
Types of Replacement Bumper Covers: OEM vs. Aftermarket vs. Pre-Painted
When purchasing a replacement front bumper cover for a 2014 Camry, vehicle owners generally choose among three primary purchasing channels. Each option carries distinct trade-offs regarding cost, fitment precision, and installation readiness.
| Pathway | Primary Benefit & Trade-off |
|---|---|
| 1. OEM Unpainted Cover | Guaranteed fit; requires painting & hardware |
| 2. Aftermarket CAPA Cover | Cost-effective; requires paint & check fit |
| 3. Pre-Painted Aftermarket Cover | Ready to install; paint blend may vary |
| 4. Used Complete Assembly (Recycled) | Direct bolt-on; subject to pre-existing wear |
1. Original Equipment Manufacturer (OEM)
Original Toyota bumper covers offer exact structural fitment, precise sensor and clip alignment, and identical plastic composition (high-impact Polypropylene/TPO).
- Pros: Guaranteed bolt-on alignment without manual trimming or heat reshaping; preserve factory collision safety ratings.
- Cons: Highest cost; delivered bare and unpainted (primer coat only).
2. Aftermarket (CAPA Certified vs. Non-Certified)
Aftermarket bumper covers are manufactured by third-party companies. It is critical to select parts certified by the Certified Automotive Parts Association (CAPA).
- CAPA Certified: Tested to match OEM structural standards, material thickness, and mounting hole placement.
- Non-Certified Aftermarket: Often priced significantly lower, but may suffer from thin plastic, improper tab alignment, or distorted edge seams near the headlights and fenders.
3. Pre-Painted Bumper Covers
Several online automotive body part suppliers ship pre-painted bumper covers direct to consumers. You provide your 2014 Camry paint code (located on the driver-side door jamb sticker, such as 040 for Super White or 1F7 for Classic Silver Metallic).
- Pros: Eliminates the need to drop off the part at a local body shop; lower overall project cost.
- Cons: Bumper covers are frequently folded for shipping, requiring time in heat/sunlight to regain shape; minor color shade variations can occur due to sun fading on the vehicle's original paint.
Cost Breakdown: Parts, Painting, and Professional Labor
The total expenditure to replace a 2014 Camry front bumper depends on whether you perform the labor yourself or use a professional collision center.
Estimated Total Cost Range: $220 to $1,450+
- DIY Unpainted CAPA Part + Local Body Shop Paint: $350 - $600
- DIY Pre-Painted Aftermarket Assembly: $250 - $450
- Professional Collision Shop (OEM Part + Paint + Labor): $850 - $1,450
Cost Factors Explained
- Bare Bumper Cover Price: An unpainted aftermarket cover costs between $100 and $220. An OEM original part typically costs between $300 and $450 from an authorized dealership.
- Paint & Refinishing: Body shops charge between $250 and $500 to prep, prime, color-match, paint, and clear-coat a bare bumper cover. This includes color blending if you opt to match adjacent fenders.
- Hardware & Peripheral Accessories: If internal clips, upper grille retainers, fog light brackets, or lower energy-absorbing styrofoam blocks are broken, budget an extra $50 to $150 for replacement hardware.
- Labor Rates: Professional body shop labor rates typically range from $75 to $130 per hour. Bumper removal, teardown, component transfer, and re-installation usually require 2.5 to 4 labor hours.
Tools and Materials Required for DIY Removal and Installation
Before starting the removal process, prepare the following basic mechanic tools and protective materials:
- Ratchet and 10mm Socket: Used for underbody splash shield bolts and upper core support fasteners.
- Flat-Head Screwdriver or Automotive Trim Removal Tool: Required to pry up plastic push-pins and expansion rivets without breaking retainer heads.
- Phillips Screwdriver: Secures the wheel well liner screws and lower side brackets.
- Painter’s Tape: Applied along the lower edges of the front fenders and headlights to prevent scratches during bumper removal.
- Soft Moving Blanket or Tarp: Placed under the front bumper during removal so the paint is not scratched when contacting concrete.
- Safety Glasses and Work Gloves: Protects against rust particles and underbody road debris.
Step-by-Step Guide: How to Remove a 2014 Camry Front Bumper
Removal of the front bumper cover on a 2014 Toyota Camry can be completed in approximately 45 to 90 minutes using basic hand tools.
Removal Workflow Summary:
- Secure Vehicle & Protect Edges
- Remove Top Engine Bay / Core Support Clips
- Disengage Fender Well Screws & Liner Clips
- Disconnect Underbody Splash Shield Bolts
- Unplug Fog Lights & Harnesses
- Release Outer Fender Snap Brackets
- Detach & Support Bumper Cover
Step 1: Preparation and Vehicle Setup
- Park the vehicle on a flat, level surface, set the parking brake, and turn the engine off.
- Ensure the front wheels are straight, or turn the steering wheel fully to one side to gain easier access to the inner fender liner fasteners.
- Apply blue painter’s tape along the leading edge of both front metal fenders where they meet the plastic bumper cover.
Step 2: Remove Upper Engine Bay Fasteners
- Open the hood and locate the upper radiator support cover (the black plastic shield spanning the front of the engine bay).
- Remove the plastic push-pins securing the top engine bay cover using a trim removal tool. Lift the panel away and set it aside.
- Remove the retaining bolts (10mm) and central push-pins holding the upper lip of the grille structure to the radiator core support framework.
Step 3: Disengage Fender Well Fasteners
- Move to the driver-side front wheel well.
- Locate the fasteners attaching the plastic splash liner to the outer bumper edge. Depending on sub-trim, you will find a combination of Phillips-head screws and turn-lock plastic clips (which release with a quarter-turn counter-clockwise).
- Pull the fender liner back slightly to access the hidden top retaining bolt or clip located inside the corner junction where the fender and bumper meet.
- Repeat this process on the passenger-side wheel well.
Step 4: Remove Underbody Splash Shield Bolts
- Crouch under the front lower fascia of the vehicle.
- Locate the line of 10mm hex bolts securing the lower engine splash shield to the bottom edge of the front bumper cover. There are typically 6 to 8 bolts spanning the underside.
- Remove all 10mm bolts using your socket wrench and store them in a secure tray.
Step 5: Disconnect Electrical Wiring Harnesses
- Carefully reach behind the lower corners of the bumper cover (or through the pulled-back fender liners) to locate the fog light electrical connectors (if equipped).
- Squeeze the release tab on each fog light harness plug and pull down to disconnect.
- If equipped with aftermarket front parking sensors or ambient lighting, disconnect those auxiliary sub-harnesses now.
Step 6: Release Side Brackets and Detach Bumper Cover
- Grasp the outer edge of the bumper cover at the fender wheel well junction on one side.
- Firmly pull the edge outward away from the body. The bumper plastic will snap out of the black nylon side retaining bracket located under the headlight.
- Repeat the outward un-snapping step on the opposite side of the vehicle.
- Move to the center of the vehicle, support the middle of the bumper with two hands, and pull the complete cover forward off the alignment pins.
- Place the removed cover face-up on a soft blanket or tarp to prevent cosmetic scratching.
Transferring Components and Reinstallation
When replacing a damaged cover with a new bare bumper cover, you must transfer several non-damaged internal components from the original assembly:
Component Transfer Checklist:
- Center Toyota Chrome Emblem
- Upper Grille Assembly & Lower Mesh Grille
- Fog Light Housings and Mounting Bezels
- White Plastic Side Retaining Brackets (if replaced)
- Impact Foam Energy Absorber Block (mounted on bar)
- Lower Rubber Air Dam Skirts & Side Deflectors
Installation Steps
- Transfer Hardware: Unscrew the inner retaining clips securing the fog light housings and grilles from the back of the old bumper cover, then mount them into the corresponding receiver slots on the new cover.
- Inspect Energy Absorber: Ensure the white styrofoam energy absorber block remains properly seated on the aluminum impact beam behind the bumper.
- Align and Snap: Lift the new bumper cover into place, aligning the top center tabs with the radiator support pins. Push the outer sides straight inward toward the fender brackets until you hear the plastic tabs click firmly into place.
- Reattach Fasteners: Reinstall the bottom 10mm splash shield bolts first to set height alignment, followed by the wheel well liner fasteners and top core support clips.
- Function Check: Reconnect fog light plugs and test headlight, turn signal, and fog lamp operation before closing the hood.
Troubleshooting Common Fitment and Alignment Issues
1. Gap Between Bumper Edge and Metal Fender
If a wide gap remains near the headlight or fender seam after installation, the black plastic mounting bracket attached to the fender may have worn or broken lock tabs. Replacement side brackets (Toyota OEM part numbers 52115-06130 Right and 52116-06130 Left) cost around $15–$25 each and ensure a tight, flush fitment.
2. Sinking or Sagging Upper Grille
A low-hanging center grille indicates that the upper core support plastic push-pins are worn out or missing. Avoid reusing bent or stretched plastic retainers; install new 8mm automotive push-rivets to restore factory upper tension.
3. Lower Splash Shield Flapping or Scraping
If the underside splash shield detaches while driving, the mounting holes in the bottom edge of an aftermarket bumper cover may be oversized or torn. Use wide fender washers under the 10mm bolt heads to provide a larger clamping area over the plastic material.
Frequently Asked Questions
Will a 2015 Camry front bumper fit on a 2014 Camry?
No. Toyota executed a major mid-cycle redesign for the 2015 model year. The 2015 Camry features entirely updated headlights, fenders, hood contours, and mounting points. A 2015 front bumper will not fit a 2014 model without replacing the complete front clip.
How do I find the exact paint code for my 2014 Camry bumper?
Open the driver-side door and look at the black manufacturer certification label attached to the door jamb pillar. Near the bottom of the sticker, locate the letter code C/TR (Color/Trim). The three-character code directly following "C/TR" (such as 1D4 for Titanium Metallic or 040 for Super White) is your official paint code.
Can I replace an LE bumper with an SE bumper on a 2014 Camry?
Yes, but it is not a direct clip-on conversion. To convert an LE or XLE model to an SE front end, you must purchase the SE bumper cover along with SE-specific lower grille inserts, fog light assemblies, outer fog bezels, and SE underbody splash shields.
Are aftermarket bumper covers safe in a crash?
CAPA-certified aftermarket bumper covers undergo testing for material density and structural behavior to ensure proper crumple performance during an impact. Non-certified covers may use brittle or ultra-thin plastics that crack unpredictably upon low-speed impact, potentially failing to protect underlying components properly.
Recommended Next Steps
If your 2014 Toyota Camry front bumper is damaged, start by inspecting internal structural components—such as the energy-absorbing foam pad, side mounting brackets, and lower splash shields—to see if items beyond the outer cover need replacement.
Verify your trim level (LE vs. SE) and locate your vehicle's paint code on the driver-side door jamb. When sourcing parts, prioritize OEM or CAPA-certified aftermarket covers to ensure proper seam alignment along the headlights and fenders. For DIY installs, purchase a pack of replacement Toyota-style plastic push clips to replace any brittle clips broken during removal.