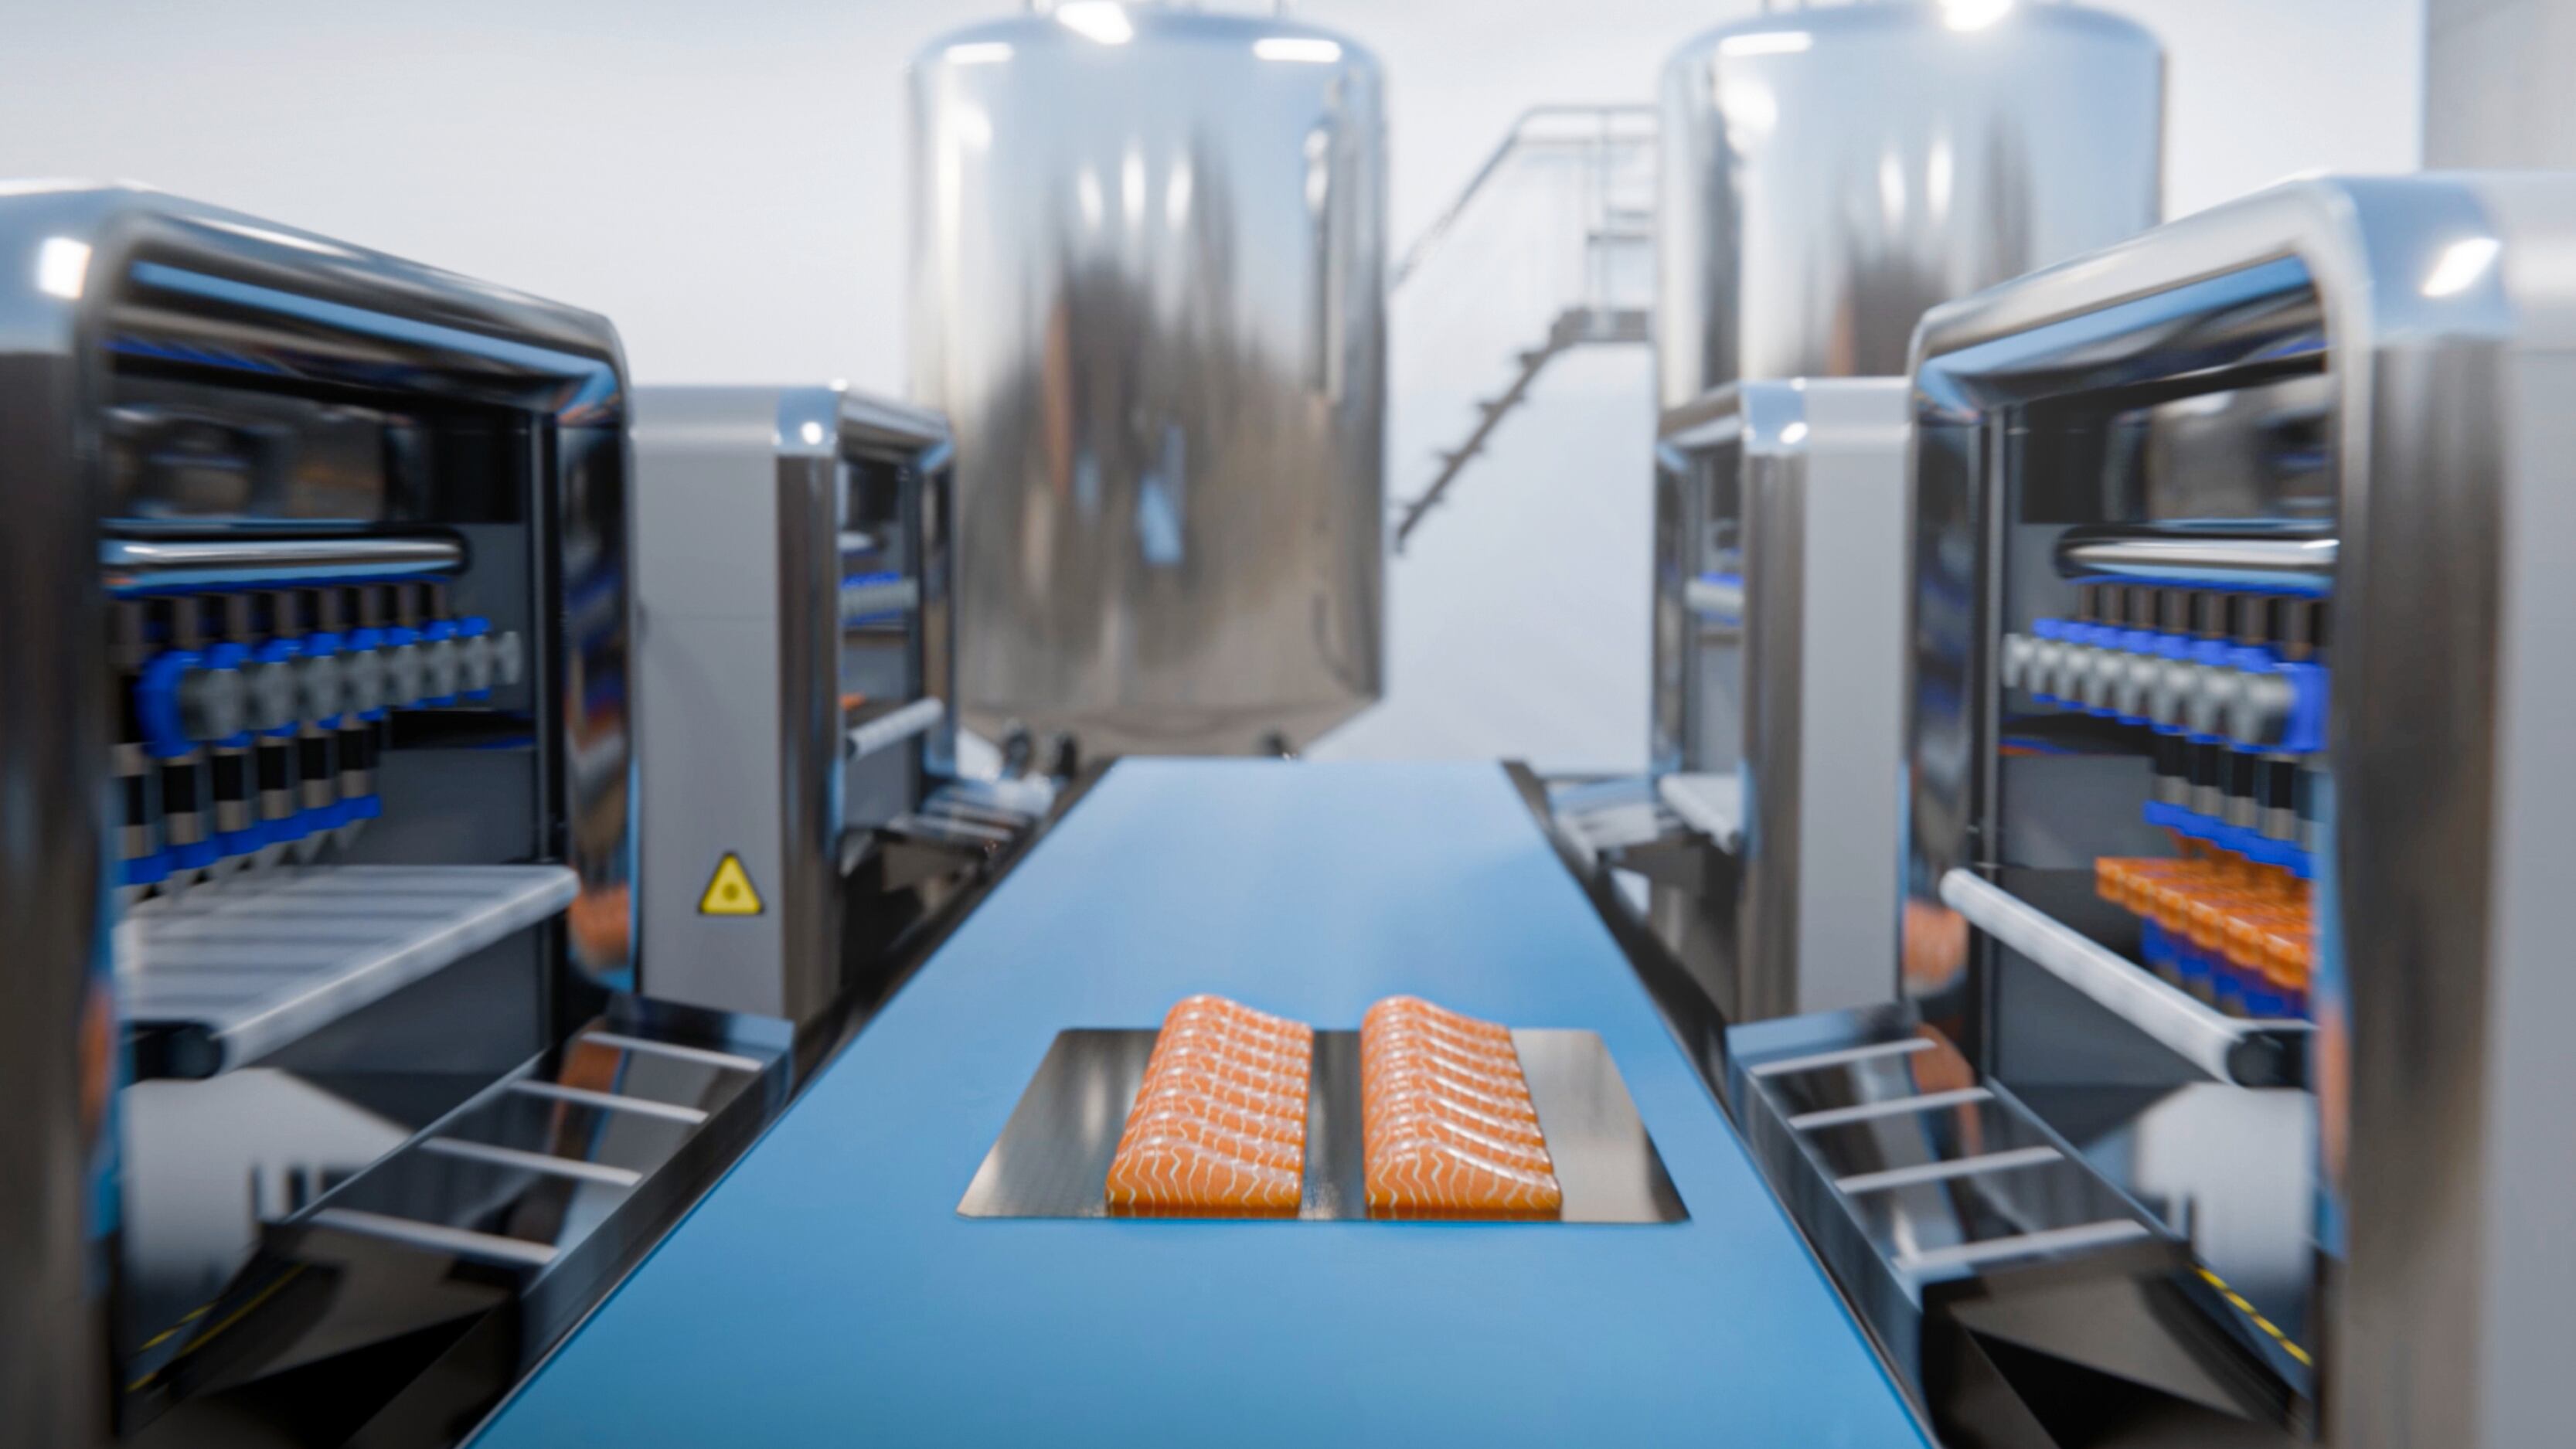
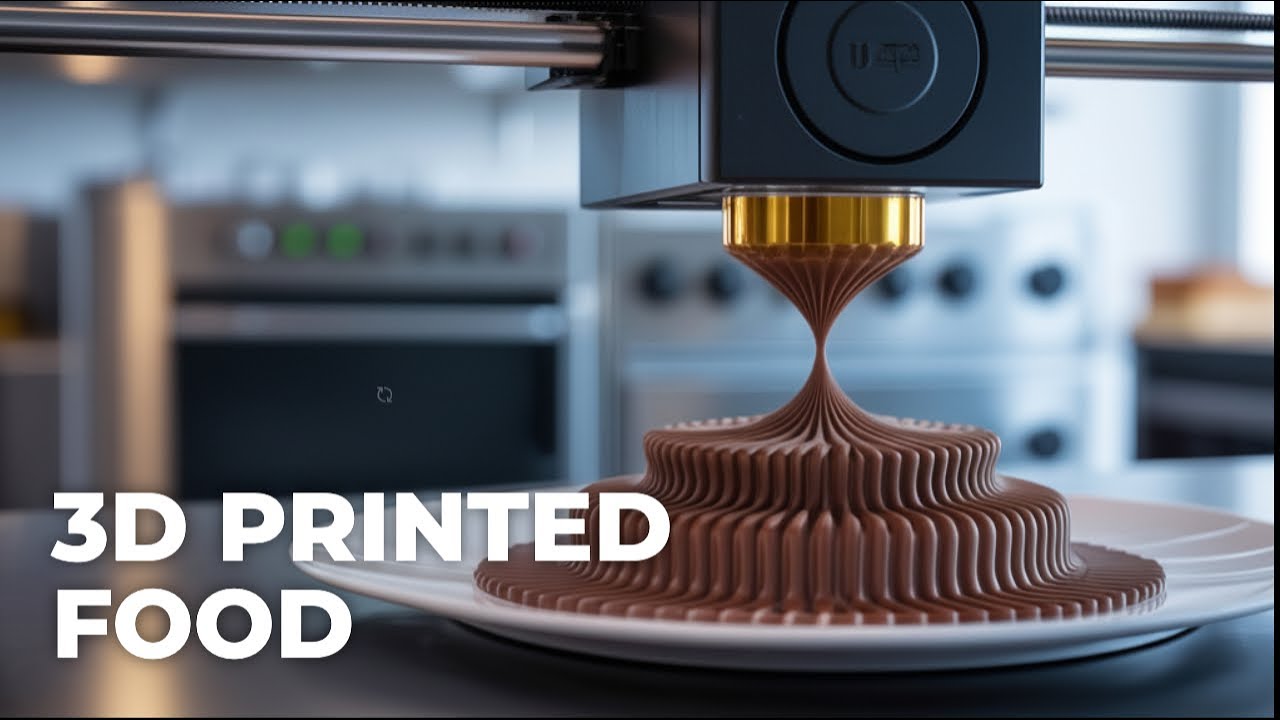
3D food printing is an advanced additive manufacturing process that builds edible items layer by layer using digital recipes and computerized dispensing systems. By extruding food inks—such as pureed vegetables, chocolate, dough, and dairy—through precision nozzles, these specialized devices transform raw ingredients into complex, customized, and structurally intricate shapes that are otherwise difficult or impossible to produce by hand.
The Evolution and Purpose of 3D Food Printing
Additive manufacturing has reshaped industries from aerospace to medicine, and the culinary arts are no exception. 3D food printing brings the principles of computer-aided design (CAD) to the kitchen, bakery, and industrial food processing plant. Rather than printing objects out of molten plastics or sintered metals, a food printer uses edible pastes, gels, and liquids.
The primary purpose of this technology is not necessarily to replace traditional cooking, but to augment food production. It offers unprecedented control over texture, geometry, nutritional composition, and presentation. As the technology matures, it is moving out of research laboratories and into commercial kitchens, hospitals, and specialized bakeries. Understanding how 3D food printing works requires breaking down the core technology, the materials involved, and the step-by-step procedure required to take a digital concept and turn it into a consumable meal.
Core Technologies: How Food Printers Deposit Material
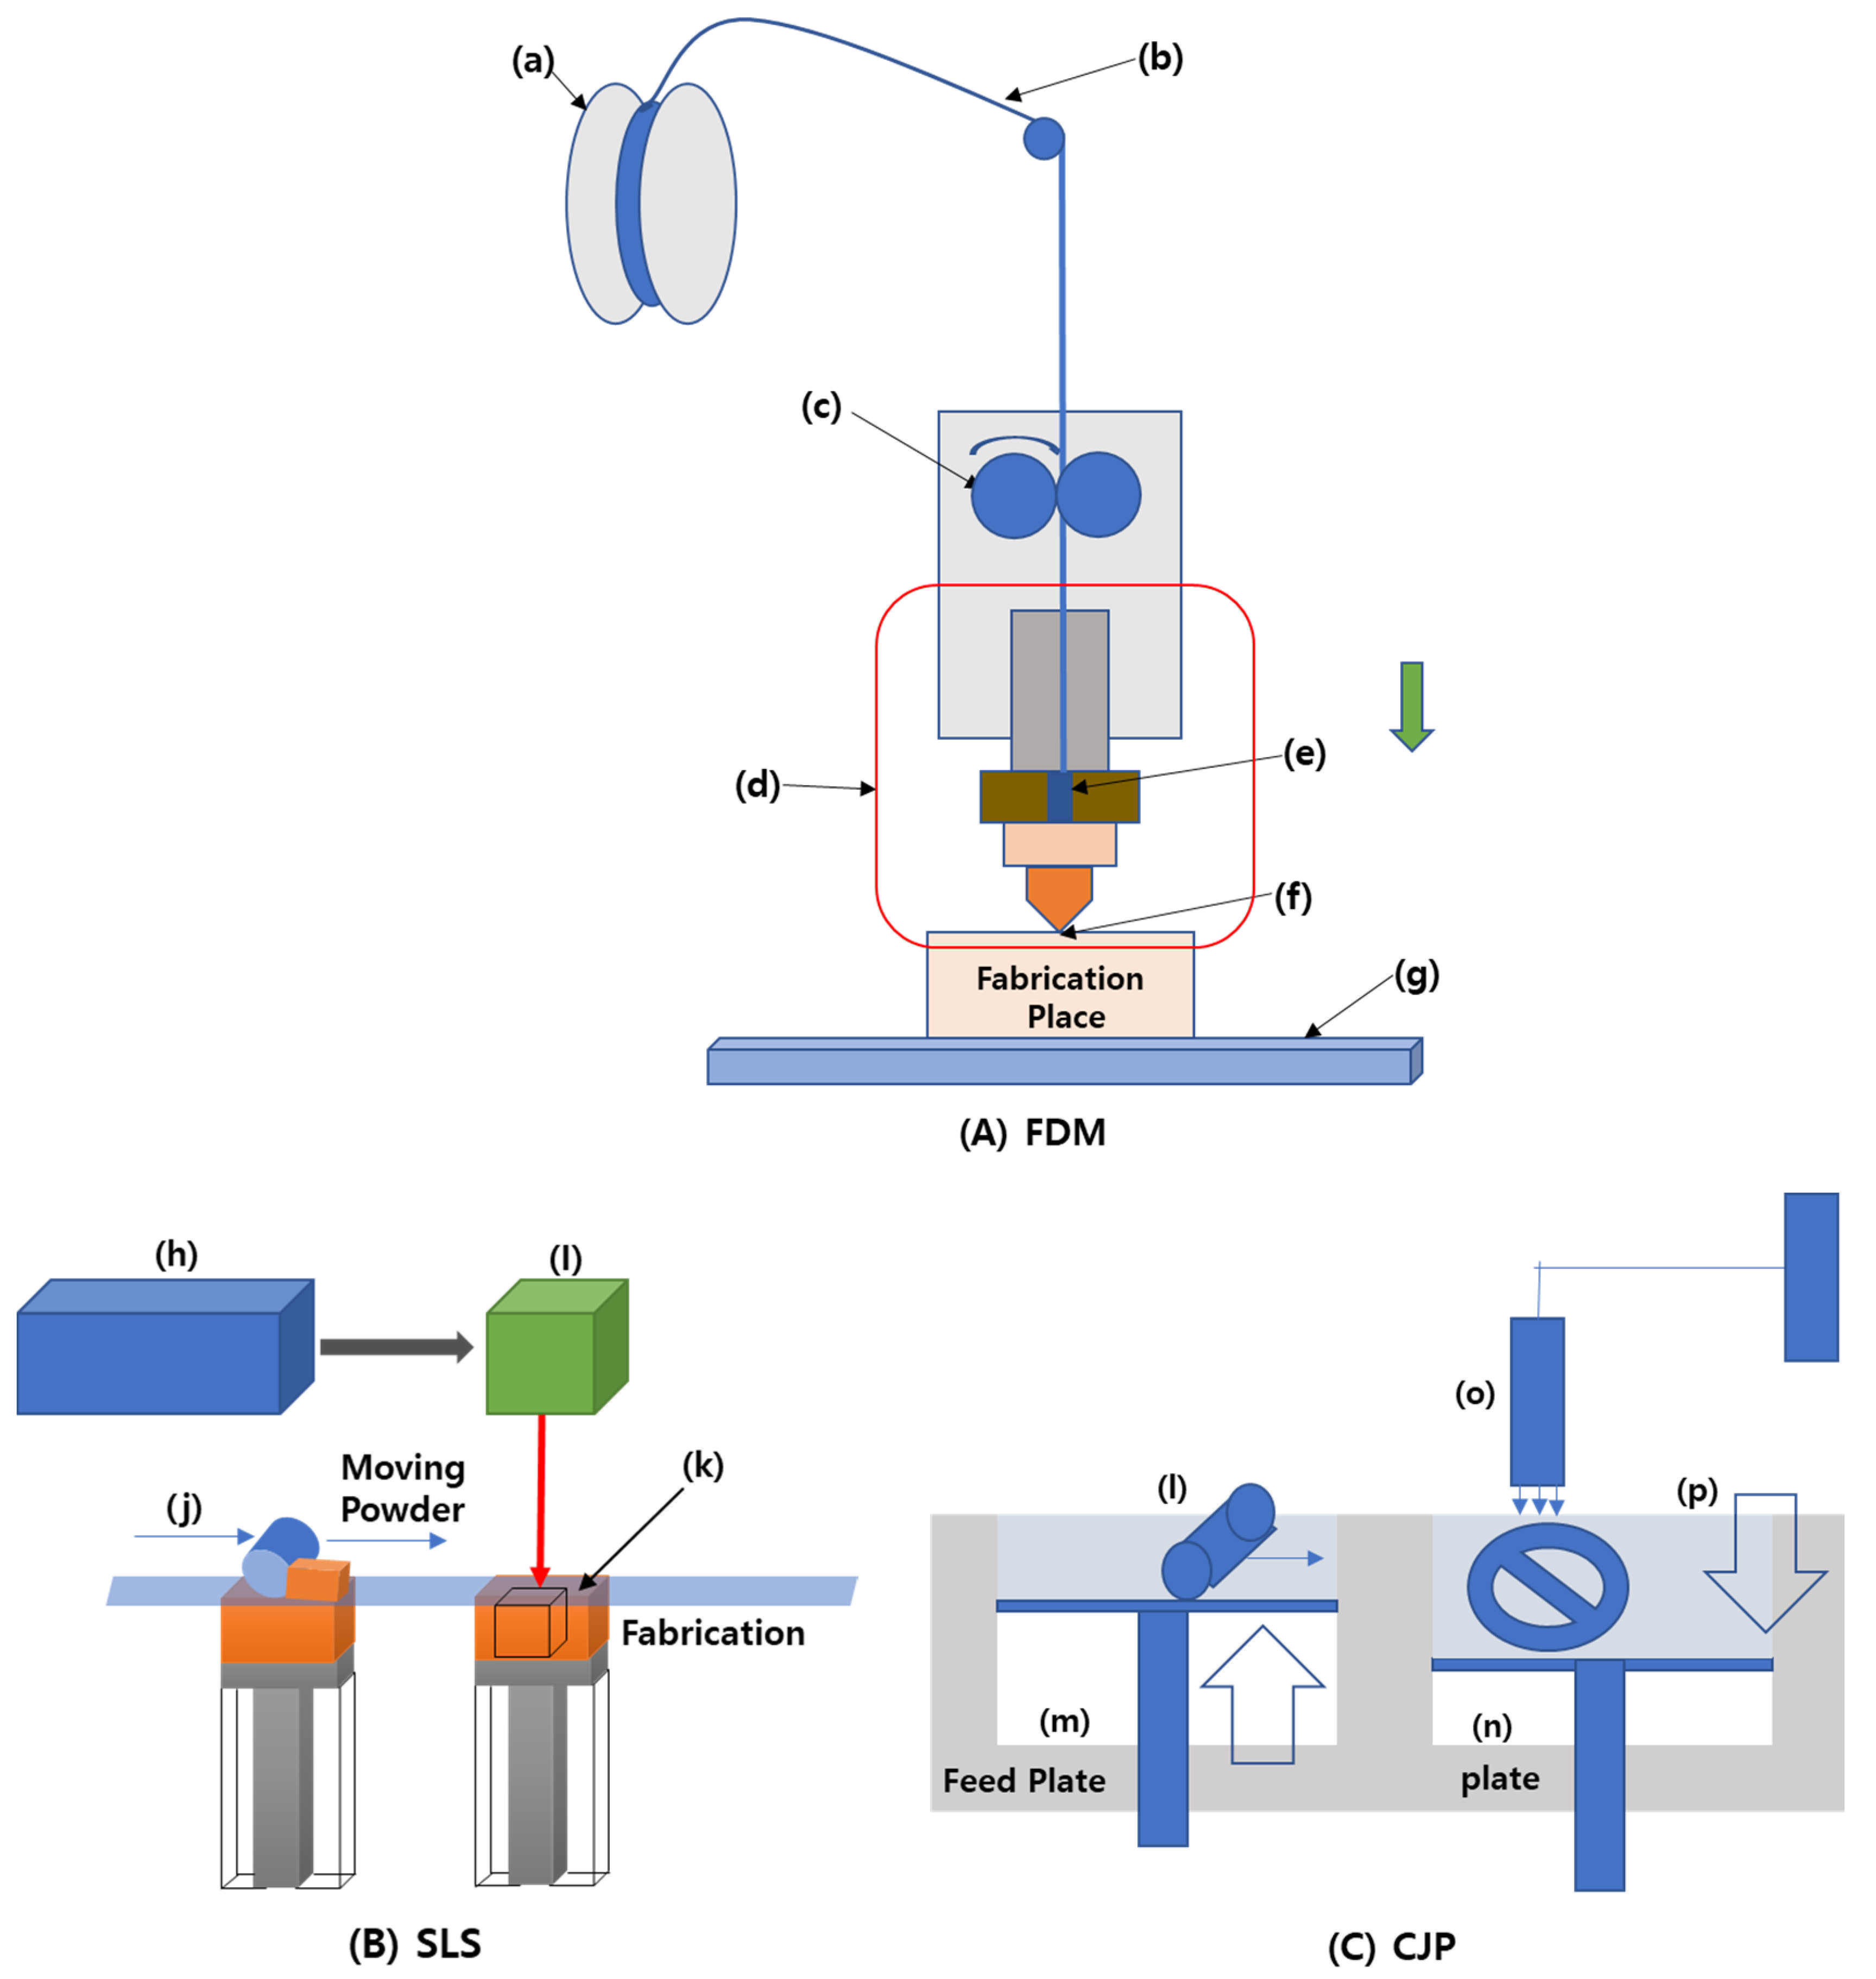
Different 3D food printing systems rely on distinct mechanical methods to deposit edible components. Just as traditional 3D printers use fused deposition modeling (FDM), stereolithography (SLA), or selective laser sintering (SLS), food printers use methods tailored to the rheological properties—flow and deformation behavior—of food.
Extrusion-Based Printing
By far the most common method in food printing is extrusion. A syringe-like canister or cartridge holds the food ingredient, often referred to as food "ink." A motorized piston, pneumatic pressure, or a mechanical screw pushes the material through a nozzle. As the print head moves across the build plate according to coordinates from a digital file, it lays down continuous strands of food. This method is ideal for smooth purees, soft cheeses, frostings, peanut butter, and doughs.
Selective Laser Sintering (SLS) and Binder Jetting
For dry or powdered ingredients—such as sugar, chocolate powder, or protein powders—powder-bed systems are used. In selective laser sintering, a laser selectively melts or sinters fine layers of powder together. Alternatively, binder jetting deposits a liquid binding agent, such as water or flavored syrup, onto a bed of powder to selectively glue the particles together layer by layer. This approach is frequently used to create complex, brittle sugar sculptures or intricate chocolate structures without needing structural supports.
Hot-Melt and Cold-Extrusion Printing
Temperature control is critical in food printing. Chocolate and cheese require precise thermal management to ensure they flow smoothly through the nozzle and solidify rapidly once deposited on the build platform. Hot-melt systems use heated cartridges to melt chocolate before extrusion, cooling it slightly as it exits to maintain structural integrity. Conversely, cold-extrusion systems keep perishables like dairy or meat purees refrigerated until the moment of deposition to prevent spoilage and maintain viscosity.
Step-by-Step Breakdown of the 3D Food Printing Process
Taking a meal from a computer screen to a plate involves a structured workflow. While consumer-grade machines automate much of this, commercial applications require careful preparation at each stage.
- Digital Design / CAD
- Slicing Software Conversion
- Ingredient Preparation & Loading
- Layer-by-Layer Printing
- Post-Processing & Finishing
1. Digital Design and Slicing
The process begins with a 3D digital model, typically created using CAD software, downloaded from an online repository, or generated via a 3D food scanner. Once the model is ready, it is imported into slicing software. The slicer divides the digital object into hundreds of horizontal cross-sections or layers, calculating the precise toolpaths, print speed, nozzle temperature, and extrusion rate required for the physical build.
2. Ingredient Preparation and Cartridge Loading
Unlike plastic filaments, food inks require precise preparation to achieve the correct viscosity. If a puree is too watery, it will collapse under its own weight; if it is too thick, it will clog the nozzle or fail to bond with the previous layer. Chefs and operators often use hydrocolloids, starches, or emulsifiers to stabilize food inks. Once mixed to the correct consistency, the food is loaded into syringes or reusable cartridges and inserted into the printer.
3. Layer-by-Layer Deposition
The printer executes the G-code generated by the slicer. The build plate or print head moves along the X, Y, and Z axes, dispensing the food ink precisely where specified. Depending on the complexity of the design and the size of the object, a print can take anywhere from a few minutes for simple chocolate garnishes to several hours for multi-layered savory meals.
4. Post-Processing and Cooking
In many cases, 3D printed food is not ready to eat straight off the build plate. Depending on the ingredients, post-processing may involve baking, frying, steaming, or freezing. For example, a printer might construct a raw dough and filling structure, which is then transferred to an oven. In other instances, such as decorative sugar work or pre-cooked purees, the item is ready for consumption immediately or requires setting in a refrigerator.
Ingredients Used in 3D Food Printing
The versatility of a food printer is limited primarily by the physics of the food materials. Successful printing requires ingredients that can be extruded smoothly and hold their shape once layered.
- Confectionery: Chocolate, sugar pastes, fondant, and marzipan are among the easiest and most popular materials due to their predictable melting and cooling properties.
- Carbohydrates: Potato purée, doughs (cookie, pasta, and bread), and rice pastes print exceptionally well when mixed to the correct starch-to-water ratio.
- Proteins: Meat slurries, surimi (fish paste), and insect-based protein powders can be extruded, though they require careful hygiene management and often post-cooking.
- Dairy and Produce: Soft cheeses, yogurt mixtures, and fruit and vegetable purees can be turned into customized nutritional snacks or visually appealing restaurant garnishes.
Comparison of Food Printing Methods
| Printing Method | Primary Materials | Common Applications | Key Advantages | Main Limitations |
|---|---|---|---|---|
| Extrusion (Direct Writing) | Purees, doughs, chocolate, cheese | Customized meals, shaped pasta, bakery items | Versatile; handles wet and viscous foods | Requires precise viscosity tuning; potential clogging |
| Selective Laser Sintering (SLS) | Sugar powder, chocolate powder | Complex confectionery, cake toppers, sculptures | No support material needed for complex geometries | Limited to dry, powder-based ingredients |
| Binder Jetting | Sugar, starch powders | Rapid prototyping of food shapes, flavored blocks | High production speed; intricate details | Extremely brittle output; post-processing required |
Practical Applications and Industry Use Cases
3D food printing is moving past the novelty stage, finding targeted applications across several industries where customization and efficiency offer tangible benefits.
Healthcare and Elderly Care
One of the most promising applications is in dysphagia management—helping individuals with swallowing difficulties. Hospitals and care facilities use food printers to puree meats, vegetables, and grains, and then reprint them into recognizable shapes that look appetizing. This approach improves dignity, psychological appetite stimulation, and nutritional intake for patients who would otherwise be restricted to unappealing unformed purees.
Personalized Nutrition
Nutritional customization allows athletes, military personnel, or individuals with specific dietary restrictions to receive meals tailored to their exact caloric, vitamin, and macronutrient requirements. By blending specific powders, vitamins, and base nutrients into the printing cartridges, a single machine can output personalized meals on demand.
Fine Dining and Commercial Baking
Pastry chefs and high-end restaurants utilize food printers to produce intricate structural elements that would take hours to pipe by hand. From geometric chocolate sculptures to delicate sugar lattices, the technology enables culinary artists to push the boundaries of plating and presentation.
Operational Limitations and Challenges
Despite its potential, 3D food printing faces several technical and practical hurdles that limit widespread consumer adoption.
- Speed and Throughput: Printing food layer by layer is inherently slower than traditional cooking or industrial manufacturing methods. It is impractical for high-volume kitchen environments during peak hours.
- Hygiene and Cleaning: Food safety is paramount. Printers contain numerous mechanical parts, tubes, and nozzles that must be thoroughly sanitized between uses to prevent bacterial growth and cross-contamination.
- Material Preparation Complexity: Users cannot simply put standard leftovers into a printer. Achieving the exact rheological properties required for successful extrusion often demands specialized culinary knowledge and additives.
- Equipment Cost: Commercial-grade food printers and their proprietary cartridges represent a significant capital investment for restaurants and food service providers.
Frequently Asked Questions
Can you print a fully cooked meal directly from a 3D printer?
Most current 3D food printers deposit raw or room-temperature ingredients. While some specialized research prototypes integrate heating elements or lasers to cook food as it prints, the vast majority of printed items require conventional post-processing, such as baking, boiling, or frying, before they are safe and palatable to eat.
Is 3D printed food safe to consume?
Yes, provided the machine is constructed from food-grade materials (such as stainless steel and food-safe plastics) and is rigorously sanitized between uses. The primary safety concern lies in bacterial growth within the printer's tubing and cartridges, making strict hygiene protocols essential in any commercial or home setting.
What is the easiest material for beginners to use in a food printer?
Chocolate and sugar pastes are widely considered the easiest materials for beginners. They have predictable melting and cooling thresholds, do not spoil as quickly as dairy or meat products, and maintain their structural shape reliably upon extrusion.
How long does it take to print a 3D food item?
Print times vary widely based on the complexity of the model, the volume of food, and the speed of the printer. A simple decorative chocolate garnish may take two to five minutes, whereas a complex, multi-layered savory meal or intricate structural sculpture can take anywhere from 30 minutes to over an hour.
Can 3D food printers help reduce food waste?
Yes, food printers can utilize imperfect, bruised, or surplus produce—such as misshapen vegetables or day-old bread—by pureeing them into printable inks. This transforms discarded or surplus ingredients into visually appealing, consumable meals, contributing to circular economy goals in commercial kitchens.
Next Actions for Enthusiasts and Professionals
For culinary professionals interested in exploring this technology, the best first step is to research commercial food printer manufacturers and review case studies from restaurants or hospitals currently utilizing the hardware. For home hobbyists, entry-level open-source food printing kits and modified FDM printers offer a hands-on way to experiment with extrusion mechanics using materials like chocolate and cookie dough. Always ensure that any hardware used for food production is explicitly certified as food-safe to prevent chemical contamination.