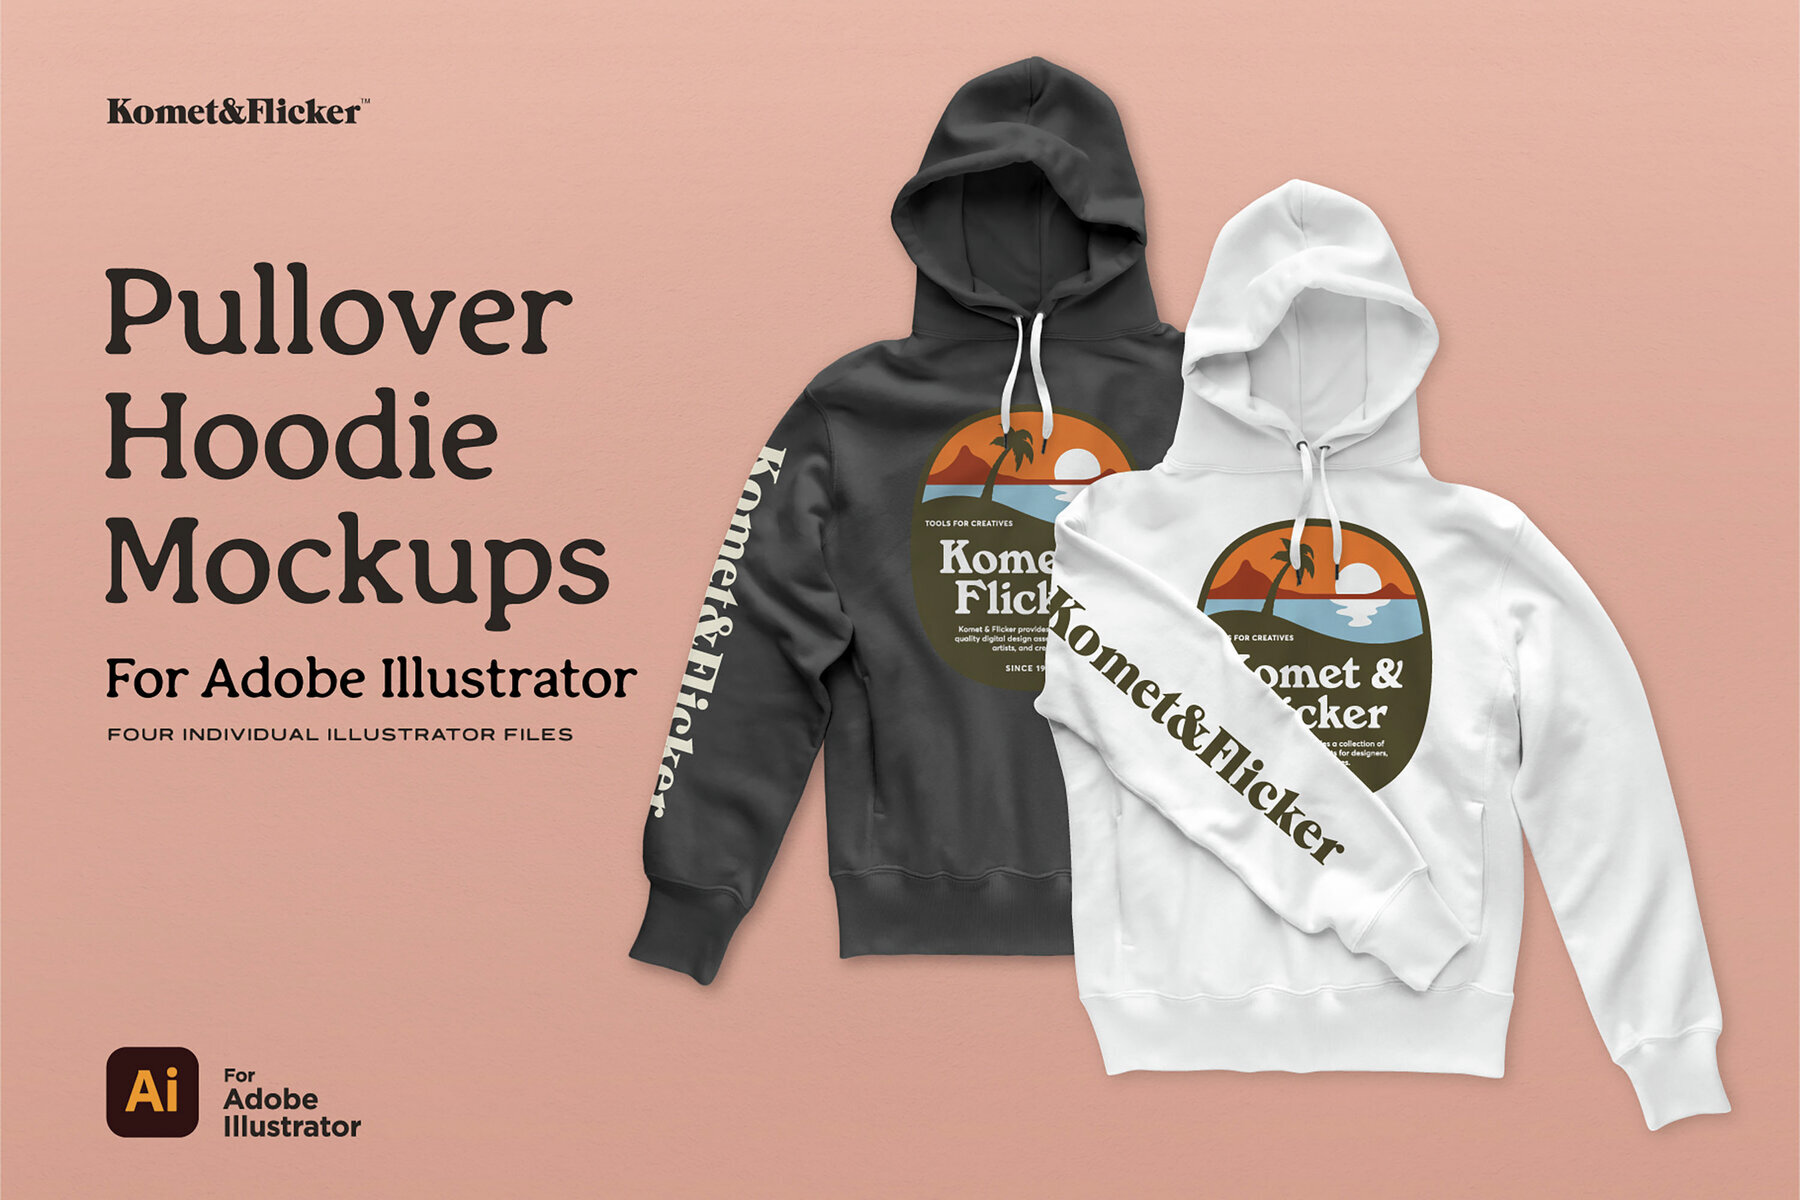
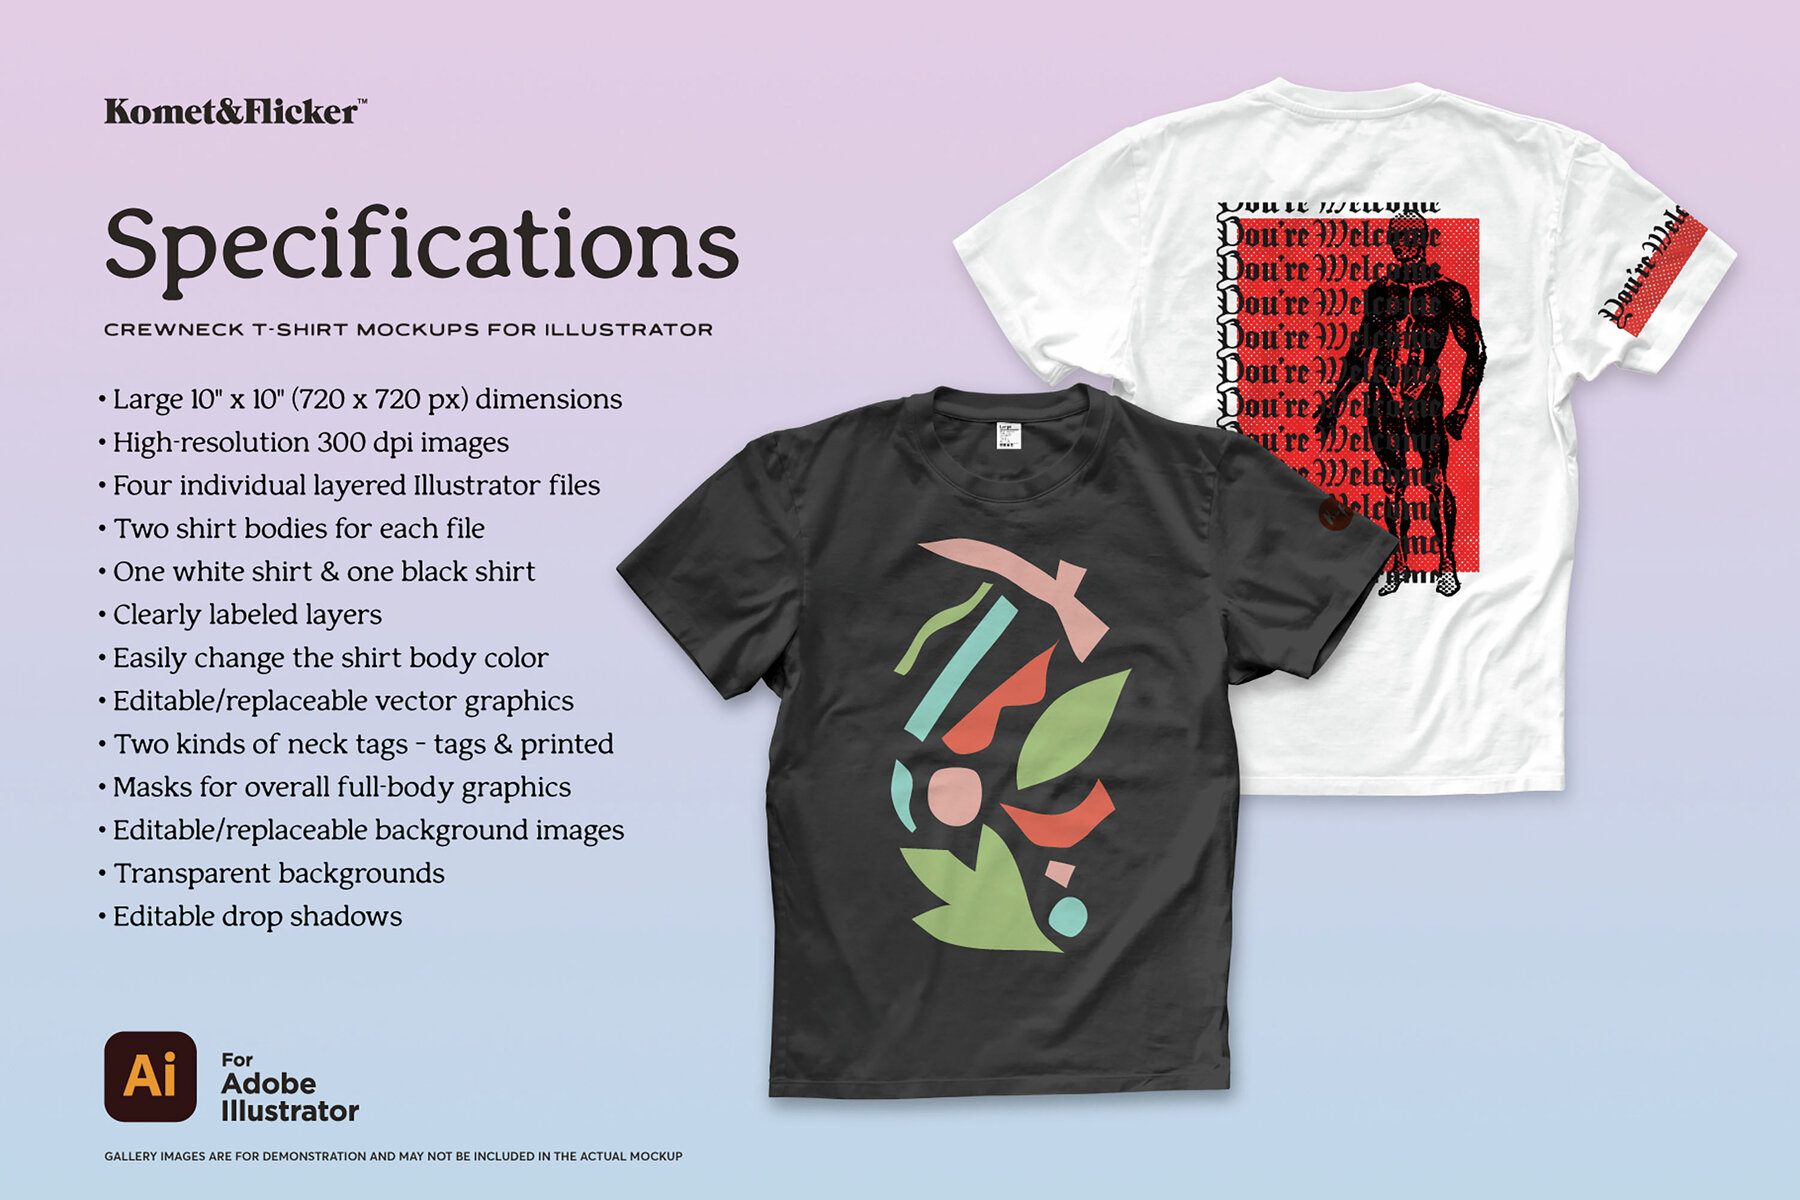
Adobe Illustrator mockups allow designers to map vector artwork onto photographic or 2D images while automatically preserving perspective, curvature, and lighting. By using the Mockup tool, you can non-destructively wrap logos, patterns, and typography around complex objects like apparel, packaging, and digital screens, keeping your workflow entirely within a vector-based environment.
The Evolution of Mockups Within the Vector Workflow
For decades, the standard workflow for any graphic designer involved a rigid separation of concerns: Adobe Illustrator was for creating the scalable vector assets, and Adobe Photoshop was for the "mockup" phase—the process of placing those assets into a real-world context. This usually required saving files, switching programs, and managing "Smart Objects" to ensure that any changes made to the logo in Illustrator would eventually propagate to the 3D-looking presentation in Photoshop.
As of 2026, this boundary has significantly blurred. The introduction and subsequent refinement of the native Mockup feature in Adobe Illustrator have transformed how brand identities and packaging designs are presented. Instead of flat representations, designers can now see their work interact with the physical properties of a product—such as the folds of a cotton T-shirt or the cylindrical distortion of a soda can—without ever leaving the Illustrator canvas.
This practical overview explores the technical mechanics of these mockups, the hardware requirements for smooth performance, and the strategic advantages of maintaining a vector-first presentation workflow.
The Core Technology: How Illustrator’s Mockup Tool Works
The modern Illustrator mockup feature relies on Adobe Sensei (Adobe’s AI and machine learning framework) to analyze a raster image and identify its geometric properties. When you place a vector logo over a photo of a coffee cup, the software identifies the "mesh" of that cup.
Unlike a simple "Envelope Distort" or "Free Transform," which requires the designer to manually guess the perspective, the Mockup tool calculates the surface area. It understands where an object begins and ends, how it curves away from the viewer, and how shadows are distributed across its surface.
Non-Destructive Mapping
One of the most critical technical aspects of this feature is that it is non-destructive. When you apply a mockup, Illustrator creates a specialized group that links the vector and the raster image. You can double-click into this group to edit the vector paths, change colors, or swap out typography. The software then re-renders the mapping in real-time. This eliminates the "export-import" cycle that previously slowed down the iterative design process.
Prerequisites and Technical Requirements in 2026
To use the Mockup features effectively, your system must meet specific criteria. Mapping vectors onto high-resolution raster images is a resource-intensive task that requires significant processing power, particularly for the GPU (Graphics Processing Unit).
Hardware and Software Standards
| Component | Minimum Requirement | Recommended for 2026 Workflow |
|---|---|---|
| Operating System | Windows 11 (v22H2+) / macOS 13 (Ventura) | Windows 11 / macOS 15 (Sequoia) |
| RAM | 16 GB | 32 GB or higher |
| GPU | 2 GB VRAM (DirectX 12 / Metal) | 8 GB+ VRAM with dedicated AI cores |
| Illustrator Version | Version 28.0 or higher | Version 30.x (Current 2026 Release) |
| Storage | SSD with 10 GB free space | NVMe Gen4/5 SSD for fast asset loading |
Using the Mockup tool on underpowered machines often leads to "lag" when moving the vector across the surface of the image. For professional environments, a dedicated GPU is no longer optional; it is the engine that calculates the real-time perspective shifts.
Step-by-Step Guide: Creating a Mockup in Illustrator
Creating a mockup is straightforward, but achieving a professional, photorealistic result requires attention to the initial setup. Follow this sequence to ensure the best results.
1. Asset Preparation
Ensure your vector artwork is grouped. If you are using multiple layers for a logo (e.g., an icon, a brand name, and a tagline), group them (Cmd/Ctrl + G) so the Mockup tool treats them as a single entity. For the background image, use a high-resolution JPEG or TIFF. Images with clear contrast and defined edges work best for the auto-detection algorithm.
2. The Initial Link
Place your vector artwork on top of the raster image in your Illustrator artboard. Position it roughly where you want it to appear. Select both the vector group and the raster image simultaneously.
3. Applying the Mockup
Navigate to the top menu and select Object > Mockup > Make. Illustrator will take a moment to analyze the image. Once processed, you will notice a circular "on-object" control widget and a bounding box around your vector.
4. Adjusting Position and Scale
Drag your vector artwork across the surface of the object. You will see the logo distort and wrap automatically as it moves. For example, as you move a logo toward the side of a bottle, it will compress to simulate the curvature of the glass. You can use the handles of the bounding box to scale or rotate the artwork.
5. Refining the Blend
To make the mockup look realistic, you often need to adjust the Opacity or the Blending Mode (found in the Transparency panel). Setting a logo to "Multiply" or "Overlay" allows the texture of the underlying object—such as the grain of wood or the weave of a fabric—to show through the vector ink.
Illustrator Mockups vs. Photoshop Mockups
While Illustrator’s native tools are powerful, they have not entirely replaced Photoshop. Choosing the right tool depends on the specific needs of your project.
When to Use Illustrator Mockups
Illustrator is ideal for rapid prototyping and brand identity development. If you are still experimenting with logo sizes, colors, or fonts, staying in Illustrator allows for instantaneous updates. It is also superior for "flat" mockups like stationery, business cards, and simple packaging where vector precision is paramount.
When to Use Photoshop Mockups
Photoshop remains the gold standard for high-end commercial visualization. If your mockup requires complex reflections, subsurface scattering (how light enters a translucent object like liquid or skin), or intricate displacement maps based on high-frequency textures, Photoshop’s layer-based engine provides more granular control.
Comparative Decision Matrix
| Feature | Adobe Illustrator Mockup | Adobe Photoshop Mockup |
|---|---|---|
| Primary Advantage | Real-time vector editing | Superior photorealism |
| Mapping Style | Automatic surface detection | Manual Smart Object placement |
| File Complexity | Lower (Integrated in one file) | Higher (Linked PSD/PSB files) |
| Text Handling | Live text remains editable | Text often needs to be flattened or updated in source |
| Texture Detail | Good for most surfaces | Excellent for complex textures/lighting |
Sourcing High-Quality Assets for Mockups
The quality of your mockup is heavily dependent on the source image. Using a low-quality, grainy photo will result in a presentation that looks amateurish, regardless of how well the vector is mapped.
- Adobe Stock Integration: The most seamless way to find assets is through the "Mockup" panel within Illustrator, which provides a direct search into Adobe Stock. Many of these images are specifically curated because they have "clean" surfaces that the AI can easily map.
- Commercial Mockup Sites: Websites like Yellow Images or Pixeden offer high-resolution photos of packaging, tech devices, and apparel. When using these in Illustrator, look for "clean" versions without pre-applied shadows that might interfere with your vector’s blending.
- Custom Photography: For unique products, taking your own photo is often necessary. To make these photos "Illustrator-friendly," use a tripod, ensure even lighting to minimize harsh reflections that confuse the AI, and use a high f-stop to keep the entire object in sharp focus.
Advanced Techniques for Professional Results
Simply clicking "Make Mockup" is often just the first step. To elevate the presentation to a professional level, consider these advanced adjustments:
Managing Lighting and Shadows
Illustrator's Mockup tool attempts to pull lighting data from the image, but it isn't perfect. If your logo looks too "flat" on a bright surface, try duplicating the vector layer within the mockup group. Set the bottom layer to a slightly darker color and offset it by a few pixels to create a subtle "embossed" or "printed" look.
Handling Transparency and Glass
Mapping onto glass or transparent plastic is notoriously difficult. To achieve a realistic look, you must master the Transparency panel. Using a "Soft Light" blending mode at 80% opacity often simulates the look of a decal on glass better than a standard "Normal" 100% setting.
Using Symbols for Global Updates
If you are mocking up a logo across twenty different items (pens, shirts, mugs, etc.), turn your logo into a Symbol (F8). Use the symbol to create each mockup. If the client requests a change to the logo color, you only need to edit the master symbol, and every mockup across your entire document will update automatically.
Troubleshooting Common Issues
The "Could Not Detect Surface" Error
This occurs when the background image is too cluttered or lacks sufficient contrast. To fix this, try cropping the image in Illustrator so the software only has to analyze the specific object you are targeting.
Distorted or "Jittery" Vector Edges
If the edges of your vector look pixelated or jagged after applying a mockup, check your Document Raster Effects Settings (Effect > Document Raster Effects Settings). Ensure the resolution is set to "High (300 ppi)." Also, check that GPU Preview is enabled (Cmd/Ctrl + E).
Slow Performance on Large Files
Large raster images (e.g., 50MB+ TIFFs) can slow down the mapping calculations. Before importing the image into Illustrator, downsample it in Photoshop to the exact size you need for your artboard at 300 dpi. Linking the file instead of embedding it can also keep the Illustrator file size manageable.
Frequently Asked Questions
Can I use Illustrator mockups for 3D objects I created myself?
Yes. If you use Illustrator’s "3D and Materials" panel to extrude or revolve a shape, you can map graphics onto those 3D objects using the "Graphics" tab within that panel. This is slightly different from the "Mockup" tool, which is designed for mapping onto 2D photos, but the underlying goal of surface mapping is the same.
Is the "Mockup" feature still in Beta in 2026?
By 2026, the core Mockup engine has moved out of the experimental Beta phase and is a standard feature in the Object menu. However, Adobe continues to release experimental "Beta" enhancements for specific niche surfaces, such as highly reflective liquids or complex human hair/fur.
Do I need an internet connection to use the Mockup tool?
While the initial analysis of the surface used to require cloud processing in earlier versions, the 2026 version of Adobe Illustrator handles most surface detection locally using on-device AI. However, an internet connection is still required to access Adobe Stock assets or sync your settings via Creative Cloud.
Can I export Illustrator mockups for use in web design?
Yes. You can export your artboards as high-quality JPEGs, PNGs, or WebP files. Since the final result is a combination of vector and raster data, the exported file will be a raster image. If you need a vector-only output, you would need to expand the appearance, though this will convert the mockup into a permanent, non-editable mesh.
Why does my logo look "washed out" when applied as a mockup?
This is usually due to the Blending Mode. If the background image is very bright, "Multiply" might make the logo too dark, while "Screen" might make it disappear. Try using the "Normal" mode but slightly reducing the Saturation of the vector artwork to match the natural color profile of the photo.
Practical Recommendation
For designers looking to integrate Illustrator mockups into their daily workflow, the most effective approach is to start with a "Master Presentation File." Instead of creating a new file for every client presentation, build a template artboard containing your most frequently used product shots (e.g., a standard business card, a tote bag, and a digital tablet).
By using Symbols for your brand assets, you can swap out an entire visual identity system across a dozen mockups in seconds. This not only saves hours of production time but also ensures that your presentations remain consistent and high-quality across all client touchpoints. As the technology continues to mature through 2026, the gap between a "quick vector sketch" and a "photorealistic presentation" will continue to close, making Illustrator an even more central hub for the entire design lifecycle.