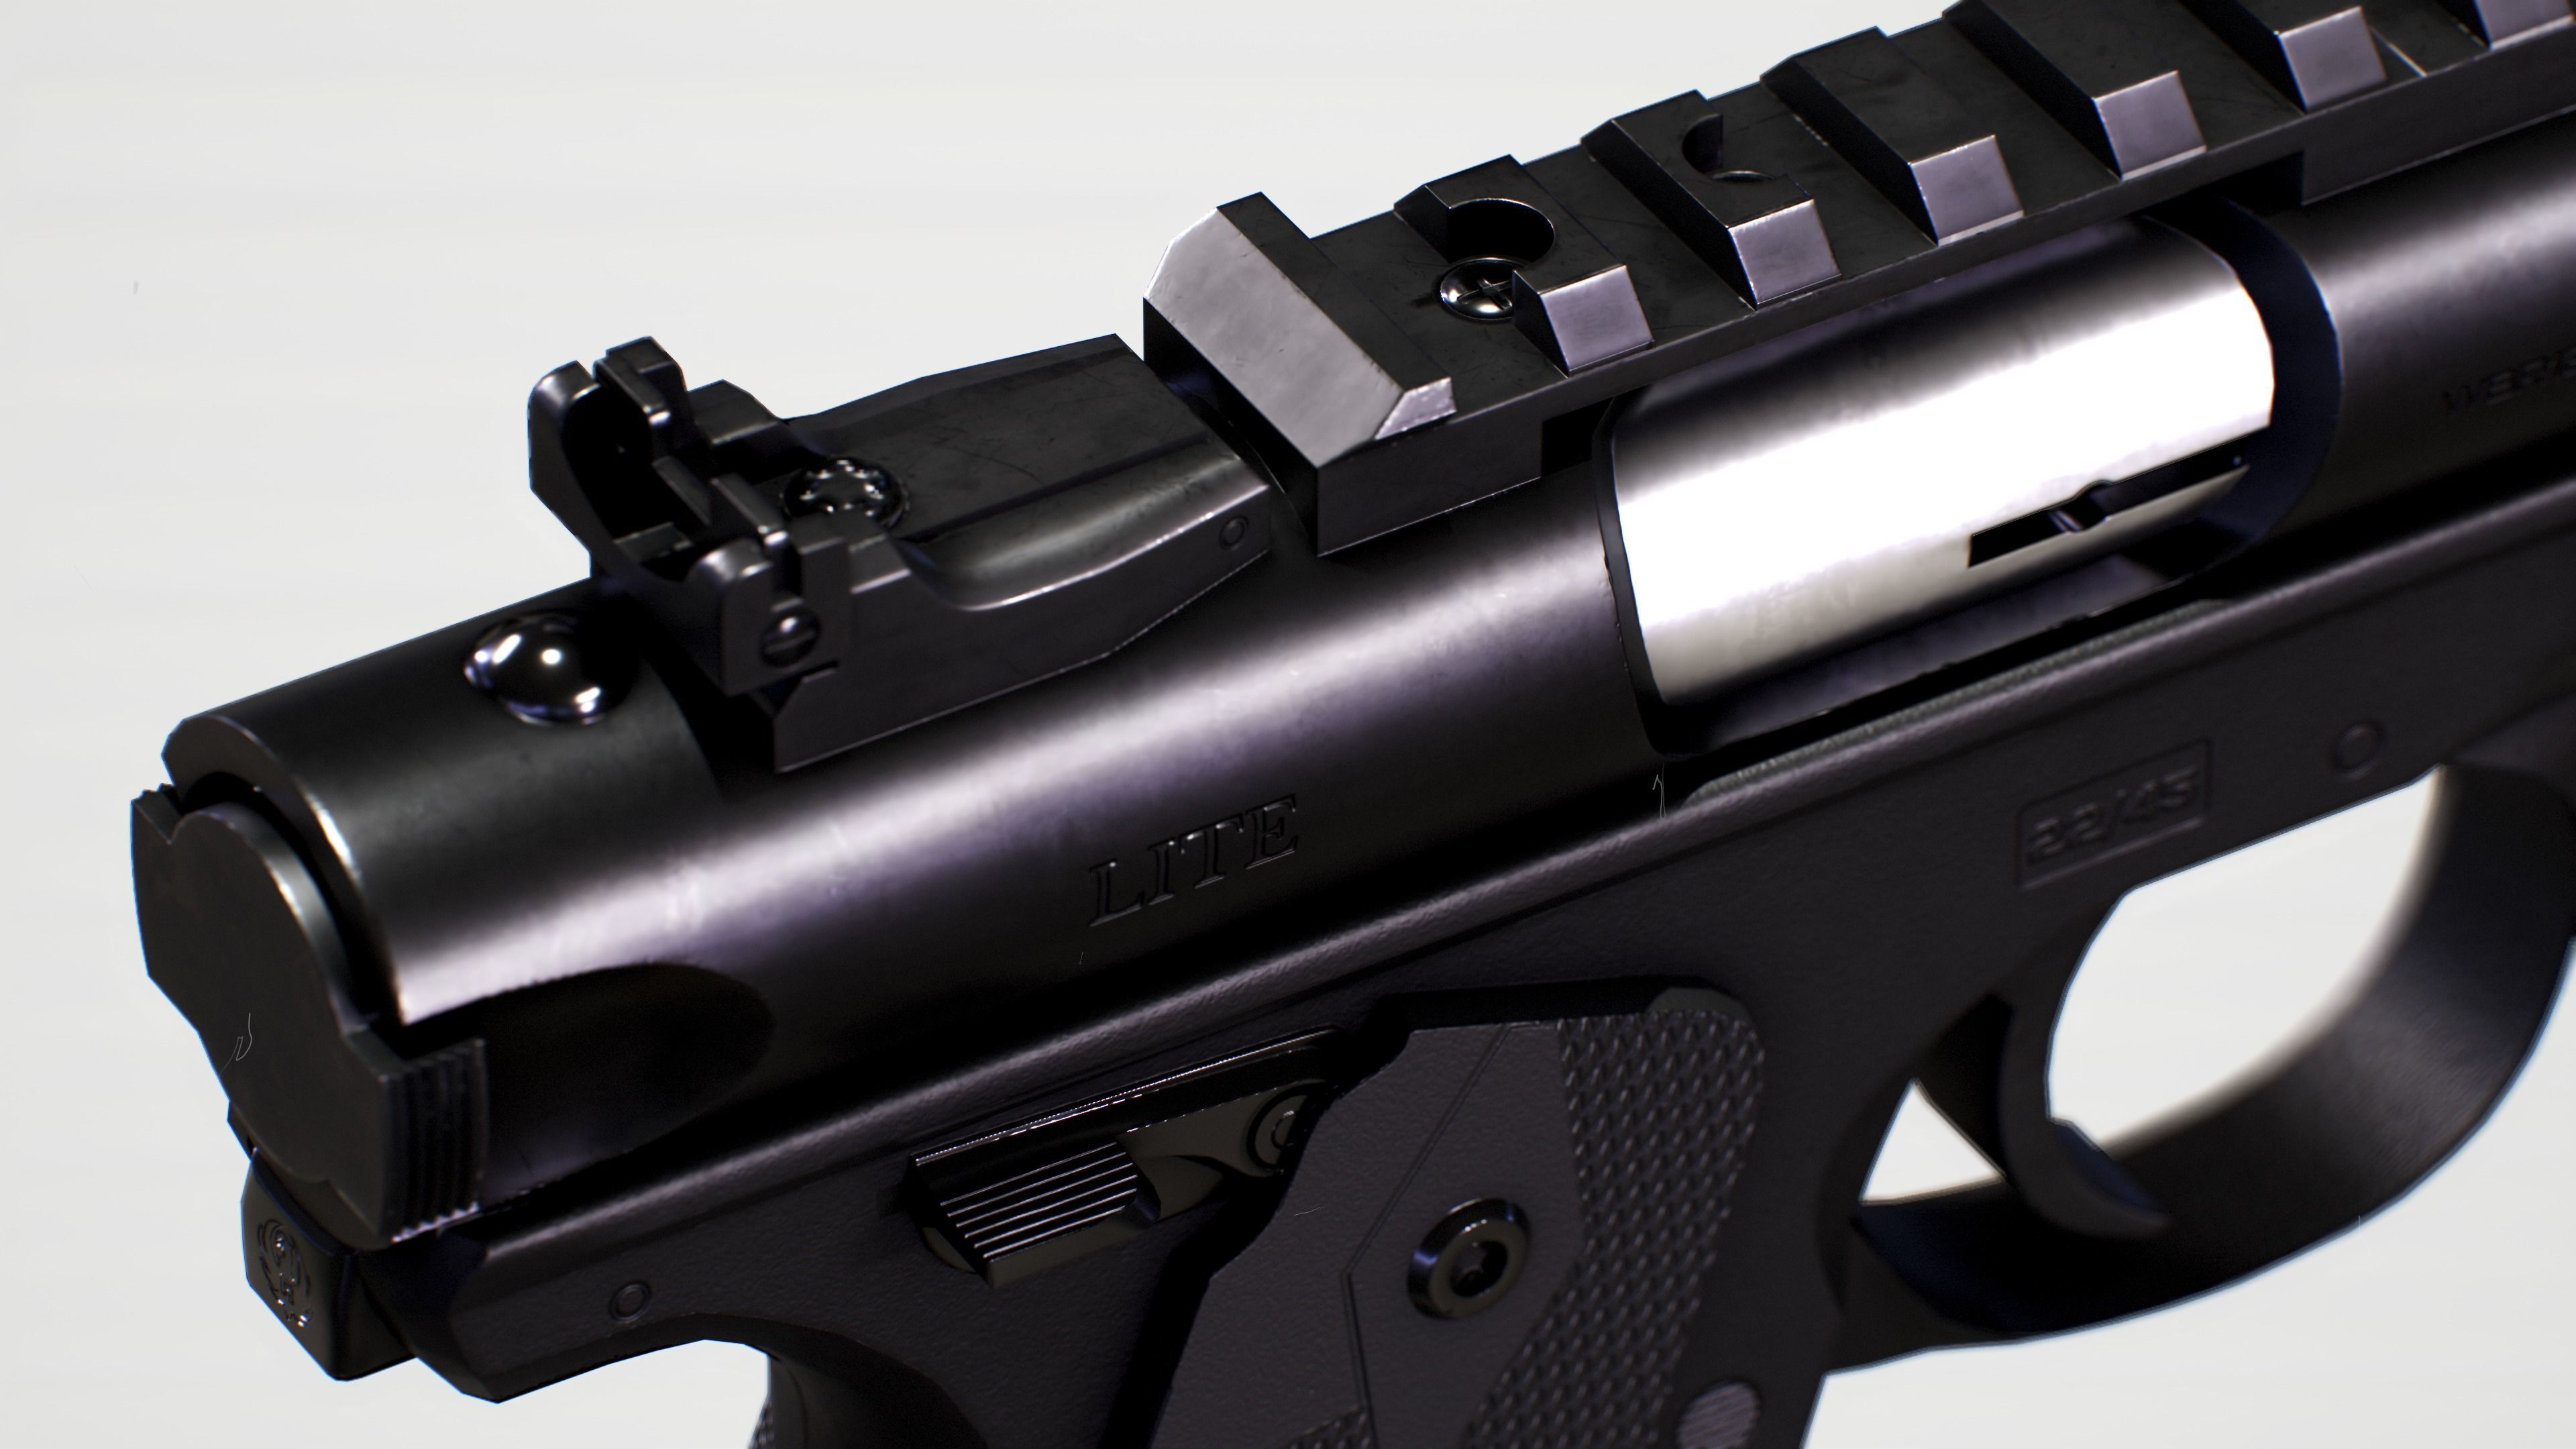
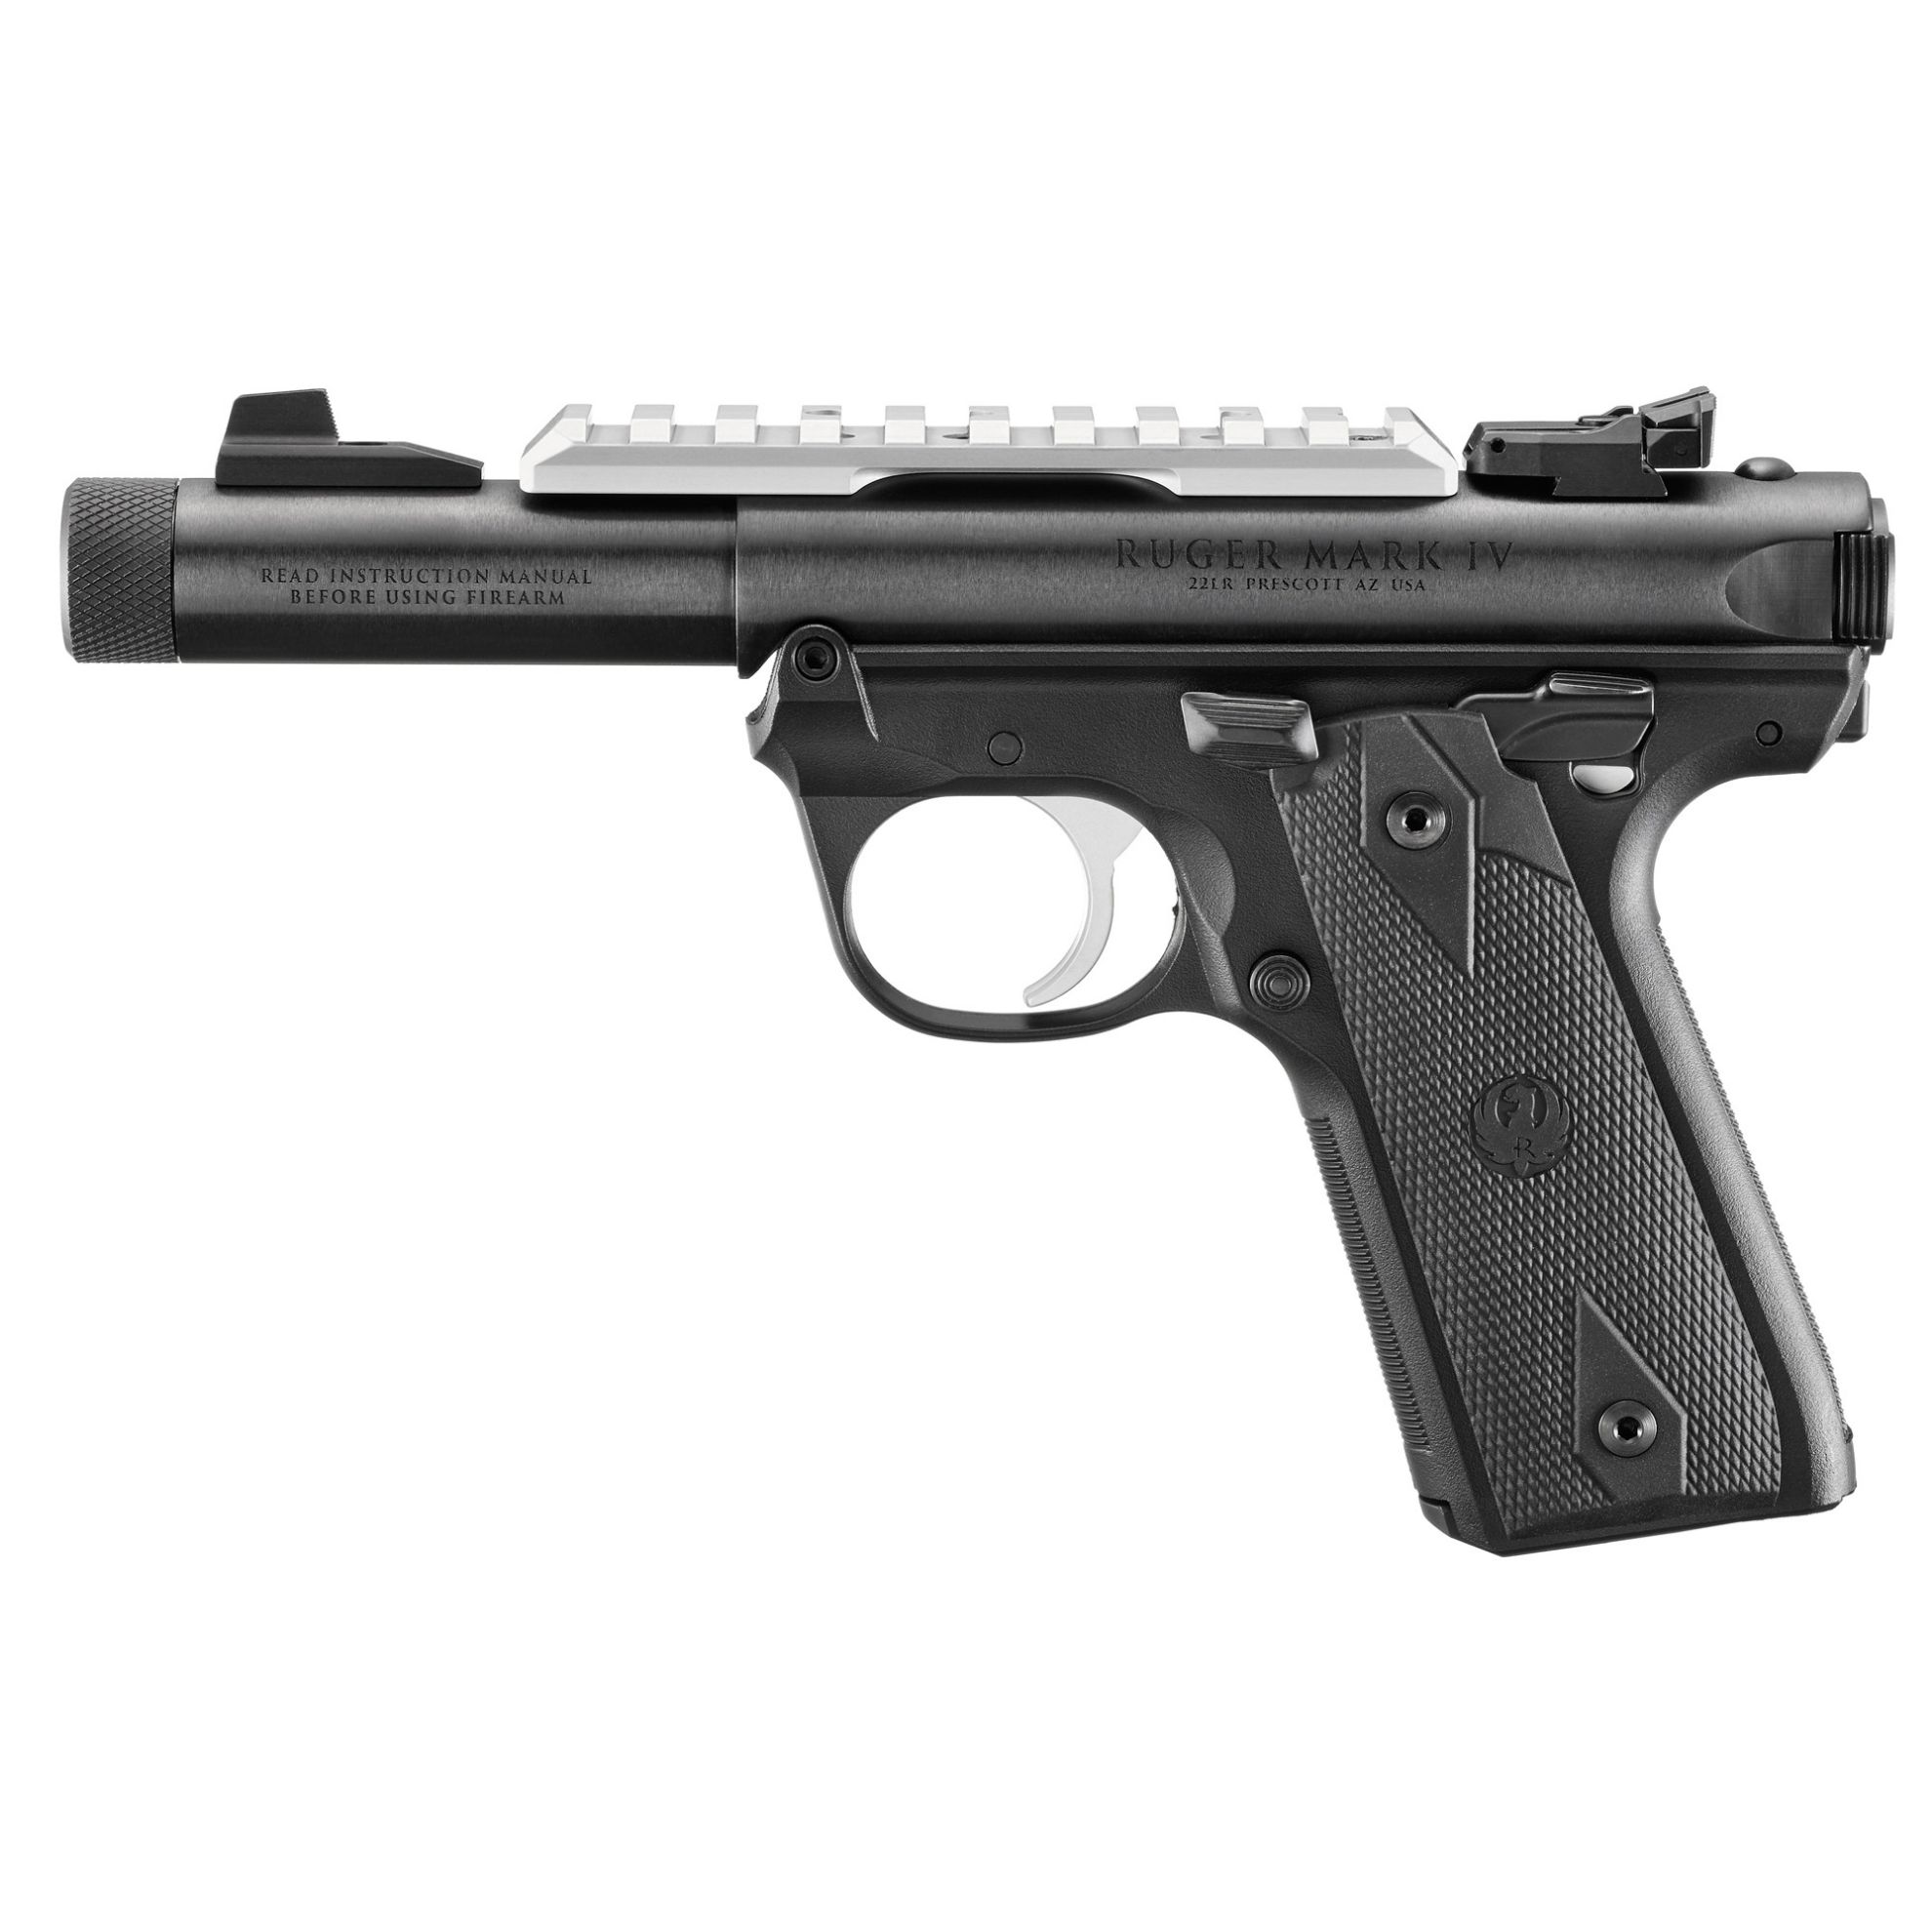
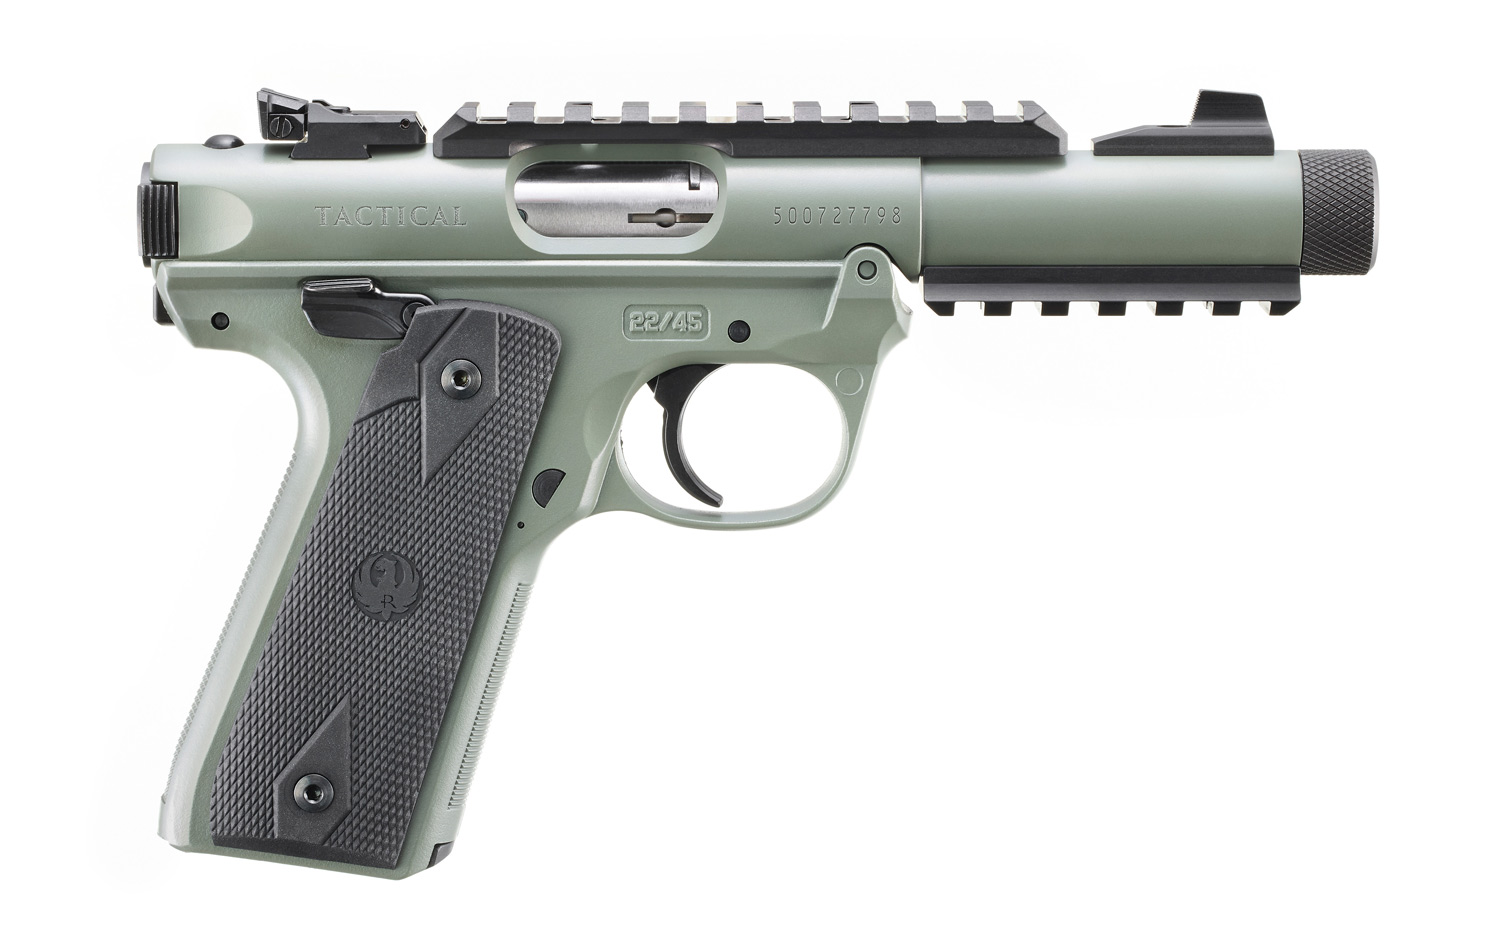
Reassembling a Ruger Mark I requires precise alignment of the mainspring housing pin and the bolt stop pin to ensure the internal components seat correctly within the receiver. Because the Mark I features a notoriously tight tolerance for its hammer strut and mainspring assembly, users must maintain specific muzzle-up positioning to allow the hammer strut to drop into its proper resting place, enabling the mainspring housing to lock flush against the grip frame.
The Ruger Mark I, introduced in 1949 as the company's debut rimfire pistol, remains a benchmark in firearm engineering. Unlike its successors, the Mark II, III, and IV, the Mark I possesses specific mechanical quirks regarding its disassembly and reassembly. Mastering this process is not merely about maintenance; it is an essential skill for ensuring the longevity of a firearm that collectors and enthusiasts have valued for over seven decades.
Understanding the Internal Mechanics
Before attempting reassembly, it is vital to understand why the Ruger Mark I is often described as "fiddly." The action relies on a mainspring housing assembly that acts as both a locking mechanism for the receiver and the tension provider for the hammer.
The primary point of failure for most users occurs when the hammer strut—the small metal rod that connects the hammer to the mainspring—becomes misaligned. If the strut is not correctly positioned behind the hammer during the final stage of reassembly, the mainspring housing will refuse to close, or worse, the firearm will fail to function upon loading. Patience and a clear understanding of the gravity-fed nature of the strut are paramount.
Required Environment and Safety Prerequisites
Before you begin, ensure you are in a well-lit, uncluttered workspace. A rubber mat is highly recommended to protect the finish of the firearm and to prevent small, hardened steel pins from bouncing away if dropped.
- Safety Verification: Always confirm the firearm is unloaded. Remove the magazine, retract the bolt, and visually and physically inspect the chamber to ensure no cartridges are present.
- Cleaning State: Ensure all components are clean and lightly lubricated. Old, caked-on carbon around the receiver lug or the mainspring housing channel will significantly increase the difficulty of seating the components.
- Tooling: While the Ruger Mark I can theoretically be reassembled without tools, a non-marring punch or a small wooden dowel is often helpful for aligning the bolt stop pin.
Step-by-Step Reassembly Procedure
The following steps assume the firearm is currently field-stripped into its primary components: the barrel/receiver assembly, the bolt, the frame, and the mainspring housing assembly.
1. Reinstalling the Bolt
Insert the bolt into the rear of the receiver. Ensure the extractor is oriented correctly—usually toward the right side of the firearm. Push the bolt forward until it sits flush against the rear face of the barrel. If the bolt feels resistant, ensure the recoil spring guide rod is properly aligned within the bolt’s internal channel.
2. Mating the Receiver to the Frame
Place the receiver onto the grip frame. The lug on the bottom of the receiver must seat precisely into the corresponding cut-out on the frame. If the receiver does not sit perfectly flush against the frame, do not force it. Check for debris in the mating surfaces and ensure the bolt stop pin is not obstructing the path.
3. Inserting the Bolt Stop Pin
With the receiver and frame aligned, insert the bolt stop pin through the rear of the receiver. This pin serves as the primary tether between the two main sub-assemblies. It should slide in with moderate pressure; if it binds, wiggle the barrel/receiver slightly to find the "sweet spot" where the holes align perfectly.
4. The Critical Hammer Strut Alignment
This is the most common point of failure. Turn the firearm so that the muzzle is pointing toward the ceiling. By holding the pistol in a vertical position, gravity naturally causes the hammer strut to hang downward.
Insert the mainspring housing into the back of the grip frame. As you push the housing upward into the frame, the "nose" of the mainspring housing must capture the hammer strut. You will feel a point of resistance; this is the tension of the mainspring meeting the hammer. Continue to push the housing inward. If it stops abruptly, the strut has missed the hammer cup. You must remove the housing, tilt the firearm slightly, and try again until the housing locks into the frame with a distinct click.
5. Locking the Mainspring Housing
Once the mainspring housing is seated, fold the latch upward to lock it against the frame. Test the action by dry-firing—only after confirming the chamber is empty—to ensure the trigger resets and the bolt cycles freely.
Troubleshooting Common Reassembly Issues
| Problem | Likely Cause | Solution |
|---|---|---|
| Housing won't close | Hammer strut is misaligned | Tilt muzzle up; ensure strut drops behind the hammer cup. |
| Bolt won't move | Bolt stop pin is not fully seated | Verify the pin is flush on both sides of the receiver. |
| Trigger feels dead | Hammer not cocked | Cycle the bolt manually to reset the sear and hammer. |
| Excessive resistance | Debris in the housing channel | Clean the channel and check for burrs on the housing. |
Technical Specifications for the Mark I
The Ruger Mark I utilizes a blowback-operated system. The weight of the bolt and the tension of the mainspring are calibrated for standard-velocity .22 Long Rifle ammunition. Users should avoid high-velocity or hyper-velocity ammunition, as these can accelerate wear on the internal pins and the bolt stop.
The mainspring housing is a multi-part assembly consisting of the housing, the mainspring, the strut, and the latch. Over decades of use, the latch can become loose. If you find the housing "popping" open during operation, it is likely that the latch spring is worn or the locking detent has become rounded. In such cases, professional inspection or replacement of the mainspring housing assembly is advised rather than attempting to modify the latch geometry.
Maintenance and Lubrication Best Practices
Reassembly is the perfect time to perform deep maintenance. Use a high-quality synthetic gun oil on the bolt rails, the hammer-to-strut interface, and the sear engagement surfaces. Avoid over-lubrication, as excess oil in the Mark I design tends to attract unburned powder residue, which creates a thick sludge that inhibits the movement of the hammer strut—often the root cause of reassembly failures.
After reassembling, perform a function check. With the magazine removed, cycle the bolt, pull the trigger (it should click), hold the trigger back, cycle the bolt again, and release the trigger slowly. You should hear the "click" of the sear resetting. If you do not hear this, the disconnector or the sear may not be engaging correctly, requiring a full disassembly to inspect the internal spring tension.
FAQ: Ruger Mark I Maintenance
How often should I disassemble the Ruger Mark I for cleaning? Frequent disassembly is generally discouraged for the Mark I. Unlike modern pistols designed for modular takedown, the Mark I is best cleaned by keeping the action free of heavy fouling. A thorough cleaning every 500 to 1,000 rounds is sufficient for most users.
Is it normal for the bolt stop pin to be very tight? Yes. In factory-new or well-maintained specimens, these pins are machined to tight tolerances. Use a nylon punch if you find the pin difficult to remove; never use a steel hammer directly against the pin as you may mushroom the end, making future removal nearly impossible.
Why does my mainspring housing refuse to latch? This is almost always due to the hammer strut failing to seat inside the hammer cup. Ensure you are gravity-loading the strut by pointing the muzzle up during the final stage of reassembly. If it still fails, the strut may be bent.
Can I upgrade the internal components? While many parts for the Mark II and III exist, the Mark I parts are specific. Be wary of using "drop-in" parts from later iterations, as the geometry of the bolt and the firing pin changed between the Mark I and the subsequent versions.
What should I do if a pin becomes stuck during reassembly? Stop immediately. Forcing a pin can damage the receiver hole. Apply a drop of penetrating oil, let it sit for five minutes, and use a brass punch to gently realign the holes from both sides until the pin moves freely.
Final Recommendations
The reassembly of a Ruger Mark I is a rite of passage for rimfire enthusiasts. By maintaining a clean work environment and following the gravity-reliant strut procedure, you preserve the mechanical integrity of this classic design. If you continue to encounter resistance after multiple attempts, perform a full cleaning of the housing channel. If the issue persists, consult a qualified gunsmith who specializes in vintage Ruger rimfire pistols to check for internal wear on the hammer strut or the mainspring housing latch.