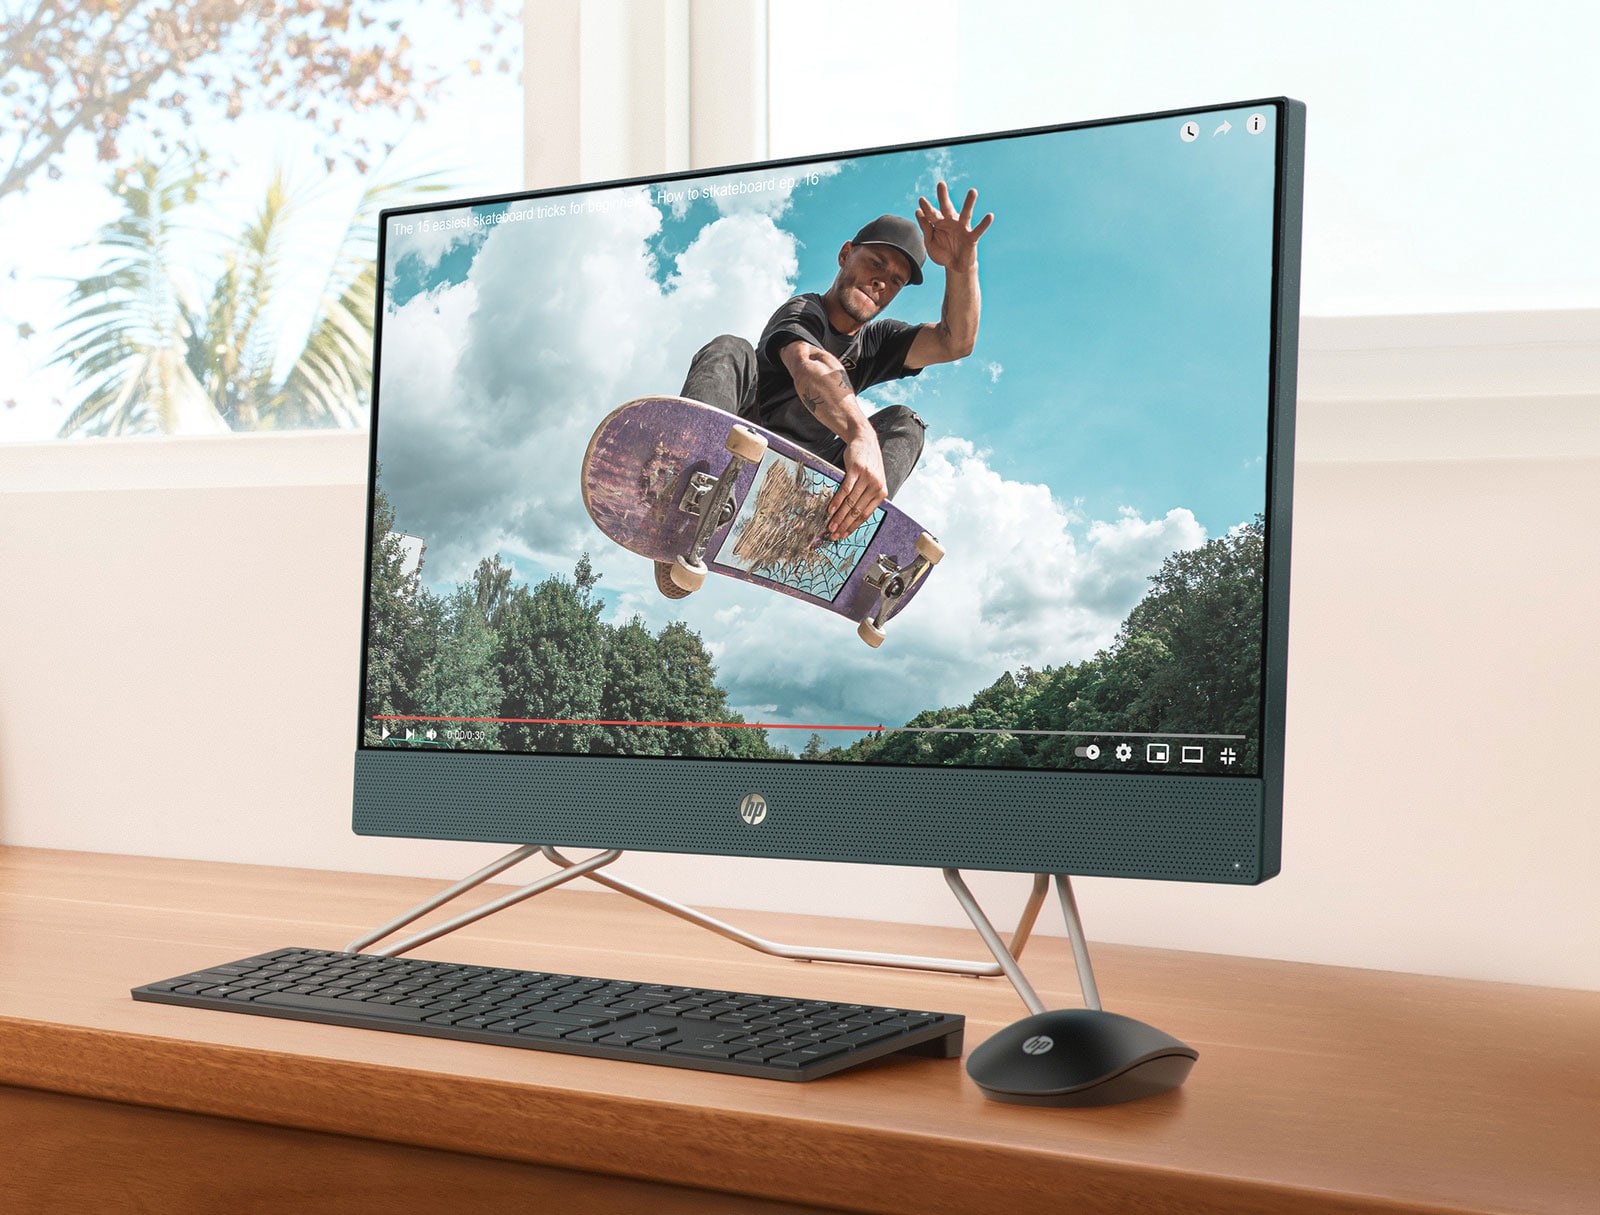
An all-in-one computer chassis is a specialized housing that integrates a high-resolution display with a mounting framework for internal PC components. By utilizing standards like Thin ITX, these chassis allow users to build custom, space-saving desktop systems that combine the aesthetics of a pre-built AIO with the flexibility and repairability of a traditional DIY desktop PC.
Building a computer within an all-in-one (AIO) chassis represents a unique intersection of industrial design and enthusiast-grade hardware. Unlike a traditional tower, where space is abundant and airflow paths are straightforward, an AIO chassis requires precise component selection and an understanding of specialized form factors. As of 2026, the market for standalone AIO chassis has matured, offering professional-grade display panels and sophisticated thermal solutions that rival the best premium pre-built systems from major manufacturers.
Understanding the All-in-One Computer Chassis
An AIO chassis is essentially a "barebones" monitor that includes a cavity in the rear for mounting a motherboard, storage, and cooling hardware. Historically, AIOs were proprietary systems that were notoriously difficult to upgrade or repair. However, the rise of the Thin ITX motherboard standard and the democratization of display panels have empowered system integrators and DIY enthusiasts to create their own custom machines.
The primary appeal of an AIO chassis is the elimination of cable clutter and the reduction of the desktop footprint. By consolidating the computer and the monitor into a single unit, the user gains a clean workspace without sacrificing the ability to choose their own processor, RAM, or storage. This "white box" approach to AIOs is particularly popular in medical, educational, and corporate environments where standardized, easy-to-service hardware is a priority.
The Role of Thin ITX Standards
The backbone of most modern AIO chassis is the Thin ITX form factor. Developed by Intel, this standard maintains the 170mm x 170mm footprint of Mini-ITX but limits the maximum component height to 20mm. This low profile is achieved by using SODIMM (laptop-style) memory slots and horizontally oriented I/O ports.
When selecting an AIO chassis, verifying compatibility with Thin ITX is the first priority. Some chassis use proprietary mounting layouts, but the majority of high-quality DIY units adhere to this standard to ensure that users can swap motherboards in the future as new socket types and chipsets emerge.
Key Components of an All-in-One Chassis
To successfully navigate the selection process, one must understand the distinct sub-systems integrated into the chassis itself. An AIO chassis is more than just a box; it is a complex assembly of electrical and optical components.
1. The Integrated Display Panel
The display is the most expensive and permanent part of the chassis. Unlike a desktop monitor, replacing a panel inside an AIO chassis is technically demanding. As of 2026, professional-grade AIO chassis typically offer the following options:
- Resolution: 1080p (standard for office work), 1440p (the "sweet spot" for productivity), and 4K (essential for creative professionals).
- Panel Technology: IPS remains the gold standard for viewing angles and color accuracy, though OLED options have become increasingly common in high-end 27-inch and 34-inch ultrawide chassis.
- Touch Functionality: Many chassis include integrated 10-point capacitive touch screens, often protected by edge-to-edge glass.
2. Internal Power Distribution
Because space is limited, most AIO chassis do not house a standard ATX or SFX power supply. Instead, they rely on an external AC/DC power brick (similar to a laptop) that connects to a DC-in jack on the motherboard or a dedicated internal power board. High-performance chassis may support power bricks up to 330W, allowing for higher-TDP desktop processors.
3. Thermal Solutions
Managing heat in a chassis that is only 2 to 3 inches deep is a significant engineering challenge. Most AIO chassis come equipped with a custom cooling solution, often consisting of:
- A copper heat pipe assembly.
- A "blower-style" radial fan.
- A specialized heatsink designed to vent hot air out of the top or sides of the unit.
It is critical to check the TDP (Thermal Design Power) rating of the included cooler. A chassis designed for a 35W "T" series processor will overheat if paired with a standard 65W or 125W desktop CPU.
4. Internal Cabling and I/O
A standard AIO chassis includes internal cables that connect the motherboard to the display. This is typically done via LVDS (Low-Voltage Differential Signaling) or eDP (Embedded DisplayPort). Higher-end models also include internal wiring for integrated speakers, webcams, and front-panel USB ports.
Comparative Specifications for AIO Chassis in 2026
The following table compares the typical specifications for the three most common sizes of DIY AIO chassis currently available on the market.
| Feature | 21.5-inch Standard | 23.8-inch Professional | 27-inch High Performance |
|---|---|---|---|
| Typical Resolution | 1920 x 1080 (FHD) | 1920 x 1080 / 2560 x 1440 | 2560 x 1440 / 3840 x 2160 |
| Panel Type | IPS / VA | IPS | IPS / OLED |
| Motherboard Support | Thin ITX | Thin ITX / Mini-ITX | Thin ITX / Custom |
| Max CPU TDP | 35W - 45W | 65W | 65W - 95W |
| Expansion Slots | Internal M.2 only | Internal M.2 / 2.5" SATA | M.2 / Discrete GPU (limited) |
| Standard Features | Stereo Speakers | Web-cam, Speakers, Mic | Web-cam, Speakers, Qi Charging |
| Common Use Case | POS / Education | Corporate Office | Content Creation / Gaming |
Technical Requirements for System Integration
Before purchasing an AIO chassis, one must ensure that the intended internal components are compatible with the physical and electrical constraints of the housing.
Processor Selection and Throttling
In the confined space of an AIO computer chassis, thermal management dictates performance. While a high-end Core i9 or Ryzen 9 processor might physically fit into the socket of a Thin ITX motherboard, the chassis's cooling system likely cannot dissipate the heat generated by these chips under load. For 2026-era builds, the most reliable performance is found using low-power desktop variants (e.g., Intel’s "T" series or AMD’s "GE" series). These processors offer high burst speeds but maintain a lower base power draw, preventing thermal throttling and excessive fan noise.
Memory and Storage Constraints
Traditional DIMM memory sticks are too tall for an AIO chassis. Users must use SO-DIMM modules, which are installed horizontally. Similarly, while some 27-inch chassis provide a mounting bracket for a 2.5-inch SATA SSD, the majority of modern builds rely exclusively on M.2 NVMe storage. This not only saves space but also reduces the number of cables that need to be routed inside the narrow cavity.
The Challenge of Discrete Graphics
The vast majority of AIO chassis rely on integrated graphics (iGPU). However, there is a sub-category of "gaming" AIO chassis that supports a discrete GPU via a PCIe riser cable. These units are significantly thicker and require a much larger external power supply. If you require a discrete GPU, you must verify that the chassis provides a physical slot (usually limited to two-slot width and a specific length) and sufficient cooling for both the CPU and GPU simultaneously.
Step-by-Step Selection and Build Process
Integrating a system into an all-in-one chassis is a more delicate process than a standard PC build. Precision and cable management are paramount.
- Identify the Use Case: Determine if the system is for basic office work or high-end design. This dictates the resolution of the panel and the TDP requirements of the chassis.
- Verify Motherboard I/O Alignment: Check that the I/O shield area of the chassis matches the port layout of the Thin ITX motherboard. Some chassis use a fixed backplate, while others allow for the standard snap-in I/O shield.
- Install the CPU and Thermal Assembly: Most AIO chassis come with a proprietary cooler. Apply high-quality thermal paste and ensure the heat pipes are securely fastened according to the manufacturer’s pressure specifications.
- Connect Internal Display Cables: This is the most critical step. Connect the eDP or LVDS cable from the panel to the motherboard. These connectors are fragile; avoid excessive force.
- Route Internal Antennas: If using Wi-Fi, the antennas are usually pre-installed in the top of the chassis to maximize signal strength through the plastic or glass housing. Route these cables carefully around the motherboard to the M.2 Wi-Fi card.
- Cable Management: Use Kapton tape or small cable ties to secure all wires. Loose cables can interfere with the blower fan or create rattling noises against the back cover.
Maintenance and Long-Term Reliability
One of the primary benefits of using a standardized AIO chassis over a proprietary model is the ease of maintenance. However, owners should be aware of specific long-term care requirements:
- Dust Accumulation: Because AIOs use high-RPM blower fans to move air through narrow fin stacks, they act as magnets for dust. It is recommended to clean the intake vents with compressed air every six months to prevent thermal degradation.
- Panel Longevity: Avoid leaving static images on the screen for extended periods, especially if using a chassis with an OLED panel, to prevent burn-in.
- Capacitor Wear: In chassis using internal power boards, ensure the unit is plugged into a high-quality surge protector. Power fluctuations are a common cause of failure in the small DC-to-DC converters found in AIO systems.
Troubleshooting Common AIO Chassis Issues
Even with careful assembly, the high level of integration in an AIO chassis can lead to specific technical hurdles.
- No Display on First Boot: This is often caused by an incorrect BIOS setting. Many Thin ITX motherboards default to the external HDMI/DisplayPort output rather than the internal eDP header. You may need to connect an external monitor temporarily to change the "Primary Display" setting to "Internal."
- Fan Constant Ramping: If the fan spins at maximum speed regardless of temperature, ensure the 4-pin PWM fan header is correctly seated and that the BIOS is set to "Silent" or "Standard" fan curve mode.
- Touchscreen Inaccuracy: If the touch interface is unresponsive or misaligned, check the internal USB connection. Most integrated touchscreens connect to an internal USB 2.0 header on the motherboard.
Frequently Asked Questions
Can I upgrade the monitor in my AIO chassis later?
Generally, no. The display panel is typically integrated with the front bezel and calibrated for the specific internal dimensions of the chassis. While it is technically possible to find a compatible panel with the same eDP pinout and physical dimensions, it is not a standard "plug-and-play" upgrade.
Does a custom AIO chassis support VESA mounting?
Many do. Most DIY AIO chassis include 75x75mm or 100x100mm VESA mounting holes on the back. This allows you to remove the included desk stand and mount the entire computer on a monitor arm, further increasing desk space.
Are AIO computer chassis compatible with macOS (Hackintosh)?
While hardware compatibility depends on the specific CPU and motherboard used, many AIO chassis are used for this purpose because they mimic the form factor of the Apple iMac. However, as of 2026, compatibility is increasingly limited due to the shift toward Apple Silicon.
What is the difference between an AIO chassis and a "Barebones" AIO?
The terms are often used interchangeably. However, a "chassis" usually refers to just the housing and display, whereas a "barebones" unit often includes the motherboard and power supply pre-installed, leaving only the CPU, RAM, and storage for the user to provide.
Can I use a standard 3.5-inch hard drive in an AIO chassis?
No. Almost all AIO chassis are too thin to accommodate the 26mm height of a 3.5-inch drive. You must use M.2 SSDs or, in some larger models, 2.5-inch SATA SSDs.
Future Outlook: The Modular AIO
As we move through 2026, the trend in all-in-one chassis design is shifting toward modularity. New standards are emerging that allow for "compute cards" or "SDMs" (Smart Display Modules) that slide into a slot in the monitor. This design separates the display's lifespan from the computer's lifespan even further, potentially making the AIO chassis a 10-year investment while the internal logic is upgraded every 3-4 years.
For those seeking the ultimate clean desktop setup without the restrictive ecosystems of major OEMs, the all-in-one computer chassis remains the premier solution. By carefully matching a Thin ITX motherboard with a high-quality IPS or OLED chassis, users can build a powerful, professional workstation that is as beautiful as it is functional.