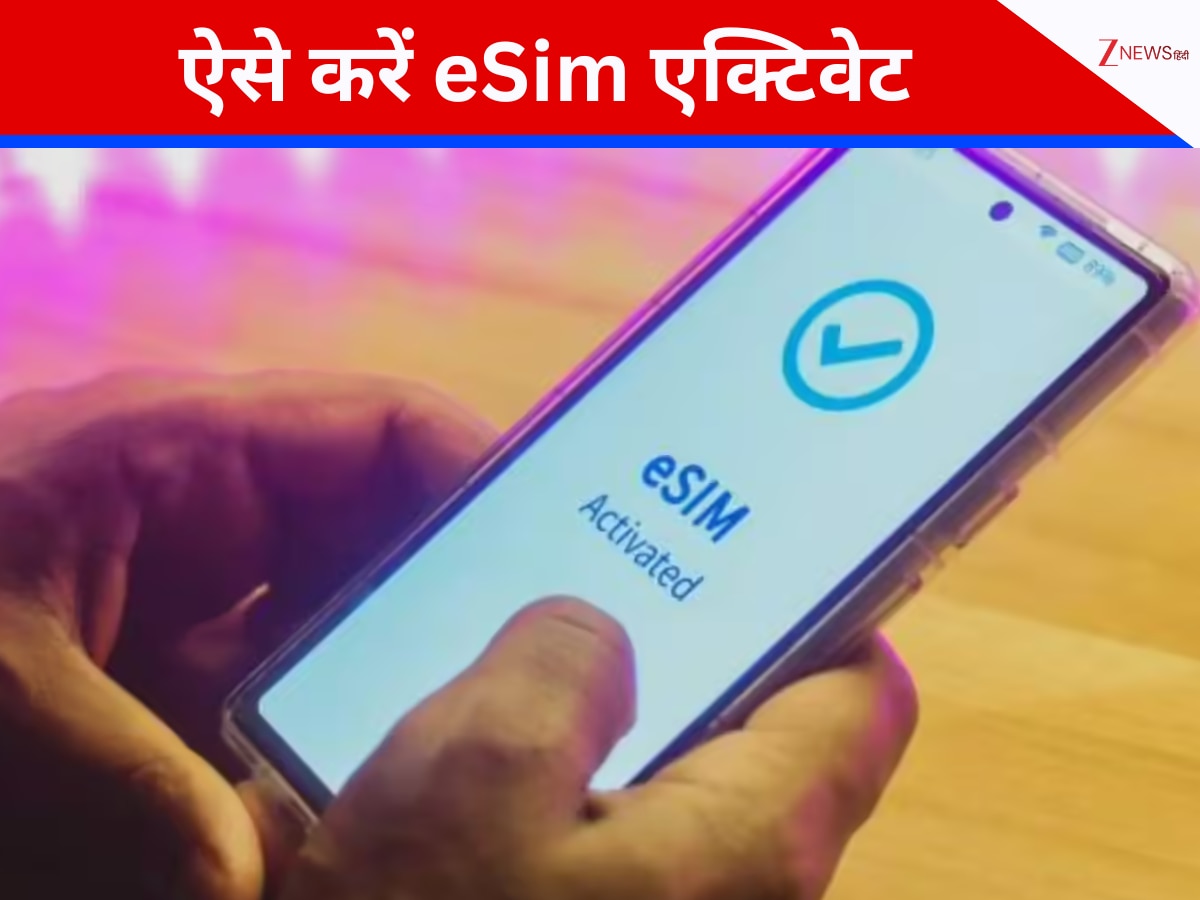
Activating an Airtel eSIM involves sending an SMS request from your current mobile number, receiving an email with a QR code, and scanning that code via your device’s network settings. The process requires an eSIM-compatible smartphone and an active, verified Airtel SIM card to initiate the digital transition without visiting a physical store.
Understanding the eSIM Technology
An Embedded Subscriber Identity Module, or eSIM, is a digital version of the traditional physical SIM card. Unlike the physical plastic card that must be inserted into a device, the eSIM is a small chip permanently integrated into the motherboard of your smartphone or wearable device. When you activate an Airtel eSIM, you are effectively downloading your mobile service profile onto this chip.
The primary advantage of this technology is the ability to switch networks or activate new connections without needing to swap physical hardware. For Airtel subscribers, this facilitates seamless international roaming, the use of dual-SIM functionality on single-tray devices, and enhanced security, as the "card" cannot be physically removed if the phone is lost or stolen.
Prerequisites for Activation
Before beginning the activation process, ensure you meet the necessary technical requirements. Attempting to activate an eSIM on an incompatible device will result in failure.
- Device Compatibility: Your smartphone must support eSIM technology. While most flagship devices released after 2020 include this feature, verify your specific model in the "Settings" menu under "Network" or "Mobile Data." If you do not see an "Add eSIM" or "Add Cellular Plan" option, your hardware likely does not support it.
- Active Airtel Connection: You must currently possess an active, physical Airtel SIM card. The transition process relies on your current mobile number to authorize the request.
- Internet Connectivity: You need a stable Wi-Fi connection to download the eSIM profile once the activation process begins.
- Valid Email Address: Airtel will send the activation QR code to your registered email address. Ensure you have access to this inbox and that your email address is updated in your Airtel account profile.
Step-by-Step Activation Procedure
The activation process is designed to be self-serviced. Follow these steps sequentially to ensure a smooth transition.
Step 1: Initiating the Request
Using your current active Airtel SIM, open your messaging application and compose a new SMS. Type eSIM your registered email address and send it to 121.
If your email address is not registered with Airtel, you will receive a notification prompting you to update your contact details before the request can be processed. Once successfully sent, you will receive an SMS confirmation from Airtel acknowledging your request.
Step 2: Confirming the Transition
Shortly after sending the initial SMS, you will receive a follow-up message asking for consent. Respond to this message by typing 1 (or the specific digit indicated in the SMS) to confirm your intent to switch to an eSIM. This step acts as a security measure to prevent unauthorized changes to your account.
Step 3: Receiving the QR Code
Once your consent is recorded, you will receive an email containing a unique QR code. This code acts as the digital key for your mobile profile. Do not share this QR code with anyone, as it is uniquely tied to your specific phone number and device.
Step 4: Configuring the Device
On your smartphone, navigate to the Settings menu.
- For iOS: Go to Settings > Cellular > Add eSIM. Select Use QR Code.
- For Android: Go to Settings > Network & Internet > SIMs > Add SIM. Select Download a SIM instead.
Point your camera at the QR code sent to your email. Your phone will automatically detect the Airtel profile and begin downloading the necessary data.
Troubleshooting Common Activation Issues
Despite the streamlined process, users may occasionally encounter hurdles. Understanding these common pitfalls can save significant time.
- QR Code Not Received: If you do not receive the email within 30 minutes, check your spam or junk folder. If it is still missing, ensure your registered email address is correct via the Airtel Thanks app or by contacting customer support.
- Scanning Errors: If the device fails to recognize the QR code, ensure your phone's camera is clean and the screen brightness is high. If the error persists, try taking a screenshot of the QR code on another device and scanning it from there.
- Profile Download Stuck: A poor Wi-Fi connection is the most common cause for a stalled download. Toggle your Wi-Fi off and on, or connect to a different network. If the process is interrupted, wait for the profile installation to timeout, then restart the attempt.
Comparison of Physical SIM vs. Airtel eSIM
| Feature | Physical SIM | Airtel eSIM |
|---|---|---|
| Installation | Physical insertion | Digital QR scanning |
| Damage Risk | Prone to wear and tear | Protected inside device |
| Multi-SIM | Requires multiple slots | Multiple profiles possible |
| Portability | Easy to swap | Locked to specific device |
| Replacement | Requires new plastic card | Can be re-downloaded via QR |
Security and Maintenance
An eSIM profile is stored in a secure element within the phone's hardware. Unlike a physical card that can be ejected, the eSIM profile can only be deleted or deactivated through the device’s software settings.
If you decide to sell your phone or perform a factory reset, you must choose whether to keep or remove your eSIM profile. Always ensure your mobile service is managed through the official Airtel platform to protect your account. Never provide your QR code or OTP (One Time Password) to third-party entities claiming to assist with "faster" activation.
Frequently Asked Questions
1. Does switching to an eSIM cost money? No, upgrading your existing physical SIM to an eSIM is a free service provided by Airtel. Ensure you are using the official Airtel channels for this request.
2. Can I use the same eSIM on two different phones? No, a single eSIM profile is designed for one specific device. If you upgrade your phone, you must initiate the eSIM activation process again on the new device to transfer your number.
3. What happens if I lose my phone? Because the eSIM is part of the device, the service remains active on the phone. You should immediately contact Airtel customer care to suspend your number to prevent unauthorized usage, just as you would with a physical SIM.
4. Will my network quality improve with an eSIM? The eSIM technology itself does not change your signal strength or network speed; those factors depend on your proximity to cell towers and local network congestion. You will experience the same coverage as you did with a physical SIM.
5. Can I revert to a physical SIM later? Yes, if you decide that an eSIM is not for you, you can visit an official Airtel store to request a physical SIM replacement. You will need to provide valid identity documentation to authorize this change.
Next Steps
Once your eSIM is successfully downloaded, wait for the network signal icon to appear in your status bar. It may take up to two hours for the activation to finalize fully. During this period, you may experience intermittent connectivity. If you face issues beyond this window, verify that the eSIM profile is toggled "On" in your device’s cellular settings and restart your phone. If connectivity issues persist, contact official support channels to confirm that your profile is active on the server side.