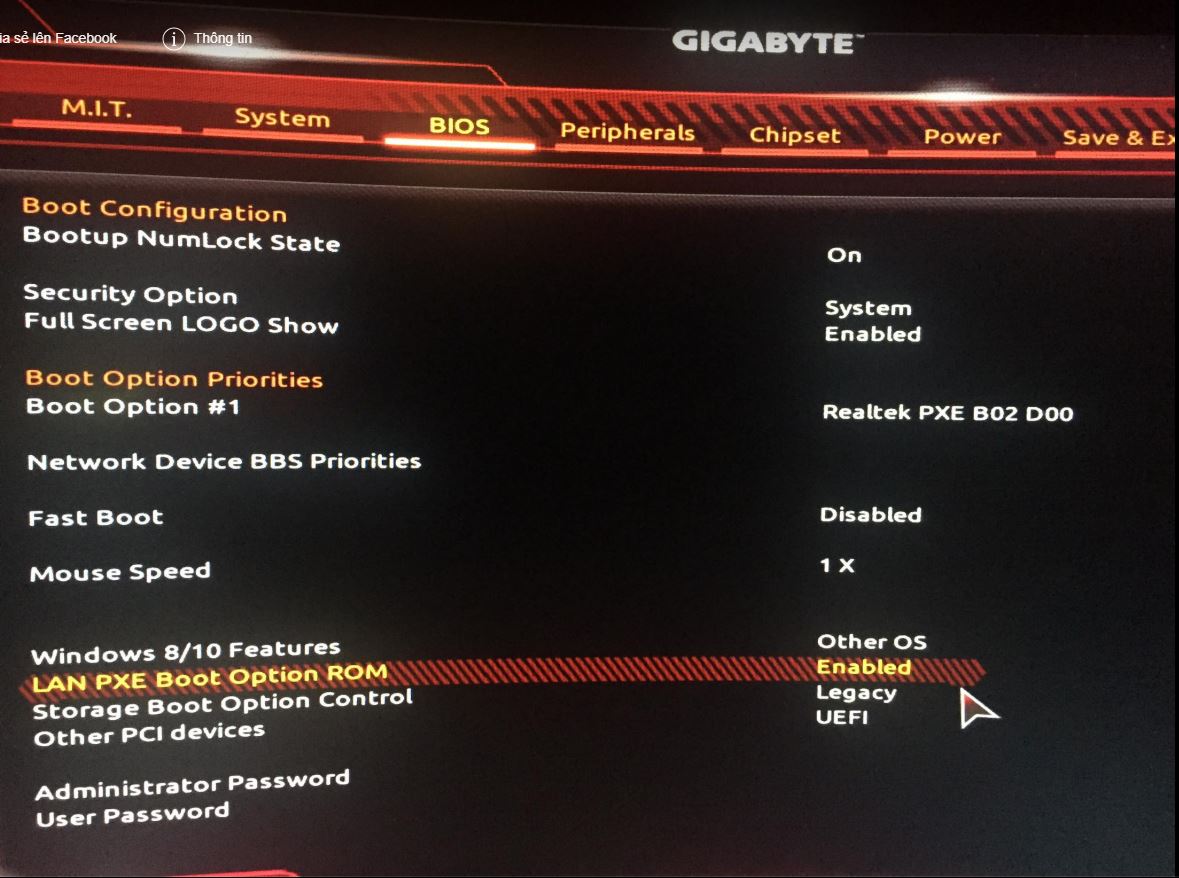
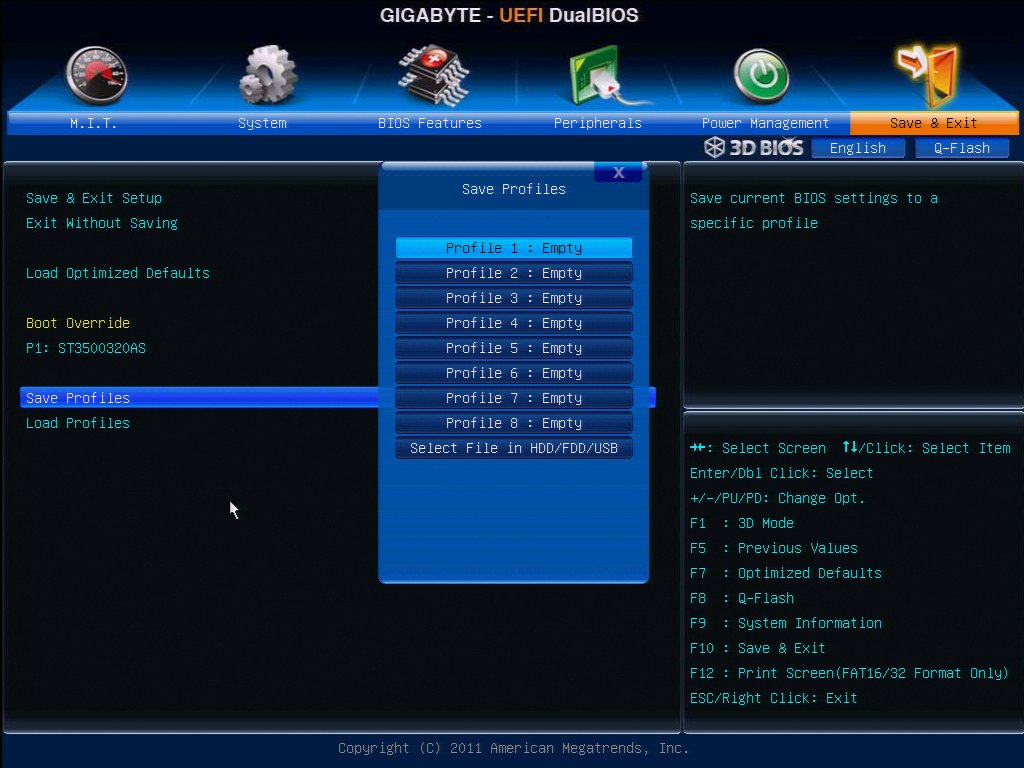
To access the BIOS on a Gigabyte motherboard, restart your computer and repeatedly press the Delete (Del) key on your keyboard as soon as the system begins to power on. If the Gigabyte splash screen disappears too quickly, you can also enter the BIOS via the Windows Recovery environment by navigating to Settings > System > Recovery > Advanced startup.
The BIOS (Basic Input/Output System), or more accurately in modern contexts, the UEFI (Unified Extensible Firmware Interface), is the foundational software that bridges the gap between your computer's hardware and the operating system. For Gigabyte motherboard users, knowing how to enter this environment is essential for managing hardware health, enabling virtualization, configuring storage arrays, or overclocking components. As of 2026, while motherboard interfaces have become more user-friendly, the methods to access them remain rooted in specific hardware triggers and software shortcuts.
Understanding the Gigabyte BIOS Environment
Before attempting to access the firmware, it is important to distinguish between the two modes typically found on Gigabyte motherboards: Easy Mode and Advanced Mode.
Easy Mode provides a high-level overview of the system’s health, including CPU temperature, fan speeds, and storage status. It allows for simple changes like adjusting the boot order or enabling XMP (Extreme Memory Profile) for RAM. Advanced Mode, which you usually enter by pressing F2 once inside the BIOS, offers granular control over voltages, timings, and peripheral configurations.
In the current hardware landscape of 2026, Gigabyte motherboards are almost exclusively UEFI-based. This means they support mouse input, high-resolution graphics, and faster boot times. However, this speed often makes the "traditional" way of hitting a key during startup more difficult, leading to the necessity of alternative entry methods.
Method 1: The Traditional Hotkey Approach
The most common way to access the BIOS on a Gigabyte motherboard is using a dedicated hotkey during the Power-On Self-Test (POST) phase. This is the period immediately after you press the power button but before the Windows or Linux logo appears.
Step-by-Step Instructions:
- Shut down your computer completely. A cold boot is often more reliable than a restart for catching the BIOS entry window.
- Locate the Delete key. On Gigabyte boards, the Delete (Del) key is the primary trigger. Some older models or specific laptop variants might use F2, but Delete is the standard for the vast majority of desktop motherboards.
- Power on the system.
- Tap the Delete key repeatedly. Do not hold it down; instead, tap it at a steady pace of about two to three times per second. This ensures the motherboard registers the interrupt signal during the very brief "listening" window.
- Wait for the BIOS screen. If successful, the Gigabyte "Ultra Durable" or "AORUS" logo will disappear, and you will be greeted by the BIOS menu.
Using the Boot Menu Shortcut
If your goal is simply to change the boot device (for example, to boot from a USB drive to install an OS), you do not necessarily need to enter the full BIOS menu. Pressing F12 during startup on a Gigabyte board will open the Boot Menu. This allows you to select a drive for a single session without changing the permanent settings in the BIOS.
Method 2: Accessing BIOS via Windows 11 or 12
By 2026, most PCs utilize "Ultra Fast Boot" settings which initialize hardware so quickly that the keyboard is not recognized until the operating system starts loading. If you find it impossible to time the Delete key press, you must use the Windows Advanced Startup method.
Procedure for Modern Windows Systems:
- Click the Start button and select Settings.
- Navigate to System and then click on Recovery.
- Look for the Advanced startup section and click the Restart now button.
- The computer will reboot into a blue "Choose an option" menu.
- Select Troubleshoot.
- Select Advanced options.
- Click on UEFI Firmware Settings.
- Click Restart.
The computer will automatically reboot directly into the Gigabyte BIOS interface, bypassing the need for any keyboard timing. This is the safest method for systems using NVMe Gen5 or Gen6 drives where the boot sequence lasts only a few seconds.
Method 3: Using the Gigabyte Control Center (GCC)
Gigabyte provides a software suite known as the Gigabyte Control Center (formerly App Center). Within this ecosystem, there is often a "Fast Boot" or "@BIOS" utility.
These applications frequently include a feature called "Enter BIOS Setup Next Boot." By toggling this switch within Windows, the motherboard sets a flag in the CMOS (Complementary Metal-Oxide-Semiconductor) memory to automatically redirect the next startup sequence into the firmware menu. This is particularly useful for users with wireless keyboards that may not sync with their USB dongle early enough in the boot process to register the Delete key.
Common Obstacles and Troubleshooting
Accessing the BIOS is not always a seamless process. Several hardware and software factors can prevent the motherboard from recognizing your request.
The Fast Boot Dilemma
Gigabyte’s "Fast Boot" and "Ultra Fast Boot" settings are designed to skip the initialization of certain USB devices and peripheral checks to save time. When "Ultra Fast Boot" is enabled, the USB keyboard may not be powered on until the Windows kernel takes over. In this scenario, the traditional Delete key method will fail. You must use Method 2 (Windows Recovery) to get back into the BIOS and disable Fast Boot if you prefer the traditional access method.
Monitor and Display Port Issues
A frequent but overlooked issue is the "display lag." Modern 4K and 8K monitors often take longer to "wake up" from sleep than the computer takes to pass the POST screen. By the time your monitor turns on, the BIOS window has already passed.
- Solution: Turn your monitor on several seconds before you press the power button on the PC.
- Connectivity: If you are using a DisplayPort connection and see nothing but a black screen until Windows loads, try switching to an HDMI cable temporarily. Some older firmware versions have trouble outputting the BIOS splash screen over DisplayPort.
Wireless Keyboard Limitations
Bluetooth keyboards will never work for accessing BIOS because the Bluetooth stack is managed by the operating system, not the motherboard hardware. If you use a wireless keyboard with a 2.4GHz USB dongle, it may work, but it is less reliable than a wired connection. For BIOS work, a cheap wired USB keyboard is an essential tool for any Gigabyte owner's kit.
| Method | Best Used When... | Key/Action |
|---|---|---|
| Traditional Hotkey | Standard startup or troubleshooting | Press Delete (Del) |
| Boot Menu | Temporary boot from USB/DVD | Press F12 |
| Windows Recovery | Fast Boot is enabled / Keyboard fails | Settings > Recovery > Restart Now |
| CMOS Reset | BIOS is password protected or unstable | Short the "CLR_CMOS" pins |
| Gigabyte Software | Within Windows environment | Toggle "Fast Boot" utility |
Hardware-Level Access: Resetting the CMOS
If you have forgotten a BIOS password or have misconfigured a setting (such as an unstable overclock) that prevents the computer from reaching the POST stage, you may need to reset the BIOS to factory defaults physically.
The Battery Method
Most Gigabyte motherboards contain a CR2032 lithium coin-cell battery.
- Unplug the power supply from the wall.
- Locate the silver battery on the motherboard.
- Carefully remove it using a non-conductive tool.
- Wait 30 to 60 seconds.
- Reinsert the battery and power on the system. The BIOS will be reset, and you will typically receive a message saying "CMOS Checksum Error - Defaults Loaded," which will allow you to press Del to enter the setup.
The CLR_CMOS Jumper
Modern Gigabyte boards, especially the AORUS enthusiast line, feature two pins labeled CLR_CMOS. Shorting these pins with a screwdriver for a few seconds while the PC is off (but plugged in) will achieve the same result as removing the battery. Higher-end boards may even have a dedicated "Clear CMOS" button on the rear I/O panel.
Key Settings to Manage Once Inside
Once you have successfully accessed the Gigabyte BIOS, there are several critical areas you should be familiar with.
1. XMP and EXPO
Gigabyte motherboards often default RAM speeds to the base JEDEC standard (e.g., 4800MT/s or 5200MT/s). To get the speed you actually paid for, look for Extreme Memory Profile (XMP) for Intel builds or EXPO for AMD builds in the "Tweaker" or "Easy Mode" tab. Enabling this is the most common reason users enter the BIOS.
2. Secure Boot and TPM
In the 2026 computing environment, Windows 11 and its successors require Secure Boot and a Trusted Platform Module (TPM) to be active. On Gigabyte boards, TPM is often listed as Intel Platform Trust Technology (PTT) or AMD CPU fTPM. These are usually found under the "Settings" or "Miscellaneous" tab.
3. Re-Size BAR Support
For modern GPUs to perform at their peak, Re-Size BAR Support must be enabled. This allows the CPU to access the entire GPU frame buffer at once. On Gigabyte boards, this requires "Above 4G Decoding" to be enabled first, both of which are located in the "PCI Subsystem Settings."
4. Q-Flash
One of Gigabyte’s standout features is Q-Flash. This utility, found by pressing F8 inside the BIOS or clicking the Q-Flash icon, allows you to update the motherboard firmware from a USB drive. Keeping the BIOS updated is vital for hardware compatibility and security patches.
Safety and Best Practices
When modifying settings within the Gigabyte BIOS, follow these professional guidelines:
- One Change at a Time: If you are troubleshooting or overclocking, change only one setting before restarting. This makes it easier to identify what caused an issue if the system fails to boot.
- Take Screenshots: You can usually press F12 inside the BIOS to save a screenshot of your current settings to a FAT32-formatted USB drive. This is invaluable for record-keeping.
- Avoid "Auto-Overclock" Features: While Gigabyte offers "Easy Tune" or "Performance Enhancer" profiles, these often apply more voltage than necessary, leading to higher temperatures. Manual tuning is always preferred.
- Don't Update Unless Necessary: If your system is stable and you don't need a specific fix or hardware support provided by a newer BIOS version, it is often safer to leave the firmware as-is. A failed BIOS update can "brick" a motherboard, though Gigabyte’s DualBIOS technology (found on many models) provides a secondary backup chip to mitigate this risk.
Frequently Asked Questions
Why does my keyboard not work in the BIOS?
This is usually due to the keyboard being plugged into a USB 3.2 or USB4 port that requires OS-level drivers to function fully. Try moving the keyboard to a black USB 2.0 port on the rear I/O shield. These ports are initialized first by the BIOS. Additionally, avoid using USB hubs or pass-through ports on monitors when trying to access BIOS.
Can I access BIOS if I don't have an operating system installed?
Yes. Since the BIOS resides on a chip on the motherboard, it does not require a hard drive or an OS. If you have a new build with no software, the system will often boot directly into the BIOS or prompt you to press Del because it cannot find a bootable device.
What is the difference between Easy Mode and Advanced Mode?
Easy Mode (F2 to toggle) is a dashboard for casual users to see temperatures and boot orders. Advanced Mode provides the full suite of settings for voltage control, peripheral configuration, and deep chipset management. Most technical guides assume you are using Advanced Mode.
Does Gigabyte have a "Go2BIOS" button?
Some high-end AORUS motherboards feature a physical button on the motherboard itself or the back panel that, when pressed, forces the system to boot into BIOS on the next restart. Check your specific motherboard manual for a "Fast Boot" or "DirectKey" physical button.
Can I access the BIOS from a remote desktop connection?
No. Remote desktop software (like RDP, TeamViewer, or AnyDesk) operates within the OS. Since the BIOS runs before the OS or network drivers load, you cannot access it remotely unless you are using hardware-level management tools like an IP-KVM or Intel vPro/AMT, which are generally reserved for enterprise-grade hardware.
Final Recommendations
Accessing the BIOS on your Gigabyte motherboard is the first step toward true PC ownership and optimization. For most users, the Delete key method remains the gold standard, but the Windows Advanced Startup method is a critical fallback for modern, fast-booting systems. Always ensure you have a wired keyboard available for troubleshooting, and never perform a BIOS update during a thunderstorm or in an area with unstable power, as a power loss during the flash process can be fatal for the motherboard.
If you are frequently entering the BIOS to change boot orders, consider using the F12 Boot Menu instead to save time and reduce the risk of accidentally changing sensitive system voltages. For further technical support, the official Gigabyte Support website provides manual downloads and firmware updates specific to your motherboard revision.