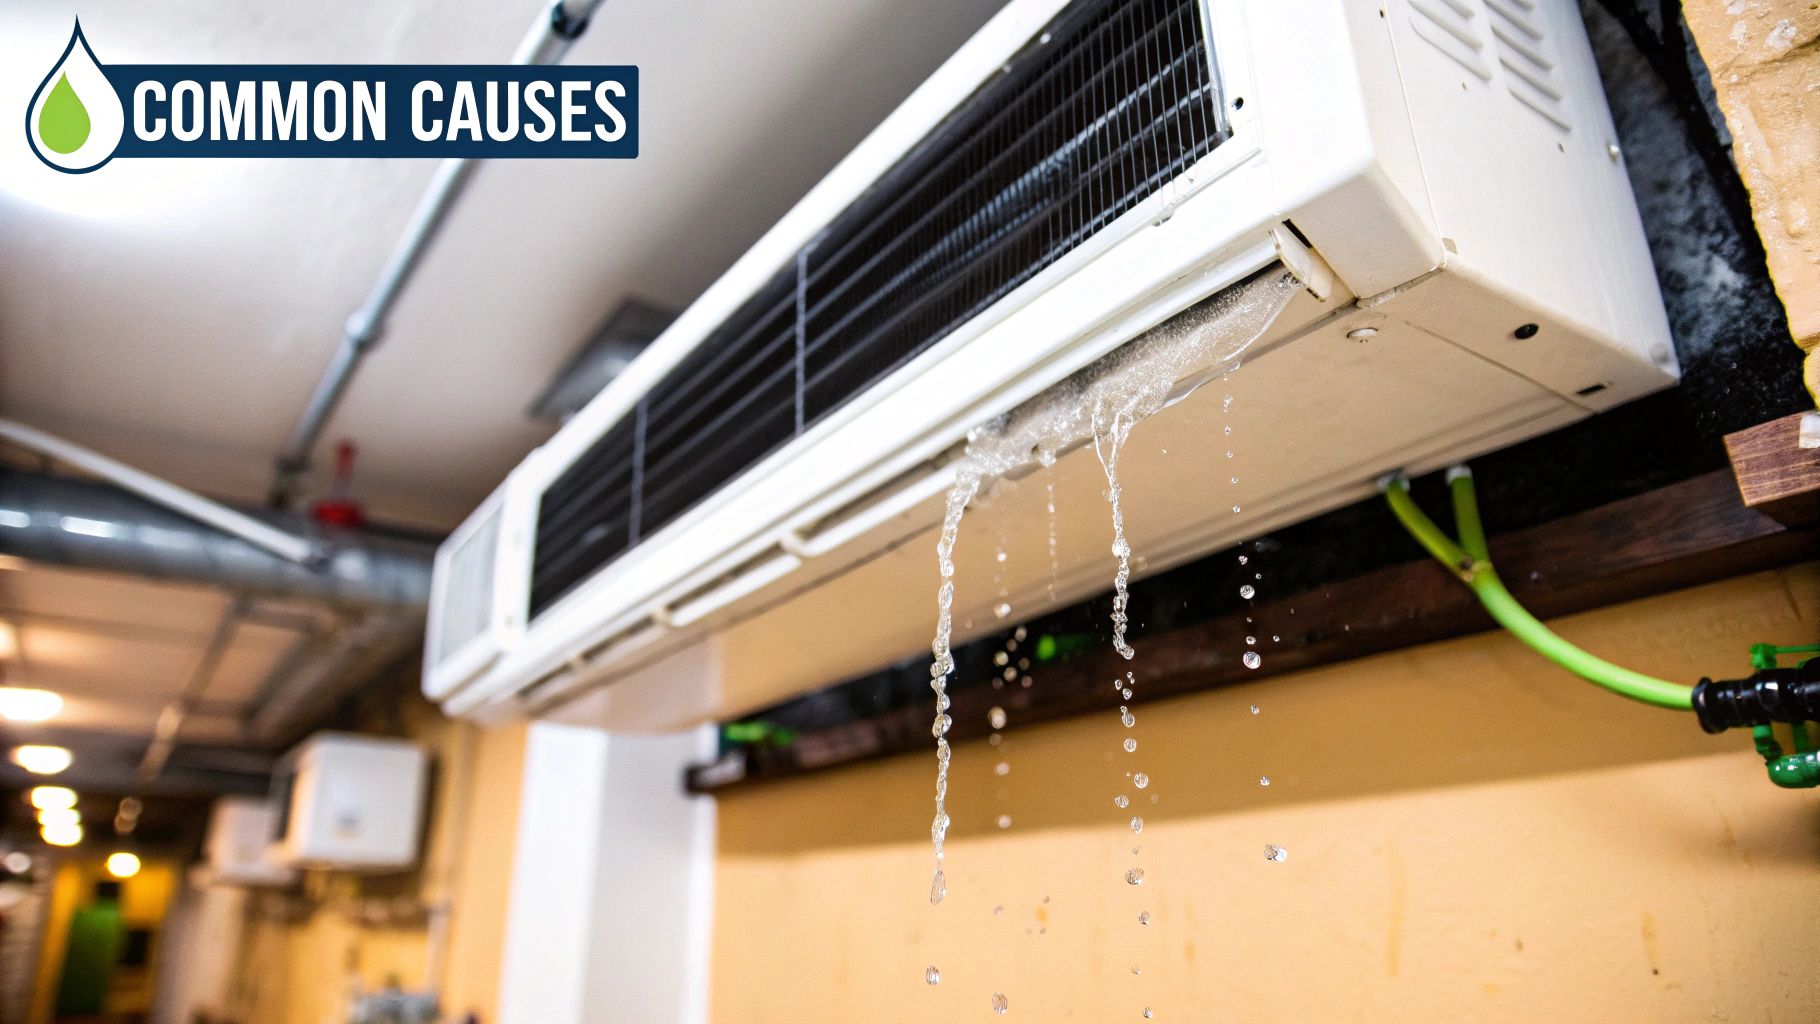
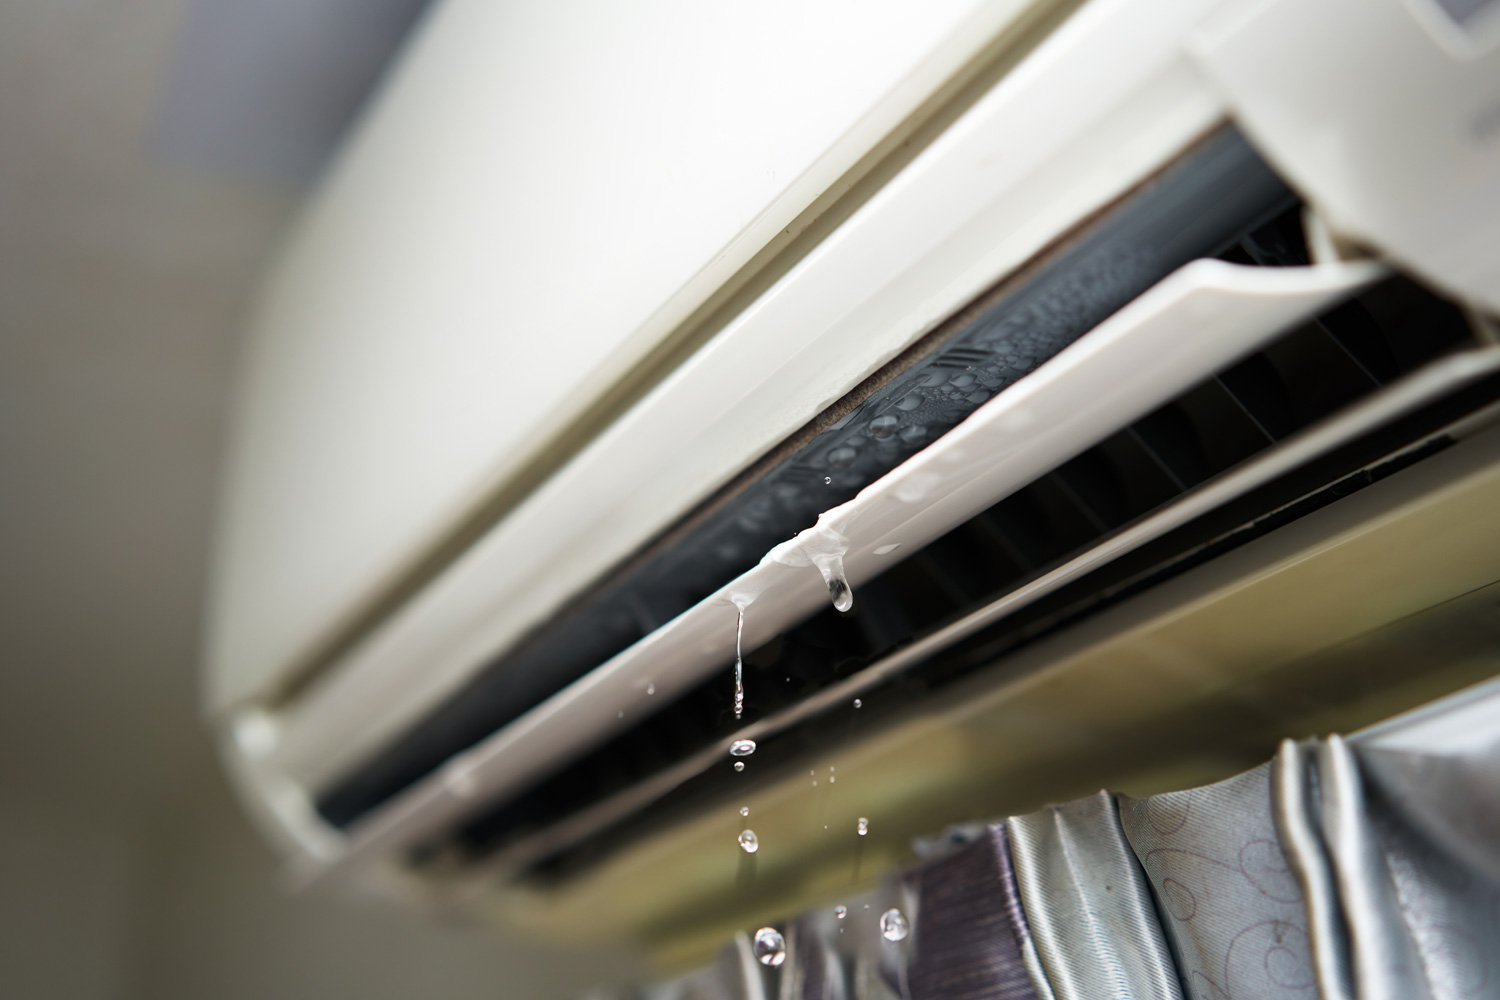
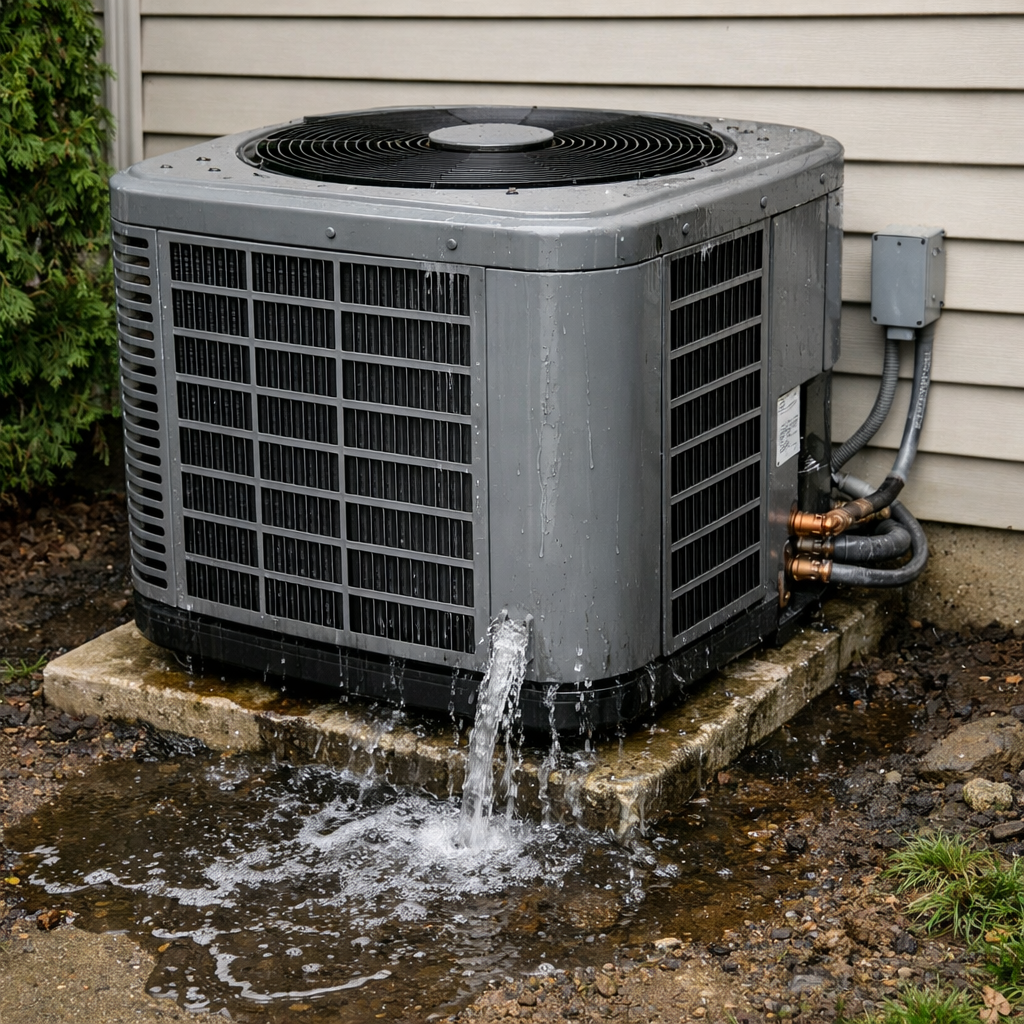
When an air conditioning unit is leaking water inside the home or pooling outside, it can cause severe property damage, structural rot, and electrical hazards if left unaddressed. Most AC leaks stem from a clogged condensate drain line, a dirty air filter, a cracked drain pan, or a frozen evaporator coil that melts and overflows the system. Resolving the issue quickly requires identifying where the water is coming from, safely powering down the equipment, clearing blockages, and performing routine seasonal maintenance to ensure proper condensate management.
Understanding How Air Conditioning Systems Manage Moisture
Air conditioning units do much more than simply cool indoor air; they act as powerful dehumidifiers. As warm, humid air from your living space is drawn across the freezing-cold evaporator coils inside the indoor air handler or furnace, moisture in the air condenses into liquid water—much like condensation forming on the outside of a cold glass of iced tea on a hot summer day.
This water drips off the evaporator coils and collects directly into a shallow receptacle known as the condensate drain pan. From there, gravity or an auxiliary condensate pump directs the water down a PVC drain line (frequently referred to as the condensate line) that leads safely outside the house or into a household plumbing drain.
Under normal operating conditions, this cycle operates continuously and invisibly behind the scenes. However, when any single component along this moisture-removal path fails, clogs, or degrades, water immediately begins to back up. Recognizing the early warning signs of a leak—such as damp drywall, a musty odor, or pooling water around the base of the indoor unit—allows homeowners to intervene before minor drainage issues evolve into major structural emergencies.
Primary Causes of an AC Unit Leak
Finding the exact source of a leak requires examining both the indoor and outdoor components of the HVAC system. While some causes are minor maintenance oversights that can be resolved in minutes, others demand professional HVAC technician intervention.
Clogged Condensate Drain Lines
The single most frequent reason an air conditioner leaks water indoors is a blocked condensate drain line. Over months of continuous operation, dust, dirt, mold spores, algae, and slime travel down the evaporator coil and wash into the drain pan.
When this debris enters the narrow PVC drain pipe, it accumulates and forms a stubborn clog. Because the water has nowhere to go, it backs up inside the drain pan, overflows the edges, and spills out onto floors, ceilings, or utility room subflooring.
Dirty Air Filters
Homeowners frequently underestimate the impact of a dirty, clogged air filter on the cooling system's moisture management. When an air filter becomes choked with dust and pet hair, airflow across the evaporator coil drops dramatically.
Without adequate warm air passing over it, the temperature of the evaporator coil plummets well below freezing. Humidity in the air instantly freezes onto the surface of the coil, coating it in a layer of solid ice. Once the thermostat is satisfied, the system cycles off, or outdoor temperatures rise, the ice melts rapidly, overwhelming the capacity of the drain pan and causing a significant indoor leak.
Cracked or Rusted Drain Pans
Older air conditioning systems feature metal drain pans that are vulnerable to rust and corrosion after years of constant exposure to moisture. Once a metal pan develops pinhole leaks or structural cracks, water bypasses the drainage system entirely and leaks directly into the framing or ceiling below.
Even modern plastic drain pans can crack due to brittle aging, manufacturing defects, or physical impacts during past maintenance visits.
Low Refrigerant Levels
Refrigerant is the lifeblood of an air conditioning system, absorbing heat from indoor air and releasing it outdoors. When a system develops a leak in its copper refrigerant lines or coils, the pressure within the system drops.
This pressure drop causes the temperature of the evaporator coil to fall drastically, freezing any condensation that touches it. Just like a clogged filter, a low-refrigerant freeze-up eventually thaws out all at once, flooding the condensate pan and causing an indoor leak.
Faulty or Disconnected Condensate Pumps
In homes where the indoor air handler is located in a basement, crawlspace, or an interior closet where gravity-fed drainage to the exterior is impossible, an electric condensate pump is installed. This pump collects water from the primary drain pan and pumps it upward and out of the house through flexible tubing. If the pump fails electrically, the float switch sticks, or the discharge tube becomes kinked or blocked, water will quickly back up and spill over the reservoir.
Diagnostic Checklist: Where Is the Water Coming From?
| Leak Location | Likely Cause | Immediate Action Required |
|---|---|---|
| Directly Under Indoor Unit | Clogged condensate line or cracked drain pan | Turn off system immediately; inspect drain pan for water level and cracks. |
| Ceiling Damage Around Vents | Clogged primary drain line and failed secondary safety float switch | Shut off AC at the thermostat, inspect attic unit, and check secondary pan. |
| Outside Near Exterior Wall | Normal condensation discharge or cracked outdoor condensate line | Verify water is flowing away from foundation; check for pipe separation. |
| Ice Formation on Indoor Unit | Dirty air filter or low refrigerant charge | Turn system to "Fan Only" to melt ice, replace filter, and call a technician. |
Step-by-Step Troubleshooting and Resolution Guide
When you discover that your AC unit is leaking, following a methodical troubleshooting process ensures safety and prevents further water damage to your home.
Step 1: Turn Off the Power Supply
Before investigating any part of an HVAC system, prioritize electrical safety. Go to your thermostat and switch the system from "Cool" to "Off." Next, locate the emergency shut-off switch mounted on the wall near the indoor air handler or trip the appropriate circuit breaker in your home's main electrical panel. Water and electricity create a lethal combination; never touch internal components while power is active.
Step 2: Inspect and Replace the Air Filter
Locate your return air filter—whether it is slotted into the air handler, a ceiling grille, or a wall register. Pull the filter out and inspect it against a light source. If you cannot see light passing through the media, the filter is choked with debris.
Discard the old filter and install a fresh one matching the exact dimensions specified by the manufacturer. If the filter is soaking wet, it indicates that ice on the coils has recently melted backward into the blower compartment.
Step 3: Check and Clear the Condensate Drain Line
Find the primary PVC drain line exiting the indoor unit. Outside your home, locate the terminal end of this pipe, usually protruding near the foundation.
- Clear Exterior Blockage: Use a wet/dry shop vacuum to suction out any dirt, mud, or insect nests clogging the exterior end of the pipe. Running the vacuum for 30 to 60 seconds is usually sufficient to pull out stubborn biological slime.
- Flush Internally: Locate the T-shaped PVC vent and access port (often fitted with a removable cap) located near the indoor unit. Remove the cap and pour a cup of distilled white vinegar or a specialized algaecide down the pipe to break down internal algae colonies. Replace the cap securely.
Step 4: Examine the Condensate Drain Pan
Inspect the drain pan situated directly beneath the evaporator coils. If standing water is present, use a wet/dry vac or towels to clear it out.
Examine the bottom and sides of the pan using a flashlight. Look for hairline cracks, rust flakes, or holes. If the pan is compromised, it must be sealed temporarily with waterproof HVAC epoxy or replaced entirely by a qualified service technician.
Step 5: Verify Float Switch Operation
Many modern installations feature an inline safety float switch wired directly to the thermostat control circuit. When the drain line backs up and water rises in the auxiliary pan or safety tee, the float rises and automatically trips the low-voltage circuit, shutting down the AC before it can flood the home.
If your system refuses to turn on and you notice water in the safety pan, clearing the drain line will allow the float to drop back down, restoring normal operation.
When to Call a Professional HVAC Technician
While homeowners can easily handle basic maintenance tasks like clearing drain lines and swapping air filters, certain scenarios demand professional expertise and specialized diagnostic tools.
- Refrigerant Leaks: Handling refrigerants like R-410A requires an EPA Section 608 certification. If your evaporator coil is freezing due to low pressure, a technician must locate the leak with electronic detectors or nitrogen pressure tests, braze the repair, and recharge the system to exact factory specifications.
- Electrical Failures: If your condensate pump runs continuously without pumping water, trips circuit breakers, or fails to respond when tested, internal wiring or motor components may have failed.
- Inaccessible Units: Air handlers installed in tight attic spaces or crawlspaces present severe safety and physical accessibility hurdles. Attempting complex repairs in cramped, unconditioned spaces increases the risk of accidental damage to ductwork or structural components.
Preventive Maintenance to Stop Future Leaks
Proactive maintenance remains the most effective defense against unexpected air conditioner leaks. Incorporating a few simple habits into your household routine protects your investment and ensures uninterrupted cooling comfort.
- Establish a Filter Replacement Schedule: Check your air filter every 30 days during peak cooling and heating seasons. Replace standard 1-inch filters every 1 to 3 months, and upgrade to higher-efficiency media filters as recommended by your equipment manufacturer.
- Perform Bi-Monthly Drain Maintenance: Pour a cup of white vinegar or a hot water and dish soap mixture down your indoor condensate drain access port every two months. This prevents algae and mold spores from colonizing the damp interior of the PVC piping.
- Schedule Annual Professional Tune-Ups: Hire a licensed HVAC contractor to service your system every spring before the summer heat arrives. Technicians will clean coils, check refrigerant levels, flush condensate lines, and test electrical safety switches to verify optimal performance.
- Inspect Exterior Drainage Paths: Regularly walk the perimeter of your home to ensure that the exterior condensate drain pipe is discharging freely away from the foundation and has not become crushed by landscaping equipment or overgrown by mulch and grass.
Frequently Asked Questions
Can I run my air conditioner if it is leaking water?
Running a leaking air conditioner is strongly discouraged. Continued operation pumps more moisture into an already compromised drainage system, vastly increasing the risk of ruined drywall, warped hardwood floors, ruined ceilings, and electrical short circuits. Always shut down the system immediately upon discovering a leak.
Why is my AC leaking water inside the house?
An indoor leak is almost always caused by a blocked condensate drain line, a dirty air filter that has caused the evaporator coils to freeze and melt over, or a cracked drain pan. When water cannot escape through its intended PVC drainage path, it spills over the edges of the drain pan into your living space.
How do I unclog my AC drain line myself?
You can clear a clogged drain line by locating the PVC access tee near your indoor unit and the discharge pipe outside. Use a wet/dry shop vacuum to suction out debris from the exterior outlet for 30 to 60 seconds. Afterward, pour a cup of white vinegar down the indoor access port to dissolve remaining algae and bacteria.
How often should AC drain lines be cleaned?
Experts recommend flushing your air conditioning condensate drain lines at least twice a year—ideally once right before the cooling season starts and once midway through summer. Homes with high ambient humidity levels or heavy pollen counts may require more frequent monthly treatments.
Will low refrigerant cause an AC unit to leak water?
Yes. When refrigerant levels drop due to a leak in the closed-loop system, the pressure and temperature inside the evaporator coils drop significantly. Humidity in the air freezes onto the ice-cold coils, forming solid frost. When the system cycles off, that ice melts rapidly, creating a flood of water that overwhelms the drain pan.