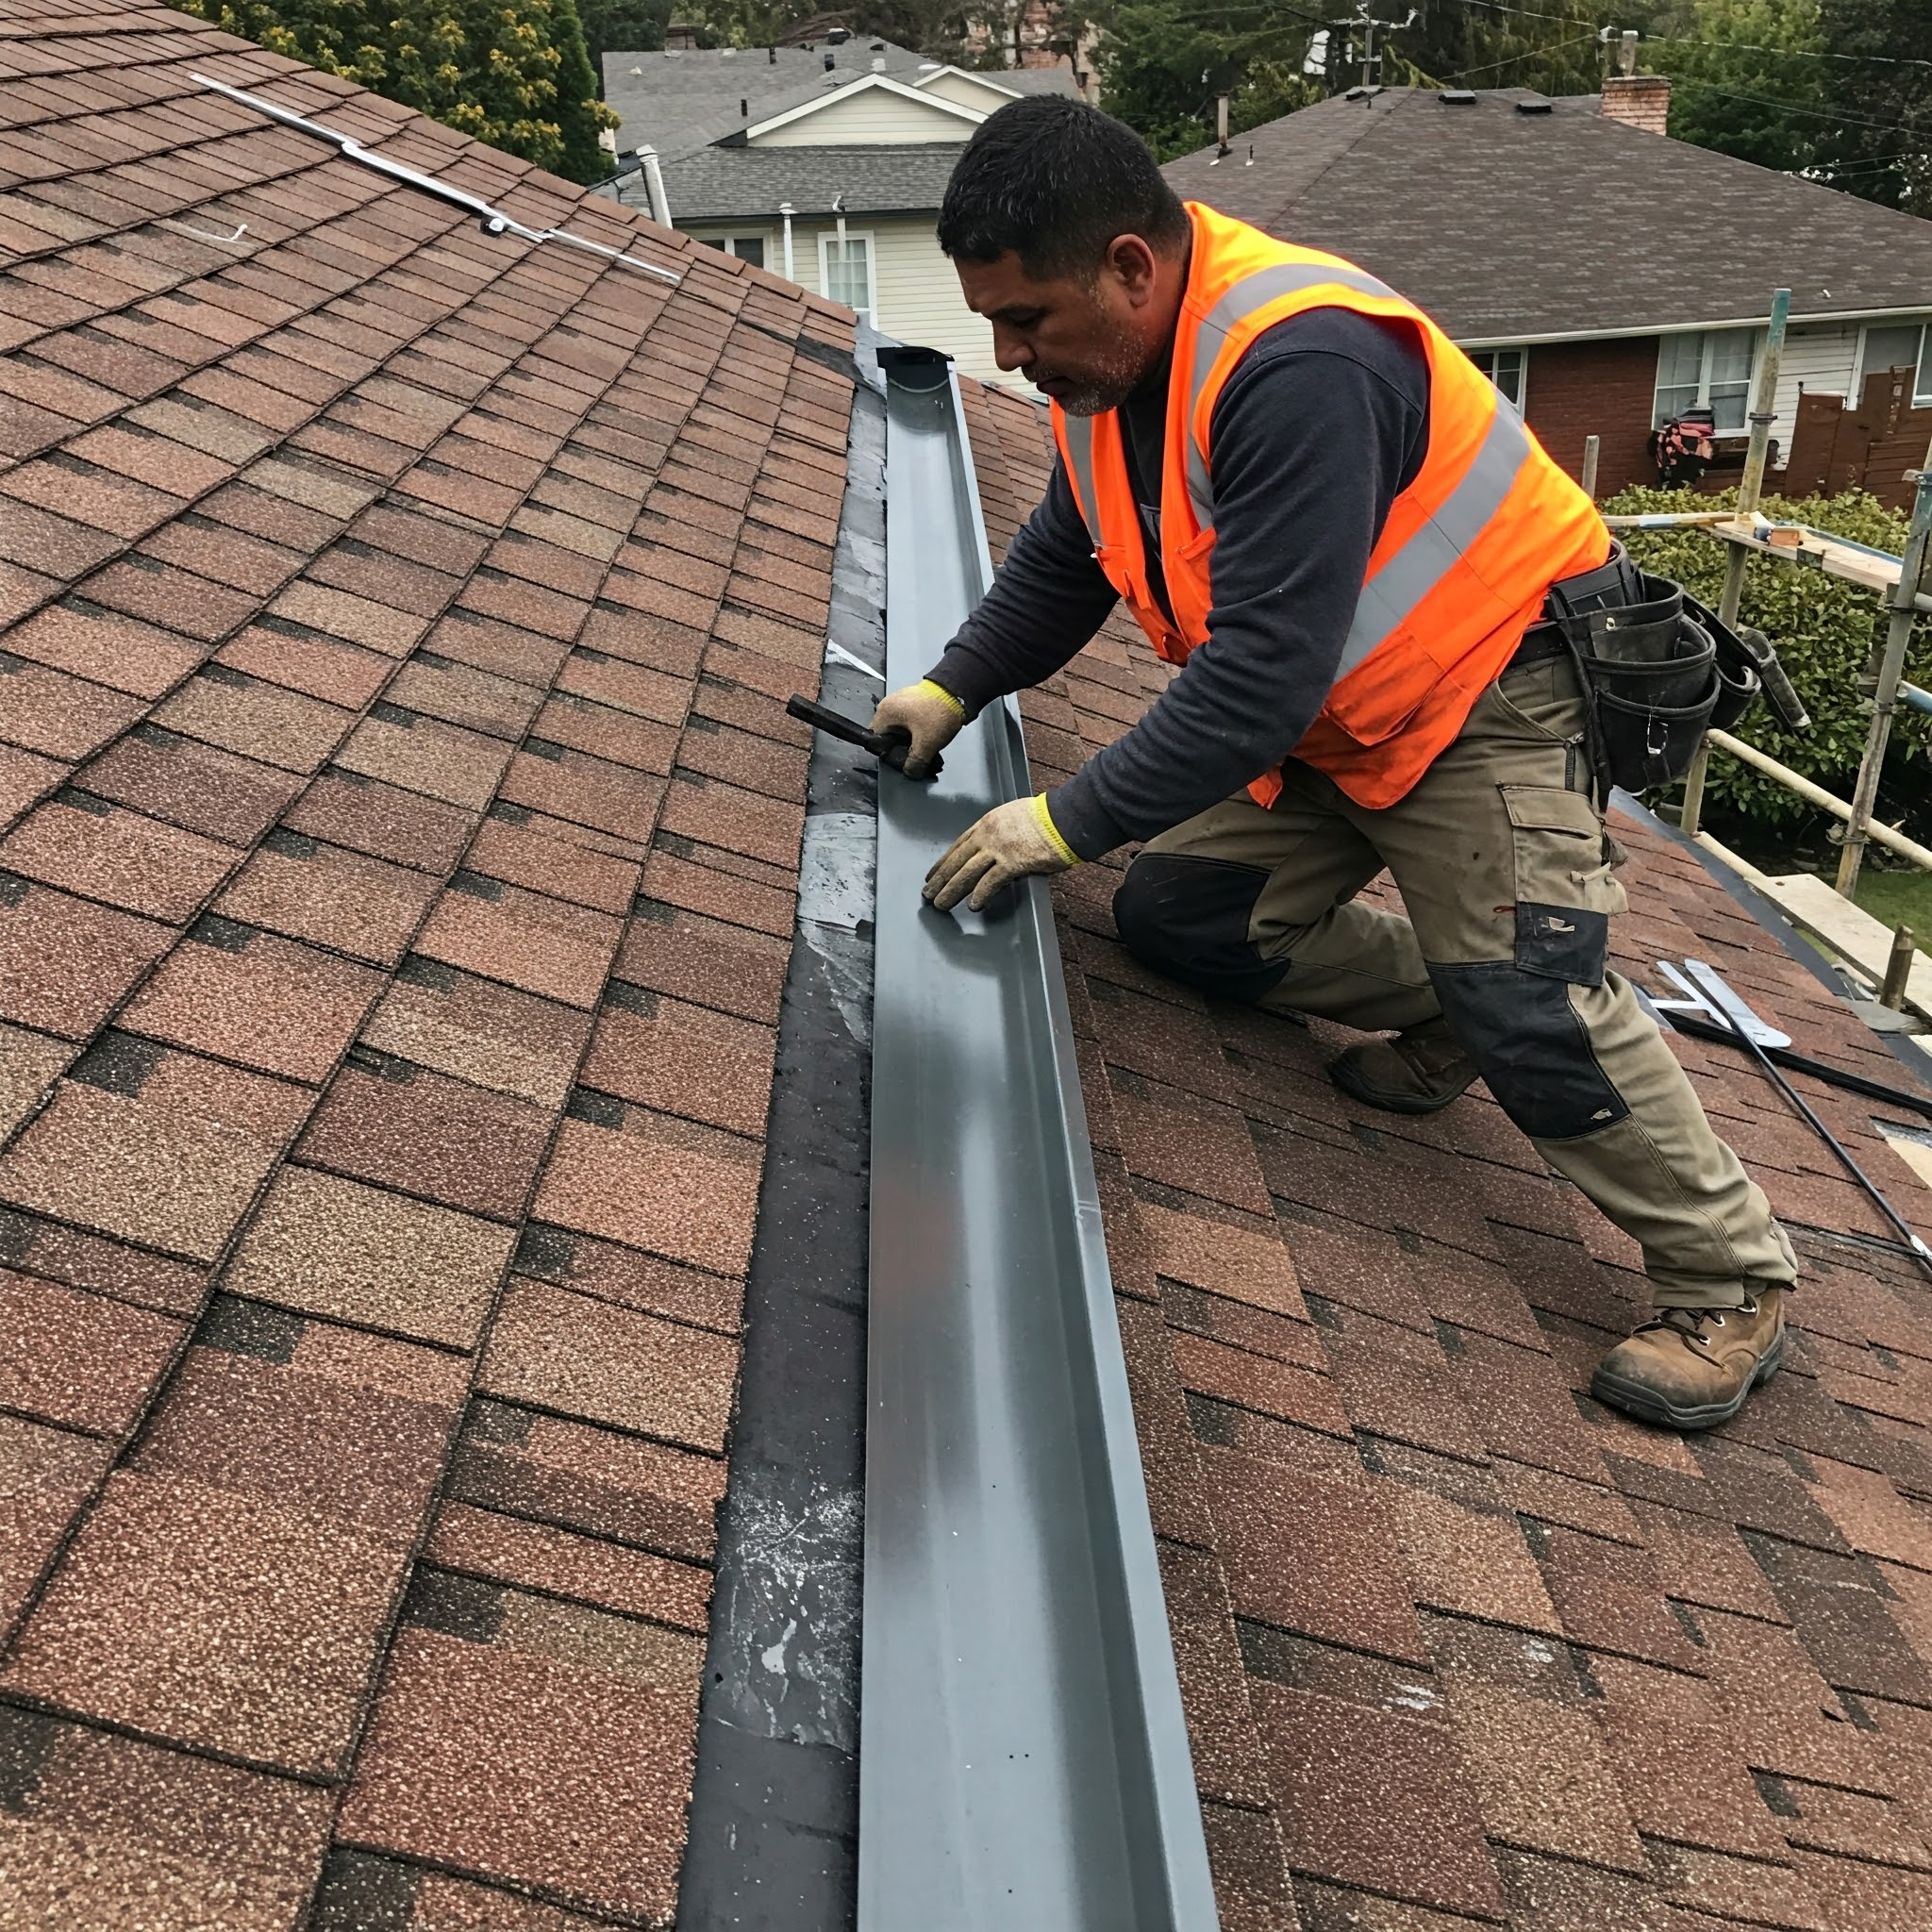
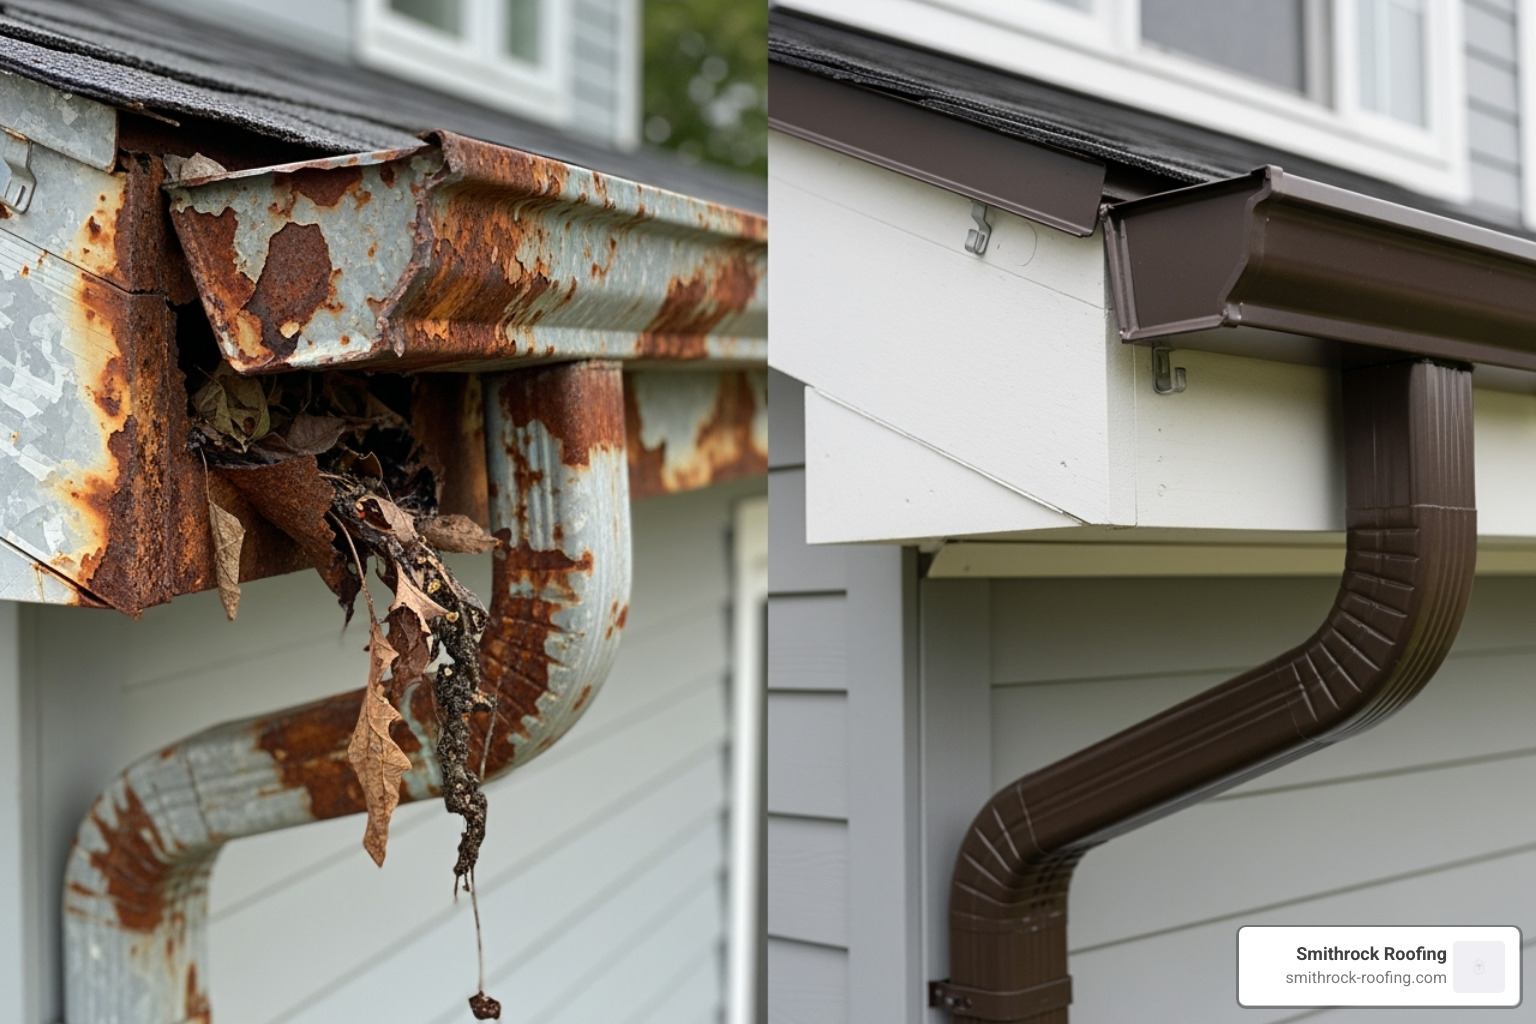
Replacing your home’s rainwater management system requires careful planning, adherence to precise measurements, and an understanding of modern installation standards. To ensure a successful project, a professional gutter replacement service typically involves assessing structural integrity, removing old materials, selecting optimal aluminum, vinyl, or copper channels, pitching the runs correctly, and securing heavy-duty hangers to fascia boards to prevent future water damage.
Navigating a home improvement project like a gutter replacement can feel overwhelming, especially when balancing material selections, local climate demands, and structural requirements. Whether you are managing the project independently or hiring a specialized contractor, breaking the process down into a methodical, sequential workflow ensures that water is effectively diverted away from your foundation, siding, and landscaping. The following ten steps outline a comprehensive framework for planning and executing a high-quality gutter upgrade.
1. Comprehensive Inspection and Assessment
Before any tools touch your roofline, a thorough inspection of the existing drainage network and its surrounding components is essential. Homeowners must examine the current channels for sagging, rust perforation, detachment, and overflow staining on the siding. Crucially, the inspection must extend beyond the metal troughs to the underlying structural elements.
Inspect the wooden fascia boards for signs of dry rot, soft spots, or mold growth. Water that has spilled over compromised channels frequently compromises the fascia and rafter tails. If the wood is structurally compromised, replacement fasteners will fail to hold. Documenting these issues early prevents unexpected change orders and ensures that the replacement service addresses root causes rather than just surface symptoms.
2. Choosing the Right Materials and Profiles
The market offers a diverse array of materials and profiles, each suited to different architectural styles, budgets, and weather conditions. Selecting the correct configuration ensures long-term durability and aesthetic harmony with the home exterior.
- Aluminum: The most popular choice due to its lightweight nature, rust resistance, and availability in numerous factory-applied baked-on enamel colors. Standard thicknesses include .027-inch and heavy-duty .032-inch gauges.
- Vinyl: An affordable, DIY-friendly option that does not rust or corrode. However, vinyl can become brittle in extreme sub-zero temperatures and may warp under prolonged, intense solar heat.
- Galvanized Steel: Highly durable and capable of withstanding heavy snow loads and ladder impacts, but requires regular maintenance to prevent rust formation once the protective zinc coating wears down.
- Copper: A premium, architectural-grade material that develops an attractive patina over time. It requires no painting or sealing and can last for decades, though it commands a significantly higher upfront material and labor cost.
Profile options typically include K-style (which mimics crown molding and handles high volumes of water) and half-round styles (often used on historic or modern minimalist homes). Selecting the appropriate size—typically 5-inch or 6-inch widths—depends directly on roof square footage and local rainfall intensity.
3. Estimating Costs and Budgeting
Establishing a realistic financial plan is a critical prerequisite for any professional or DIY service. Gutter replacement costs vary widely based on linear footage, material choice, labor rates, and the complexity of the roofline (such as multi-story structures or steep pitches).
When evaluating quotes from contractors, ensure the estimate includes the complete scope of work: removal and haul-away of old materials, fascia board repair allowances, downspouts, splash blocks, and corner miters.
| Material Type | Average Cost per Linear Foot (Installed) | Expected Lifespan | Primary Maintenance Requirement |
|---|---|---|---|
| Aluminum (Standard) | $6 – $12 | 20 – 30 Years | Periodic cleaning and joint sealing |
| Vinyl | $4 – $8 | 10 – 20 Years | Checking for thermal expansion warping |
| Galvanized Steel | $9 – $16 | 20 Years | Rust inspection and touch-up painting |
| Copper | $25 – $40+ | 50+ Years | None (natural patina development) |
4. Securing Permits and Verifying Contractor Credentials
Depending on municipal regulations and homeowner association (HOA) covenants, exterior modifications may require specific permits or architectural approvals. While standard like-for-like residential replacements rarely require structural building permits, local environmental or stormwater runoff codes occasionally dictate where downspouts must discharge.
If hiring a professional service, verify that the contractor holds an active state or local license, general liability insurance, and workers' compensation coverage. Request certificates of insurance directly from the provider's insurance carrier to protect your property against accidental roof damage or worker injuries during the installation process.
5. Safe Removal and Disposal of Existing Gutters
The physical replacement process begins by carefully dismantling the old drainage infrastructure. Technicians or DIYers must use stable extension ladders equipped with standoff stabilizers to avoid crushing existing channels or damaging shingles.
Workers unfasten the current brackets, slip the sections away from the drip edge, and lower them safely to the ground. Care must be taken to pull old fasteners cleanly from the fascia without splintering the wood. Once removed, old metal components should be bundled for local metal recycling facilities, keeping construction debris out of standard municipal waste streams.
6. Repairing and Preparing the Fascia Board
With the old channels removed, the exposed fascia board receives its secondary, detailed inspection. Any rotted timber identified in Step 1 must be cut out and replaced with primed, exterior-grade lumber (such as select pine, cedar, or PVC trim boards).
After structural repairs are complete, the entire fascia board should be primed and painted to match the home's trim color before new metal is installed. Mounting a drainage system onto an unpainted, rotting substrate guarantees premature failure, as moisture will continue to compromise the anchor points.
7. Calculating Slope and Layout Planning
Effective water drainage relies entirely on gravity and precise mathematical slope calculations. Gutters must not be installed completely level; instead, they require a downward pitch toward the downspout locations to ensure complete water evacuation without pooling.
The standard industry pitch is approximately 1/4 inch of drop for every 10 feet of run, or a minimum of 1/8 inch per foot for very long runs. Technicians snap chalk lines along the fascia board to map out this downward angle precisely. For runs exceeding 40 feet, center-drop configurations with slopes running toward both ends are frequently implemented to prevent channels from becoming excessively deep at one corner of the house.
8. Precision Fabrication and Custom Fitting
Modern installations heavily favor seamless aluminum systems, which are custom-rolled from continuous aluminum coils directly at the job site using a portable roll-forming machine. This eliminates factory-seam leakage points that plague sectional systems.
During this stage, technicians measure exact wall lengths, fabricate custom corner miters, cut end caps, and mark precise locations for downspout drop outlets. Outlet holes are cut cleanly using aviation snips or hole saws, and heavy-duty flashing or sealant is applied around the flange to ensure a watertight connection.
9. Mounting, Hanger Spacing, and Fastening
Securing the newly formed channels to the fascia is the most structurally demanding phase of the service. Using hidden hangers rather than old-fashioned spike-and-ferrule systems provides superior clean lines and immense holding power.
- Hanger Spacing: Hangers should be installed every 24 inches on center, or every 18 inches in regions prone to heavy snowfall or ice damming.
- Fastener Penetration: Screws must drive deeply through the fascia board and into the rafter tails behind it, rather than anchoring solely into thin wooden trim boards.
- Expansion Joints: Long straight runs require proper allowance for thermal expansion and contraction of metal under fluctuating temperatures.
10. Downspout Integration and Final Testing
The final phase connects the horizontal roof drainage to vertical downspouts and ground-level water management assets. Downspouts are secured to exterior walls using strap brackets spaced every 4 to 6 feet, directing water safely away from the foundation.
Elbows and extension pieces must guide runoff at least 3 to 4 feet away from the foundation wall, or directly into underground French drains and splash blocks. Finally, a rigorous water test—using a garden hose at the roofline—is performed to confirm that water flows smoothly toward the outlets without pooling, spilling over the front edge, or leaking at any end caps or corner joints.
Frequently Asked Questions
How long does a professional gutter replacement service take?
Most standard residential gutter replacement projects take between one and two days to complete. The exact timeframe depends on the home's linear footage, height, complexity of the roofline, and whether extensive fascia board repairs are required beforehand.
Should I choose seamless gutters over sectional gutters?
Seamless gutters are strongly recommended over sectional alternatives. Because they are custom-measured and extruded on-site from a single piece of metal, they lack mid-run seams. This drastically reduces the primary sites for clogging, rust accumulation, and water leaks.
How often should replaced gutters be cleaned?
Even newly installed systems require routine maintenance. Homeowners should inspect and clean their gutters at least twice a year—typically in late spring and late autumn—to remove accumulated leaves, twigs, and shingle granules that can obstruct water flow.
Can I install gutter guards during the replacement service?
Yes, integrating gutter guards or leaf filters during the replacement service is ideal. Installing them simultaneously ensures that the guards fit the specific profile and pitch of the new channels without voiding any installation warranties offered by the contractor.
What are the signs that my gutters need immediate replacement rather than repair?
Immediate replacement is necessary if you notice widespread rust perforation, multiple cracked seams, sagging sections that cannot be corrected by re-securing hangers, or chronic water pooling against your home's foundation despite routine cleanings.
Conclusion
Executing a successful gutter replacement service protects your home's structural integrity, prevents costly basement flooding, and preserves exterior landscaping. By following a structured process—from thorough inspection and material selection to precise sloping and rigorous water testing—you ensure a durable, high-performing drainage system. Whether tackling the project independently or partnering with a licensed professional, adherence to proper installation standards guarantees long-term protection for your property.