On November 12, stargazers and astrophotographers frequently look toward the night sky with heightened anticipation of a vibrant aurora borealis display. Whether tracking historic geomagnetic storms or preparing for a specific astronomical forecast, understanding the underlying space weather mechanics, viewing prerequisites, and practical observation techniques ensures that observers maximize their chances of witnessing a successful northern lights show.
Understanding the November 12 Northern Lights Phenomenon
The appearance of the northern lights—commonly known as the aurora borealis—on or around November 12 is driven by solar activity interacting with Earth's magnetosphere. The Sun undergoes an 11-year solar cycle, during which sunspot activity rises and falls. When solar flares or coronal mass ejections (CMEs) erupt from the Sun's surface, they release billions of tons of magnetized plasma into interplanetary space.
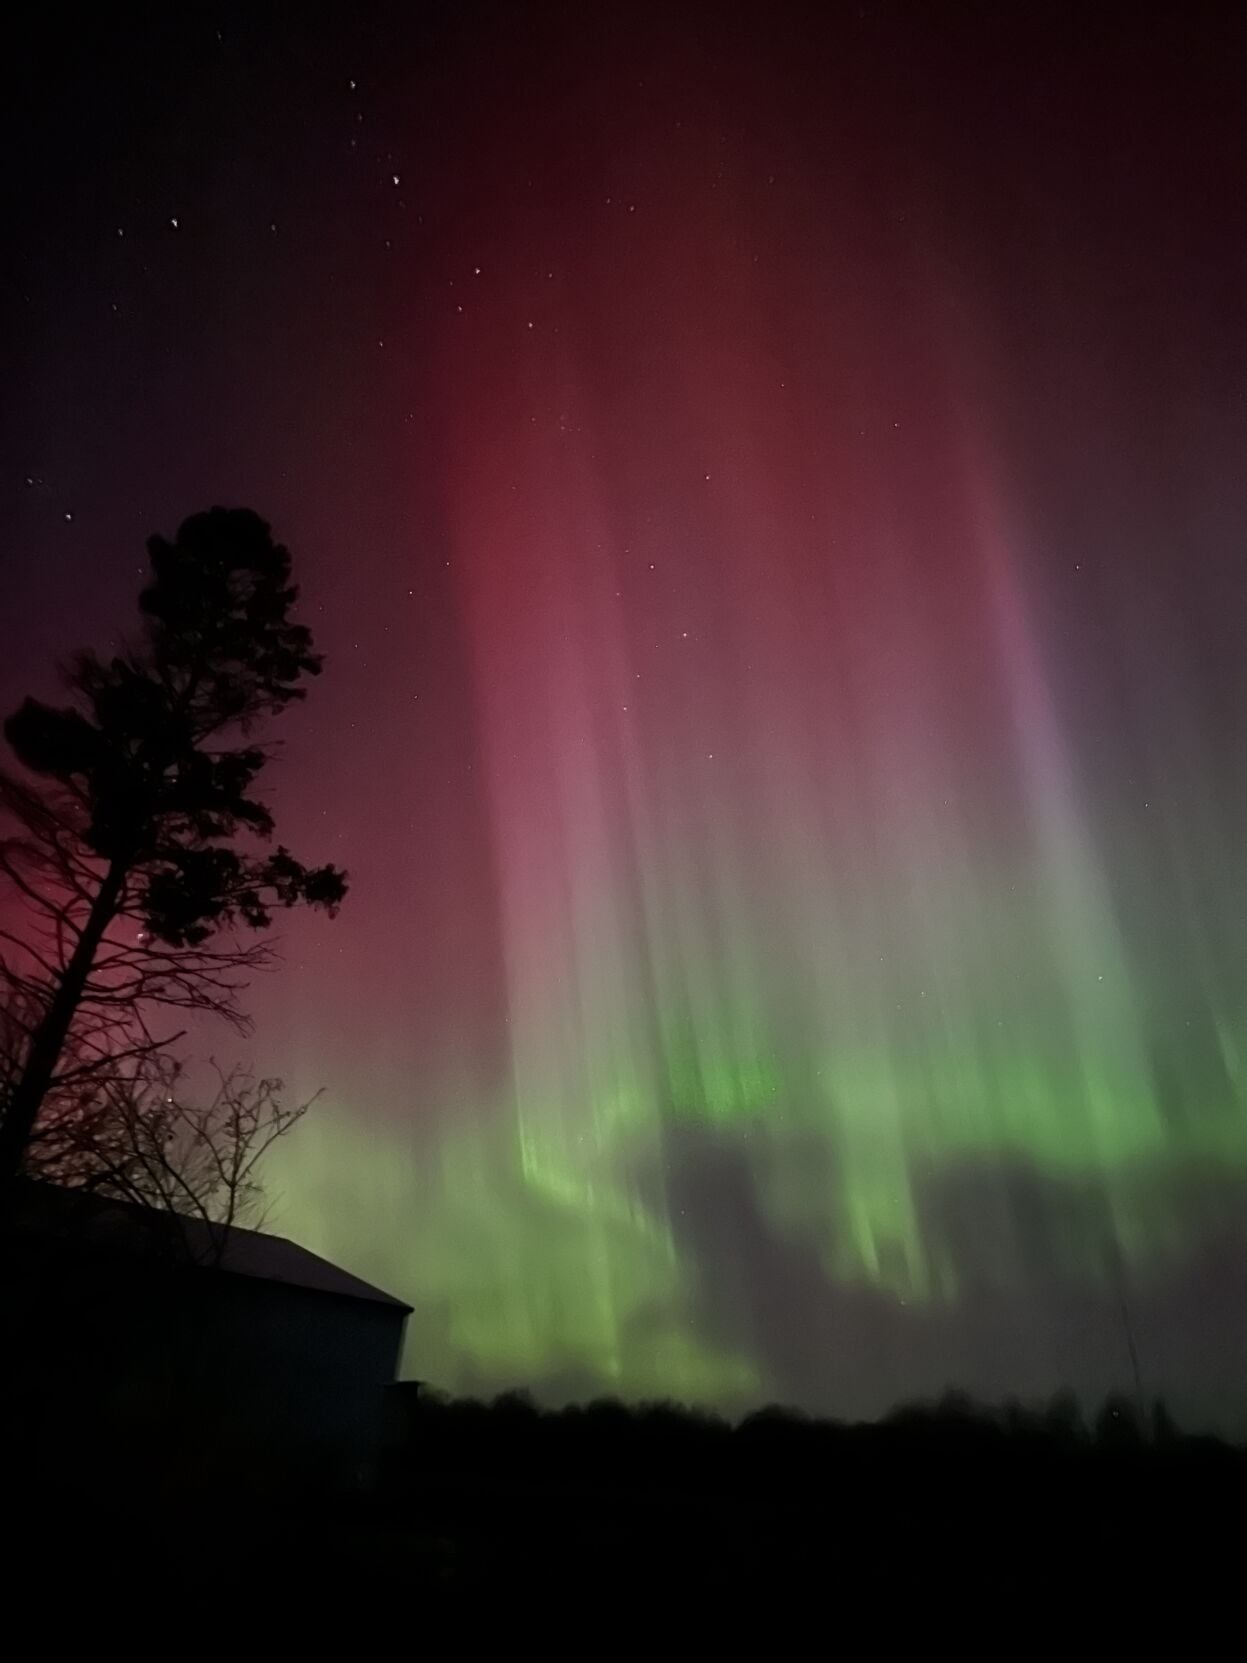
When these charged particles reach Earth, typically taking between one to three days depending on their velocity, they collide with gases in the upper atmosphere. Nitrogen and oxygen molecules become excited during these collisions. As these molecules return to their ground states, they release photons of light, creating the characteristic green, pink, purple, and red curtains of light that sweep across high-latitude skies.
November sits during a period of transition where longer nights in the Northern Hemisphere provide extended windows of darkness, which is a crucial requirement for spotting faint auroral arcs. However, predicting a specific display for November 12 requires looking at real-time solar wind telemetry, interplanetary magnetic field (IMF) orientation, and geomagnetic indices rather than relying strictly on calendar dates.
Scientific Indicators and Space Weather Monitoring
Accurately forecasting whether a northern lights show will materialize on November 12 requires monitoring specific metric measurements provided by space weather agencies, such as the National Oceanic and Atmospheric Administration (NOAA) Space Weather Prediction Center.
The Kp Index Explained
The Kp index is a scale running from 0 to 9 used to characterize the magnitude of geomagnetic storms.
- Kp 0 to 2: Quiet conditions. Auroras are generally confined to high polar regions.
- Kp 3 to 4: Unsettled to active conditions. Faint auroras might be visible low on the horizon from northern latitudes.
- Kp 5 to 6: Minor to moderate geomagnetic storms. Displays become more active, moving further south into parts of Canada, the northern United States, and northern Europe.
- Kp 7 to 9: Strong to extreme storms. Auroras can stretch deep into mid-latitudes, occasionally surprising observers far south of the traditional auroral oval.
Solar Wind Speed and Magnetic Field Direction
While the Kp index offers a general outlook, real-time hunters look at solar wind speed (measured in kilometers per second) and the $B_z$ component of the interplanetary magnetic field. For a strong aurora to occur, the $B_z$ value must point southward (negative). A southward $B_z$ acts like an open gate, allowing solar wind particles to flood into Earth's magnetic field and energize the polar regions.
Ideal Geographical Locations for Viewing
Latitude plays a definitive role in aurora observation success. While extreme geomagnetic storms can push visibility boundaries toward mid-latitudes, reliable viewing zones sit beneath the auroral oval, which typically spans latitudes between 65° and 72° N.
| Region / Country | Prime Viewing Locations | Typical Accessibility & Considerations |
|---|---|---|
| Norway | Tromsø, Lofoten Islands, Svalbard | Excellent infrastructure, maritime climate moderated by the Gulf Stream, frequent cloud cover challenges. |
| Iceland | Entire island, particularly Reykjanes and Westfjords | High latitude, ring road access, highly dynamic and unpredictable weather patterns. |
| Canada | Yellowknife (Northwest Territories), Whitehorse (Yukon) | Inland continental climates offer higher percentages of clear skies and extreme high-latitude positions. |
| Finland | Lapland (Rovaniemi, Ivalo, Saariselkä) | Dedicated aurora resorts, glass igloos, stable winter weather with sub-zero temperatures. |
| United States | Interior and Northern Alaska (Fairbanks) | Dark skies, high northern latitude, accessible via major regional hubs. |
Essential Preparation and Equipment for Observers
Venturing out into cold November conditions to watch a northern lights show requires careful preparation, especially given that peak aurora activity often occurs during the coldest hours of the night, between 10:00 PM and 2:00 AM local time.
Clothing and Personal Gear
- Layering System: Base layers made of merino wool or synthetic moisture-wicking materials, insulating mid-layers like fleece or down, and a windproof, waterproof outer shell.
- Extremities Protection: Insulated winter boots rated for sub-zero temperatures, thick wool socks, windproof gloves or mittens, and a thermal hat.
- Comfort Aids: Hand warmers, thermal seating pads, and insulated thermoses filled with hot beverages.
Photographic Equipment
Capturing the nuances of a northern lights show requires manual camera controls because automatic smartphone settings often struggle in low-light conditions.
- Camera Body: A digital single-lens reflex (DSLR) or mirrorless camera capable of high ISO performance without excessive noise.
- Lens: A fast wide-angle lens (e.g., $14\text{mm}$ to $24\text{mm}$) with a wide aperture of f/2.8 or lower to gather maximum light.
- Support: A sturdy tripod to prevent camera shake during long exposures ranging from 2 to 15 seconds.
- Power Management: Cold weather drains lithium-ion batteries rapidly. Keep spare batteries in an inner jacket pocket close to body heat.
Common Mistakes to Avoid During Aurora Hunts
Novice skywatchers often encounter avoidable pitfalls that diminish their chances of experiencing a successful northern lights show.
- Ignoring Light Pollution: Viewing auroras near urban centers or highway lights washes out faint displays. Always travel at least 20 to 30 kilometers away from city lights.
- Failing to Adapt Night Vision: Looking at smartphone screens resets human night vision, which takes approximately 20 to 30 minutes to fully adapt to darkness. Use red-light flashlights to preserve night adaptation.
- Misjudging Cloud Cover: High-altitude cirrus clouds can obscure auroras even if space weather indices are exceptionally high. Always check satellite cloud cover forecasts alongside geomagnetic reports.
- Giving Up Too Early: Auroras occur in episodic substorms. A quiet sky at 9:00 PM can erupt into a brilliant dancing crown by midnight. Patience remains a core requirement of successful observation.
Frequently Asked Questions
Can I see the northern lights without a camera?
Yes. While cameras with long exposures can pick up subtle reds and pinks before the human eye registers them, bright auroras appear clearly in vibrant shades of green and white to unaided human vision. Cameras amplify color and light, but a strong display is unmistakable in person.
Do I need clear skies to see an aurora?
Cloud cover acts as a physical barrier. If thick clouds cover the sky, you will not see the northern lights, regardless of how high the Kp index climbs. However, broken clouds or thin hazes can sometimes permit peeks of intense auroral activity.
Why do some northern lights appear purple or red?
The color depends on the altitude and the type of atmospheric gas colliding with solar particles. Green light—the most common—occurs from oxygen collisions around 100 to 150 kilometers high. Red light stems from high-altitude oxygen (above 200 kilometers), while pink and purple hues result from nitrogen interactions lower in the atmosphere.
How accurate are aurora forecast apps?
Aurora prediction apps use real-time solar wind data from spacecraft like the Deep Space Climate Observatory (DSCOVR) to estimate arrival times and intensity within a 30-to-60-minute window. While near-term forecasts are quite reliable, long-range forecasts made days in advance carry a high degree of uncertainty.
Practical Next Steps for Observers
To prepare effectively for a November 12 viewing window, start by monitoring real-time space weather alerts through official channels such as NOAA or local meteorological institutes. Check weather and cloud cover maps in your chosen observation zone hours before departure. Assemble warm cold-weather gear, secure your camera equipment, and travel to a designated dark-sky location to ensure an unobstructed horizon facing north.