Updating your Intel network adapter drivers for Windows 10 ensures maximum network stability, reduces latency, optimizes throughput, and resolves underlying hardware conflicts. Whether you are troubleshooting persistent disconnections, preparing for a high-bandwidth workload, or restoring functionality after a clean operating system installation, securing the correct driver is an essential maintenance task for any Windows 10 desktop or laptop equipped with Intel silicon.
Understanding Intel Network Adapter Drivers on Windows 10
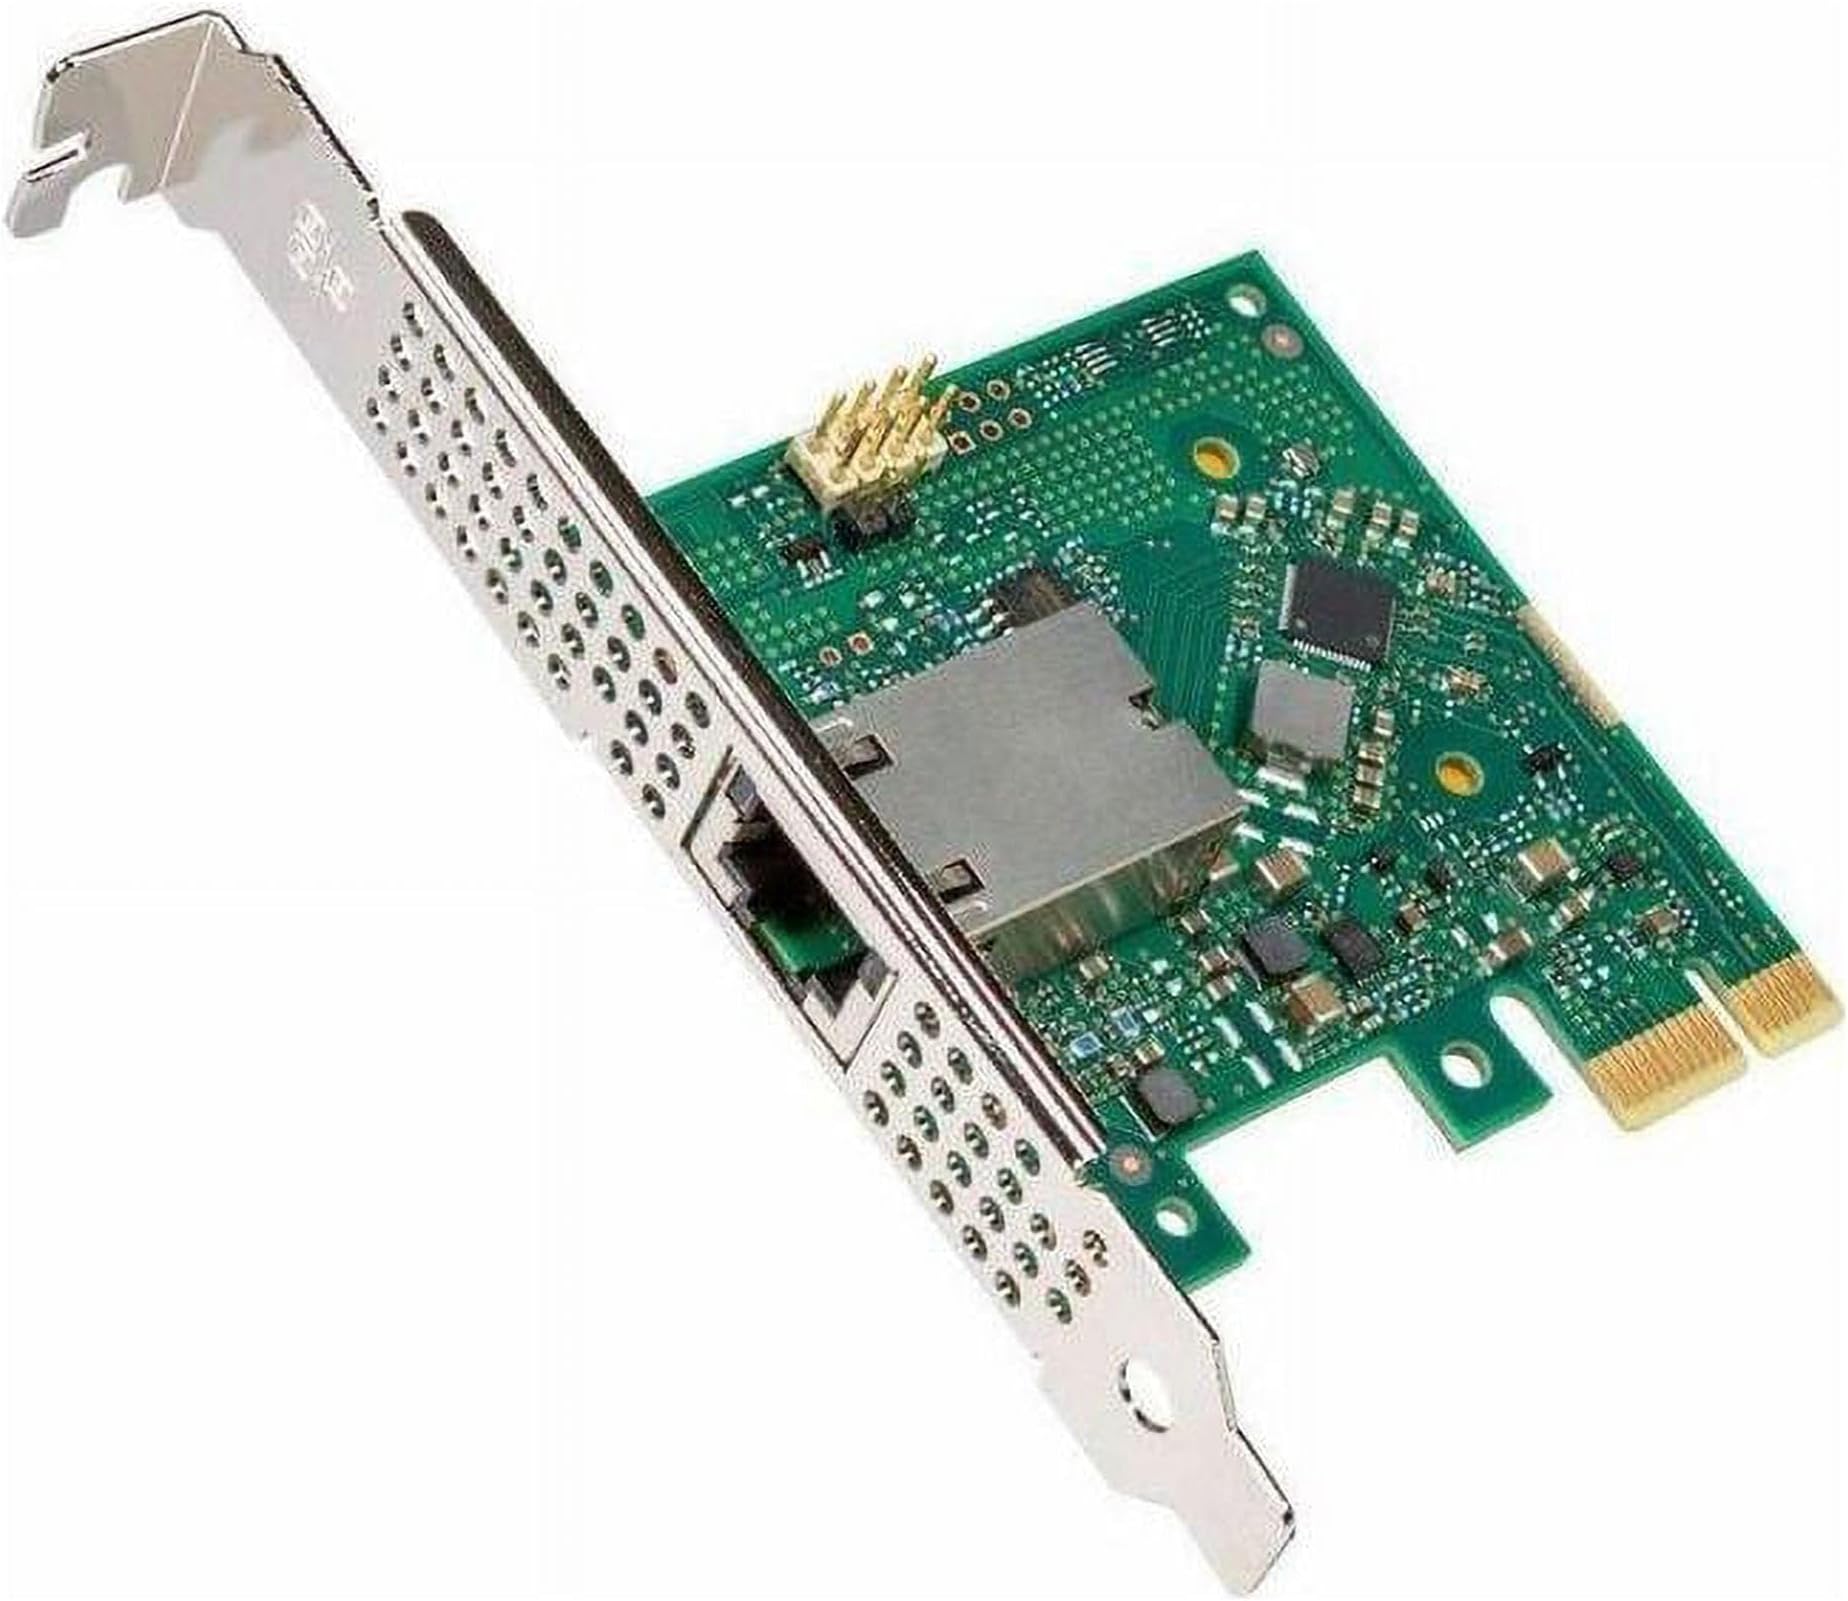
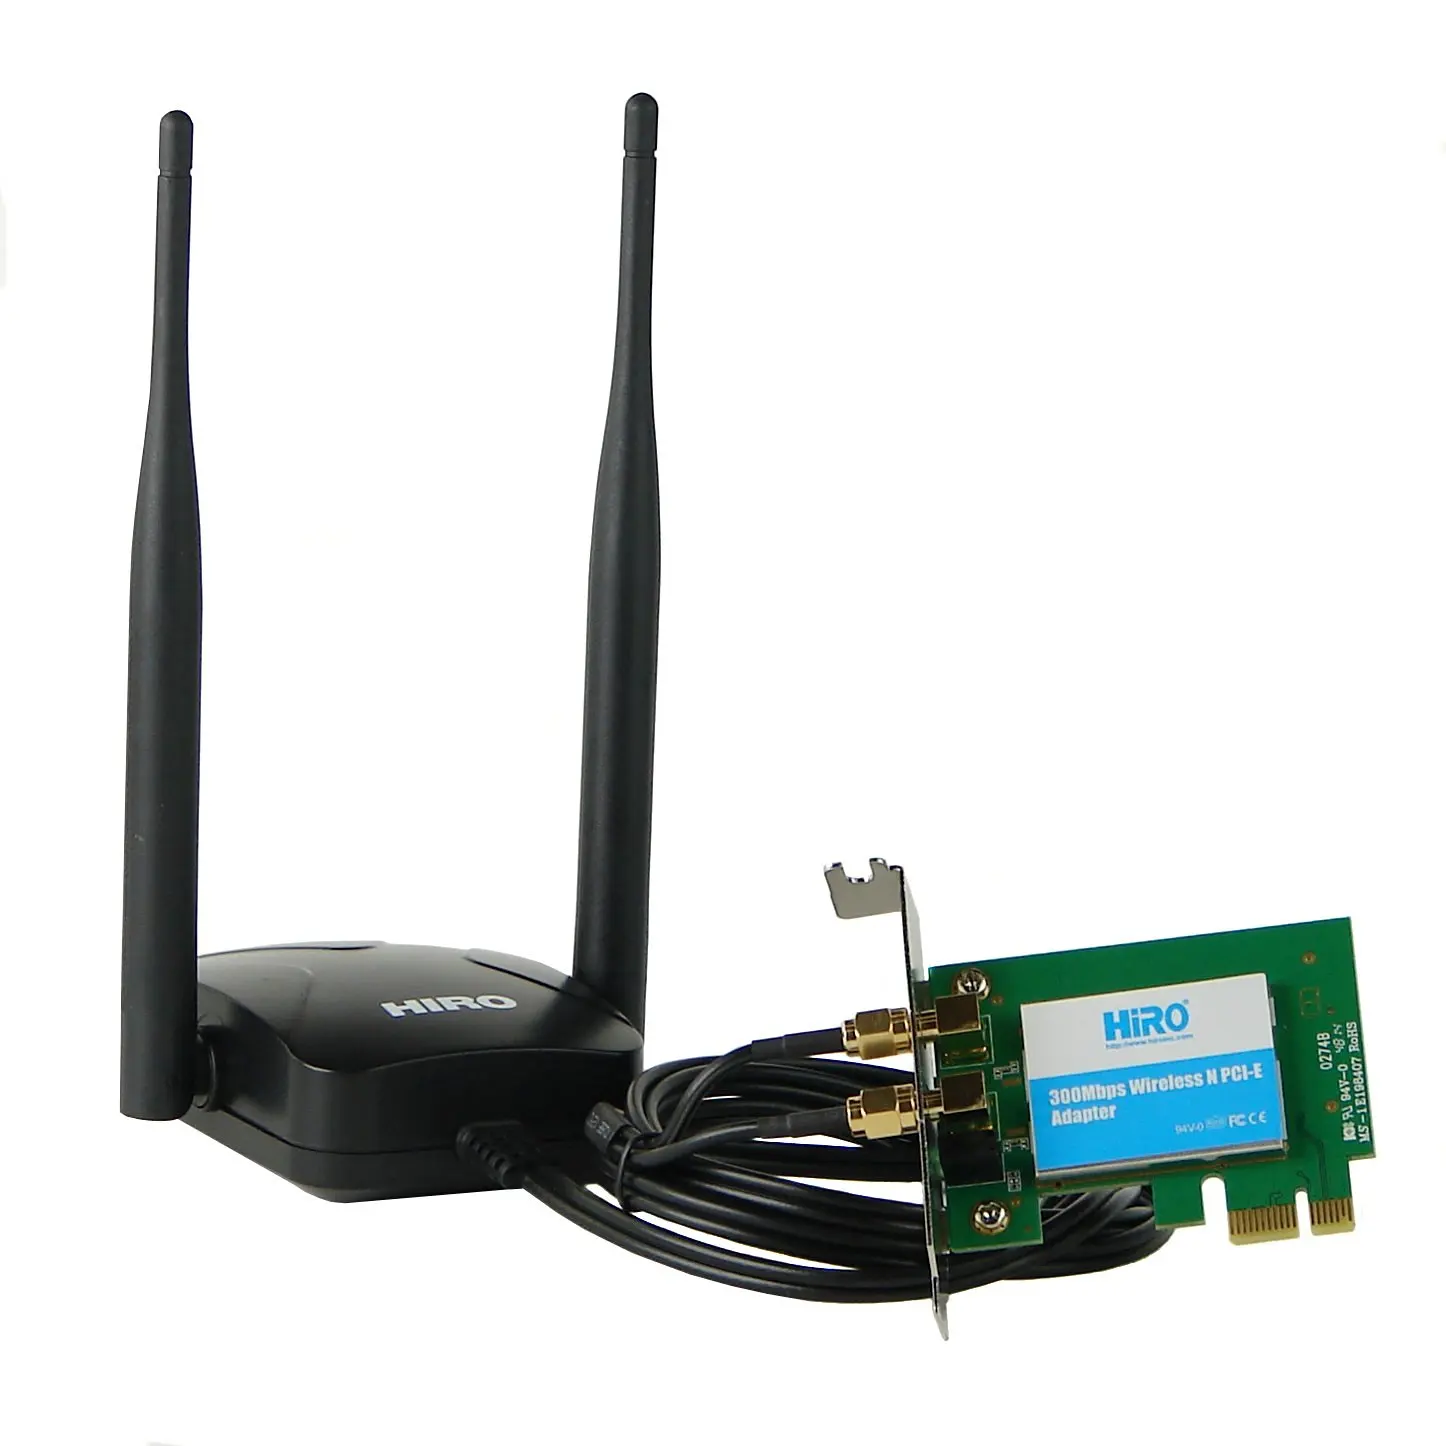
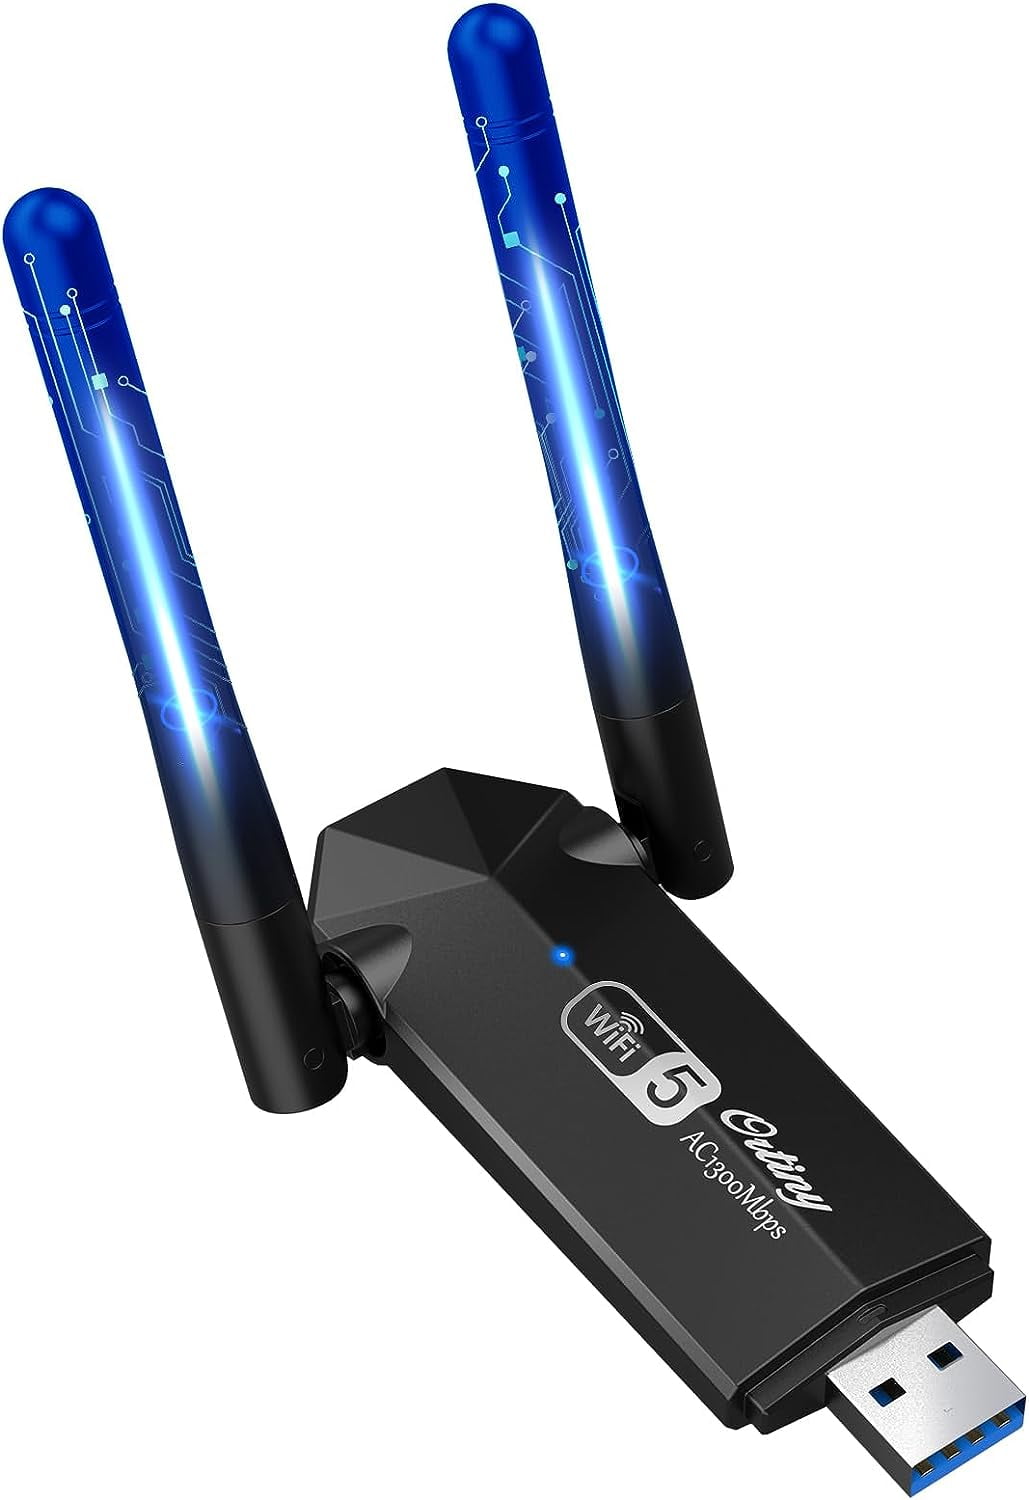
Intel network adapters—ranging from consumer wireless chipsets like the Wi-Fi 6 AX200 series to enterprise-grade Ethernet controllers such as the Intel I210 and I219 families—rely heavily on properly written software drivers to communicate effectively with the Windows 10 kernel. A driver acts as a translator between your physical networking hardware and the operating system's networking stack, managing packet scheduling, power states, and hardware handshakes.
When Windows 10 is freshly installed, the operating system often deploys a generic inbox driver to establish a basic internet connection. While functional, these generic drivers rarely support advanced hardware features like Receive Side Scaling (RSS), jumbo frames, energy-efficient Ethernet, or specialized VLAN tagging. Furthermore, generic drivers can lag behind security updates and bug fixes released by Intel. Installing official Intel network adapter drivers unlocks the full potential of your physical hardware, yielding measurable improvements in connection reliability and power management.
Preparing for Your Driver Update
Before downloading and installing any driver package, you need to gather specific diagnostic information about your system to prevent configuration errors. Skipping this preparatory phase can lead to driver mismatches, installation failures, or temporary loss of network connectivity.
Identifying Your Exact Network Adapter Model
Operating systems often lump diverse chipsets under broad marketing names. To acquire the correct driver, you must find your exact adapter model:
- Press the Windows Key + X and select Device Manager.
- Expand the Network adapters category.
- Locate your Intel device (e.g., Intel Ethernet Connection (2) I219-V or Intel Wi-Fi 6 AX200 160MHz).
- Right-click the device, select Properties, and navigate to the Details tab.
- Change the Property dropdown to Hardware IDs to view the vendor and device codes (e.g.,
PCI\VEN_8086&DEV_15B8), which definitively identify the underlying silicon.
Assessing Your Current Driver Version and Release Date
Knowing your baseline helps you verify whether an update actually applies:
- Within the same Device Manager property window, switch to the Driver tab.
- Note the Driver Version and Driver Date.
- Compare these figures against the release notes of the prospective download to ensure you are moving forward rather than inadvertently downgrading.
Sourcing and Downloading Official Drivers
Securing drivers from reputable channels is critical for system security and stability. Unverified third-party driver repositories frequently bundle adware, outdated software, or modified INF files that can compromise your operating system.
Official Intel Channels
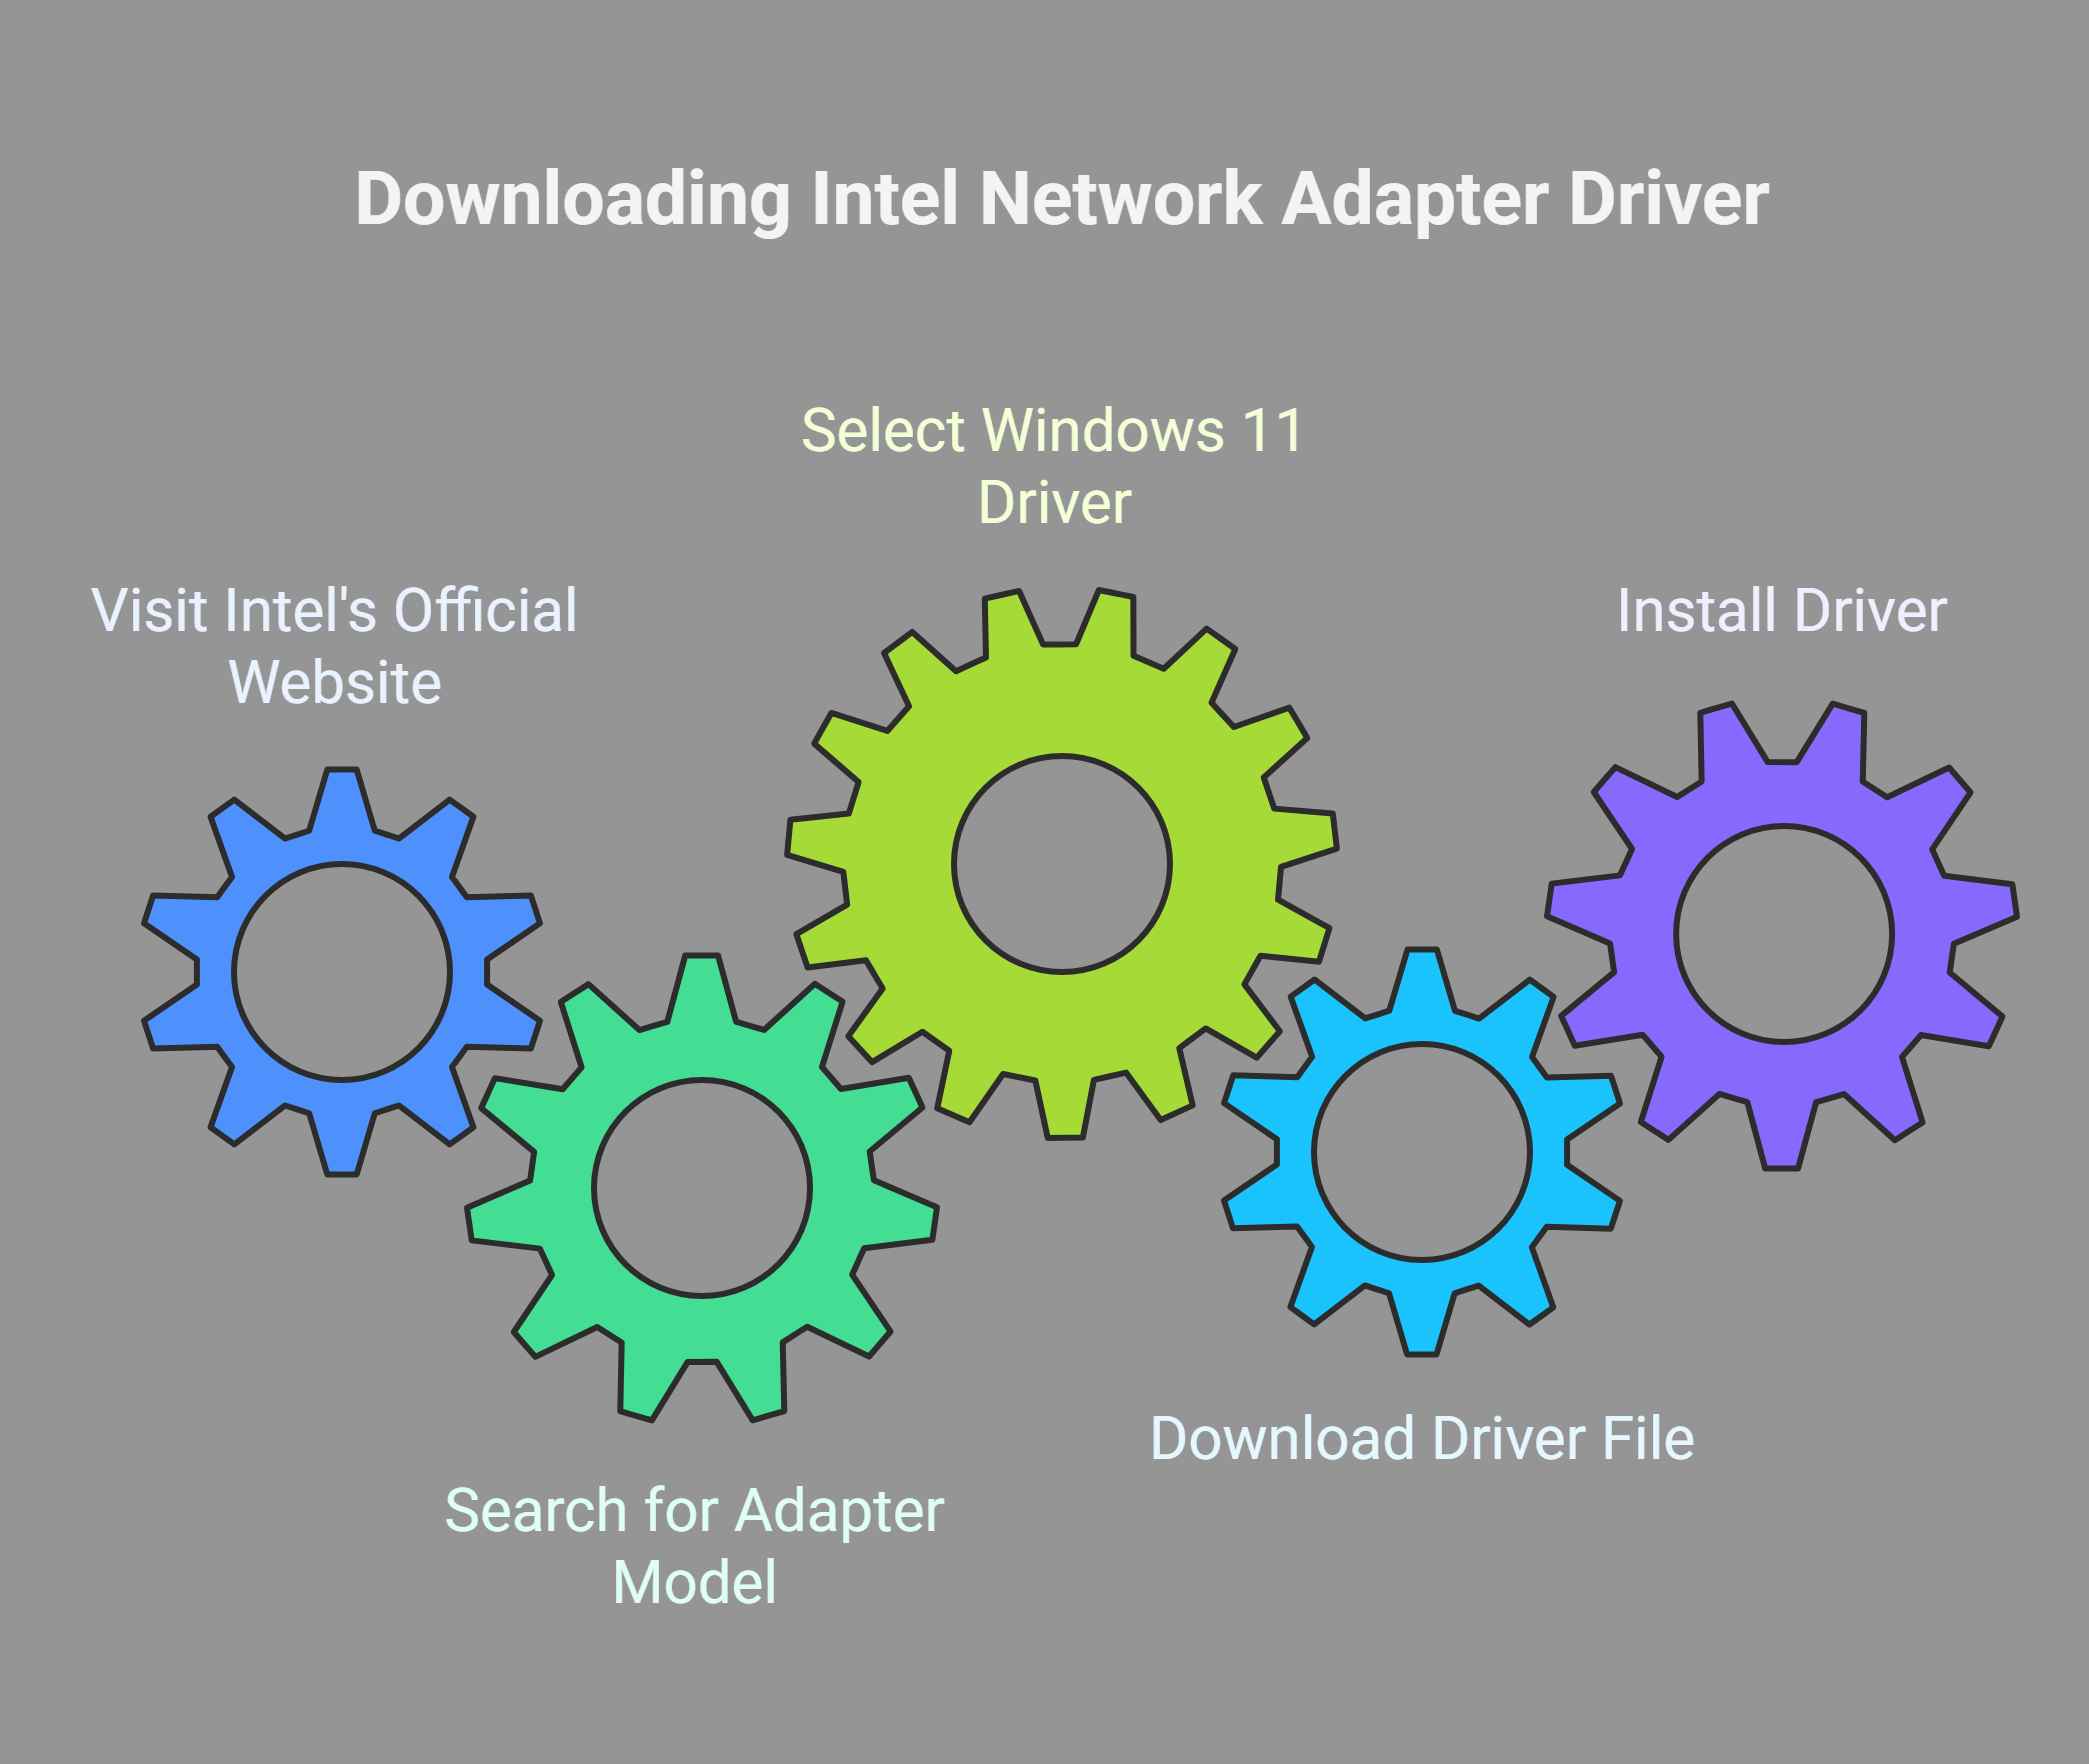
The definitive source for Intel network adapter drivers is the official Intel Download Center.
- Use the search utility to look up your specific adapter family, or browse by product category (Wireless or Ethernet).
- Filter results specifically by Windows 10, 64-bit (or 32-bit, though modern installations are overwhelmingly 64-bit).
- Look for packages categorized as "Drivers" rather than software suites unless you explicitly require management utilities like Intel PROSet/Wireless Software.
Understanding Driver Package Formats
Intel typically distributes network drivers in two primary formats:
- Executable Installers (.exe): Self-extracting packages that run an automated setup wizard, ideal for standard end-user installations.
- Driver Disks / INF Files (.zip): Compressed archives containing raw driver files (
.inf,.sys,.cat), designed for manual installation via Device Manager or deployment in enterprise environments via systems management tools.
Step-by-Step Installation Methods
Depending on your technical comfort level and whether your current connection is functioning, you can choose between automated installation and manual INF installation.
Method 1: Using the Automated Executable Installer
- Download the official
.exedriver package from Intel to your local machine (such as the Desktop or Downloads folder). - Close all active web browsers and network-dependent applications to prevent file-lock conflicts during installation.
- Right-click the downloaded installer and select Run as administrator. If User Account Control (UAC) prompts you, click Yes.
- Follow the on-screen prompts in the Intel installation wizard. Accept the license agreement and select typical or custom installation paths as needed.
- Allow the installation wizard to complete. It will automatically stop existing network services, replace the driver files, and restart the adapter interface.
- Restart your computer if prompted by the installer to finalize registry updates and kernel-level integration.
Method 2: Manual Installation via Device Manager (INF Method)
If you downloaded a .zip archive or wish to bypass third-party installation wizards, use the Device Manager method:
- Extract the downloaded
.ziparchive to a known folder on your hard drive. - Open Device Manager, expand Network adapters, right-click your Intel adapter, and select Update driver.
- Choose Browse my computer for drivers.
- Select Let me pick from a list of available drivers on my computer.
- Click the Have Disk... button and browse to the folder where you extracted the archive.
- Select the primary
.inffile (e.g.,Netwtw08.inffor wireless ore1d65x64.inffor Ethernet) and click Open, then OK. - Choose your specific adapter model from the filtered list and click Next to install.
Verifying Driver Installation and Functionality
Once the installation sequence concludes, you must verify that Windows 10 is actively utilizing the new driver without underlying faults.
- Return to Device Manager and open the properties of your Intel network adapter.
- Under the Driver tab, verify that the Driver Version matches the release notes of your newly downloaded package and that the Driver Date is updated.
- Switch to the General tab and check the "Device status" box. It should explicitly state: "This device is working properly."
- Open a Command Prompt window (
cmdvia the Windows Start menu) and executeipconfig /allorping 8.8.8.8to confirm active packet routing and local IP assignment.
| Adapter Type | Common Driver Family | Typical Registry INF File Prefix | Primary Diagnostic Tool |
|---|---|---|---|
| Intel Ethernet | I210, I219, Intel 82579 | e1express, e1d, e1c |
Intel PROSet / Windows Network Diagnostics |
| Intel Wireless | Wi-Fi 6 AX200 / AX210 | Netwtw0x.inf |
Windows WLAN Report / PowerShell |
| Legacy Ethernet | Pro/1000 PT / GT Series | e1k |
Device Manager Event Viewer |
Troubleshooting Common Driver Update Issues
Even with official packages, network driver updates can occasionally encounter roadblocks. Review these common scenarios to resolve hiccups quickly.
Rollback Strategy for Unstable Drivers
If a newly installed driver introduces packet drops, intermittent disconnects, or blue screens (BSODs):
- Open Device Manager, right-click your Intel adapter, and select Properties.
- Navigate to the Driver tab.
- Click the Roll Back Driver button (if active). Windows will replace the current driver with the previously installed version.
- If the rollback button is grayed out, use Method 2 (Manual Installation) to explicitly point Device Manager to an older, stable version downloaded from Intel's archive.
Resolving Code 10 and Code 43 Errors
Errors indicating that the device cannot start (Code 10) or has failed its hardware request (Code 43) usually stem from corrupted driver caches or incomplete uninstalls:
- In Device Manager, right-click the Intel adapter and select Uninstall device.
- Important: Check the box that says "Attempt to remove the driver for this device" and click Uninstall.
- Restart your computer. Upon reboot, Windows will attempt to deploy its default inbox driver. Once booted, run the official Intel installer again to establish a clean state.
Frequently Asked Questions
Do I need to uninstall my old Intel network driver before installing a new one?
Usually, no. Official Intel executable installers automatically overwrite older driver versions cleanly. However, if you are experiencing persistent connection drops, performing a clean uninstall via Device Manager before running the new installer prevents lingering registry conflicts.
Why does Windows Update keep overwriting my Intel driver?
Windows Update occasionally flags Intel network drivers as optional or mandatory updates, replacing customized versions with Microsoft-certified equivalents. You can temporarily block specific driver updates using official Microsoft troubleshooting utilities or by configuring Group Policy settings in Windows 10 Pro editions to exclude hardware updates from automatic installation sweeps.
Can I use Intel network adapter drivers on Windows 10 Home and Pro editions?
Yes. Driver packages communicate directly with the Windows 10 kernel architecture, which is identical across both Home and Pro editions. Installation procedures and performance optimizations remain identical regardless of your specific Windows license type.
How often should I update my Intel network adapter drivers?
Unlike graphics card drivers that require frequent updates for new game releases, network drivers only need updating when you experience connectivity issues, security vulnerabilities are patched by Intel, or you are troubleshooting specific performance bottlenecks. If your network is stable, frequent preventative driver updates are generally unnecessary.
Where can I find release notes for Intel network drivers?
Intel publishes comprehensive release notes alongside every driver package on their official Download Center page. These notes detail resolved bugs, newly supported hardware identifiers, and specific security bulletin references associated with each version.
Conclusion and Recommended Next Actions
Keeping your Intel network adapter drivers updated on Windows 10 safeguards your system against unexpected connection failures and unlocks peak hardware efficiency. Begin by accurately identifying your chipset via Device Manager, download the official package directly from Intel, and perform a clean installation. If issues arise, utilize the driver rollback feature or perform a complete uninstall before reapplying the software. For ongoing maintenance, bookmark Intel's official support portal and check for updates only when troubleshooting specific networking anomalies.