Performing a routine oil change on a 2017 Toyota Tacoma involves gathering the correct supplies—typically 6.2 quarts of 0W-20 synthetic oil and a cartridge-style filter element—safely elevating the vehicle, draining the old oil from the aluminum or steel oil pan, replacing the filter housing O-ring, and properly torquing the drain plug and filter housing cap.
Maintaining a third-generation Toyota Tacoma requires adherence to factory maintenance schedules to ensure the longevity of its engine options, which include the 2.7-liter 2AR-FE four-cylinder and the 3.5-liter 2GR-FKS V6. Changing your own engine oil is one of the most fundamental DIY maintenance tasks you can undertake. This comprehensive guide walks you through the precise steps, specifications, tools, and best practices required to complete a 2017 Tacoma oil change correctly, cleanly, and efficiently.
Understanding Your 2017 Toyota Tacoma Engine Options
Before sliding under your truck, it is crucial to identify which engine your 2017 Tacoma is equipped with. While both engines utilize full synthetic 0W-20 motor oil, their oil capacities, filter types, and under-hood layouts differ significantly.
The 2.7L 4-Cylinder (2AR-FE)
The 2.7-liter inline-four engine is typically found in utility-focused access cabs and utility configurations. It utilizes a traditional spin-on oil filter located near the passenger side lower portion of the engine block. Because of its straightforward spin-on design, changing the filter on the four-cylinder variant is exceptionally clean and rapid.
The 3.5L V6 (2GR-FKS)
The vast majority of 2017 Tacomas on the road feature the 3.5-liter Atkinson-cycle V6 engine. This engine utilizes a modern cartridge-style oil filter housed inside a plastic or aluminum filter housing cap located at the top-front of the engine block. Servicing this engine requires a specialized filter housing wrench and careful attention to replacing multiple O-rings to prevent high-pressure oil leaks.
Required Tools, Parts, and Fluids
Attempting an oil change without the proper equipment can lead to rounded bolts, stripped housing caps, or messy spills. Gather the following items before starting:
- Motor Oil: 6.2 quarts of OW-20 Full Synthetic Motor Oil (API certified and conforming to ILSAC standards).
- Oil Filter: OEM Toyota oil filter (Part #04152-YZZA1 for the V6) which includes a new filter element, a large rubber O-ring, a small drain plug O-ring, and a special plastic draining tool.
- Oil Filter Wrench: A dedicated 64mm to 65mm end-cap style filter wrench with 14 flutes (specifically designed for Toyota cartridge housings). Avoid universal band wrenches, as they can crack plastic housings.
- Socket Set & Ratchet: A 14mm socket for the oil drain plug, along with extensions.
- Torque Wrench: Capable of measuring in foot-pounds and inch-pounds for accurate reassembly.
- Drain Pan & Funnel: A low-profile catch basin with a capacity of at least 8 quarts.
- Rags or Shop Towels & Brake Cleaner: For cleaning spilled oil and wiping down mating surfaces.
- Safety Equipment: Wheel chocks, heavy-duty hydraulic jack, and rated jack stands (never rely solely on a hydraulic jack).
Step-by-Step 2017 Tacoma V6 Oil Change Procedure
Because the 3.5L V6 is the most common configuration, the following step-by-step instructions focus primarily on its cartridge-style filter system.
Step 1: Preparation and Vehicle Elevation
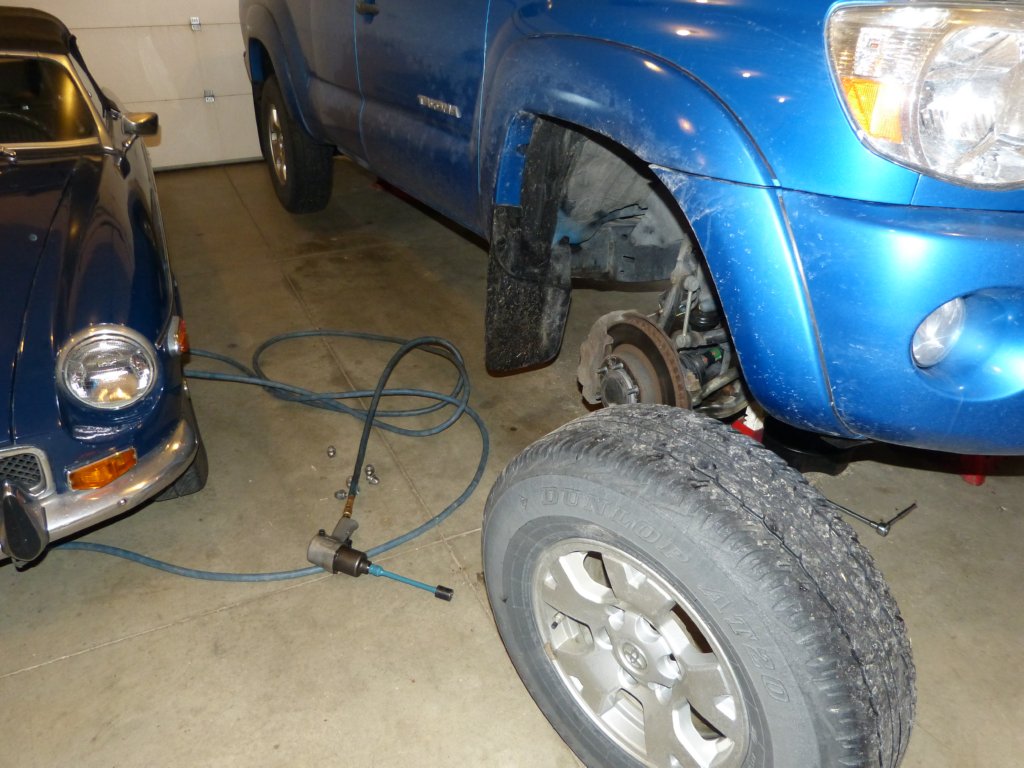
Park your Tacoma on a completely level, hard surface. Set the emergency brake firmly and place heavy wheel chocks behind the rear tires. Using a hydraulic floor jack rated for truck weights, lift the front of the vehicle safely by the factory-approved front crossmember. Lower the truck securely onto heavy-duty jack stands. Never crawl under a vehicle supported only by a hydraulic jack.
Allow the engine to run for three to five minutes to warm the oil, making it less viscous so it drains completely and carries away suspended contaminants more effectively. Shut off the engine and pop the hood.
Step 2: Accessing the Oil Filter and Draining the Housing
Locate the oil filter housing assembly at the front-top of the 3.5L engine block. Remove the small rubber plug at the bottom of the black plastic filter housing cap. Screw the plastic funnel drain tool (included with OEM filters) into this small port. Place a small container or rag underneath to catch residual oil.
As the center valve opens, old oil trapped inside the filter housing will drain out through the tube. Once flow stops, remove the plastic tool and reinstall the small threaded plug with its new small O-ring (usually lubricated lightly with fresh oil).
Step 3: Removing the Filter Housing and Element
Attach your 64mm/65mm end-cap filter wrench and ratchet to the main filter housing cap. Turn counter-clockwise to loosen and remove the cap. Inside, you will find the paper filter element. Pull the old element straight down and out.
Carefully pry off the large rubber O-ring seated in the upper grooves of the filter housing cap using a pick or small flathead screwdriver. Take care not to scratch the aluminum or plastic sealing surfaces. Clean the inside of the housing cap thoroughly with a clean rag.
Step 4: Installing the New Filter and O-Rings
Take the new large rubber O-ring from your filter kit and lubricate it lightly with clean 0W-20 motor oil. Slide it into the uppermost groove of the filter housing cap, ensuring it is not twisted.
Push the new paper filter element firmly into the housing cap until it clicks securely into place. Screw the entire housing assembly back onto the engine block by hand. Ensure it threads smoothly to avoid cross-threading. Once hand-tight, use your wrench to torque it to factory specifications (typically around 18 ft-lbs or snug, but never over-tightened, as plastic housings crack easily).
Step 5: Draining the Engine Oil Pan
Slide under the passenger side of the truck to locate the oil pan drain plug. Position your large drain pan directly underneath. Using your 14mm socket and ratchet, loosen the drain plug counter-clockwise. Once loose, carefully spin it out by hand, pushing inward slightly against the spring pressure until the final threads disengage, pulling your hand away quickly to avoid hot oil.
Allow the oil stream to drain completely into your catch pan for 10 to 15 minutes. Inspect the old crush washer on the drain plug. Replace it with a new crush washer to ensure a proper seal. Once the flow slows to a slow drip, wipe the drain pan mating surface clean and thread the drain plug back in by hand. Torque the drain plug to 27 ft-lbs using a torque wrench.
Step 6: Refilling with Fresh Oil
Remove the oil filler cap located on the top valve cover of the engine. Insert a clean funnel into the opening. Pour in 6.0 to 6.2 quarts of fresh 0W-20 full synthetic motor oil. Pour slowly to prevent overflow. Once added, reinstall the engine oil filler cap securely.
Specifications and Torque Guidelines
Referencing exact factory specifications protects sensitive components from stripping, cracking, or leaking during a 2017 Tacoma oil change.
| Component | Specification / Value | Notes |
|---|---|---|
| Oil Viscosity | SAE 0W-20 | Must meet API certification standards |
| Oil Capacity (V6) | 6.2 Quarts (with filter) | Verify via dipstick after running |
| Oil Capacity (I4) | 4.8 Quarts (with filter) | Verify via dipstick after running |
| Drain Plug Torque | 27 ft-lbs (37 Nm) | Always replace aluminum or fiber crush washer |
| Filter Cap Torque (V6) | 18 ft-lbs (25 Nm) | Do not over-tighten plastic housing |
| OEM Filter Part # | 04152-YZZA1 (V6) | Includes O-rings and drain tool |
Post-Service Verification and Resetting Maintenance Lights
Once fresh oil is added and all drain plugs and filters are secured, remove tools, jack stands, and lower the truck to the ground. Check the oil level using the dipstick: pull it out, wipe it clean, reinsert it fully, and pull it out again to verify the oil level sits squarely between the low and full dots.
Start the engine and let it idle. Look underneath the truck with a flashlight to verify there are no active leaks coming from the drain plug or the filter housing cap. Pay close attention to the dashboard oil pressure warning light, which should turn off within three to five seconds of engine ignition.
Finally, reset the maintenance required reminder on your instrument cluster multi-information display using the steering wheel control pads. Navigate to the settings gear menu, select vehicle settings, locate "Scheduled Maintenance" or "Oil Maintenance," and confirm the reset prompt.
Common Mistakes to Avoid
- Reusing the Old O-Ring: Failing to replace the large rubber O-ring on the V6 filter housing can cause catastrophic oil leaks and low engine pressure under high RPMs.
- Over-Tightening the Plastic Housing: The V6 filter cap is made of durable composite material, but excessive torque will crack the housing or strip the threads on the engine block.
- Forgetting the Crush Washer: Reusing a flattened crush washer on the oil pan drain plug frequently results in slow, persistent oil drips.
- Double-Gasketing: On spin-on filters (4-cylinder model), ensure the old rubber gasket comes off with the old filter. Leaving it stuck to the engine block and screwing a new filter over it creates an immediate high-pressure blowout.
Frequently Asked Questions
How often should I change the oil in a 2017 Toyota Tacoma?
Toyota specifies a standard oil change interval of 10,000 miles or 12 months when using genuine Toyota 0W-20 full synthetic motor oil. However, if your Tacoma frequently operates under severe conditions—such as heavy towing, off-roading in dusty environments, frequent short trips under freezing temperatures, or extended idling—it is recommended to shorten the interval to every 5,000 miles or 6 months.
Can I use conventional oil instead of synthetic in a 2017 Tacoma?
No. The 2017 Toyota Tacoma engines (both the 2.7L and 3.5L) are specifically engineered and calibrated to run exclusively on 0W-20 full synthetic motor oil. Using conventional or thicker viscosity oils can impede proper lubrication flow through tight internal tolerances, reduce fuel economy, and potentially void powertrain warranty coverage.
What should I do if the plastic oil filter housing cap is stuck?
Plastic filter housing caps on the V6 engine can sometimes become stubborn due to thermal cycling. Ensure you are using a proper 64mm/65mm 14-flute socket wrench that grips the entire perimeter of the cap rather than just a few points. If it remains stuck, never use a hammer or extension cheater bar on a cold engine; instead, apply a professional penetrating fluid to the threads and allow the engine to warm up slightly to expand the aluminum receiving threads before attempting removal again.
Why does my V6 Tacoma take 6.2 quarts of oil?
The 3.5L 2GR-FKS engine features a relatively large oil pan capacity and extensive upper-valvetrain oil routing associated with its variable valve timing systems and Atkinson-cycle operation. Adding exactly 6.2 quarts accounts for the oil absorbed by the new filter element and ensures proper operating levels without overfilling.
How do I dispose of old motor oil safely?
Used engine oil is classified as hazardous waste and must never be poured down storm drains, onto the ground, or into household trash. Pour your drained oil back into empty oil jugs or a sealed container and take it to a local automotive parts retailer, municipal recycling center, or hazardous waste disposal site. Most auto parts stores accept used motor oil and old filters free of charge.
Performing a regular oil change on your 2017 Toyota Tacoma safeguards your engine against premature wear, maintains optimal fuel efficiency, and preserves mechanical reliability for hundreds of thousands of miles. By adhering to factory specifications, using quality OEM replacement components, and practicing safe lifting procedures, you can complete this maintenance project with complete confidence.