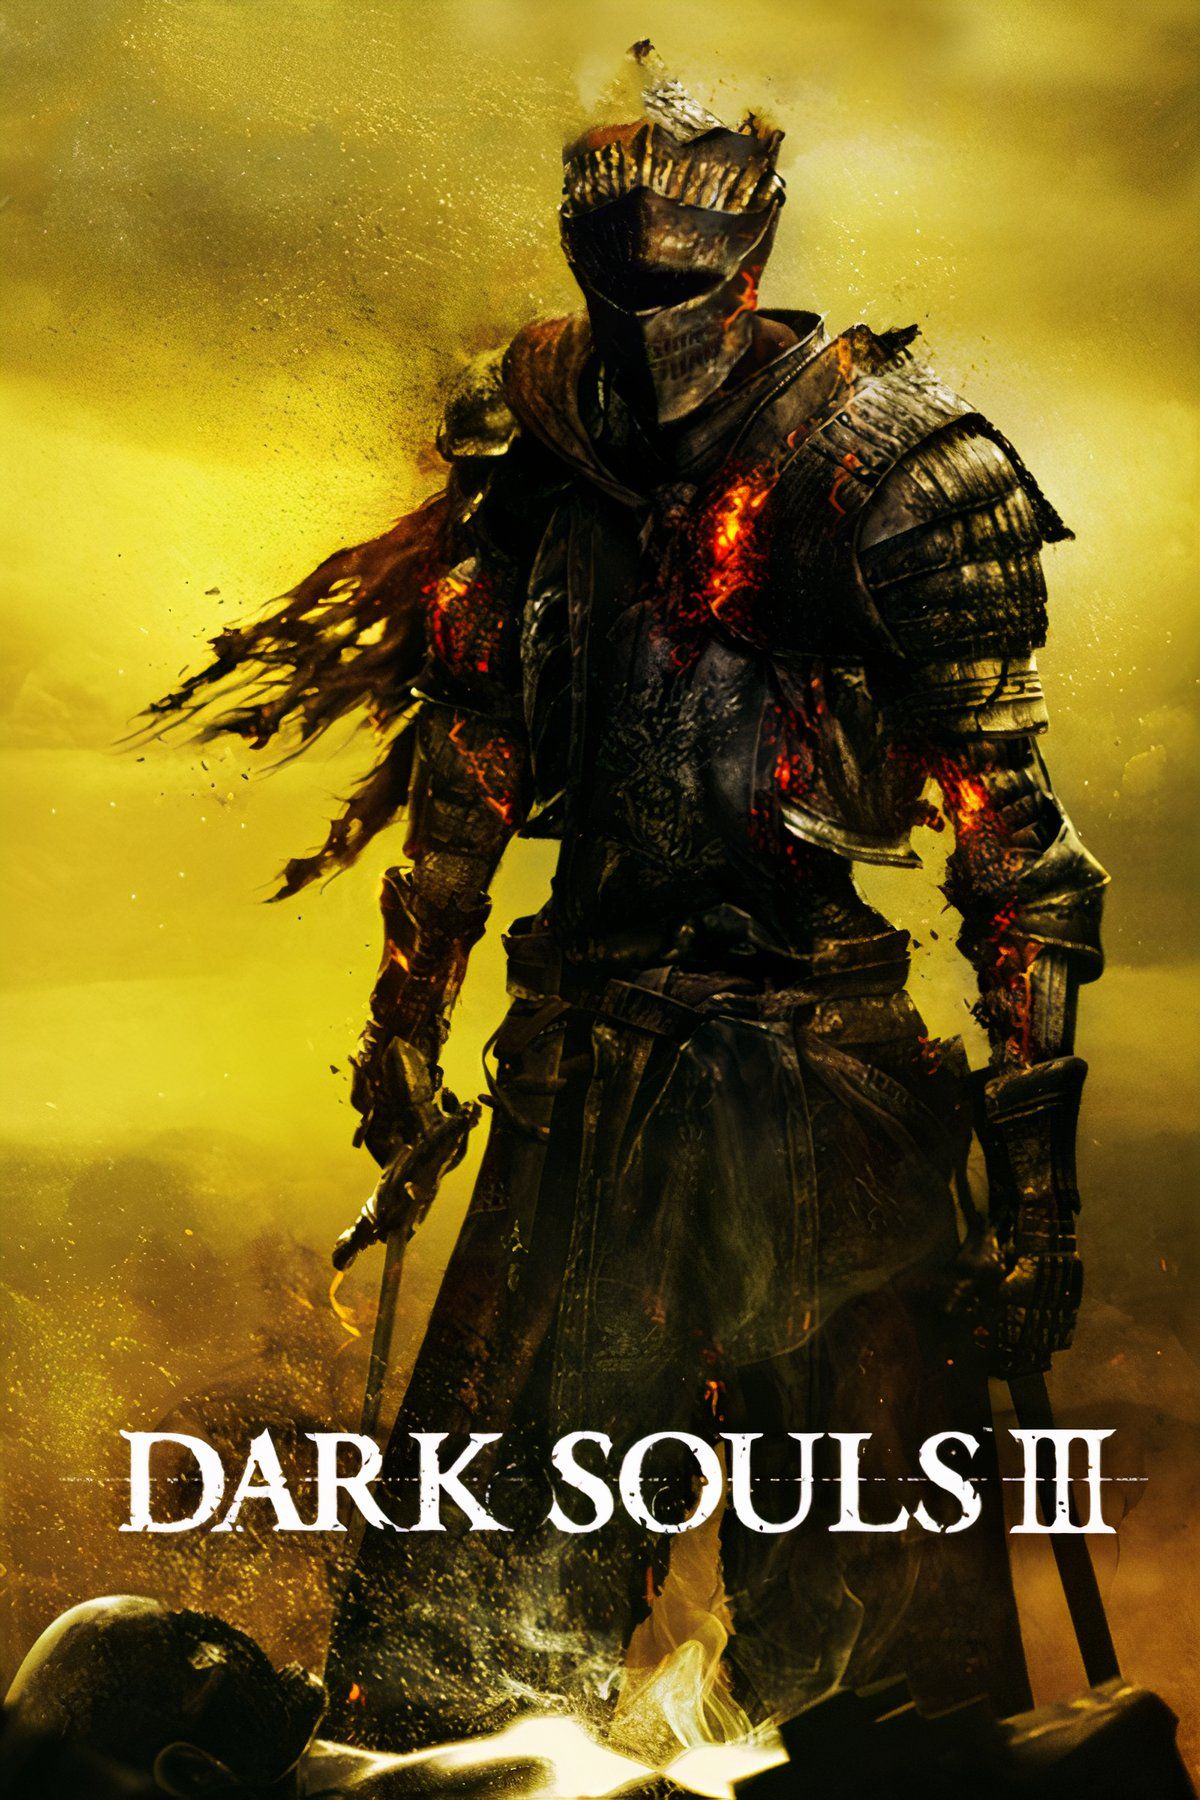
To maximize your healing efficiency in Dark Souls 3, you must locate all 11 Estus Shards hidden throughout the kingdom of Lothric. These items are surrendered to Andre the Blacksmith at Firelink Shrine to increase your total Estus Flask charges. With 11 shards found and your starting flask, you can reach the maximum capacity of 15 charges, providing essential sustain for challenging boss encounters and long exploration runs.
Understanding the Estus Flask System
In Dark Souls 3, the Estus Flask serves as your primary survival tool. When you begin your journey as an Ashen One, you possess a limited number of charges. Unlike previous entries in the series where healing items were consumables you had to farm or purchase, the Estus Flask automatically replenishes every time you rest at a bonfire.
The flask is governed by two distinct upgrade paths. The first is the Estus Shard, which increases the number of times you can drink from the flask. The second is the Undead Bone Shard, which increases the amount of health restored per drink. To reach peak efficiency, you must focus on both. By finding all 11 Estus Shards, you push your total capacity from an initial 4 charges to 15. This is a critical threshold for surviving the later stages of the game, particularly in the Lothric Castle and the endgame optional areas.
Firelink Shrine: The Starting Point
The first shard is arguably the easiest to acquire. Upon arriving at Firelink Shrine, you will notice a tower attached to the main structure. To access the roof, you must purchase the Tower Key from the Shrine Handmaid for 20,000 souls. Once you have the key, head out the exit near the bonfire, climb the tower, and cross the bridge. Drop down onto the roof of the shrine, navigate the rafters, and you will find an Estus Shard resting near a nest. This item is fundamental for your early progression and should be prioritized as soon as you have the souls to spare.
High Wall of Lothric and Undead Settlement
As you progress through the initial zones, two shards are available relatively early:
- High Wall of Lothric: Located inside the building guarded by the Lothric Knight near the winged knight. It is resting on an anvil in a room full of hollows.
- Undead Settlement: Found in the plaza where a giant fire is burning, surrounded by mourning hollows. The shard is located right next to the pyre.
These early acquisitions significantly mitigate the difficulty spike that often occurs for players unfamiliar with the aggressive combat mechanics of the early game.
Road of Sacrifices and Farron Keep
The swamps of the Road of Sacrifices and Farron Keep hide two additional shards:
- Road of Sacrifices: Located in the area near the Crystal Sage bonfire. It is tucked away on a ledge near the area with the oversized crabs.
- Farron Keep: Positioned on a wall near the Keep Ruins bonfire. You must climb a small ramp to reach the area where several slugs are gathered around the item.
Cathedral of the Deep and Catacombs of Carthus
The mid-game locations contain shards that require more thorough exploration of vertical space:
- Cathedral of the Deep: Found in a graveyard area outside the main structure. It is guarded by several hollows that emerge from the ground. It is best to clear the area first before attempting to grab the item.
- Catacombs of Carthus: Situated in the dark, skeletal corridors. You will find it near the large rolling boulder trap. You must time your movement to avoid the boulder and jump into a side alcove to claim it.
Smouldering Lake and Irithyll of the Boreal Valley
The difficulty begins to ramp up significantly in these regions, making the additional healing charges vital:
- Smouldering Lake: Located in the lower ruins where the giant ballista is active. It is found in a corner near the area where the giant sandworm emerges.
- Irithyll of the Boreal Valley: Tucked behind a fountain in the main plaza, guarded by several Pontiff Knights. This area is notorious for its density of enemies, so sprinting to the item and retreating to the bonfire is a common strategy.
Lothric Castle and Grand Archives
The final two shards are located in the high-stakes end-game zones:
- Lothric Castle: Found on a corpse located on a balcony. You must drop down from a higher floor within the castle interior to reach the specific ledge where the shard resides.
- Grand Archives: Located on the final rooftop section of the archives. It is found in a small alcove just before the transition to the Twin Princes boss area.
Strategic Comparison of Estus Upgrade Requirements
| Location | Requirement | Difficulty |
|---|---|---|
| Firelink Shrine | Tower Key (20k Souls) | Easy |
| High Wall | None | Low |
| Undead Settlement | None | Low |
| Road of Sacrifices | None | Moderate |
| Farron Keep | None | Moderate |
| Cathedral of the Deep | None | Moderate |
| Catacombs of Carthus | None | Hard |
| Smouldering Lake | Ballista Avoidance | High |
| Irithyll | None | High |
| Lothric Castle | Navigation | Very High |
| Grand Archives | Boss/Enemy Clearing | Very High |
Implementation and Expert Tips
Once you have retrieved a shard, travel immediately to Firelink Shrine and speak to Andre. Selecting "Reinforce Estus Flask" will consume the shard and permanently increase your flask count. It is a common mistake for players to hoard shards; there is no benefit to waiting. Always upgrade as soon as you have a shard in your inventory to increase your survivability.
If you find yourself struggling to reach a specific shard, observe the patrol patterns of the enemies in the immediate vicinity. Many shards are placed in areas designed to ambush the player. Use items like the Hidden Body sorcery or the Slumbering Dragoncrest Ring if you wish to bypass combat entirely to reach the item. Remember that in Dark Souls 3, your health is your most precious resource—every shard represents a second chance in a boss fight.
Troubleshooting Common Issues
If you believe you have missed a shard, backtrack through the areas listed above. The game does not provide a checklist, so physically revisiting these locations is the only way to verify. If you have reached the maximum of 15 charges and still have shards in your inventory, it indicates that you have missed one in a previous playthrough (though shards do not carry over to New Game Plus in the sense of adding charges beyond the cap, any unused shards in your inventory will simply remain there).
If you are playing in 2026, ensure your game version is fully updated. While no balance changes regarding the number of shards have occurred, corrupted save files or missing data can sometimes cause item flags to reset. Always rely on the bonfire menu to check your current charge count if you are unsure of your progress.
Frequently Asked Questions
What happens if I miss an Estus Shard? If you miss an Estus Shard, you will have fewer healing charges than the maximum. You can return to any area you have already cleared to pick up missed items, provided you have not triggered specific late-game events that fundamentally alter the map geography.
Can I trade Estus Shards with other players? No. Estus Shards are key items and cannot be dropped or traded between players in multiplayer sessions. Each player must find their own shards within their individual game world.
Does the order in which I collect shards matter? The order does not matter for the final result. Whether you find the Lothric Castle shard first or the High Wall shard first, the outcome is the same. The game simply tracks the total count handed to Andre.
Are there any shards located in the DLC areas? No, the 11 shards required to reach the maximum flask capacity are found exclusively in the base game. The DLC areas introduce other items, but they do not increase the maximum number of Estus Flask charges beyond 15.
Do I lose my Estus Shards upon death? No, Estus Shards are key items. They are permanently stored in your inventory and are not lost when you die or return to a bonfire.
Final Recommendation
For players currently progressing through Lothric, maintain a dedicated physical or digital list of the 11 locations. Check them off systematically. If you are struggling with a specific boss, verify your total Estus count. If you have fewer than 15 charges, prioritize locating the remaining shards before continuing your attempts at the boss. The difference between 10 charges and 15 is often the deciding factor in late-game success.