Replacing the factory radio in a 2009 Honda Accord allows you to modernize your vehicle's cabin with Bluetooth connectivity, smartphone integration, Apple CarPlay, and Android Auto while significantly improving overall audio performance.
Upgrading the audio system in an eighth-generation (2008–2012) Honda Accord is one of the most transformative modifications an owner can undertake. The factory-installed dashboard configuration on the 2009 model integrates the radio and climate control functions into a single, cohesive unit. Because of this unique layout, undertaking a radio replacement requires specific aftermarket components, proper wiring preparation, and careful disassembly of the center console. This guide provides a comprehensive, step-by-step procedure to remove the factory head unit, wire an aftermarket receiver, and reinstall all panels cleanly without damaging your vehicle's interior trim.
Understanding the 2009 Honda Accord Dashboard Layout
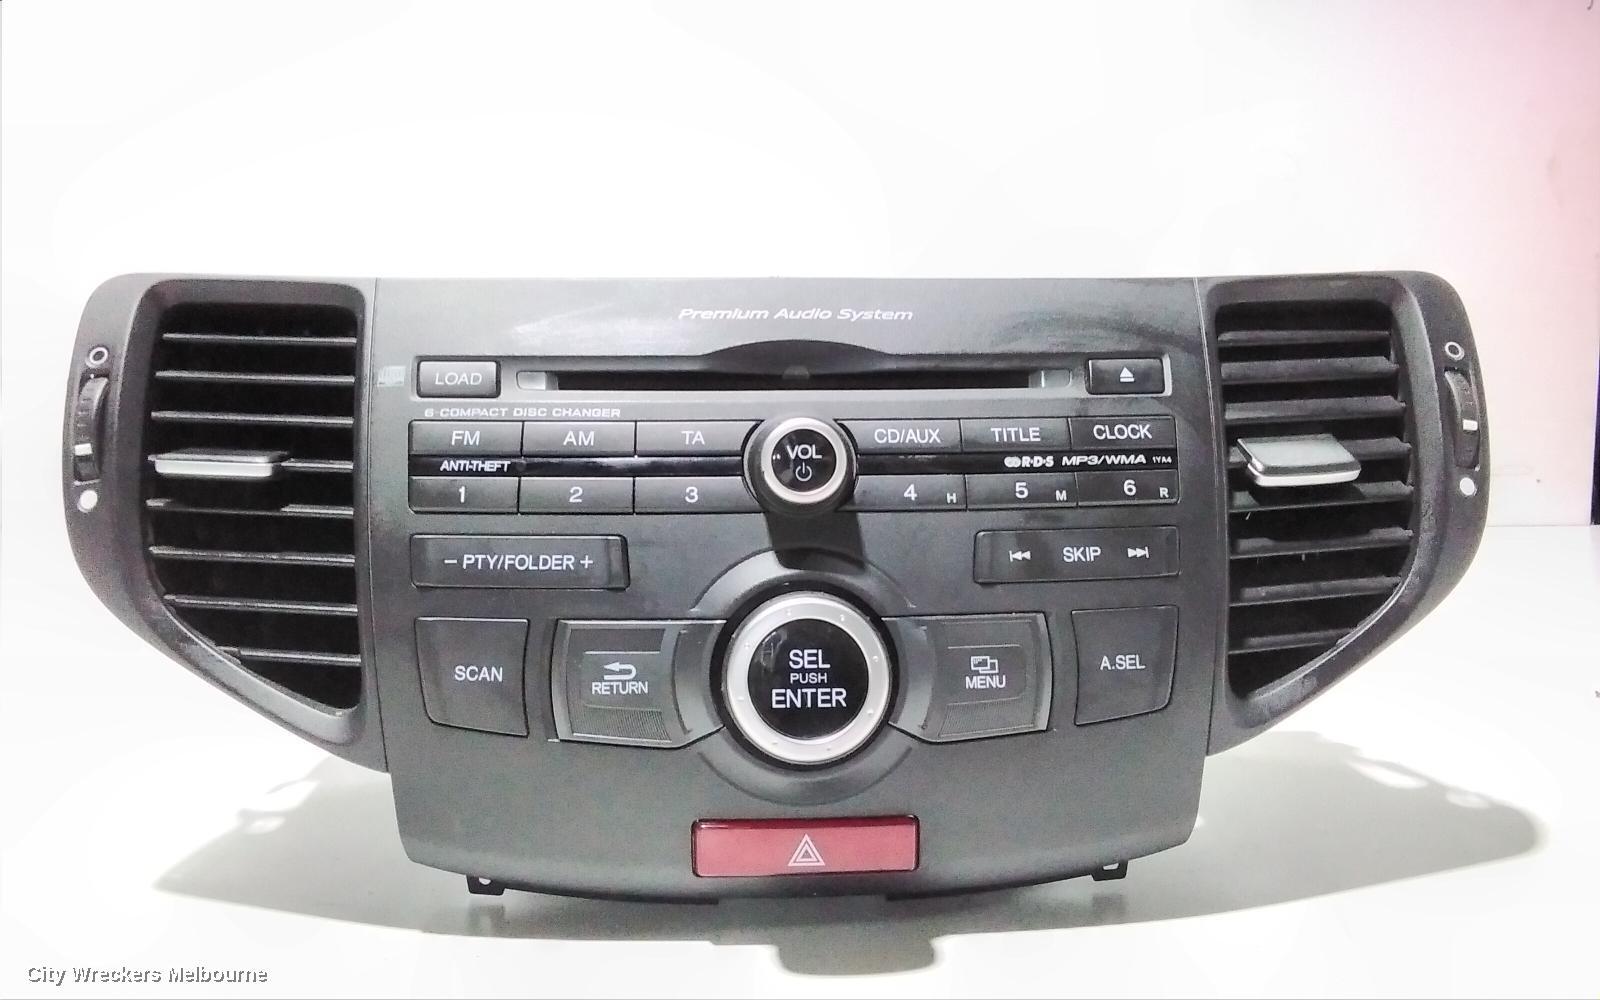
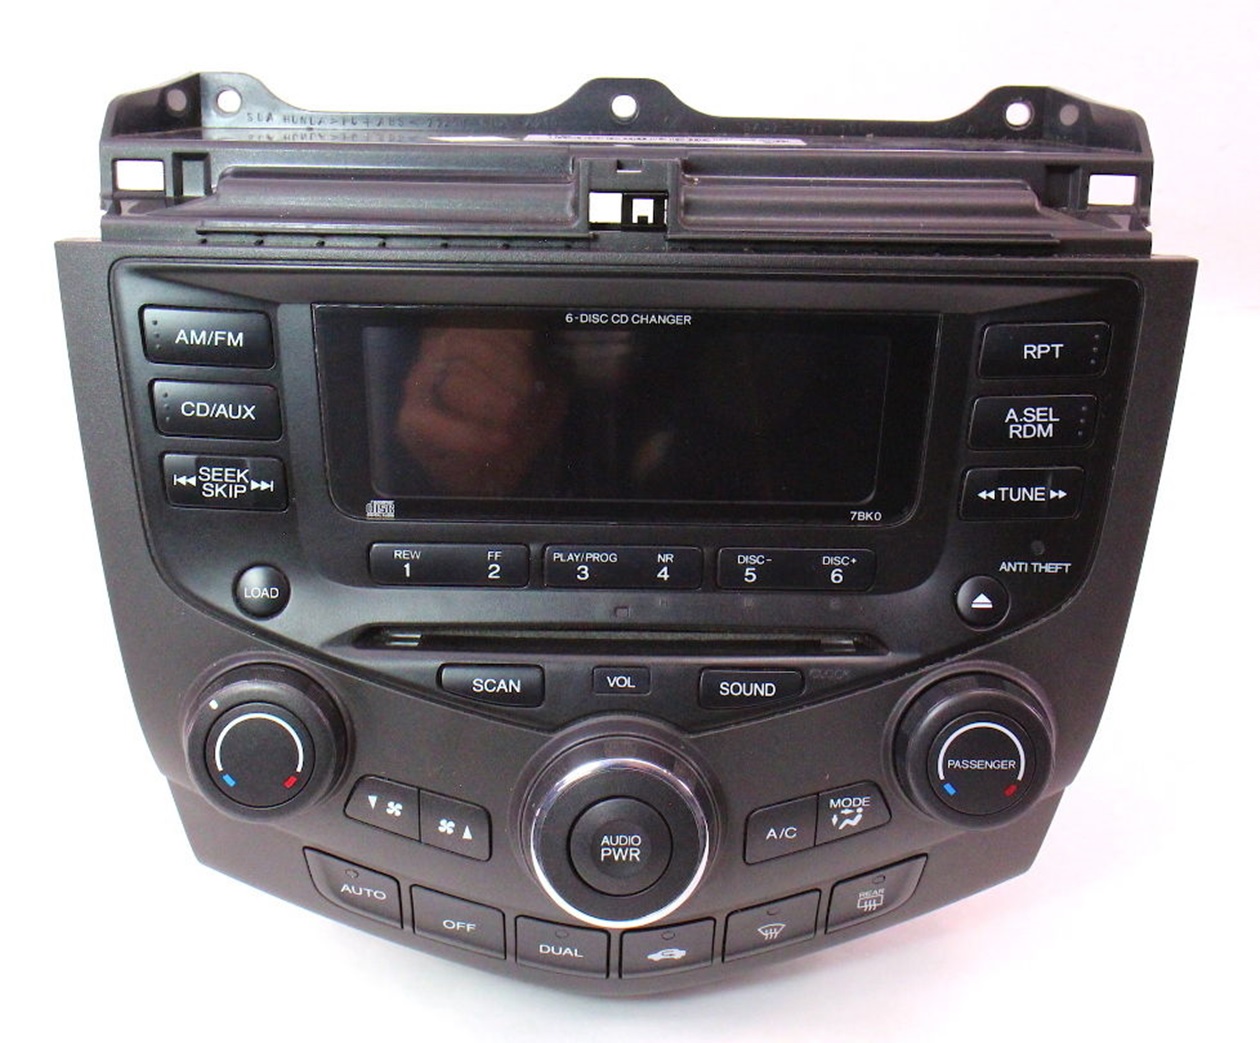
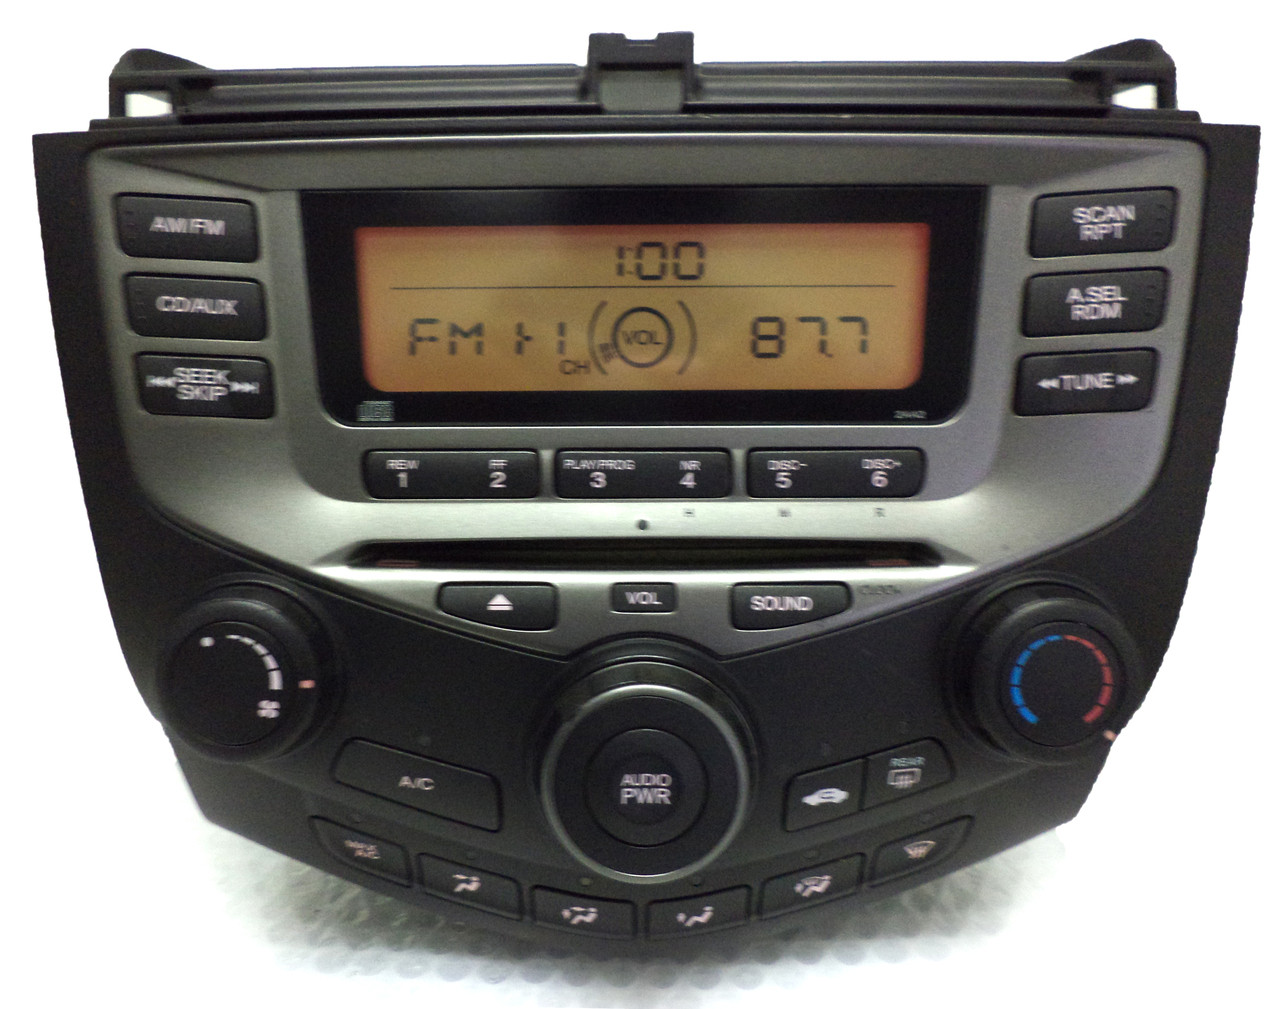
The 2009 Honda Accord presents a distinct challenge for audio upgrades because the factory audio system is physically bound to the upper display screen and climate control interface buttons. Unlike standard vehicles that feature a separate, double-DIN or single-DIN pocket for the radio, the Accord houses the factory radio directly beneath the upper dash vents, flanked by integrated buttons controlling the dual-zone automatic climate control system or manual heating and cooling.
To replace the factory stereo, you cannot simply slide out the old unit and slide in a new one. You must utilize a specialized aftermarket dash kit—such as those manufactured by Metra (e.g., Metra 99-7864) or Scosche—that completely replaces the factory center control panel. This dash kit provides a physical housing for a standard double-DIN or single-DIN aftermarket receiver while relocating or embedding circuit boards and buttons to retain factory climate control functionality. Recognizing this architectural requirement before purchasing parts prevents costly compatibility mistakes.
Required Tools, Parts, and Equipment
Before beginning the installation process, gather all necessary tools and components to ensure the project can be completed in a single session without unexpected interruptions. Working on automotive interior trim requires patience and the right plastic prying implements to avoid gouging soft-touch dashboards.
- Aftermarket Head Unit: A standard double-DIN or single-DIN stereo of your choice.
- Dash Kit: Specifically designed for the 2008–2012 Honda Accord (retains climate control integration).
- Wiring Harness Adapter: Connects your new radio to the factory Honda wiring without cutting factory wires (e.g., Metra 70-1729 or equivalent, depending on whether your car has the base audio system or the premium amplifier setup).
- Steering Wheel Control (SWC) Adapter: Optional but recommended (such as an Axxess ASWC-1) to retain factory steering wheel volume, track skip, and source buttons.
- Antenna Adapter: Honda uses a specific antenna connection that requires an adapter (such as a Metra 40-HD10) to fit standard aftermarket radios.
- Tools: Panel removal tools (non-marring plastic pry bars), a Phillips head screwdriver, a 10mm socket with a ratchet and extension, wire strippers, crimp connectors (or heat shrink tubing and a heat gun), and electrical tape.
| Component Type | Purpose / Function | Common Compatible Brands / Models |
|---|---|---|
| Dash Kit | Replaces center bezel, holds new radio, houses climate controls | Metra 99-7864, Scosche HA1565B |
| Wiring Harness | Interfacing vehicle power/speaker wires with the new head unit | Metra 70-1729, Scosche |
| Antenna Adapter | Converts factory radio antenna plug to standard aftermarket plug | Metra 40-HD10 |
| SWC Interface | Retains steering wheel audio controls | Axxess ASWC-1, Maestro SW |
Step-by-Step Removal of the Factory Radio
Working inside a car's dashboard requires a methodical approach. Always begin any electrical modification by disconnecting the negative battery terminal using a 10mm socket to prevent accidental short circuits, blown fuses, or triggering supplemental restraint system (SRS) warning lights.
Step 1: Disconnect the Battery
Park the vehicle on level ground, engage the parking brake, open the hood, and use a 10mm wrench or socket to loosen the nut on the negative battery terminal. Lift the cable away from the terminal and tuck it safely to the side so it cannot spring back into contact. Wait approximately five minutes for residual electrical currents to dissipate from the vehicle's capacitors.
Step 2: Remove the Center Console Lower Pocket and Trim
Open the center console armrest and remove any items from the lower storage pocket situated ahead of the gear shifter. Grab the lower trim panel surrounding the shift lever firmly and pull upward. The panel is held in place by sturdy plastic spring clips. Release these clips working from the rear toward the front. Once popped loose, disconnect any accessory power outlet (cigarette lighter) plugs and set the trim piece aside.
Step 3: Remove the Center Console Side Panels
The vertical trim panels flanking the center console (running alongside the driver's and front passenger's knees) must be removed to access hidden screws securing the lower audio console housing. Pull outward firmly on the rear edge of the driver-side console trim piece to release its spring clips, then slide it backward to disengage it completely. Repeat this process for the passenger-side trim panel.
Step 4: Extract the Lower Radio Pocket and Shifter Surround Housing
With the side trim panels removed, locate the screws securing the lower radio pocket and center storage bin assembly. Remove these Phillips head screws. Pull the pocket assembly straight back toward the rear of the vehicle to slide it out of its alignment tracks.
Step 5: Disconnect and Remove the Factory Radio and Upper Panel
Moving upward toward the main radio bezel, use your plastic panel removal tools to carefully pry outward along the outer perimeter of the climate control and radio dash bezel. Work your way evenly around the edges to release the retaining clips. Once the entire faceplate pops free from the dashboard, pull it gently outward.
Reach behind the assembly and unplug all wiring harness connectors, the hazard light switch plug, the climate control harnesses, and the antenna cable. Support the heavy factory radio unit as you slide it completely out of the dashboard cavity.
Bench Preparation and Wiring the Aftermarket Harness
With the factory radio removed, you must prepare your new aftermarket head unit on a workbench before installing it into the vehicle. Splicing wires inside a cramped dashboard is tedious and prone to connection failures; bench wiring ensures a clean, reliable installation.
Lay out your aftermarket radio's wiring harness alongside the vehicle-specific wiring harness adapter. Match the wires by function and color code:
- Constant 12V Power: Yellow wire (connects to vehicle battery power).
- Switched 12V Accessory: Red wire (connects to ignition-switched power).
- Ground: Black wire (connects to vehicle chassis ground).
- Power Antenna / Remote Turn-On: Blue or Blue/White wire (activates factory amplifiers or power antennas).
- Illumination: Orange or Orange/White wire (dims radio display when headlights are turned on).
- Speaker Wires:
- White (Left Front Positive) / White with Black Stripe (Left Front Negative)
- Gray (Right Front Positive) / Gray with Black Stripe (Right Front Negative)
- Green (Left Rear Positive) / Green with Black Stripe (Left Rear Negative)
- Purple (Right Rear Positive) / Purple with Black Stripe (Right Rear Negative)
Strip approximately 3/8 inch of insulation from each wire end. Connect matching wires securely using butt crimp connectors, solder with heat shrink tubing, or insulated twist-on wire caps. Tug gently on each connection to ensure it will not pull apart under vibration. If your 2009 Honda Accord is equipped with the factory premium audio system featuring a factory-installed external amplifier (such as a branded system), ensure you connect the remote turn-on wire so the factory amplifier receives power and outputs sound to the speakers.
Assembling the Aftermarket Dash Kit
Because the 2009 Accord requires a replacement dash kit to house an aftermarket radio and retain climate controls, follow the manufacturer instructions provided with your specific dash kit (e.g., Metra or Scosche).
Typically, this process involves removing the climate control circuit board and electronic buttons from your factory Honda faceplate and transferring them into the new aftermarket housing. Align the circuit board carefully into the new plastic brackets, secure it with the original screws, and snap the pocket or mounting sleeve for your new double-DIN radio into the frame. Slide the aftermarket radio into the mounting sleeve from the front and secure it with the side brackets provided by the kit manufacturer.
Installing the New Radio into the Vehicle
- Route Adapters: Feed the aftermarket wiring harness, antenna adapter, steering wheel control interface module, and any external microphone wires (for Bluetooth hands-free calling) through the dashboard cavity down to the main opening.
- Connect Plugs: Plug the vehicle-side wiring harness adapter into the factory Honda radio plugs. Connect the antenna cable to the antenna adapter and plug it into the rear of the aftermarket radio.
- Test Functionality: Before snapping any trim pieces back into place, temporarily reconnect the negative battery terminal. Turn the ignition key to the ON position. Power on the new radio to verify that audio plays through all speakers, FM/AM reception works, illumination responds to headlight switches, and the factory climate control buttons function correctly through the new dash kit interface.
- Secure the Head Unit: Once confirmed, turn off the ignition and disconnect the negative battery terminal once more for safety. Push excess wiring neatly into the sides of the dash cavity so they do not obstruct the rear chassis of the radio. Slide the fully assembled dash kit and radio unit into the dashboard opening until the mounting clips engage firmly.
- Reinstall Trim and Panels: Reattach the lower pocket housing, secure the console side panels, snap the shift lever surround trim back into place, and reconnect the accessory power outlets.
Troubleshooting Common Installation Issues
Even with careful preparation, minor issues can occasionally arise during an aftermarket radio installation. Reviewing these common scenarios helps resolve problems quickly without tearing the dashboard apart a second time.
- No Power to the Radio: Verify that the yellow constant power wire and red accessory wire are properly connected. Check the vehicle's interior fuse box (typically located under the driver-side dashboard) and inspect the radio fuse to ensure it did not blow during installation.
- No Sound from Speakers: If the head unit powers on and displays track information but produces no audio, confirm that the blue remote turn-on wire is connected. If your Accord has the premium factory amplifier, failing to connect this wire keeps the factory amplifier turned off, resulting in absolute silence.
- Climate Controls Do Not Function: If the dashboard buttons for heating, cooling, or defroster fail to respond, the electronic circuit board transferred from the factory faceplate into the dash kit may have a loose ribbon cable or unseated connector plug. Remove the dash kit faceplate and inspect all internal harness connections.
- Steering Wheel Controls Do Not Work: If you installed an SWC interface module, ensure it was programmed correctly according to the manufacturer instructions (often requiring a specific sequence of button presses or setting dip switches based on the aftermarket radio brand).
Conclusion and Final System Verification
Replacing the factory radio in a 2009 Honda Accord transforms the driving experience by bringing modern connectivity and superior audio customization to an older cabin. By taking a methodical approach to panel removal, carefully matching wiring harnesses, and testing all components prior to final reassembly, you can achieve a professional-grade installation. Once all panels are secured, pair your smartphone, configure your audio equalizer settings, and enjoy your upgraded in-car entertainment system.