Expanding the storage capacity of your PlayStation 5 (PS5) console is the most effective way to manage a growing library of modern games that frequently exceed 100GB in size. By installing a compatible M.2 NVMe SSD into the internal expansion slot, you can store and play high-performance titles directly from the new drive, ensuring your system remains organized and ready for the latest releases.
Understanding PlayStation 5 Storage Architecture
The PlayStation 5 utilizes a proprietary high-speed Solid State Drive (SSD) soldered directly to its motherboard, which acts as the primary system drive. Because this internal storage is not user-replaceable, Sony engineered a dedicated M.2 expansion slot beneath the console’s removable plastic cover. This slot is designed to accommodate M.2 NVMe SSDs, which must meet specific technical thresholds to match the performance of the console's internal drive.
It is critical to distinguish between internal storage expansion and external USB storage. While you can connect external HDDs or SSDs via USB to the PS5, these drives have significant limitations: they can only store and play legacy PlayStation 4 games, or store PlayStation 5 games for later transfer. To play PS5-native games directly from an extra drive, you must use an internal M.2 NVMe SSD that satisfies Sony’s strict hardware requirements.
Hardware Prerequisites and Compatibility
Not every M.2 SSD available in the retail market is suitable for the PlayStation 5. To ensure system stability and performance, Sony mandates that your chosen drive meets the following technical specifications:
- Interface: PCIe Gen4 x4 M.2 NVMe SSD.
- Capacity: 250GB to 8TB.
- Read Speed: A sequential read speed of 5,500MB/s or faster is recommended. While slower drives may be detected, they may cause performance degradation or stuttering in high-fidelity titles.
- Form Factor: The drive must support M.2 form factors 2230, 2242, 2260, 2280, or 22110.
- Socket Type: Socket 3 (Key M).
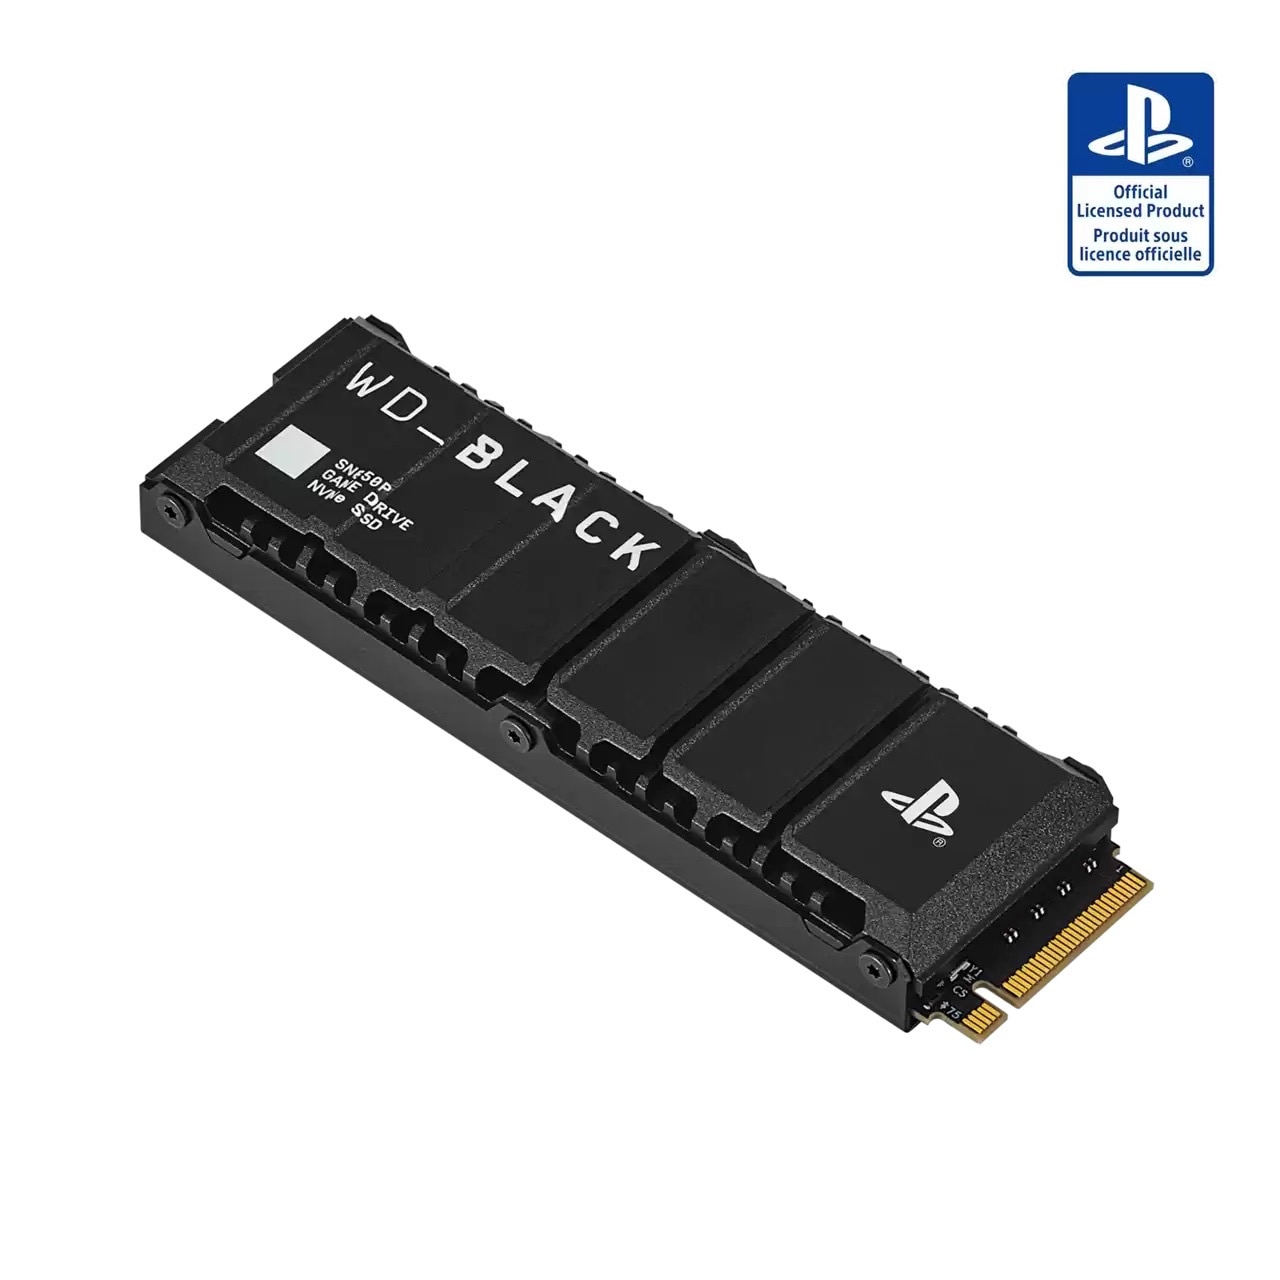
- Heatsink Requirement: A heatsink (a metal component that dissipates heat) is required. You can purchase drives that include a pre-installed heatsink, or buy a standalone M.2 SSD and attach a third-party heatsink yourself.
- Total Size (with heatsink): The combined width of the drive and heatsink must not exceed 25mm, with a height of up to 11.25mm below the board and 2.45mm above.
Comparison of Storage Solutions
Choosing between a pre-installed heatsink model and a separate heatsink purchase often comes down to convenience versus cost. Many premium brands now sell "PS5-ready" versions of their drives, which ensures the heatsink is perfectly calibrated for the space constraints of the PS5 expansion bay.
| Feature | Integrated Heatsink SSD | DIY Heatsink Installation |
|---|---|---|
| Convenience | High (Plug and Play) | Low (Assembly required) |
| Cost | Generally higher | Often lower |
| Warranty Risk | Manufacturer covered | Possible risk during assembly |
| Compatibility | Guaranteed to fit | Must manually verify dimensions |
Preparing for Installation
Before attempting to install your new SSD, ensure you are working in a clean, well-lit environment. You will need a standard #1 Phillips or cross-head screwdriver.
- System Update: Ensure your PS5 is updated to the latest system software version, as earlier firmware iterations did not support M.2 expansion.
- Safety First: Power down your console completely—do not use Rest Mode. Unplug the AC power cord and all peripheral cables.
- Static Discharge: Before touching the internal components, touch a grounded metal object to discharge any static electricity from your body.
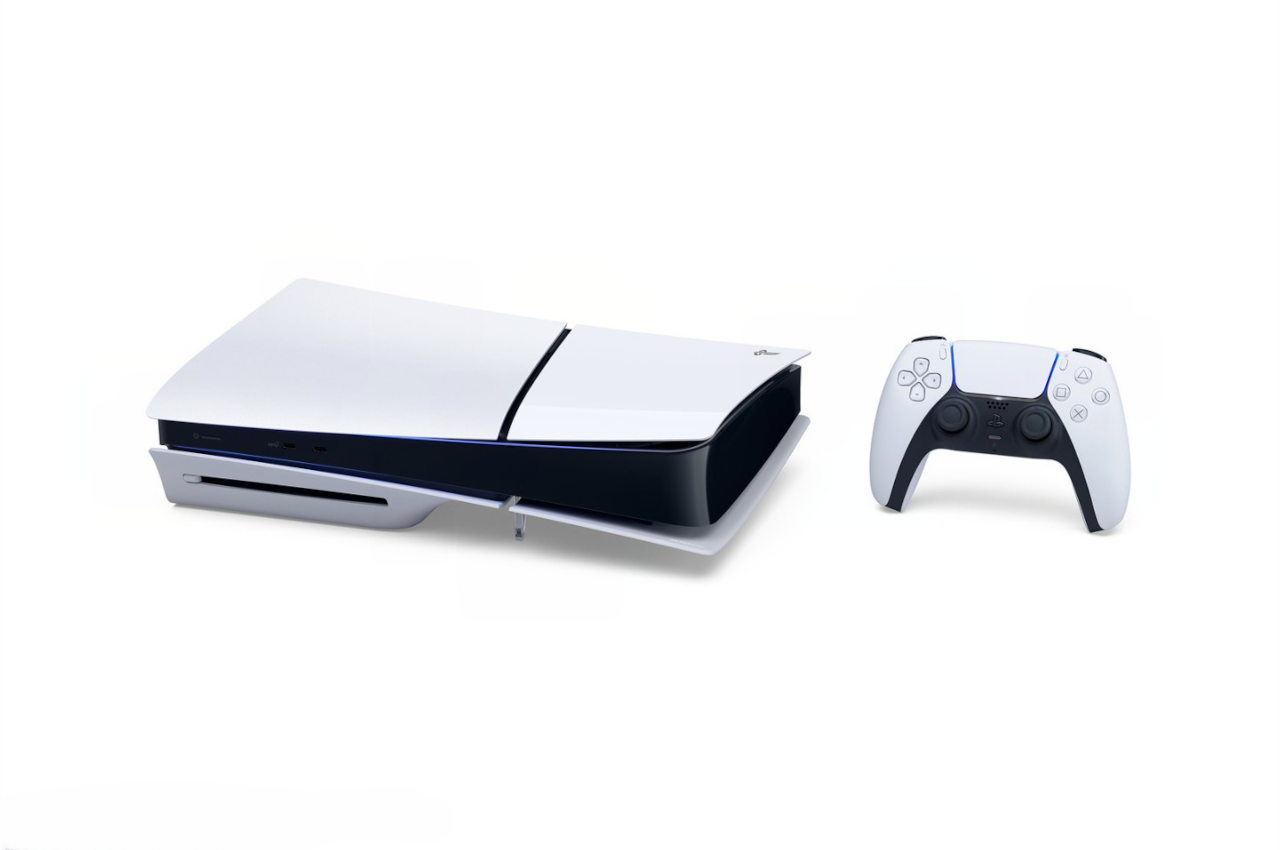
- Cover Removal: Place your console on a flat surface with the logo side facing down. Carefully lift the corner of the white cover plate and slide it toward the bottom of the console until it pops off.
Step-by-Step Installation Procedure
Once the expansion slot cover is exposed, follow these steps to secure the drive:
- Expose the Slot: Locate the rectangular metal cover held in place by a single screw. Remove this screw and set the cover aside.
- Adjust the Spacer: Inside the slot, you will see a mounting screw and a small cylindrical spacer. The spacer must be positioned according to the length of your SSD (e.g., if you have a 2280 drive, the spacer should be in the 80mm hole).
- Insert the Drive: Hold your M.2 SSD by the edges. Align the notch on the drive's connector with the ridge in the M.2 expansion slot. Insert the drive diagonally into the slot, ensuring it is firmly seated.
- Secure the Drive: Push the drive down so it rests against the spacer. Insert the screw you removed earlier and tighten it until the drive is held securely in place. Do not overtighten, as this can damage the mounting bracket.
- Final Assembly: Reattach the metal cover, screw it back in, and slide the plastic console cover back onto the unit until it clicks into place.
Formatting and Verification
After you reconnect your power and display cables and turn on the console, the PS5 will automatically recognize the new hardware. A formatting menu will appear on your screen. Follow the on-screen prompts to format the M.2 SSD. This process deletes all data currently on the new drive, so ensure you are ready to proceed.
Once formatted, the console will perform a brief read-speed test. This verifies that the drive is fast enough to handle the data streaming requirements of the PS5 architecture. If the speed meets or exceeds 5,500MB/s, you are ready to use the storage.
Managing Your Storage Library
With your new drive operational, you can configure the console to prioritize it for new game installations. Navigate to Settings > Storage > Installation Location. From here, you can toggle where games are saved by default.
To move existing games from your internal storage to your new SSD:
- Navigate to Settings > Storage > Console Storage.
- Select Games and Apps.
- Choose the items you wish to move.
- Select Move Items and confirm your choice.
Moving games is significantly faster than downloading them again from the PlayStation Network, making this the preferred method for managing space between your two internal drives.
Frequently Asked Questions
Does installing an M.2 SSD void my PS5 warranty? No, Sony has explicitly designed the PS5 to allow for user-installed M.2 SSDs. Provided you follow the official installation instructions and do not damage the console's internal components during the process, your standard warranty remains intact.
Can I use a larger drive than 8TB? While technical standards for NVMe drives may allow for larger capacities, Sony’s official support specifications currently list 8TB as the maximum tested and supported capacity. Using a drive exceeding this capacity may lead to unpredictable system behavior or lack of recognition by the operating system.
Will a cheaper, slower SSD work if I only play indie games? While some indie games have lower bandwidth requirements, the PS5 architecture relies on consistent high-speed data streaming. Using a drive that does not meet the 5,500MB/s requirement may cause assets to fail to load, textures to pop in unexpectedly, or games to crash entirely. It is strongly recommended to stick to the certified speed requirements.
Do I need a specific brand of SSD? No, you are not locked into any specific brand. You can choose any manufacturer, provided the drive meets the technical specifications (PCIe Gen4 x4, M.2 NVMe, correct dimensions, and a heatsink).
Can I remove the SSD and put it in another PS5? Yes, the M.2 SSD can be moved to another PS5 console, but the system will require you to format the drive again before it can be used. This means all data on the drive will be erased during the transfer process.
Expert Guidance and Troubleshooting
If your PS5 fails to recognize the new SSD after installation, verify that the drive is fully seated in the slot. A loose connection is the most common cause of detection issues. If the drive is seated correctly but still not appearing, try updating your system software to the absolute latest version, as compatibility patches are periodically released.
If you encounter performance issues, such as slow loading times or stuttering, check that the drive is not reaching its thermal limit. Ensure that the heatsink is properly attached and that there is sufficient airflow around the expansion bay area. Always avoid using the console in confined spaces without proper ventilation, as this affects the heat dissipation of both the main console and the added storage component.
By following this guide, you can effectively double or triple your storage, allowing you to keep your entire game library accessible without the hassle of frequent deletions and re-downloads.