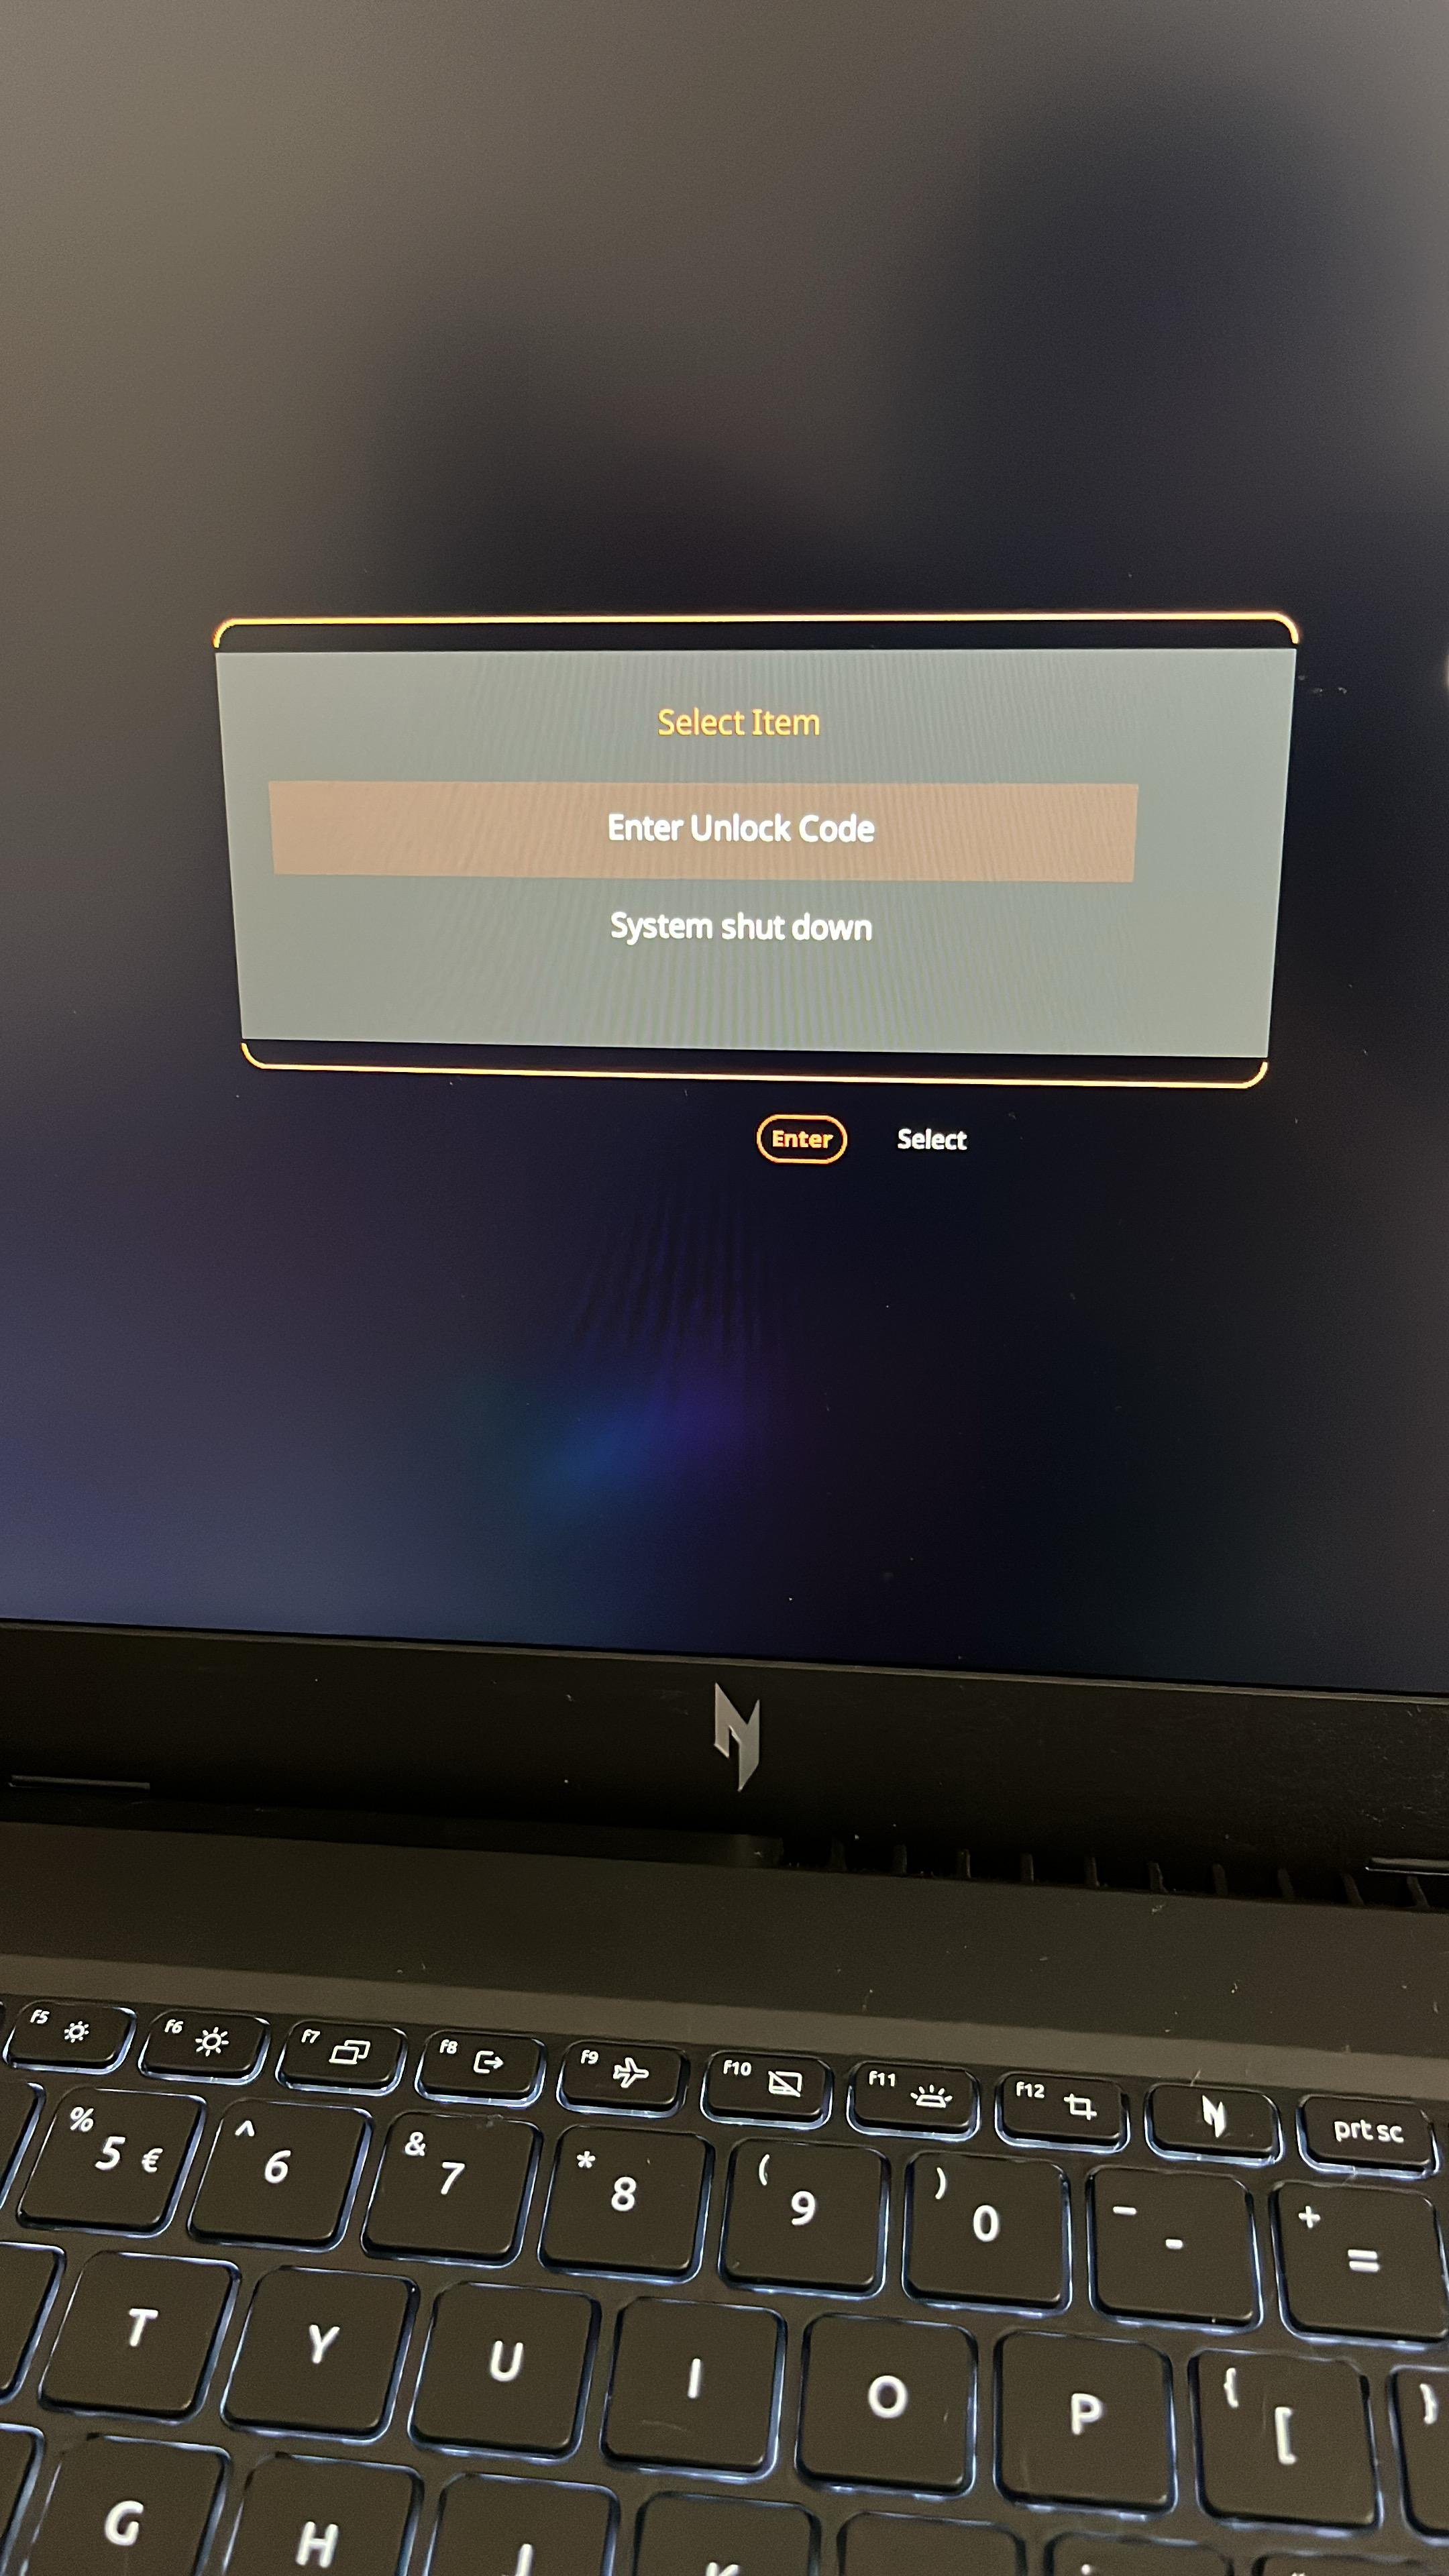
To enter the BIOS on an Acer Nitro 5, power on or restart your laptop and immediately press the F2 key repeatedly as soon as the Acer logo appears. If your device boots directly into Windows, you may need to use the Advanced Startup options within the Settings menu to force a reboot into the UEFI/BIOS utility.
The Acer Nitro 5 is one of the most popular gaming laptops on the market, prized for its balance of performance and accessibility. However, users often find themselves needing to access the Basic Input/Output System (BIOS) or the Unified Extensible Firmware Interface (UEFI) to adjust critical settings. Whether you are looking to change your boot priority order, toggle virtualization for software development, modify fan control curves, or troubleshoot hardware detection issues, knowing the correct method to enter this environment is a fundamental skill for any laptop owner.
Understanding the Acer Nitro 5 Firmware Environment
In modern computing, the term "BIOS" is frequently used as a catch-all, though most Acer Nitro 5 models produced in recent years operate on UEFI (Unified Extensible Firmware Interface). UEFI is a modern successor to the legacy BIOS, offering a more robust, graphical, and secure interface for interacting with your laptop’s hardware before the operating system loads.
When you access this screen, you are interacting with the lowest level of software on your device. This environment manages the communication between the motherboard, the CPU, the RAM, and connected peripherals. Because changes made here can directly affect the stability of your system, the interface is designed to be accessible but protected from accidental modification.
Method 1: The Standard Function Key Sequence
For the vast majority of Acer Nitro 5 users, the standard method remains the most effective. This relies on an interrupt signal sent to the motherboard during the Power-On Self-Test (POST) phase of the boot sequence.
- Perform a Full Shutdown: Navigate to the Windows Start menu, select Power, and choose "Shut down." It is important to perform a full shutdown rather than just a "Restart" or putting the computer to "Sleep" to ensure the hardware is completely initialized.
- Power On: Press the power button on your Acer Nitro 5.
- The Trigger: As soon as the screen illuminates, begin pressing the F2 key repeatedly. Do not hold the key down, as this may result in a keyboard error; instead, tap it once or twice per second.
- Verification: You should see the screen transition to the blue or grey utility interface. If the Acer logo lingers and then the Windows login screen appears, the timing was slightly off, and you will need to try again.
Method 2: The Windows Advanced Startup Sequence
If you find that your Acer Nitro 5 boots too quickly for the F2 key to register, or if you are already logged into Windows and prefer a smoother method, you can trigger a reboot directly into the firmware utility through the operating system.
- Open Settings: Open the Windows Start menu and click on the gear icon, or press Windows Key + I.
- Navigate to Recovery: Go to System > Recovery.
- Advanced Startup: Locate the "Advanced startup" section and click the Restart now button.
- The Menu Path: Your computer will restart into a blue menu screen. Select Troubleshoot > Advanced options > UEFI Firmware Settings.
- Restart: Click the Restart button. The laptop will automatically reboot and bypass the standard Windows load process, landing you directly inside the BIOS/UEFI setup.
Common BIOS Settings for Nitro 5 Owners
Once you have successfully accessed the BIOS, you will be greeted with a series of tabs. While the specific layout varies between Nitro 5 generations (such as those with Intel 12th Gen processors versus AMD Ryzen models), the core structure is consistent.
Important Configuration Areas
- Information Tab: This provides a snapshot of your system specifications, including the installed CPU, total RAM, and the specific BIOS version currently in use. This is critical for determining if a firmware update is required.
- Main Tab: This is often where you can toggle specific features like "F12 Boot Menu." By default, some Nitro 5 models have this disabled. Enabling it allows you to select a boot device (like a USB installer) at startup by pressing F12, which is essential for reinstalling Windows or testing live operating systems.
- Security Tab: Here you can set a Supervisor Password. Be warned: if you forget this password, there is no simple software reset, and you may need to contact Acer support to perform a hardware-level recovery.
- Boot Tab: This allows you to reorder your boot priority. If you are installing a new NVMe SSD, you may need to visit this section to ensure the laptop recognizes your new drive as the primary boot device.
Table: Comparison of Methods
| Feature | F2 Key Method | Advanced Startup Method |
|---|---|---|
| Prerequisites | Cold boot (power off) | Windows access |
| Reliability | Variable (timing-dependent) | High (system-directed) |
| Best Used For | Quick hardware checks | Troubleshooting, BIOS updates |
| Speed | Fastest if timing is correct | Slower due to OS navigation |
Troubleshooting Access Issues
If you find that you cannot enter the BIOS, the issue is often related to "Fast Startup," a Windows feature that hybridizes a shutdown and hibernation to speed up boot times. Because the computer never fully shuts down, it often skips the interrupt signal for the F2 key.
To resolve this:
- Navigate to Control Panel > Hardware and Sound > Power Options.
- Select Choose what the power buttons do.
- Click Change settings that are currently unavailable.
- Uncheck Turn on fast startup (recommended).
- Save changes and perform a full shutdown.
After disabling Fast Startup, the F2 method will typically work reliably every time. If you still face issues, consider checking your keyboard's "Fn" lock status. On some Nitro 5 configurations, you may need to hold Fn + F2 instead of just F2.
Safety and Responsibility
When working within the BIOS, follow these precautions:
- Avoid "Overclocking" or "Undervolting": Unless you are an experienced user with a specific performance goal, avoid changing frequency or voltage settings. Incorrect values can lead to system instability or boot failures.
- Document Changes: If you change a setting and the computer fails to boot, you will need to remember what you changed to revert it.
- Firmware Updates: Always ensure your laptop is plugged into an AC power source before entering the BIOS if you intend to perform an update. A power loss during an update can permanently damage the motherboard.
Frequently Asked Questions
Why does my Acer Nitro 5 not respond to the F2 key? This is almost always due to the Windows Fast Startup feature. Because your computer is essentially "sleeping" rather than shutting down, it bypasses the BIOS initialization phase. Disable Fast Startup in your Power Options, or use the Advanced Startup method to force entry into the utility.
Does changing BIOS settings void my warranty? Changing standard settings—like boot order or enabling virtualization—will not void your warranty. However, flashing an unauthorized BIOS version or forcing aggressive hardware overclocks that result in physical damage due to overheating may be excluded from standard coverage.
Can I reset the BIOS to default settings if I make a mistake? Yes. In the BIOS menu, you can usually press F9 to load the "Setup Defaults" or "Optimized Defaults." Once selected, press F10 to save the changes and exit, which will reboot the system with the original factory settings.
Is it safe to update the BIOS? Updating the BIOS is safe and recommended if you are experiencing hardware compatibility issues or need security patches, but it carries a small risk. Always use official firmware provided by the Acer Support website, ensure your battery is at least 50% charged, and never turn off your laptop during the process.
Why is my "Boot Menu" option missing? On many Acer Nitro 5 models, the F12 Boot Menu is disabled by default for security reasons. You must enter the BIOS using the F2 method, navigate to the "Main" tab, and change the "F12 Boot Menu" setting from "Disabled" to "Enabled." Press F10 to save and exit, and the feature will be active upon your next restart.
Final Recommendation
For the most reliable experience, familiarize yourself with the Advanced Startup method if you find that the standard F2 tap-sequence is inconsistent on your specific model. Before making any changes within the BIOS, take a photo of the current screen with your smartphone; this creates a simple, visual reference point so you can easily revert to your known-good configuration if the system becomes unstable. If you are preparing to install a new operating system or a dual-boot environment, ensure you have enabled the F12 Boot Menu in the Main tab, as this will save you significant time during the installation process.