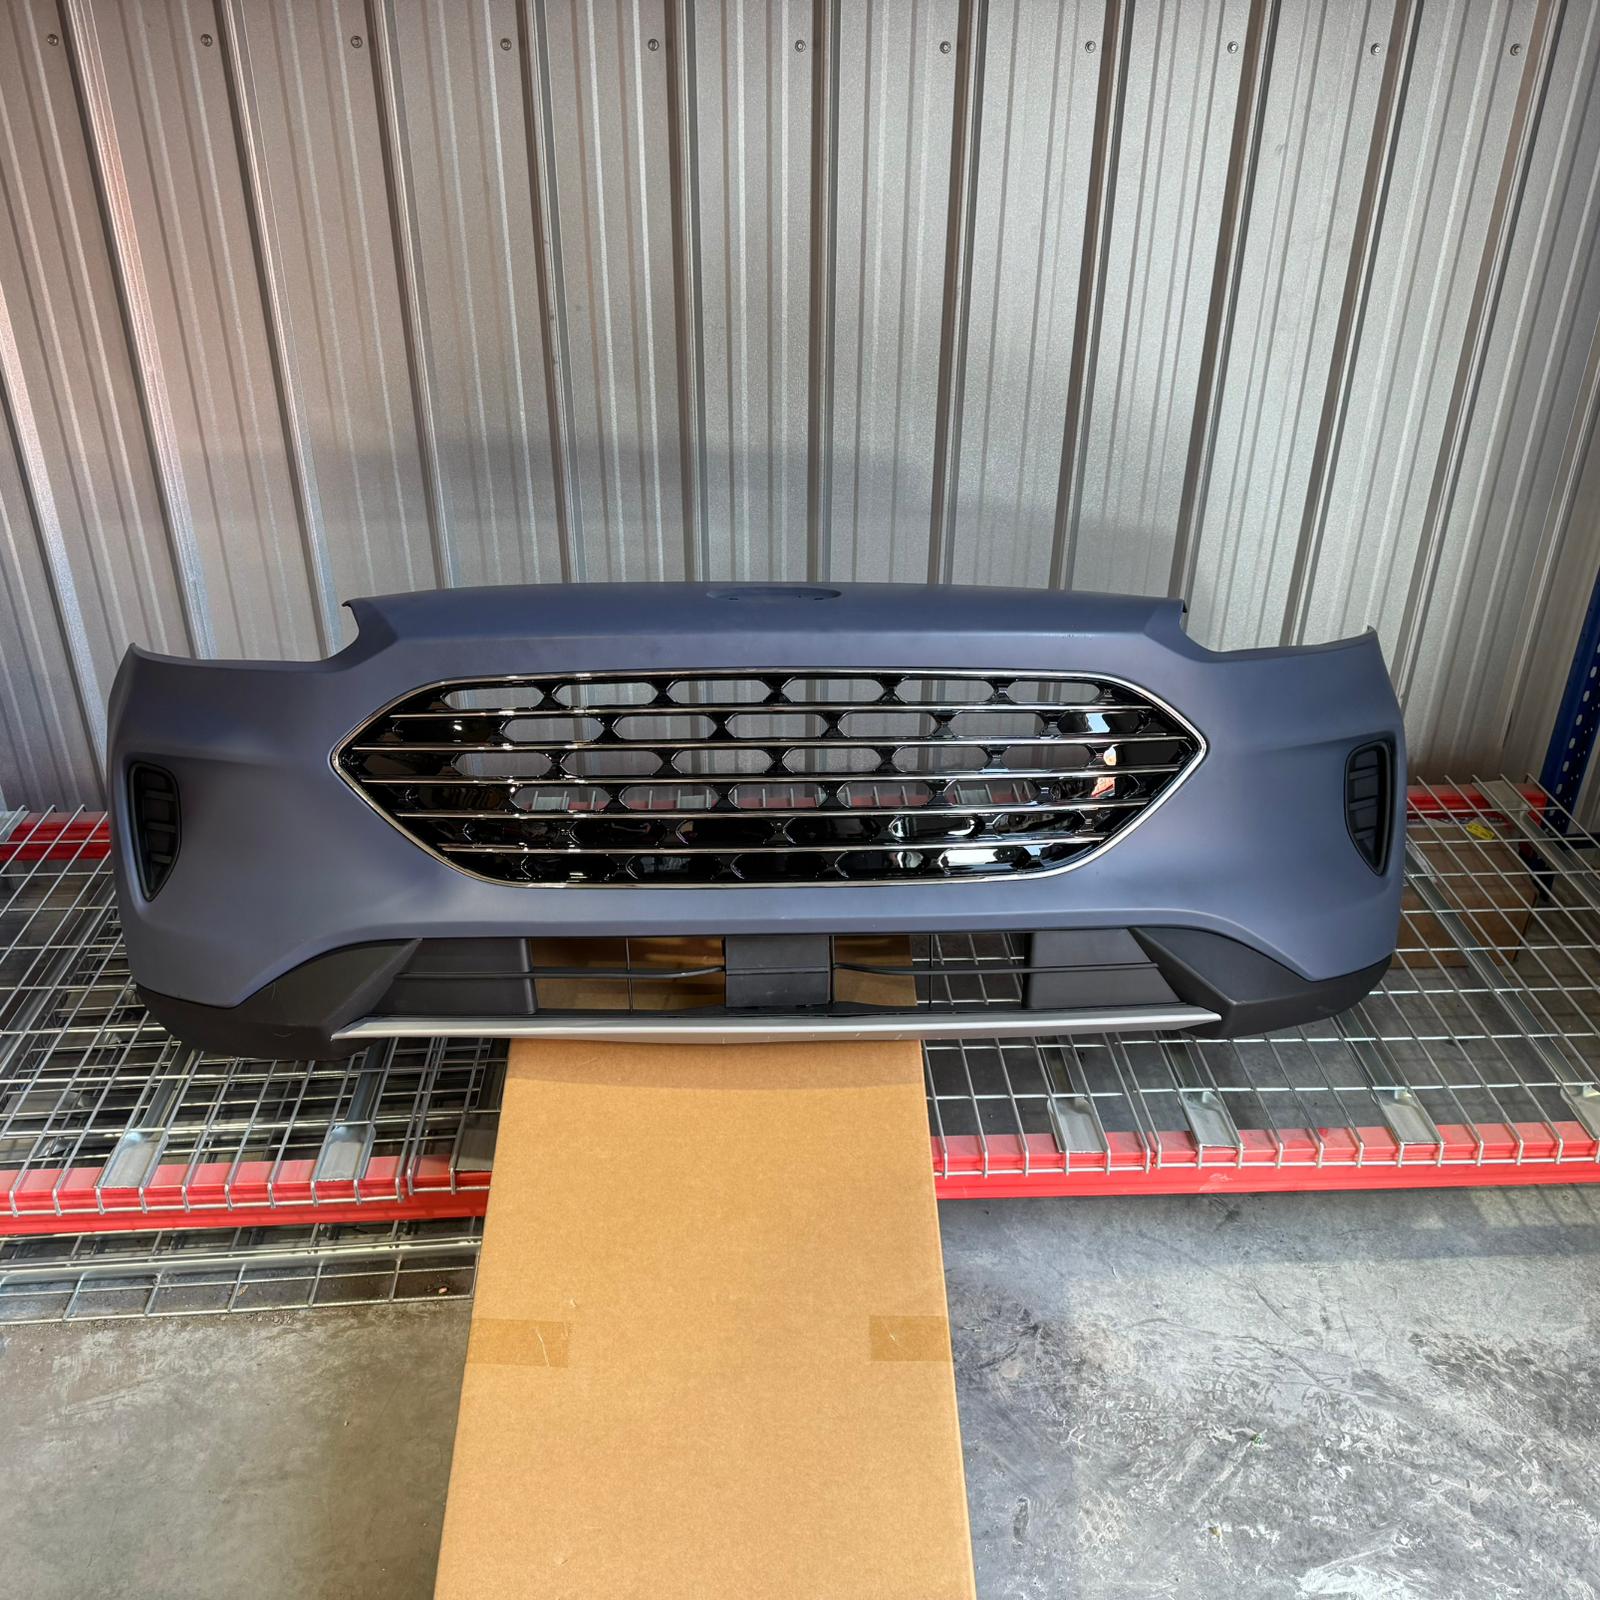
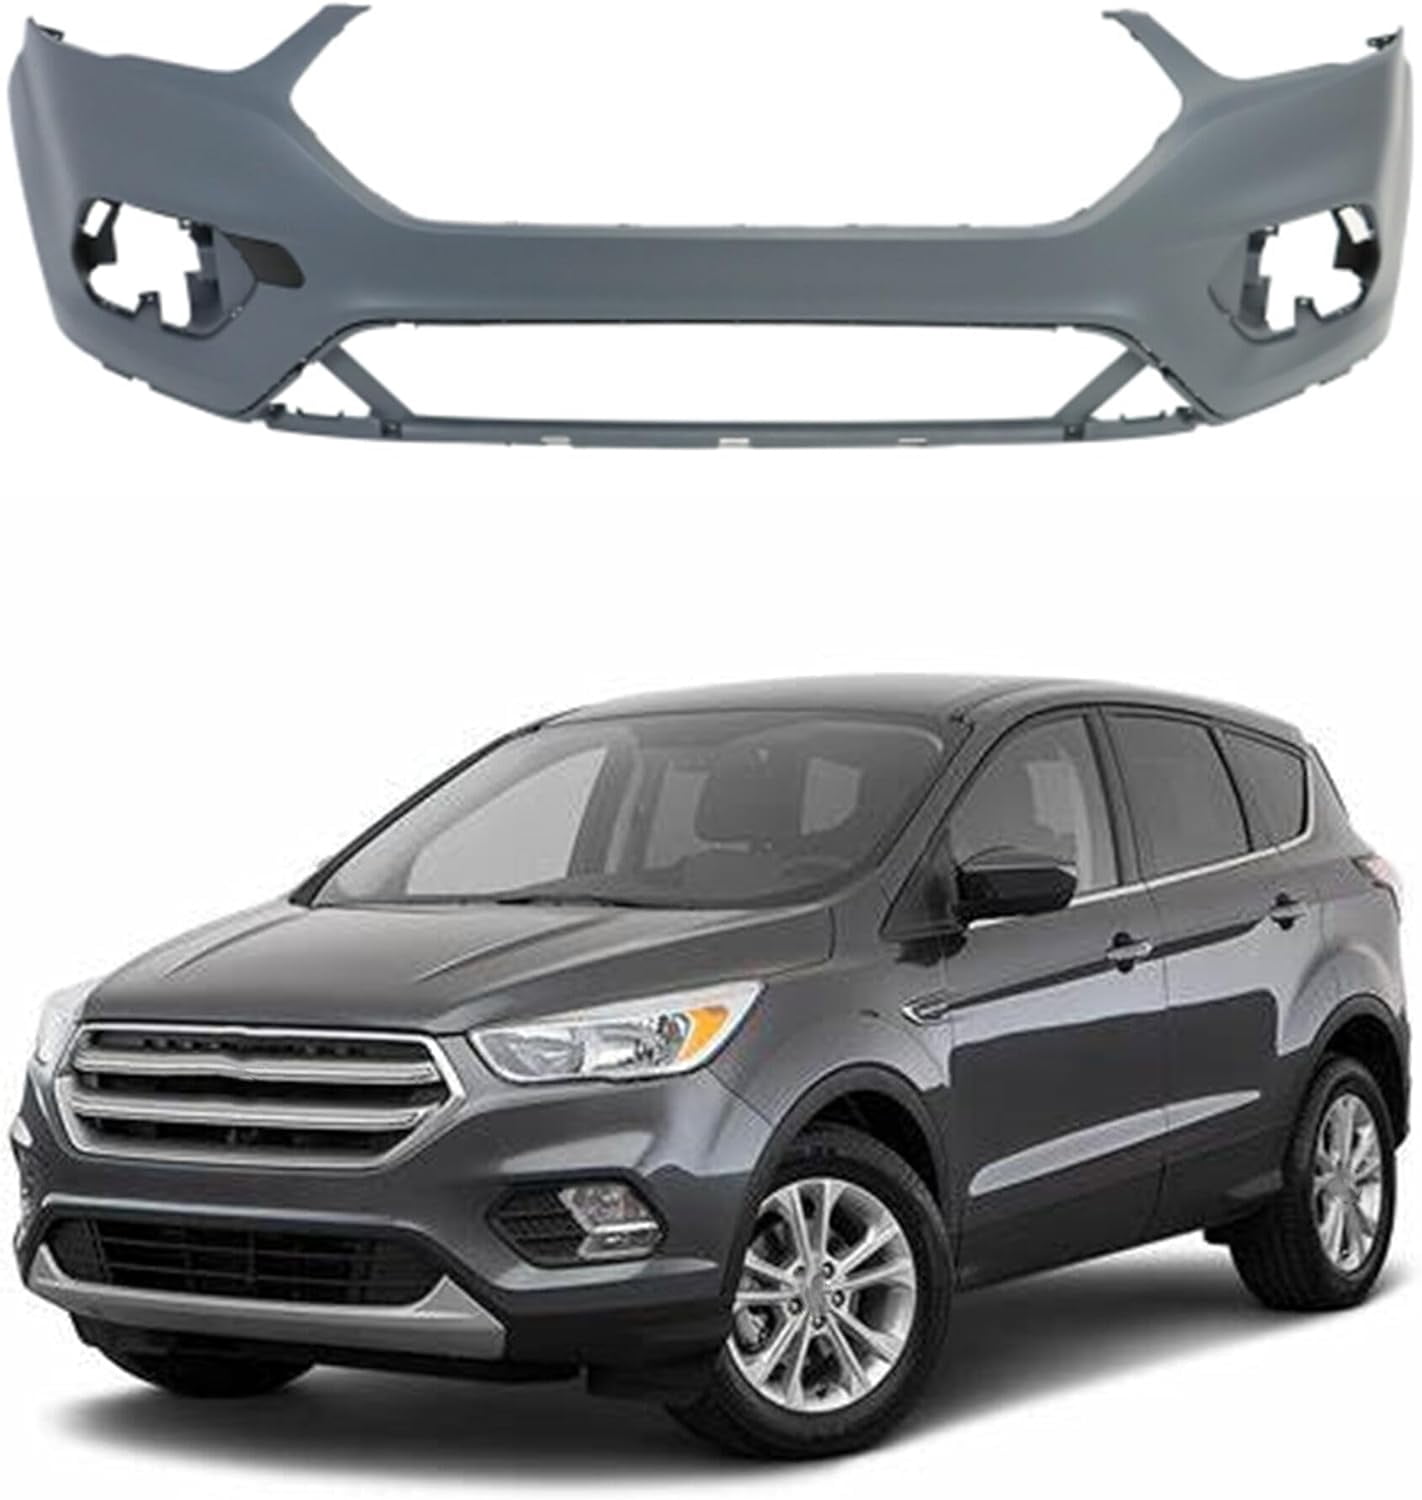
The 2011 Ford Escape front bumper assembly is a non-structural polymer component designed for aesthetics, aerodynamic efficiency, and the integration of auxiliary lighting. Replacing or repairing this unit requires a methodical approach to managing hidden fastener clips, plastic rivet attachments, and electrical connections for fog lamps, ensuring the integrity of the fascia’s mounting points throughout the process.
Understanding the 2011 Ford Escape Front Bumper Architecture
The 2011 Ford Escape represents the final phase of the second generation of this model line (2008–2012). Unlike older truck-based SUVs with heavy steel bumpers, the 2011 Escape utilizes a multi-piece plastic cover—often referred to as a bumper fascia—that attaches over a structural steel reinforcement bar.
The fascia is constructed primarily from thermoplastic olefin (TPO), a material chosen for its flexibility and ability to withstand minor impacts without cracking. However, this same material is prone to deformation if not handled correctly during removal. The assembly serves several functional purposes beyond appearance: it houses the upper and lower radiator grilles, the front license plate bracket, and the fog lamp bezels on higher trim levels like the XLT and Limited.
Understanding the distinction between the "bumper cover" and the "reinforcement bar" is critical for any repair work. If the vehicle has been involved in a collision, damage may not be limited to the plastic cover. The reinforcement bar (the rigid metal structure behind the cover) and the energy-absorbing foam core are the primary safety components. If these are damaged, they must be replaced, as they are designed to deform during impact to protect the vehicle’s frame rails.
Prerequisites and Preparation
Before beginning any work on the front bumper of a 2011 Ford Escape, you must secure a clean, flat working environment. Because the bumper cover is large and unwieldy, it is advisable to have a helper or a soft surface (such as a workbench covered in a moving blanket) ready to receive the component once it is detached.
Required Tools and Equipment
To effectively remove and reinstall the bumper, you will need a specific set of hand tools. Using improper tools can strip plastic fasteners or damage the paint on adjacent panels.
- 7mm and 8mm sockets: Essential for the wheel well screws and underside fasteners.
- Flat-head screwdriver or trim removal tool: Required to pry up the plastic push-pins located on the top of the grille assembly.
- T25 or T30 Torx bit: Often used for specific trim screws depending on the factory assembly location.
- Penetrating oil (e.g., PB Blaster): Useful if the underside screws have become corroded due to road salt exposure.
- Safety glasses and mechanics gloves: To protect against sharp plastic edges and debris.
Step-by-Step Removal Process
The removal of the bumper cover on the 2011 Ford Escape is a sequential process. Attempting to force the bumper off before all fasteners are removed will almost certainly result in the snapping of plastic mounting tabs, which are notoriously difficult to repair.
1. Upper Fasteners
Open the hood and locate the plastic radiator cover (the black panel extending from the hood latch to the grille). There will be a series of plastic push-pin fasteners or small bolts holding the top of the bumper cover to the header panel. Carefully extract these; if the push-pins are brittle due to age, be prepared to replace them with new ones, as they rarely survive removal.
2. Wheel Well Attachments
The bumper cover wraps around the front fenders and is secured by screws hidden behind the wheel well liner. You may need to turn the steering wheel inward to gain sufficient access. Remove the 7mm or 8mm screws that attach the bumper edge to the fender liner. Once these are removed, you will find a secondary attachment point where the bumper clips into the fender bracket; this area is a common site for "bumper sag" if the plastic clips have worn down.
3. Under-Body Fasteners
Move to the underside of the vehicle. There is typically a splash shield or air dam that attaches to the lower portion of the bumper. Ensure every screw holding this shield to the bumper cover is removed. Without this step, the bumper will remain anchored, and pulling it forward will stress the upper mounting tabs.
4. Final Disconnection
Once all screws and pins are removed, the bumper is held primarily by friction clips along the seam where it meets the headlights and fenders. Apply firm but steady pressure to pull the corners of the bumper away from the vehicle. If the vehicle is equipped with factory fog lamps, do not pull the bumper completely away immediately. Reach behind the fascia to disconnect the electrical harness connectors for the fog lights.
Material Comparison: Aftermarket vs. OEM
When sourcing a replacement bumper for your 2011 Ford Escape, you will encounter two primary options: Original Equipment Manufacturer (OEM) parts and aftermarket alternatives.
| Feature | OEM (Ford) | Aftermarket (Certified) | Aftermarket (Economy) |
|---|---|---|---|
| Material Quality | High-grade TPO | High-grade TPO | Varies (Thinner) |
| Fitment | Precision alignment | Generally accurate | Often requires adjustment |
| Durability | Long-term resistance | High | Moderate (Risk of warping) |
| Cost | Highest | Moderate | Lowest |
OEM parts provide the highest assurance of "bolt-on" fitment, meaning the holes will align perfectly with existing brackets. Aftermarket bumpers are significantly cheaper but may arrive folded in a box, requiring a heat gun or exposure to warm temperatures to regain their original shape. If you choose an aftermarket unit, verify that it is CAPA-certified (Certified Automotive Parts Association), as this indicates the part has been tested for fit and material quality against the original specifications.
Common Troubleshooting and Repairs
Addressing Bumper Sag
A common issue with the 2011 Escape is the bumper "pulling away" from the fender seam. This is usually caused by the plastic clips on the bumper bracket (which is attached to the fender) wearing out. Instead of replacing the entire bumper cover, you can often solve this by purchasing a new front bumper support bracket. This is a small, inexpensive plastic piece that bolts to the fender; replacing it often restores the "snapped-in" look of a new car.
Repairing Minor Cracks
If your bumper has a minor crack rather than a shattered section, it can often be repaired using a plastic welding kit. Because the 2011 Escape bumpers are made of thermoplastic, they are highly responsive to heat-based welding. By applying a mesh screen into the back of the plastic with a soldering iron, you can bridge the gap and provide structural support, followed by filling the front with a plastic-specific epoxy.
Fog Lamp Issues
If the fog lamps are flickering or not turning on, the issue is rarely the bumper itself, but rather the connector. The location of the lamps exposes them to water and road debris. Inspect the wiring harness for corrosion at the terminal pins. Using dielectric grease on these connectors during reassembly can prevent future moisture-related electrical failures.
Safety Considerations and Legal Compliance
When performing bodywork on a 2011 Ford Escape, safety is paramount. The bumper cover itself is an aesthetic piece, but it hides the energy-absorbing components mentioned earlier. Never operate the vehicle on public roads without the bumper cover properly secured. In many jurisdictions, driving with a detached or partially hanging bumper is a violation of vehicle safety codes regarding "protruding parts," which can pose a danger to pedestrians or cyclists.
Furthermore, ensure that any replacement fog lamps meet Department of Transportation (DOT) standards. While decorative LED bars are popular, they must be wired to function appropriately within the vehicle's electrical circuit to avoid overloading the factory headlamp switch or causing a fire hazard.
Practical Recommendations
- Preparation is Key: Purchase a box of assorted automotive plastic rivets and push-pins before you begin. You will inevitably break several during the removal of an older bumper, and having spares on hand will save you a mid-project trip to the auto parts store.
- Paint Matching: If buying an unpainted (primed) aftermarket bumper, factor in the cost of professional painting. Painting plastic requires specific adhesion promoters and flex agents in the paint; failing to use these will result in the paint cracking the first time the bumper flexes in cold weather.
- Use Assistance: Always enlist a second person to hold the bumper while you disconnect the electrical harness. Attempting to hold a large plastic piece with one hand while unplugging delicate wiring with the other is the most common cause of cracked mounting tabs.
For those looking to maintain their 2011 Ford Escape, the most cost-effective approach is to prioritize OEM or CAPA-certified brackets and components. By focusing on the structural support points rather than just the cosmetic fascia, you can ensure the bumper remains secure and visually aligned for the remainder of the vehicle’s service life.
Frequently Asked Questions
Can I replace the 2011 Ford Escape bumper by myself?
Yes, the process is well within the capabilities of a DIY enthusiast with basic hand tools. The main challenge is the number of fasteners and the need for a second person to assist in lifting the component away from the frame rails without scratching the fenders.
Why does my 2011 Escape bumper look misaligned at the corners?
This is usually caused by a broken or deformed plastic bumper bracket located at the intersection of the fender and the bumper. Replacing the bracket—a small plastic piece hidden under the cover—is usually sufficient to fix the alignment without replacing the entire bumper.
Are the fog lamp bezels interchangeable between trim levels?
No, trim levels often have distinct openings for fog lamps or turn signals. When searching for replacement parts, use your vehicle’s VIN (Vehicle Identification Number) to ensure the bumper cover, bezels, and grilles match your specific trim package (XLS, XLT, or Limited).
What is the purpose of the foam core behind the bumper?
The foam core is a critical energy-absorption component. In the event of a low-speed impact, it compresses to absorb kinetic energy, preventing that energy from transferring directly to the steel reinforcement bar and the vehicle's frame. Never remove or discard this piece when replacing the cover.
How do I remove deep scratches from the bumper plastic?
If the scratches have not penetrated the plastic deeply, you can use a fine-grit wet sandpaper followed by a plastic polishing compound. However, if the bumper is painted and the scratch exposes the black plastic underneath, the section will likely need to be sanded, primed, and resprayed to look professional.