To play 3DS games on your computer, you must use a Nintendo 3DS emulator such as Lime3DS or the PabloMK7 branch of Citra. The process involves verifying your hardware compatibility, installing the emulator software, providing decrypted game files (ROMs) dumped from your own console, and configuring graphics and input settings for optimal performance.
Emulating the Nintendo 3DS has evolved significantly since the original Citra project was discontinued in early 2024. In 2026, the landscape is defined by community-driven forks that have optimized performance for modern multi-core processors and added support for advanced Vulkan features. While the hardware requirements are relatively modest for basic play, achieving high-definition 4K visuals requires a deeper understanding of the software's architecture and configuration options.
Step 1: Verify Hardware and System Requirements
Before downloading any software, you must ensure your PC can handle the demands of 3DS emulation. Unlike older consoles, the 3DS utilizes a PICA200 GPU and dual-core ARM11 processors, which require significant overhead to translate to x86-64 architecture.
CPU Requirements: Emulation is primarily a CPU-bound task. You should look for a processor with strong single-core performance. In 2026, an Intel Core i5-12400 or an AMD Ryzen 5 5600 is considered the baseline for a stutter-free experience. The emulator generally uses two to three cores: one for the CPU emulation, one for the GPU, and one for system services.
GPU Requirements: While the 3DS resolution is low (240p), upscaling to 4K requires a dedicated graphics card. Most modern integrated graphics (like Intel Iris Xe or Radeon 780M) can handle 2x or 3x native resolution. For 4x resolution and beyond, a dedicated GPU with support for OpenGL 4.4 or Vulkan 1.1 is mandatory. Vulkan is highly recommended in 2026 for its superior frame pacing and reduced shader compilation stutter.
Memory and OS: You will need at least 8GB of RAM, though 16GB is preferred if you plan to use high-resolution texture packs. The emulators are compatible with Windows 10/11, modern Linux distributions, and macOS (via MoltenVK for Vulkan support).
Step 2: Choose the Right 3DS Emulator
Since the dissolution of the original Citra team, several successors have emerged. Choosing the right one depends on your specific needs for stability or features.
- Lime3DS: Currently the most popular successor to Citra. It focuses on maintaining the original codebase while adding modern hardware optimizations and fixing long-standing bugs in titles like Pokémon Sun and Moon.
- Citra (PabloMK7 Fork): This version is favored by the "homebrew" and competitive communities. It often includes better support for local wireless emulation and Nintendo Network replacements like Pretendo.
- Panda3DS: A newer "from-scratch" emulator. While not as mature as Lime3DS in 2026, it offers a different architectural approach that can sometimes run specific games more accurately than Citra-based forks.
For most users, Lime3DS is the recommended starting point due to its broad compatibility and active development cycle.
Step 3: Install the Emulator and Set Up Directories
Once you have downloaded the executable for your chosen emulator, installation is usually a "portable" affair. It is best practice to create a dedicated folder on your SSD—not a mechanical hard drive—to minimize loading times and shader cache stutters.
- Create a folder named
3DS Emulation. - Extract the emulator files into a subfolder named
Application. - Create another subfolder named
Gamesfor your ROMs andSavesfor backups.
When you first run the emulator, it will create a "User" directory (usually in %AppData% on Windows). This folder stores your configuration, play data, and, most importantly, your AES Keys. Without these keys, the emulator cannot decrypt and run encrypted 3DS titles.
Step 4: Legally Acquiring and Dumping Game Files
To stay within legal boundaries and ensure compatibility, you must use game files (ROMs) dumped from your own physical 3DS hardware. This requires a 3DS console with Custom Firmware (CFW), specifically Luma3DS.
The standard tool for this is GodMode9. By booting into GodMode9 on your 3DS, you can navigate to your game cartridges or digital titles and "dump" them into a .3ds or .cia format.
- .3ds files: These are raw cartridge images, ideal for Citra-based emulators.
- .cia files: These are "installable" packages used for digital titles, updates, and DLC.
Once dumped, transfer these files to your PC via an SD card reader. Avoid downloading files from third-party sites, as these are often corrupted, contain malware, or are in the wrong format for modern emulators.
Step 5: Decrypting Your 3DS ROMs
Most 3DS games are encrypted. While a physical 3DS has the hardware keys to read them, an emulator does not. You have two options to resolve this:
- Decrypt on the Console: When dumping via GodMode9, you can select the option to "Decrypt" the file during the dump process. This is the simplest method, as the resulting
.3dsfile will run immediately in Lime3DS. - Using AES Keys: If you have encrypted files, you must provide an
aes_keys.txtfile in the emulator’s system folder. This file contains the cryptographic keys needed to decrypt the games on the fly. These keys must be sourced from your own console's NAND.
Most compatibility issues reported by users in 2026 stem from trying to run encrypted files without the proper keys installed in the emulator's "sysdata" directory.
| Component | Recommended Setting (2026) | Impact on Performance |
|---|---|---|
| Graphics API | Vulkan | High (Reduces Stutter) |
| Internal Resolution | 3x or 4x (1080p equivalent) | Medium (GPU Dependent) |
| Texture Filter | Linear | Low |
| Shader Generation | Asynchronous (Ubershaders) | High (Eliminates lag) |
| Audio Emulation | HLE (High Level) | Low (Better for slow CPUs) |
Step 6: Configuring Graphics and Performance
The primary advantage of playing 3DS games on a PC is the ability to surpass the original hardware's limitations.
Open the Emulation > Configure menu and navigate to the Graphics tab. Set the API to Vulkan. In 2026, Vulkan's "Asynchronous Shader Compilation" is a game-changer; it allows the emulator to compile shaders in the background, preventing the "micro-stutter" that plagued earlier versions of Citra.
For Internal Resolution, the native 3DS resolution is 400x240. Setting this to 4x will result in a 1600x960 output, which looks incredibly sharp on a 1080p or 1440p monitor. If you have a high-end GPU, you can push this to 10x, though the diminishing returns are significant.
Step 7: Setting Up Controls and Touch Screen
The 3DS features a unique control scheme including a Circle Pad, D-pad, and a resistive touch screen.
Controller Mapping: Most users prefer an Xbox or PlayStation controller. In the Input settings, map the Circle Pad to your left analog stick and the C-Stick (for New 3DS titles) to the right analog stick.
The Touch Screen: Since your monitor likely isn't a touch screen, you have three options:
- Mouse: Use your mouse cursor to click the bottom screen.
- Touchscreen Monitor: If your laptop or monitor supports touch, the emulator will recognize it natively.
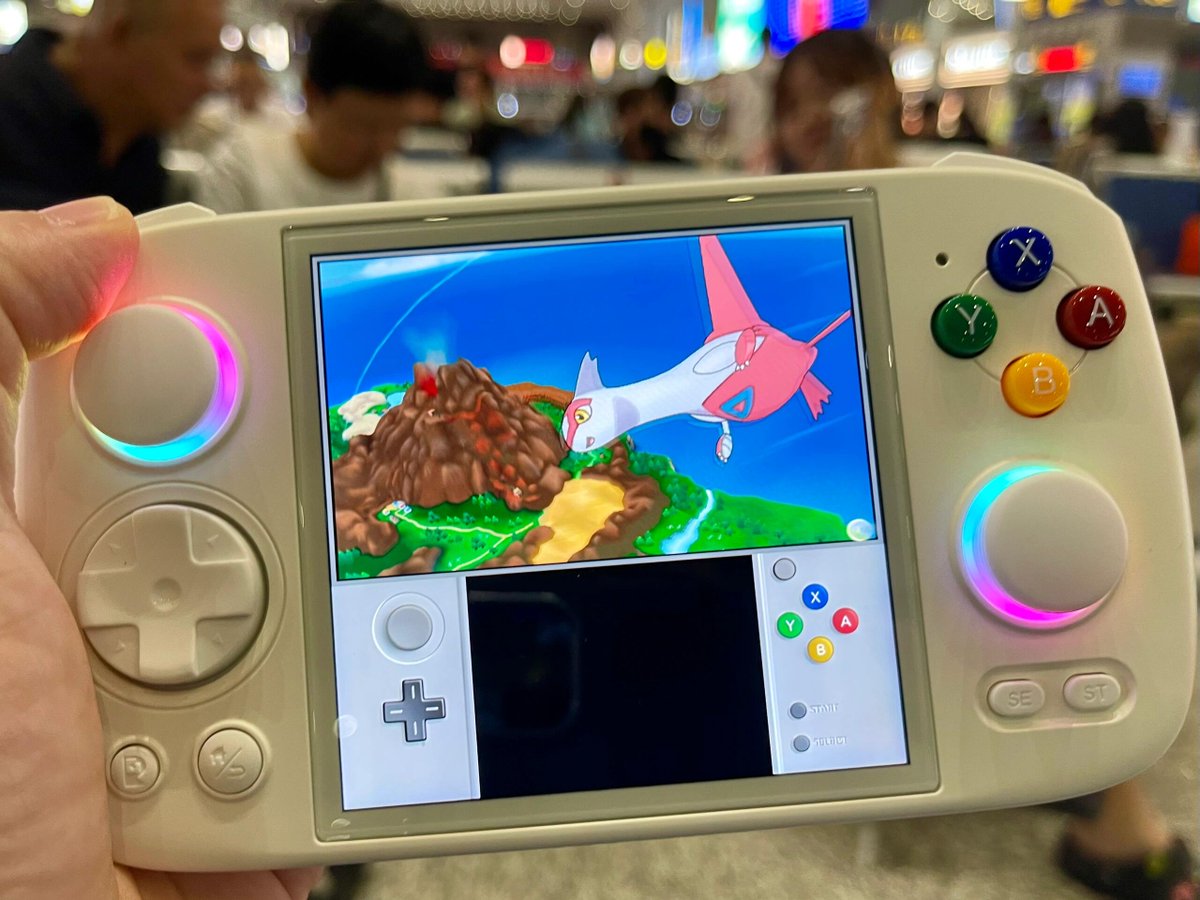
- Steam Deck/Handhelds: If you are running the emulator on a handheld PC, you can map the physical touch screen to the emulator's bottom screen for an authentic experience.
Step 8: Installing Updates and DLC
Unlike older consoles, 3DS games frequently received patches and downloadable content. These are handled via .cia files.
In your emulator, go to File > Install CIA. Navigate to your dumped update or DLC files. The emulator will "install" these into its internal virtual file system (the sdmc folder). It is crucial to install updates before launching a game, as many titles (like Super Smash Bros. for 3DS) may crash or have missing features without the latest patch.
Step 9: Audio and System Files (The "Mii" Fix)
Many 3DS games rely on system fonts and Mii data stored in the console's firmware. If you notice "boxes" instead of text or if games like Mario Kart 7 crash at the character select screen, you are missing system files.
You must dump the System Archive from your 3DS. This includes:
shared_font.binconfigfiles- Mii data
These files should be placed in the nand/system/data directory within the emulator's user folder. In 2026, Lime3DS includes an open-source font replacement, but for 100% accuracy, the original system dumps are still preferred.
Step 10: Managing Save Data and Shaders
As you play, the emulator generates save files (.sav) and shader caches.
Save Data: 3DS saves are stored in the nand folder, organized by a unique Title ID for each game. It is highly recommended to periodically back up this folder. Unlike the original hardware, you can use Save States (using F4/F6 keys), which allow you to save at any exact moment, though these are not always compatible between different versions of the emulator.
Shader Caches: If you notice the game running smoother the second time you visit an area, that is the shader cache at work. Do not delete these files unless you are experiencing graphical glitches, as they are essential for a fluid gameplay experience.
Frequently Asked Questions
Is 3DS emulation legal in 2026? Emulation itself is legal in most jurisdictions. However, downloading ROMs from the internet is a violation of copyright law. The legal way to emulate is to dump the BIOS (system files) and game files from your own personally owned 3DS hardware.
Why is my game running at 50% speed? This is typically a CPU bottleneck. 3DS emulation relies heavily on a single core. Ensure your laptop is plugged in and set to "High Performance" mode. Additionally, check that you aren't using "LLE Audio," which is much more taxing on the CPU than "HLE Audio."
Can I play multiplayer online? Yes. Modern forks like Lime3DS and PabloMK7's Citra support "Public Rooms." These simulate a local wireless connection over the internet. For official Nintendo Network features, you will need to look into the Pretendo Network project, which aims to replace the now-defunct Nintendo servers.
Do I need a powerful computer for 3DS emulation? Not necessarily. While a gaming PC is ideal for 4K upscaling, most 3DS emulators can run on modern budget laptops or even high-end smartphones. The most important factor is the single-core clock speed of your processor.
How do I fix the "black screen on launch" error?
A black screen usually indicates that the emulator cannot decrypt the game. Ensure your game is decrypted or that you have the correct aes_keys.txt in your system folder. If the issue persists, try changing the Graphics API from Vulkan to OpenGL.
Final Recommendation
To achieve the best experience in 2026, use Lime3DS combined with the Vulkan API. Always prioritize decrypted ROMs dumped directly from your console via GodMode9 to avoid the complexities of AES key management. For games that rely on the touch screen, consider using a mouse with high DPI settings or a dedicated touch-capable device to bridge the gap between the dual-screen handheld and the desktop environment.