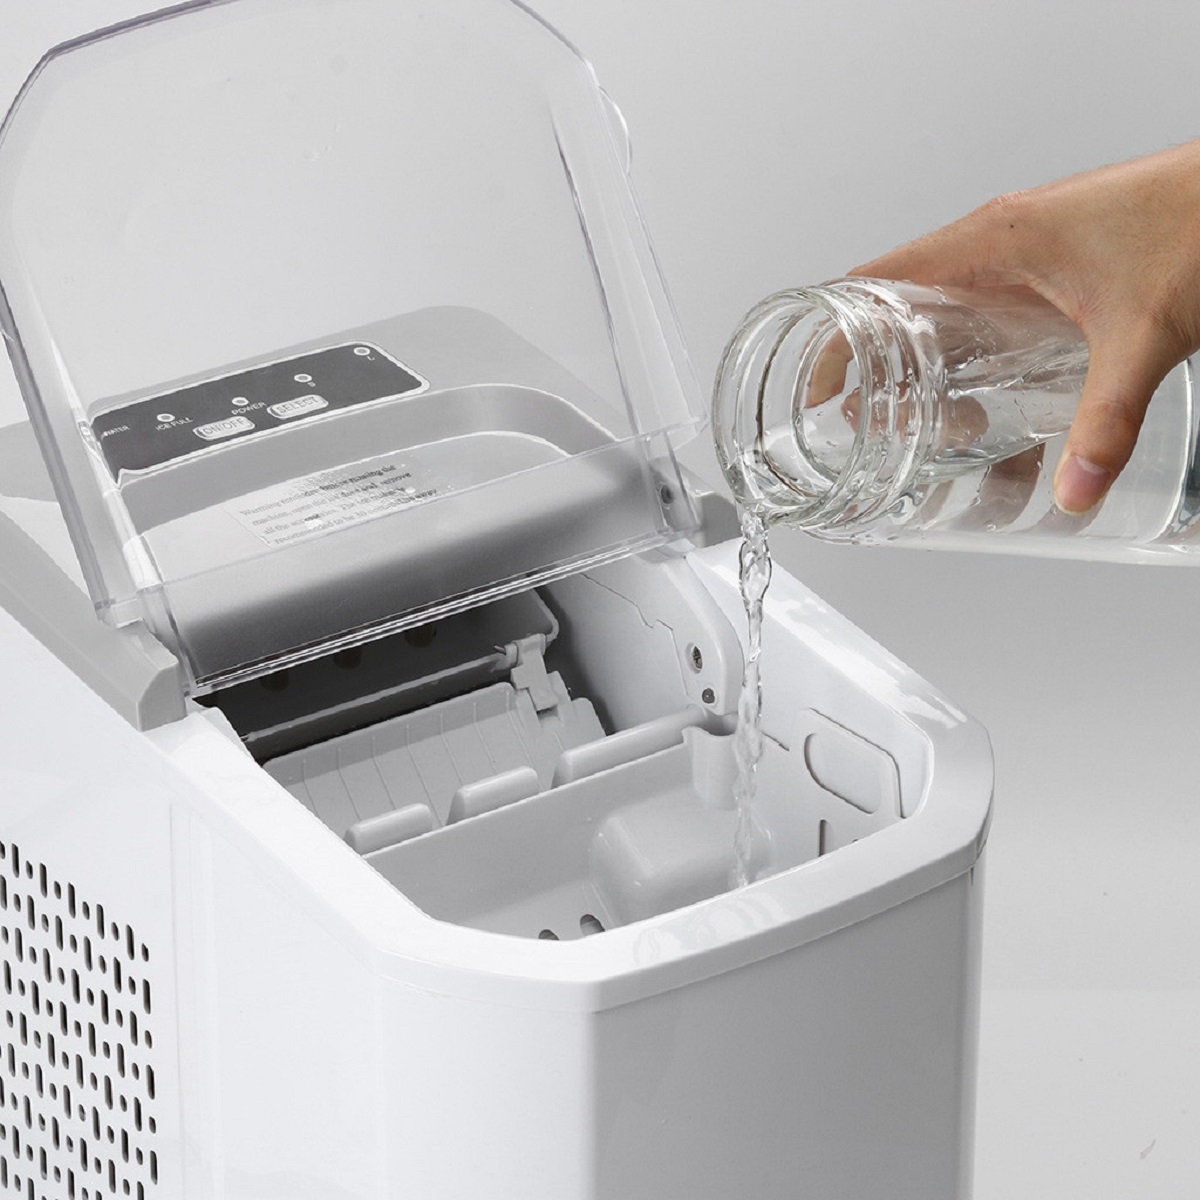
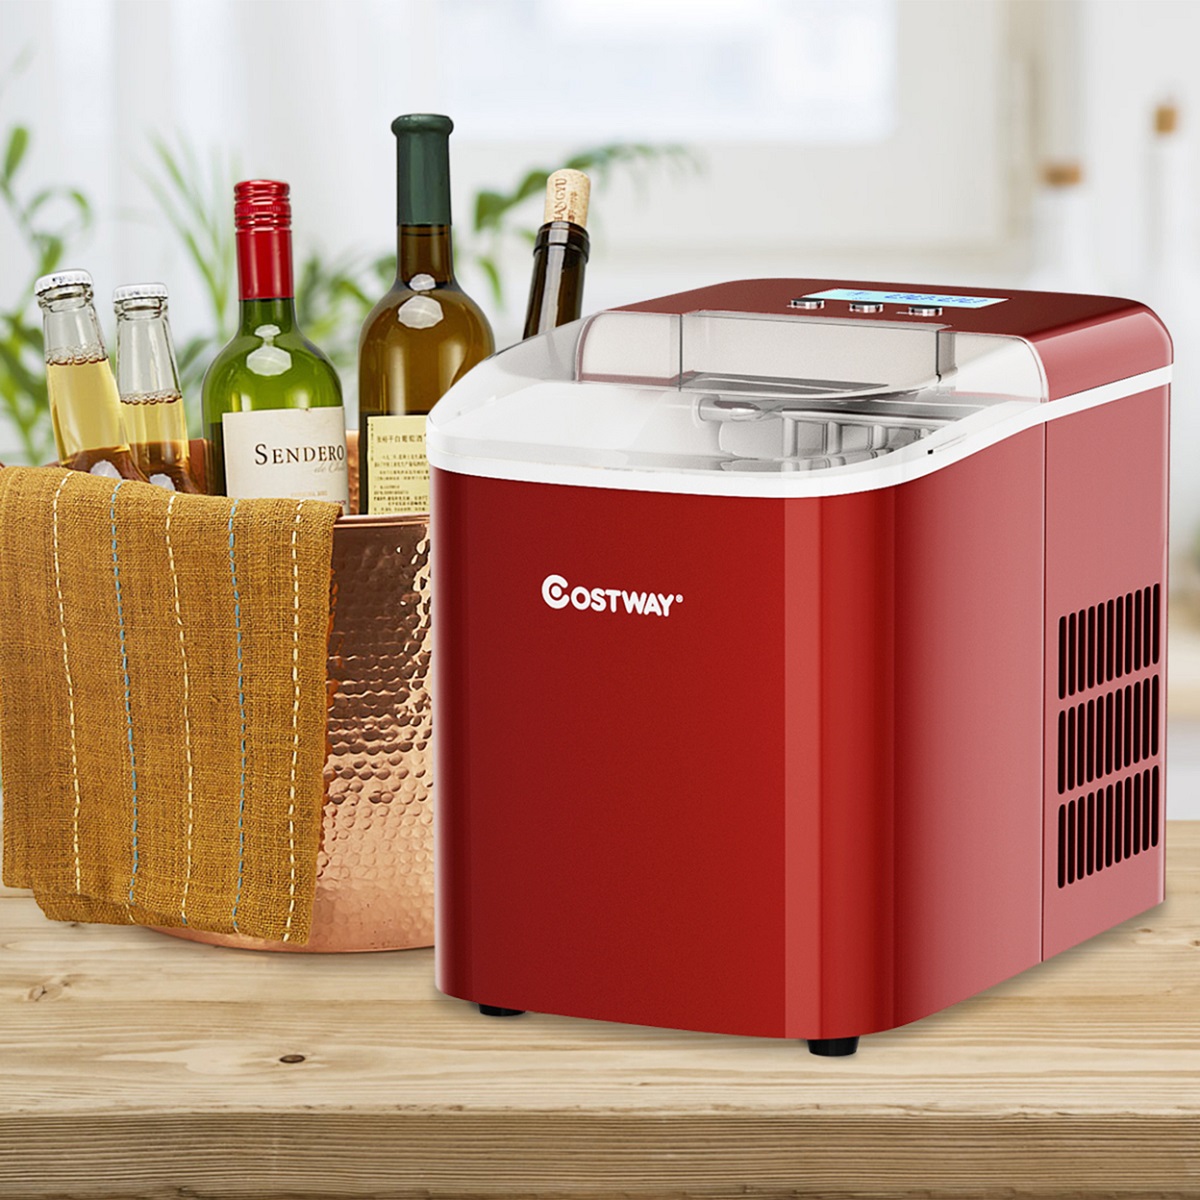
Keeping a portable countertop ice maker clean is essential for ensuring that your ice tastes fresh, smells clean, and remains free from harmful bacteria, mold, and mineral buildup. Over time, stagnant moisture, hard water deposits, and airborne dust accumulate within the internal water reservoirs, freezing fingers, and tubing, requiring a systematic maintenance routine to restore optimal performance and food-safe operation.
Maintaining and cleaning a portable ice maker involves more than just a quick wipe of the exterior housing; it requires a combination of descaling routines, sanitizing washes, and targeted mechanical cleaning for hard-to-reach components. Because these compact appliances circulate water continuously through a closed or semi-closed loop system, they provide an ideal breeding environment for biofilm, yeast, and scale if neglected. Below are the seven most effective methods for cleaning your portable ice maker, ranging from everyday maintenance washes to deep descaling procedures designed to extend the lifespan of your machine.
Understanding Portable Ice Maker Contamination
Before diving into the specific cleaning methods, it is important to understand what builds up inside a portable ice maker and why regular cleaning is non-negotiable. Unlike a standard kitchen freezer that uses a dedicated plumbing line, portable ice makers rely on a manual-fill reservoir. Users pour water into the basin, where a pump draws it up to a freezing tray containing metal prongs or fingers. Water freezes around these fingers until ice cubes form, after which the grid warms up, drops the ice into a storage basket, and repeats the cycle.
This continuous evaporation and circulation cycle leaves behind two major problems:
- Mineral Scale (Calcium and Magnesium): If you use tap water, dissolved minerals precipitate out during the freezing process. These white, chalky deposits coat the water pump, tubing, and freezing fingers, reducing thermal efficiency and slowing down ice production.
- Biofilm and Mold: Humidity and standing water create a haven for airborne mold spores, bacteria, and pink slime (Serratia marcescens). If the machine is left with residual water sitting in the reservoir after use, microbial growth can occur within hours, imparting a foul taste and odor to the ice.
1. The White Vinegar and Water Descaling Method
Vinegar is a natural, food-safe acid (acetic acid) that excels at dissolving calcium and mineral deposits without damaging the internal plastic and metal components of your ice maker. This is the gold standard for routine monthly maintenance.
Step-by-Step Procedure:
- Empty the Machine: Turn off the ice maker, unplug it from the electrical outlet, and remove all ice cubes from the storage basket. Drain any remaining water from the internal reservoir using the dedicated drain plug located at the bottom front or side of the unit.
- Prepare the Solution: Mix a solution of equal parts white distilled vinegar and warm (not hot) water. Fill the water reservoir up to the maximum fill line with this mixture.
- Run a Cleaning Cycle: Plug the machine back in and switch it on to the ice-making mode. Allow the machine to run cycles for 15 to 20 minutes. As the vinegar solution pumps through the system, it will break down the scale accumulated on the freezing fingers and internal tubing. (Note: You can let the ice cubes form and discard them, or simply stop the cycle before complete freezing occurs).
- Drain and Rinse: Unplug the unit again and drain the vinegar solution completely. To eliminate any residual vinegar taste, fill the reservoir with fresh, clean tap water and run another 10-minute cycle. Drain this rinse water thoroughly. Repeat the fresh water rinse a second time if a vinegar smell lingers.
2. The Lemon Juice Natural Clean
If you prefer a method that leaves behind a fresh citrus scent rather than the pungent odor of vinegar, fresh lemon juice or bottled pure lemon juice is an exceptional alternative. Citric acid acts as a powerful natural chelating agent that breaks down mineral scale effectively.
Step-by-Step Procedure:
- Strain fresh lemon juice to remove any pulp or seeds that could clog the internal water pump or tiny distribution nozzles.
- Mix one part strained lemon juice with three parts warm water.
- Pour the mixture into the water reservoir up to the fill line.
- Run the ice maker on a continuous cycle for roughly 15 minutes, allowing the citric acid to circulate through the evaporator grid and lines.
- Drain the machine via the bottom plug, then run two consecutive cycles of clean water to thoroughly rinse away residual sugars and acids.
3. Commercial Ice Maker Cleaner and Sanitizer
When dealing with severe mineral buildup or neglected units that have developed pink slime or black mold, household remedies may not be strong enough. Commercial nickel-safe ice machine cleaners and sanitizing solutions are formulated specifically for commercial and residential ice-making equipment.
Important Selection Criteria:
- Nickel-Safe Formulation: Many portable ice makers feature nickel-plated evaporator fingers. Using harsh, non-nickel-safe industrial cleaners can strip this plating, ruining the machine. Always verify that the cleaner explicitly states it is safe for nickel components.
- Follow Manufacturer Dilution Ratios: Commercial products are highly concentrated. Measure the cleaner precisely according to the back-of-label instructions, as using too much can corrode internal seals or leave a chemical taste.
- Sanitization Follow-Up: Use a food-grade sanitizer after descaling to eliminate bacteria, ensuring the interior is completely sanitary for consumable ice production.
4. Deep Cleaning the Removable Basket and Scoop
While the internal water lines and reservoir require circulating solutions, the physical components that touch the ice after it is formed—namely the storage basket and the plastic ice scoop—accumulate hand oils, dust, and grime from the kitchen environment.
Step-by-Step Procedure:
- Remove the ice storage basket and ice scoop from the main unit.
- Wash both items thoroughly in a basin of warm water mixed with a few drops of mild dish soap. Use a soft sponge or a clean microfiber cloth to scrub corners and grates.
- Rinse thoroughly under running tap water to remove all soap residue, as residual dish soap will cause ice to taste soapy and prevent proper foaming in beverages.
- Spray the basket and scoop with a food-safe sanitizing spray or submerge them in a solution of 1 tablespoon of household bleach per gallon of water for two minutes. Air-dry completely on a clean dish rack before placing them back into the machine.
5. Manual Detailing of Hard-to-Reach Corners and Sensors
Even with running cleaning cycles, mineral crust and slime can build up in the tight crevices around the water level sensors, drain plug threads, and the perimeter of the freezing tray. Manual intervention is required to address these stubborn areas.
Tools Required:
- Clean, soft-bristled toothbrush or detailing brush.
- Cotton swabs (Q-tips).
- A small bowl of your vinegar-water cleaning solution.
Dip your toothbrush or cotton swabs into the vinegar solution and gently scrub around the infrared ice-level sensors (usually located near the top inside walls of the bin). Clean around the rubber drain stopper and its seating hole, as mineral crystals often deposit here and cause slow leaks. Wipe down the exterior housing control panel with a damp microfiber cloth dampened with mild soapy water, avoiding excessive moisture near electronic buttons.
6. The Deep Sanitization and Bleach Flush
To eliminate stubborn bacterial colonies or persistent mold spores that survive standard vinegar washes, a diluted bleach flush can be performed. Caution: Never mix bleach and vinegar together, as this creates toxic chlorine gas. Complete a thorough vinegar descale and rinse first before attempting a bleach flush.
Step-by-Step Procedure:
- Ensure the machine has been thoroughly rinsed of any previous cleaning agents.
- Mix a sanitizing solution of 1 teaspoon of unscented household chlorine bleach per gallon of warm water.
- Fill the ice maker reservoir with this diluted bleach solution.
- Let the solution sit in the machine for 10 to 15 minutes without running the freezing cycle, allowing the solution to contact all internal reservoir surfaces.
- Turn on the machine and let it cycle for 5 minutes to sanitize the pump and internal tubing.
- Drain the bleach solution completely.
- Rinse Extensively: Fill the reservoir with fresh cold water and run a cycle. Drain and repeat this fresh water rinse at least three to four times until there is zero trace of a chlorine smell.
7. Preventive Maintenance and Air Drying Routine
The best way to clean your portable ice maker is to prevent severe contamination from developing in the first place. Adopting a strict post-use drying and water-management routine drastically cuts down on how often you need to perform deep descaling.
Best Practices for Everyday Use:
- Empty and Dry After Every Use: If you only use your ice maker for parties or weekends, do not leave water sitting in the reservoir between uses. Drain the unit completely, leave the top lid wide open, and use a clean towel to dry out the interior basin.
- Use Filtered Water: Whenever possible, use purified, distilled, or filtered water from an under-sink system or refrigerator pitcher. Tap water contains high levels of total dissolved solids (TDS) that accelerate scale buildup on the evaporator fingers.
- Keep the Lid Closed When Operating: Prevent dust, pet hair, and kitchen grease from settling into the water reservoir by keeping the lid closed during ice production cycles.
- Inspect the Air Vents: Portable ice makers use internal compressors that require adequate airflow. Vacuum or wipe down the side and back cooling vents every few months to prevent overheating and dust accumulation.
Comparison of Ice Maker Cleaning Methods
To help you choose the right approach based on your current maintenance needs, the table below compares the primary cleaning methods discussed:
| Cleaning Method | Primary Purpose | Frequency | Key Active Agent | Rinsing Requirement |
|---|---|---|---|---|
| White Vinegar & Water | Removing mineral scale and light buildup | Monthly | Acetic Acid | 2 clean water rinse cycles |
| Lemon Juice Clean | Descaling with a pleasant natural scent | Monthly | Citric Acid | 2 clean water rinse cycles |
| Commercial Cleaner | Heavy-duty descaling of neglected units | As needed (Quarterly) | Proprietary Chelating Agents | Strict adherence to label instructions |
| Basket & Scoop Wash | Removing surface oils and kitchen dust | Weekly | Mild Dish Soap | Thorough tap water rinse |
| Sensor & Crevice Detail | Clearing mineral crust from sensors/drains | Bi-Monthly | Vinegar Solution | Damp cloth wipe down |
| Diluted Bleach Flush | Eliminating severe mold and bacteria | As needed (Post-mold) | Sodium Hypochlorite | 3–4 rigorous fresh water rinses |
| Preventive Air-Dry | Stopping stagnant moisture and slime | After each use | Ambient Air | None (Keep lid open to dry) |
Frequently Asked Questions
How often should I clean my portable ice maker?
You should wash the storage basket and exterior weekly, and run a descaling cleaning cycle (using vinegar or lemon juice) at least once a month. If you use hard tap water or run the machine continuously every day, perform a descaling cycle every two weeks to prevent severe calcium buildup on the freezing fingers.
Can I put dish soap inside the water reservoir of my ice maker?
No, you should never pour dish soap directly into the water reservoir to clean the internal components. Dish soap creates profuse suds that are extremely difficult to rinse completely out of the tiny internal water lines and pump. Ingesting residual soap causes unpleasant-tasting ice and gastrointestinal upset. Reserve dish soap strictly for removable parts like the ice basket and exterior housing.
Why does my portable ice maker smell or taste weird?
An off taste or moldy odor usually stems from stagnant water left sitting in the reservoir, leading to bacterial or fungal biofilm growth inside the closed tubing system. To fix this, drain all old water, perform a thorough white vinegar descaling cycle, sanitize the basket, and always leave the lid propped open to dry completely when the unit is powered down.
Is it safe to use bottled or distilled water in my ice maker?
Yes, using distilled or filtered bottled water is highly recommended. It significantly reduces mineral scale formation on the evaporator fingers and helps your ice maker run more efficiently with less frequent deep-cleaning requirements.
What should I do if my ice maker stops making ice after cleaning?
If ice production halts after a cleaning session, first check that the water reservoir is filled correctly and that the drain plug is pushed in tightly to prevent air leaks in the pump. Additionally, ensure that no cleaning solution residue is blocking the infrared ice-level sensors located inside the storage bin, as dirty or obstructed sensors will falsely signal that the bin is full and halt production.
Final Recommendation
Maintaining a portable ice maker requires minimal effort when integrated into a regular household routine. Dedicate five minutes at the end of each weekend to drain the unit and let it air dry, and commit to a monthly descaling cycle using white vinegar or lemon juice. By prioritizing these preventive steps and utilizing the cleaning procedures outlined above, you will guarantee a continuous supply of clean, great-tasting ice while significantly extending the operational lifespan of your appliance.