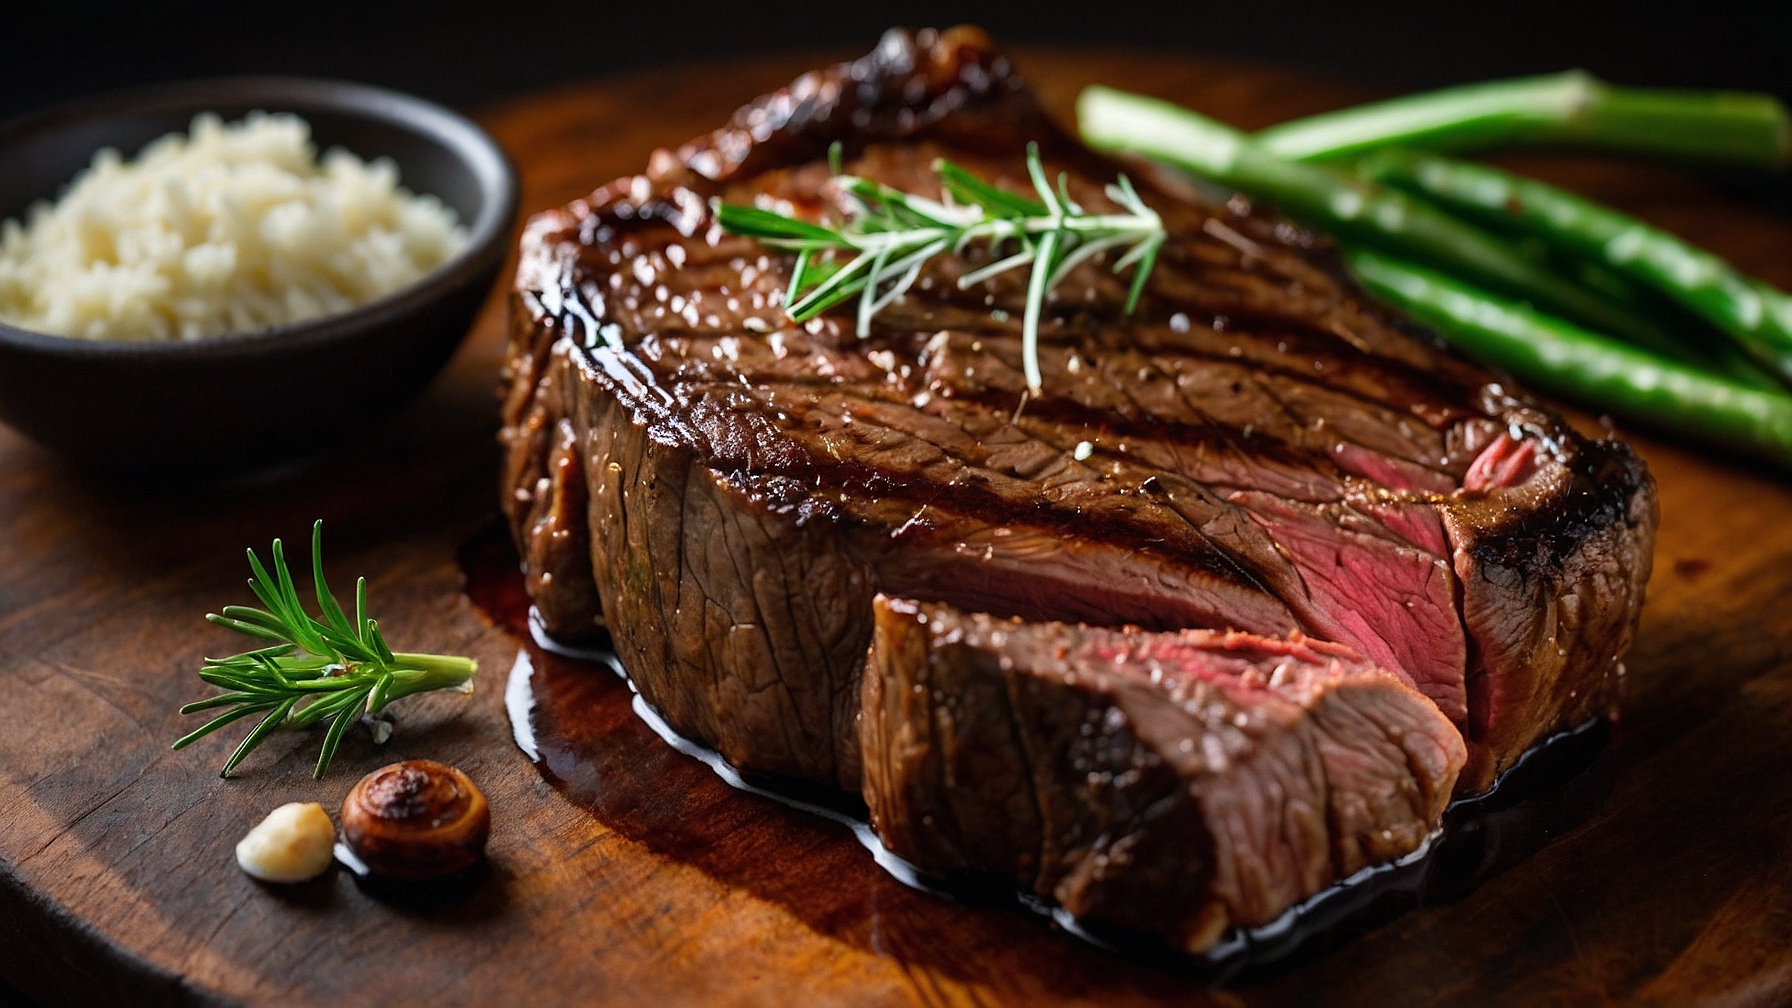
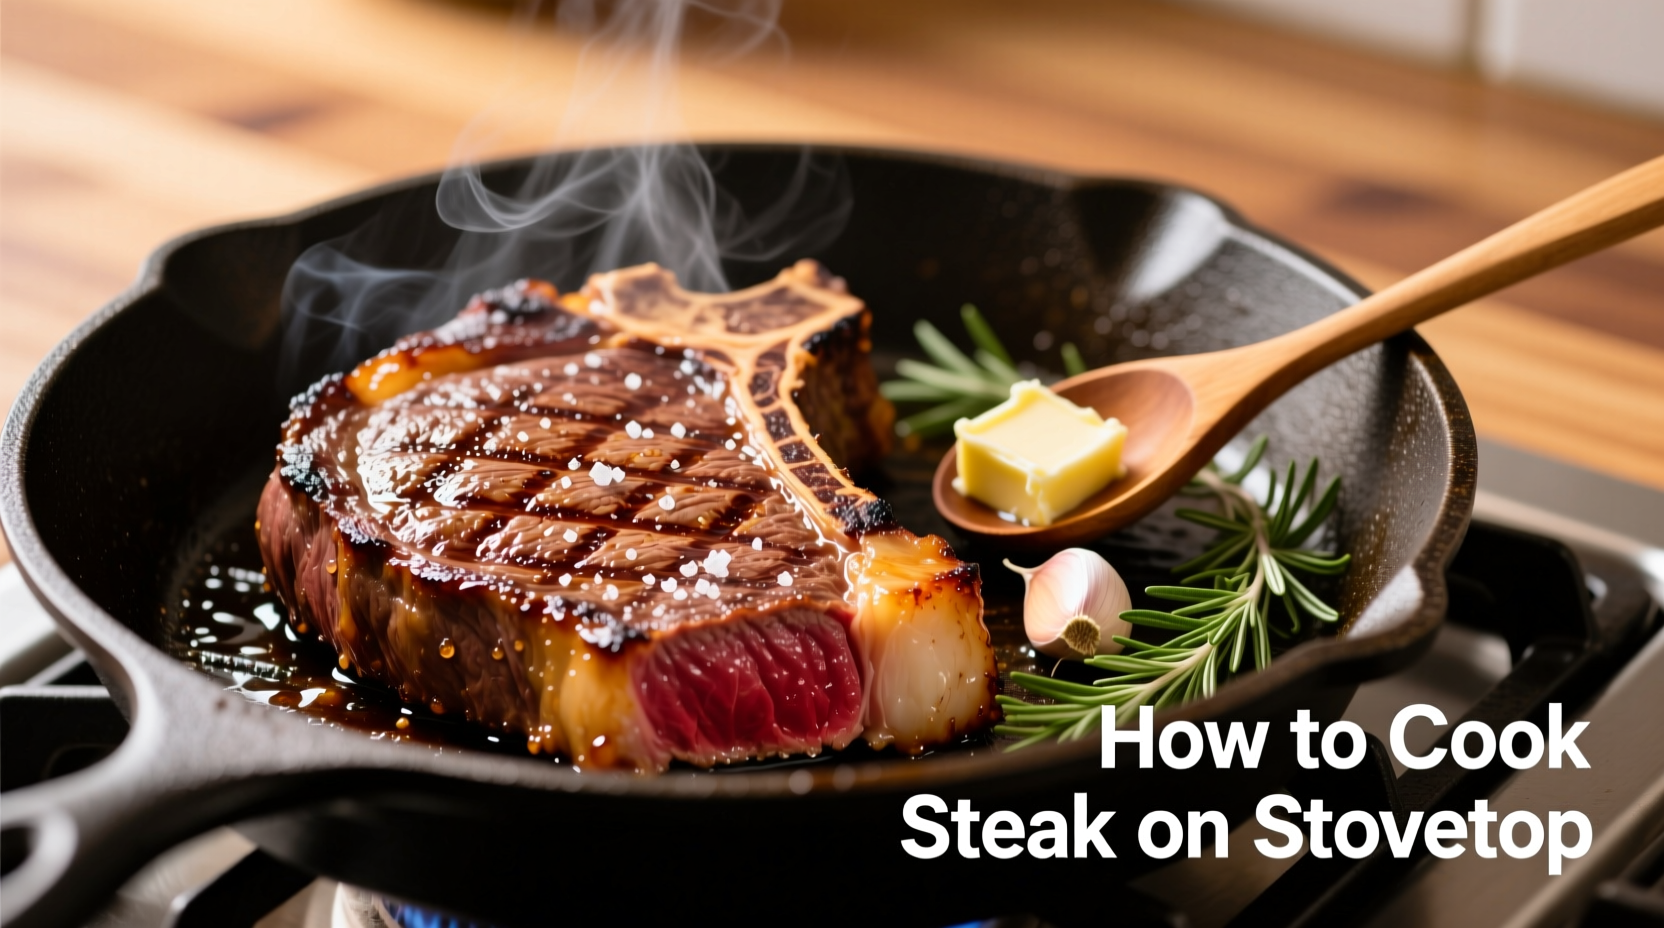
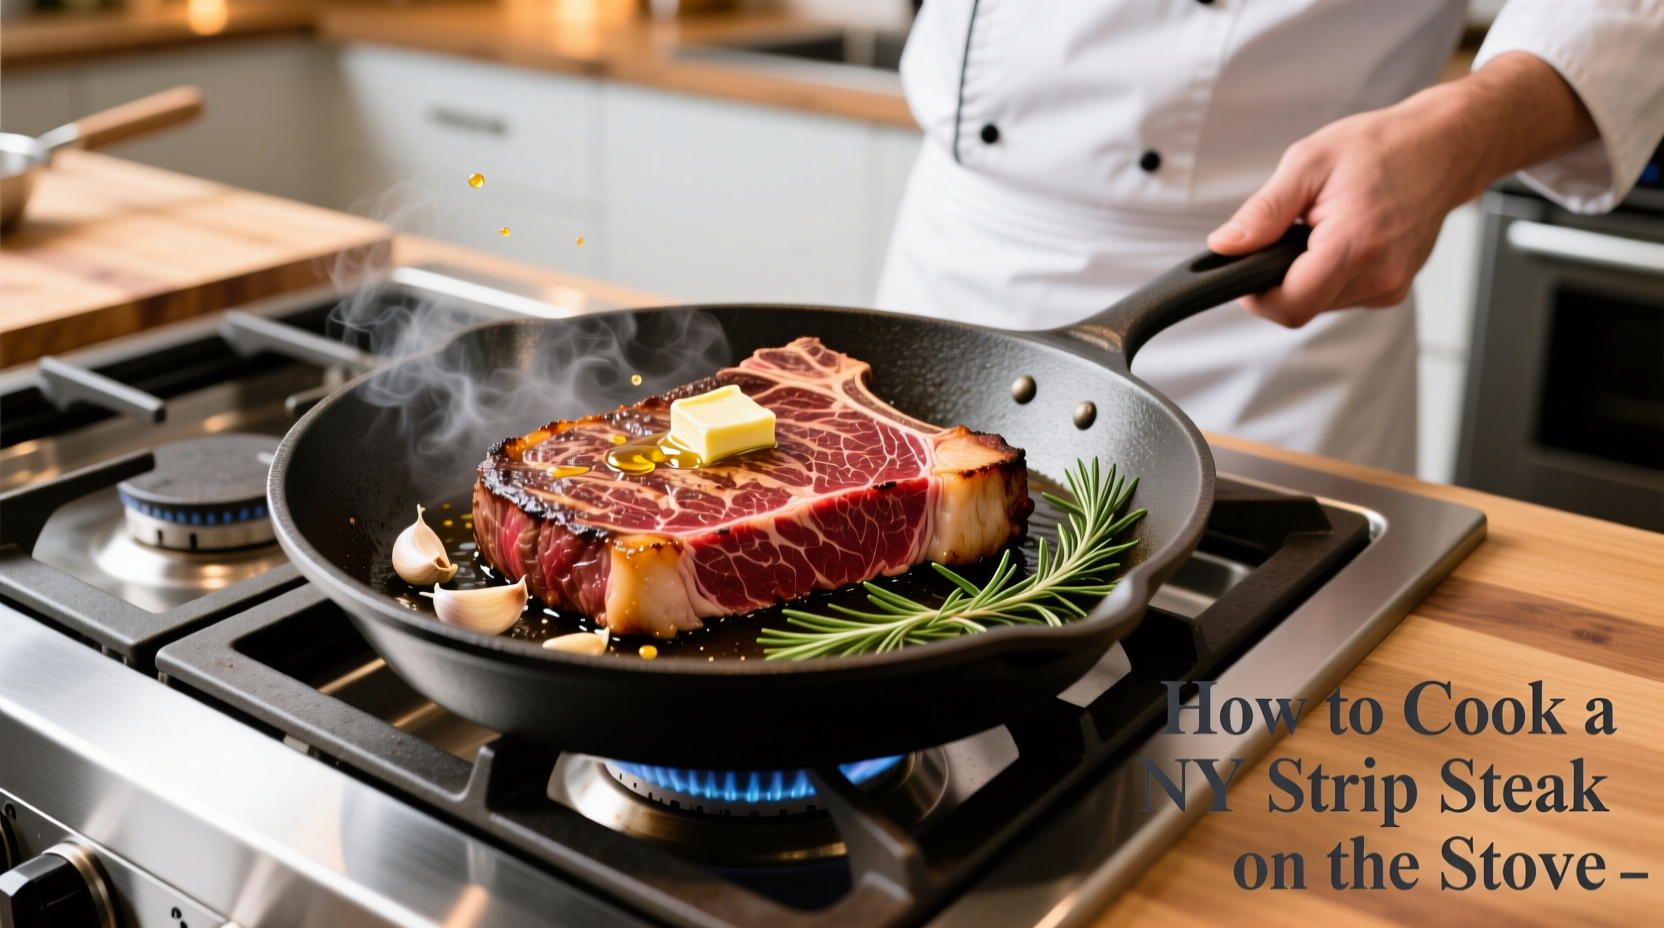
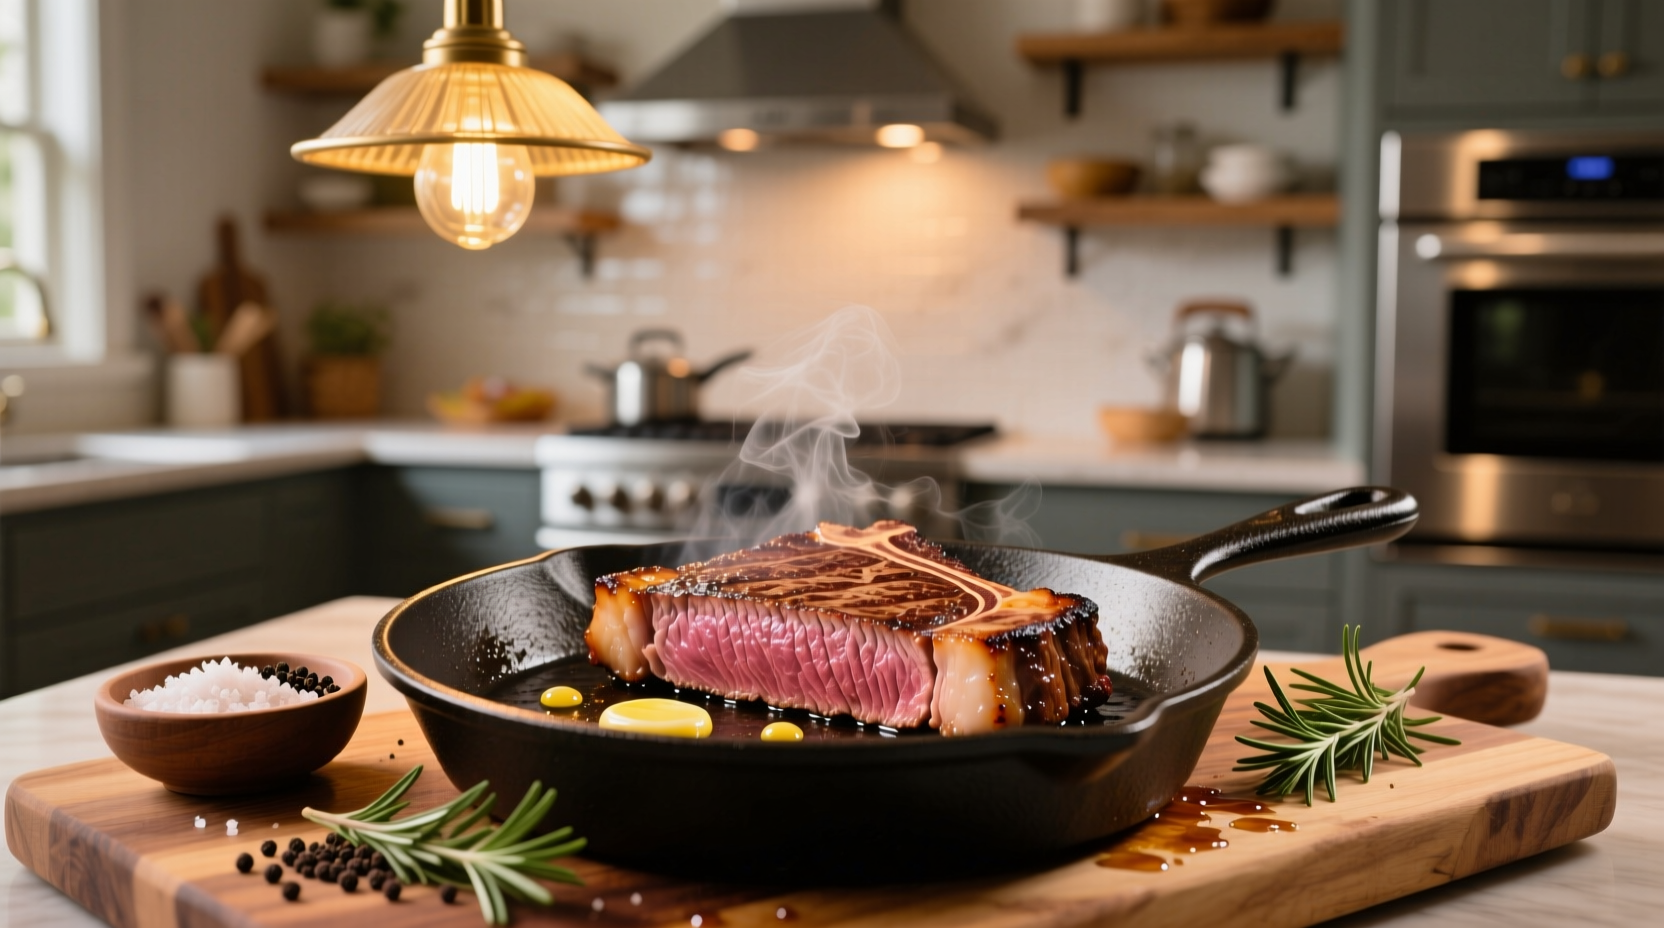
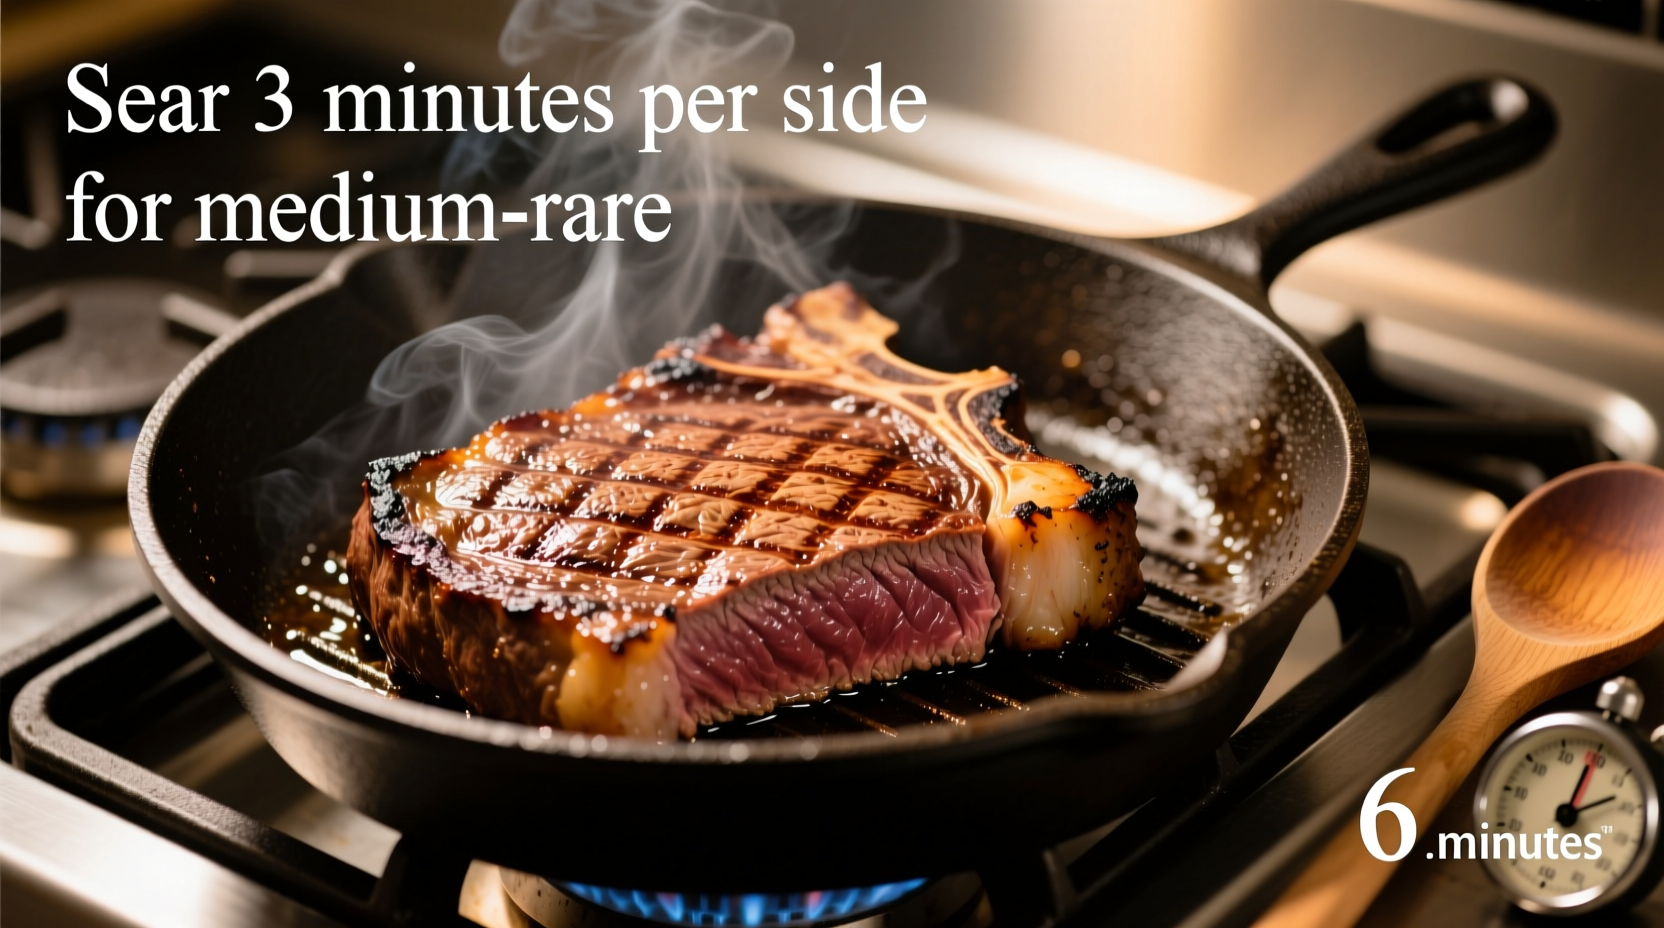
To cook a perfect steak on the stove top, you must properly temper and dry the meat, season it generously, and sear it in a preheated heavy-bottomed skillet—ideally cast iron—using high-smoke-point oil. The process involves a high-heat sear, butter basting for flavor, monitoring internal temperatures with a digital thermometer, and allowing a mandatory rest period.
While grilling is often considered the traditional method for preparing beef, the stovetop method (specifically pan-searing) is preferred by many professional chefs for its ability to create an even, edge-to-edge crust through the Maillard reaction. By 2026, kitchen technology and sourcing transparency have made it easier than ever for home cooks to achieve restaurant-quality results in a standard kitchen. This guide details the essential seven steps to mastering the stovetop steak.
The Prerequisites: Selecting Your Tools and Beef
Before lighting the burner, you must ensure you have the correct equipment and the right cut of meat. The stovetop method relies on intense, conductive heat. Therefore, thin, flimsy pans will result in uneven cooking and a lack of crust.
Choosing the Pan
A heavy-duty cast iron skillet is the gold standard for stovetop steaks. Cast iron has high thermal mass, meaning once it gets hot, it stays hot even when a cold piece of meat is placed on it. If cast iron is unavailable, a tri-ply stainless steel pan is the second-best option. Avoid non-stick pans, as the high temperatures required for a proper sear can damage the coating and release harmful fumes.
Selecting the Cut
For stovetop cooking, thickness is your friend. Aim for a steak that is at least 1.5 inches thick. Thinner steaks will overcook in the middle before a sufficient crust can form on the outside.
- Ribeye: Highly marbled with fat; provides the most flavor but requires careful rendering.
- New York Strip: A balance of lean meat and a thick fat cap.
- Filet Mignon: Extremely tender but lean; often requires more butter basting for flavor.
Step 1: Tempering and Bringing to Temperature
The first mistake many home cooks make is taking a steak directly from the refrigerator and placing it in a hot pan. In 2026, culinary science continues to emphasize the importance of tempering. When meat is cold, the muscle fibers are tight. If hit with extreme heat, they contract violently, squeezing out moisture.
Remove your steak from the refrigerator at least 30 to 60 minutes before cooking. By allowing the internal temperature of the meat to rise slightly, you ensure more even heat distribution. This reduces the "gray band" effect—that unappealing layer of overcooked, dry meat that often sits between the crust and the pink center. During this time, keep the meat covered loosely with parchment paper to prevent debris from landing on it while allowing it to breathe.
Step 2: Drying and Seasoning
Moisture is the enemy of a good sear. If the surface of the steak is wet when it hits the pan, the heat of the stove will first go toward evaporating that water into steam. Steam cooks meat at 212°F (100°C), whereas the Maillard reaction—the chemical reaction that creates the brown, savory crust—requires temperatures above 300°F (150°C).
- Pat the steak dry: Use paper towels to blot every side of the meat until it is bone-dry to the touch.
- Apply Salt: Seasoning should be done immediately before cooking or at least 45 minutes prior. If you salt 10 minutes before, the salt draws out moisture through osmosis but hasn't had time to be reabsorbed, leaving a wet surface.
- Use Coarse Salt: Kosher salt or sea salt is preferable to fine table salt, as it provides a better texture and is easier to distribute evenly.
Do not add black pepper yet if you are cooking at extremely high heat, as pepper can burn and become bitter in the pan. Save the pepper for the final basting stage or as a finishing touch.
Step 3: Preparing the Pan and Oil
Place your skillet over high heat. You want the pan to be "wisps of smoke" hot. This usually takes 3 to 5 minutes depending on your stove type. In 2026, induction cooktops have become standard in many modern kitchens, providing even faster heat-up times than traditional gas.
Choose an oil with a high smoke point. Extra virgin olive oil and butter have low smoke points and will burn, creating acrid flavors and soot.
- Recommended Oils: Avocado oil (smoke point ~520°F), Grapeseed oil (~420°F), or Beef Tallow.
- The Test: Add two tablespoons of oil to the pan. It should shimmer and move like water. When the first tiny wisps of white smoke appear, the pan is ready.
Step 4: The Initial Sear
Lay the steak into the pan, laying it away from you to prevent hot oil from splashing toward your body. You should hear a loud, aggressive sizzle immediately. If you don't, the pan isn't hot enough—remove the meat and wait.
Press down lightly on the steak with a spatula or tongs to ensure the entire surface area makes contact with the metal. Let the steak sit undisturbed for about 2 to 3 minutes. Do not move it. The meat needs time to undergo the Maillard reaction and naturally "release" from the pan. If you try to flip it and it feels stuck, it likely hasn't formed a sufficient crust yet.
Step 5: Flipping and Monitoring Temperature
Flip the steak using tongs. The seared side should be a deep, mahogany brown. Now, you must manage the internal temperature. While many "finger tests" exist to check doneness, they are notoriously unreliable. For consistent results, use a digital instant-read thermometer.
Continue to flip the steak every 2 minutes. While old-school advice suggested only flipping once, modern testing (notably by J. Kenji López-Alt and other food scientists) has proven that frequent flipping helps the steak cook more evenly and up to 30% faster.
Doneness Temperature Guide (Internal)
| Desired Doneness | Pull Temp (Fahrenheit) | Final Temp after Rest (Fahrenheit) | Description |
|---|---|---|---|
| Rare | 120°F | 125°F | Cool red center |
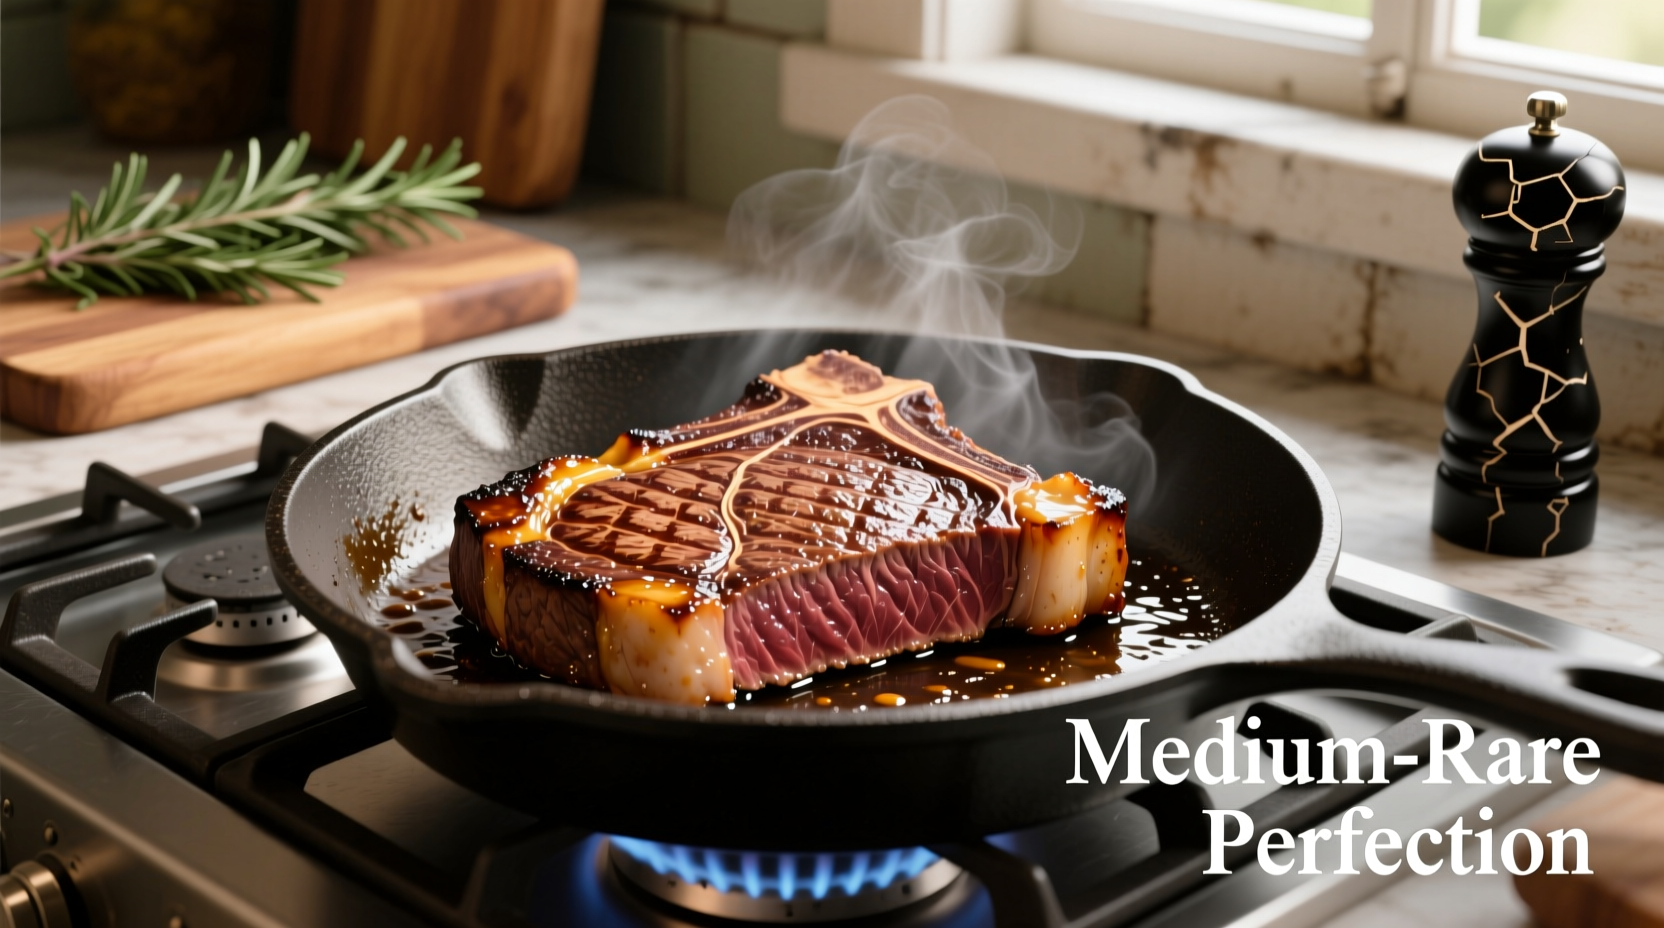
| Medium-Rare | 130°F | 135°F | Warm red center (Chef's Standard) |
| Medium | 140°F | 145°F | Warm pink center |
| Medium-Well | 150°F | 155°F | Slightly pink center |
| Well Done | 160°F+ | 165°F+ | Little to no pink |
Note: Always pull the meat 5 degrees before your target temperature, as "carry-over cooking" will continue to raise the internal temp while the meat rests.
Step 6: The Butter Baste (Arrosé)
When the steak is about 10–15 degrees away from its target pull temperature, reduce the heat to medium-high. Add 3 tablespoons of unsalted butter, 3 crushed cloves of garlic, and a few sprigs of fresh thyme or rosemary to the pan.
As the butter melts and foams, tilt the pan slightly so the butter pools at the bottom with the aromatics. Use a large spoon to continually scoop the hot, flavored butter over the steak. This technique, known as arrosé, adds a rich, nutty flavor and ensures the top of the steak continues to cook and stay moist while the bottom sears. This is also the time to add cracked black pepper, as the butter will protect it from burning.
Step 7: The Mandatory Rest
Once the steak reaches your "pull temperature," remove it from the pan immediately and place it on a warm plate or a wire cooling rack set over a baking sheet.
Do not cut the steak yet.
During cooking, the muscle fibers tighten and push juices toward the center. If you cut the steak immediately, those juices will run out onto the plate, leaving the meat dry. Resting allows the fibers to relax and reabsorb the liquid. For a 1.5-inch steak, rest for at least 8 to 10 minutes. A good rule of thumb is to rest the meat for as long as you cooked it. You can tent it loosely with foil if you are worried about it getting cold, but avoid wrapping it tightly, as the trapped steam will soften the crust you worked so hard to create.
Understanding the Science: Why This Works
The success of the stovetop method is rooted in chemistry. When you sear a steak, you aren't "locking in juices"—that is a culinary myth. Instead, you are creating a complex profile of flavors.
The Maillard Reaction occurs between 280°F and 330°F. It is a reaction between amino acids and reducing sugars that gives browned food its distinctive flavor. Because the stovetop allows for direct conduction (contact between the pan and the meat), it is the most efficient way to trigger this reaction across the entire surface of the beef.
Furthermore, by using a thick cut and tempering it, you manage the thermal gradient. A steep thermal gradient (very hot outside, very cold inside) results in a steak that is charred on the exterior but raw in the middle. By following these steps, you flatten that gradient, achieving a uniform internal temperature.
Common Mistakes to Avoid
- Crowding the Pan: If you are cooking multiple steaks, ensure there is at least an inch of space between them. Crowding drops the pan temperature and causes the steaks to boil in their own juices rather than sear.
- Using the Wrong Burner: Use the burner that most closely matches the size of your skillet. Using a small burner for a large cast iron pan creates "cold spots" on the outer edges of the pan.
- Ignoring the Fat Cap: If you are cooking a New York Strip or a Ribeye with a thick layer of fat on the edge, use your tongs to hold the steak upright on its side for 60 seconds. This renders the fat, making it crispy and edible rather than rubbery.
- Forgetting the Sides: Don't forget to sear the edges of the steak briefly. A quick 30-second roll around the perimeter of the pan ensures every surface has been touched by heat.
Frequently Asked Questions
Can I cook a frozen steak on the stove top?
While it is possible, it is not recommended for this specific 7-step method. Frozen steaks require a lower, slower heat to prevent the outside from burning before the inside thaws. For the best crust and texture, always use completely thawed meat.
What is the best oil for stovetop steak in 2026?
High-quality Avocado oil remains the top recommendation due to its exceptionally high smoke point and neutral flavor profile. However, Ghee (clarified butter) is an excellent alternative that provides a buttery flavor without the milk solids that burn at high temperatures.
Why is my steak tough even though I cooked it to medium-rare?
Toughness usually stems from the quality of the cut or the lack of resting. Ensure you are buying "Choice" or "Prime" graded beef (or the equivalent sustainable certifications available in 2026). Additionally, always slice your steak against the grain. Look for the direction the muscle fibers are running and cut perpendicular to them to shorten the fibers, making each bite easier to chew.
Is it necessary to use a cast iron skillet?
It is not strictly necessary, but it is highly recommended. If you use a thin aluminum pan, the temperature will drop significantly the moment the meat touches the surface, resulting in a gray, steamed appearance rather than a crusty sear.
Should I marinate my steak before pan-searing?
For high-quality cuts like Ribeye or Filet Mignon, a marinade is usually unnecessary and can actually hinder the searing process by adding excess moisture. Save marinades for tougher, thinner cuts like flank or skirt steak. For a premium stovetop steak, a simple "dry brine" of salt is superior.
Final Recommendations
To elevate your stovetop steak further, consider the quality of your finishing salt. After the steak has rested and been sliced, a sprinkle of Maldon sea salt or a similar flake salt adds a crunch and pops of flavor that enhance the natural beefiness of the meat.
If you find that your kitchen becomes too smoky during this process, ensure your ventilation hood is on its highest setting before the oil hits the pan. If smoke persists, slightly lower the heat; it is better to have a slightly slower sear than to trigger a smoke alarm or carbonize the fats in the pan. Mastering the stovetop steak is a foundational skill that, once learned, allows you to produce a world-class meal in less than 20 minutes.