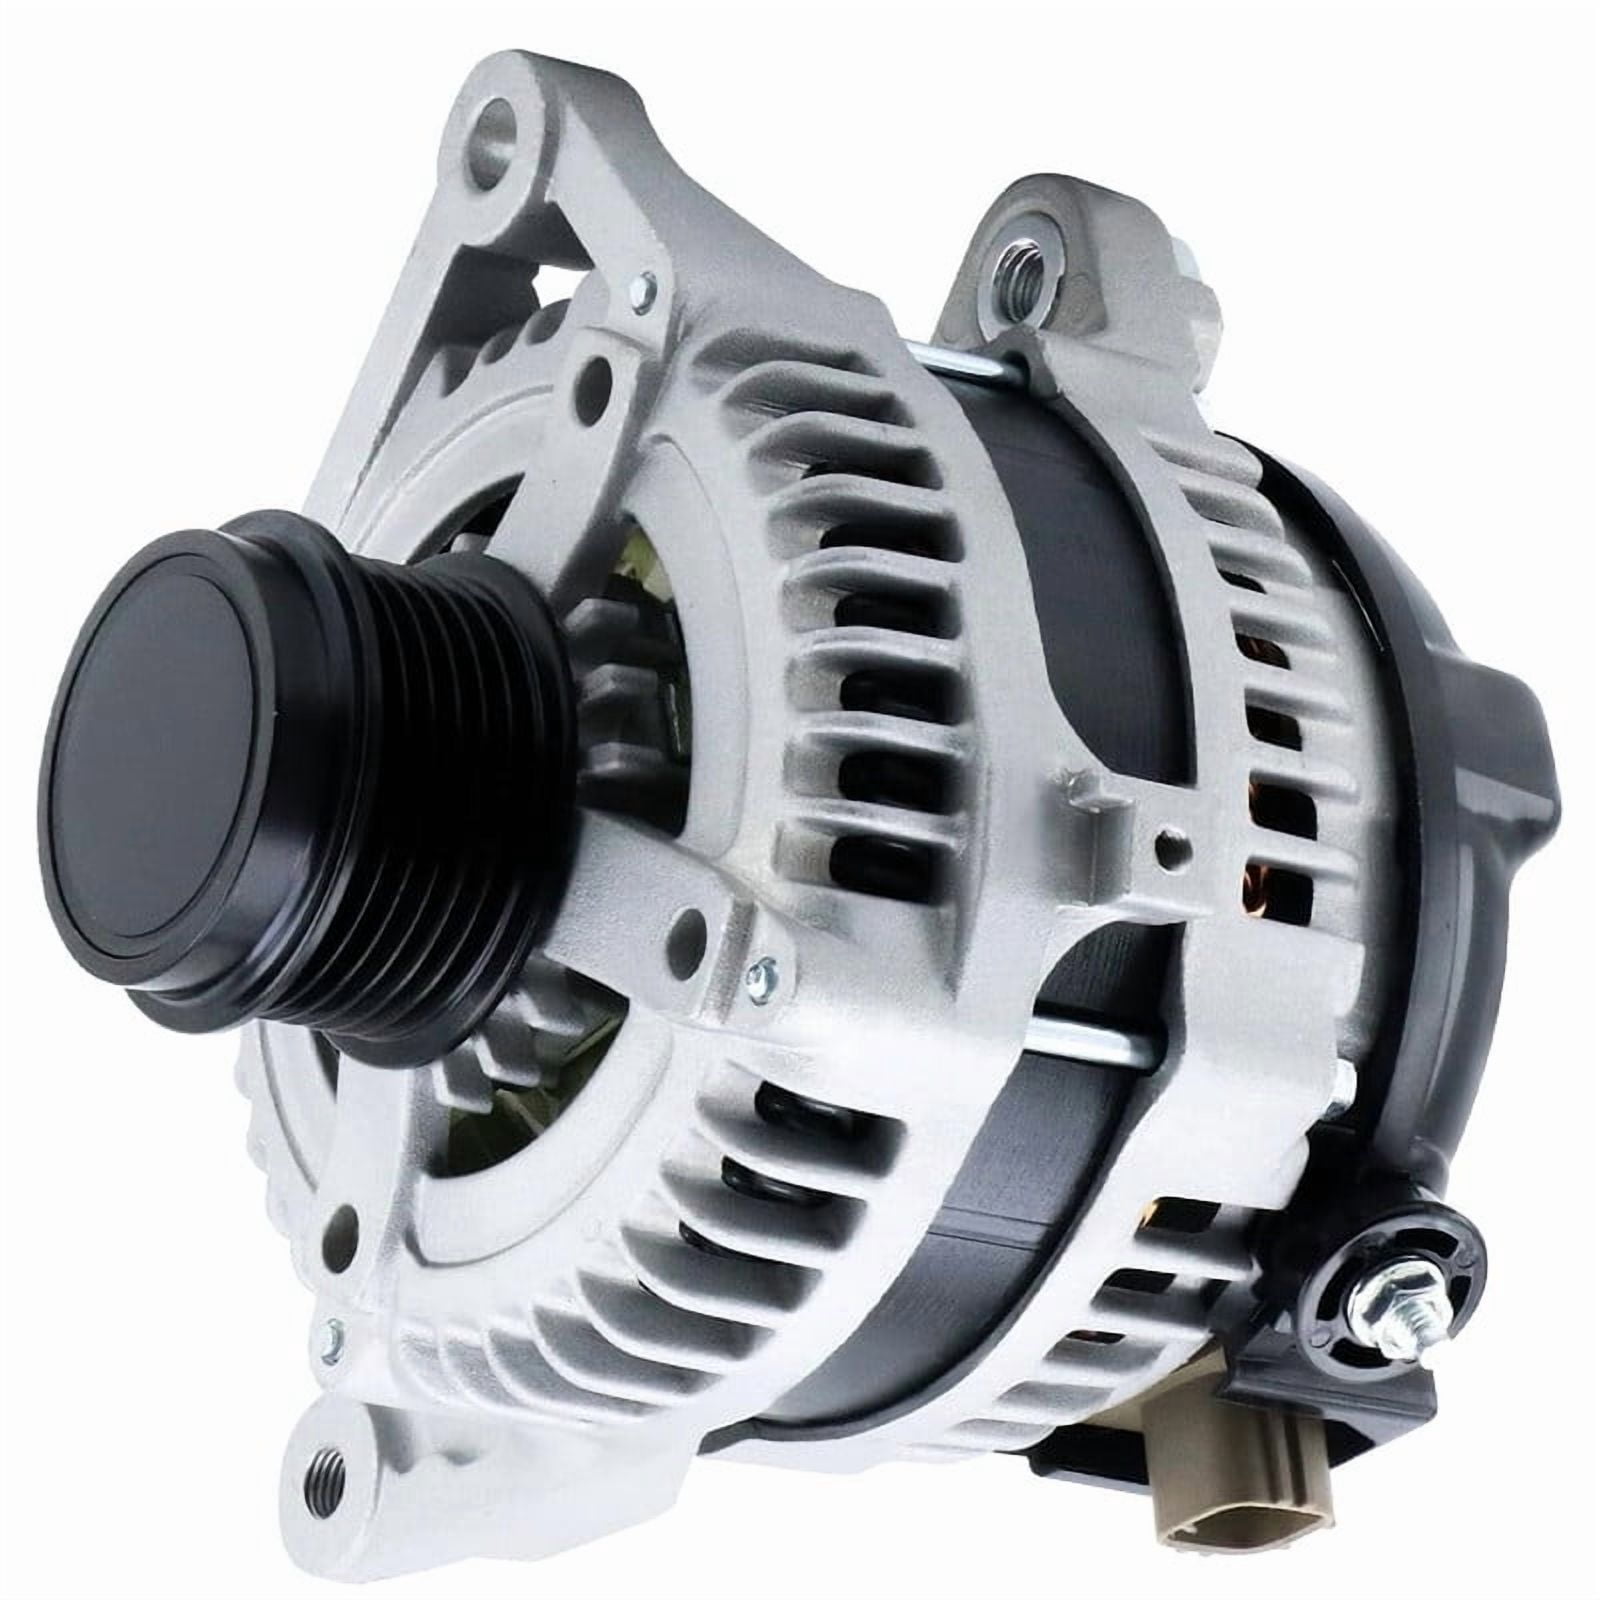
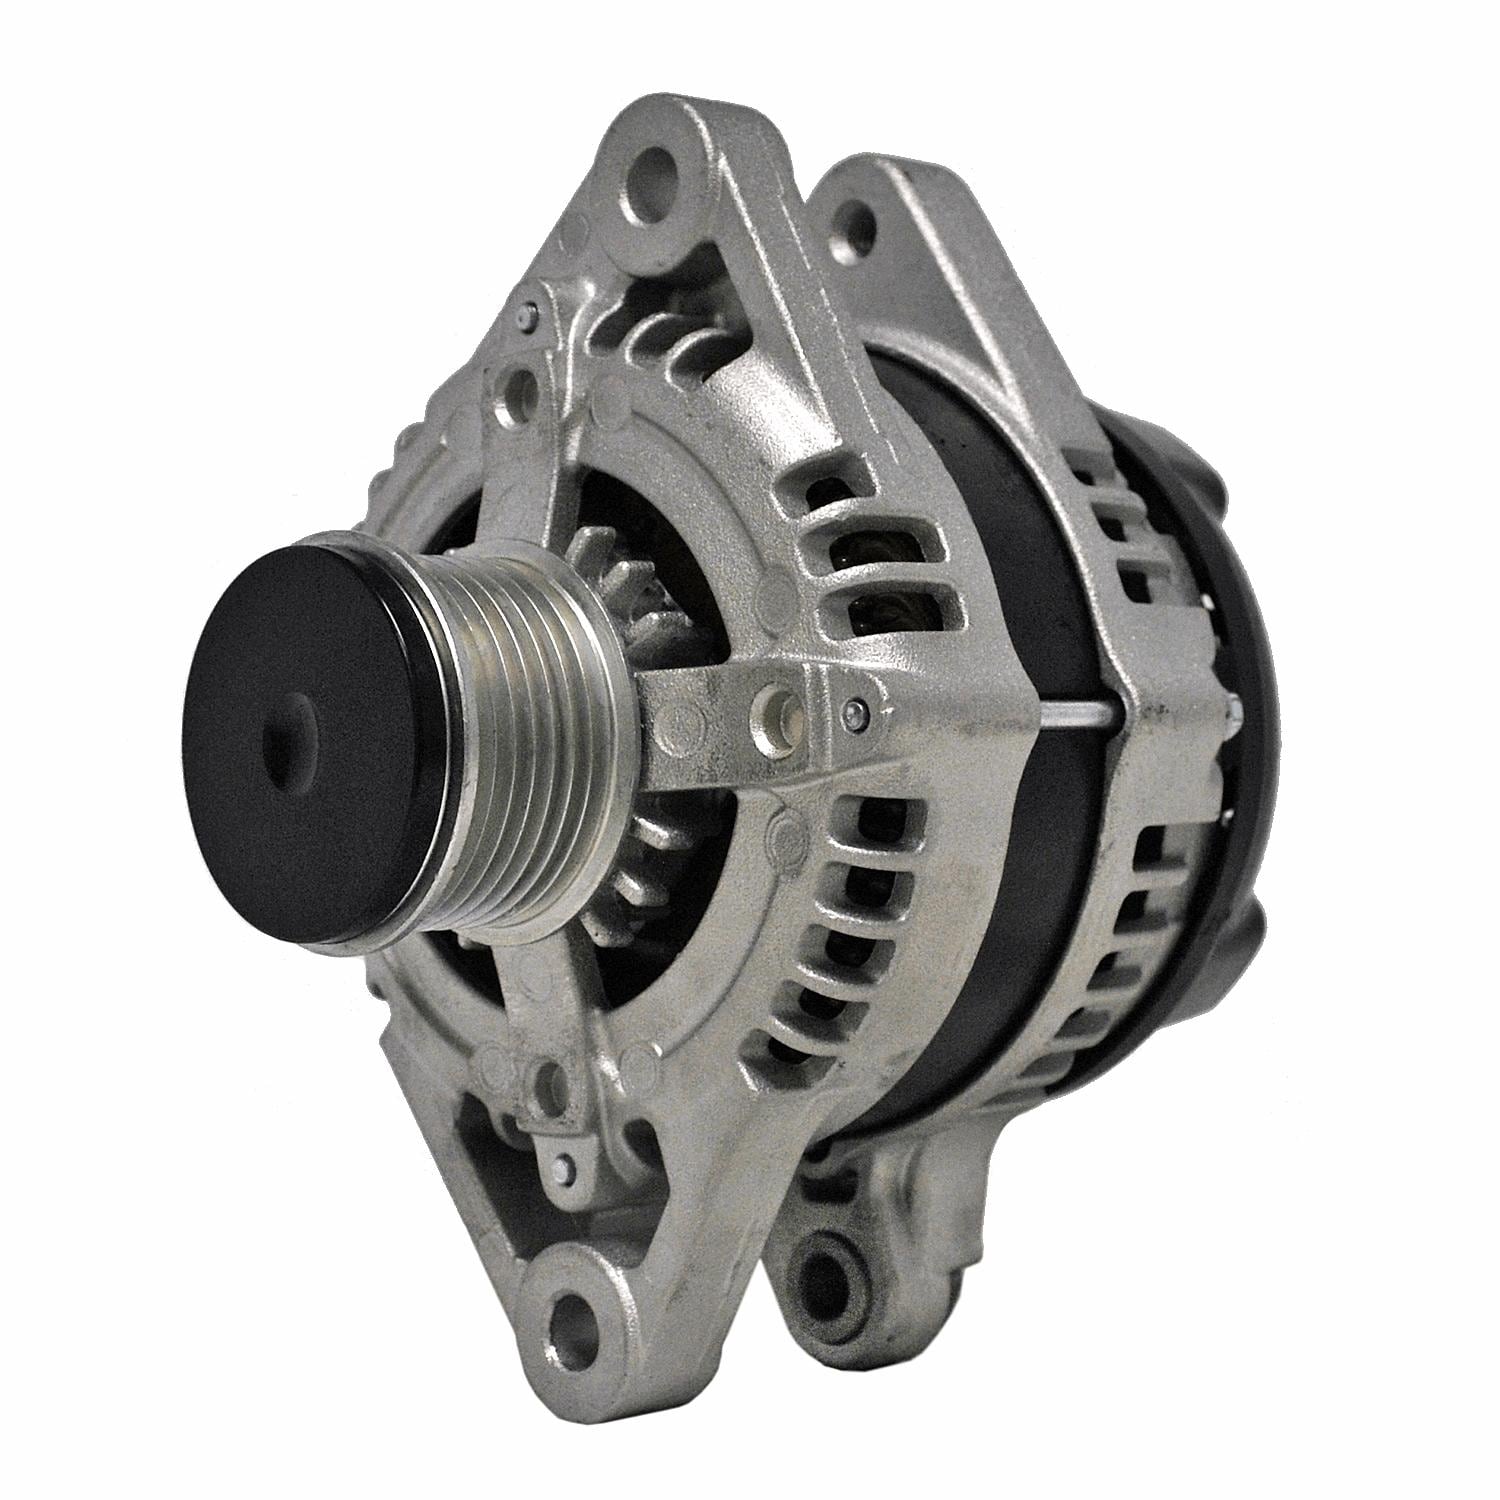
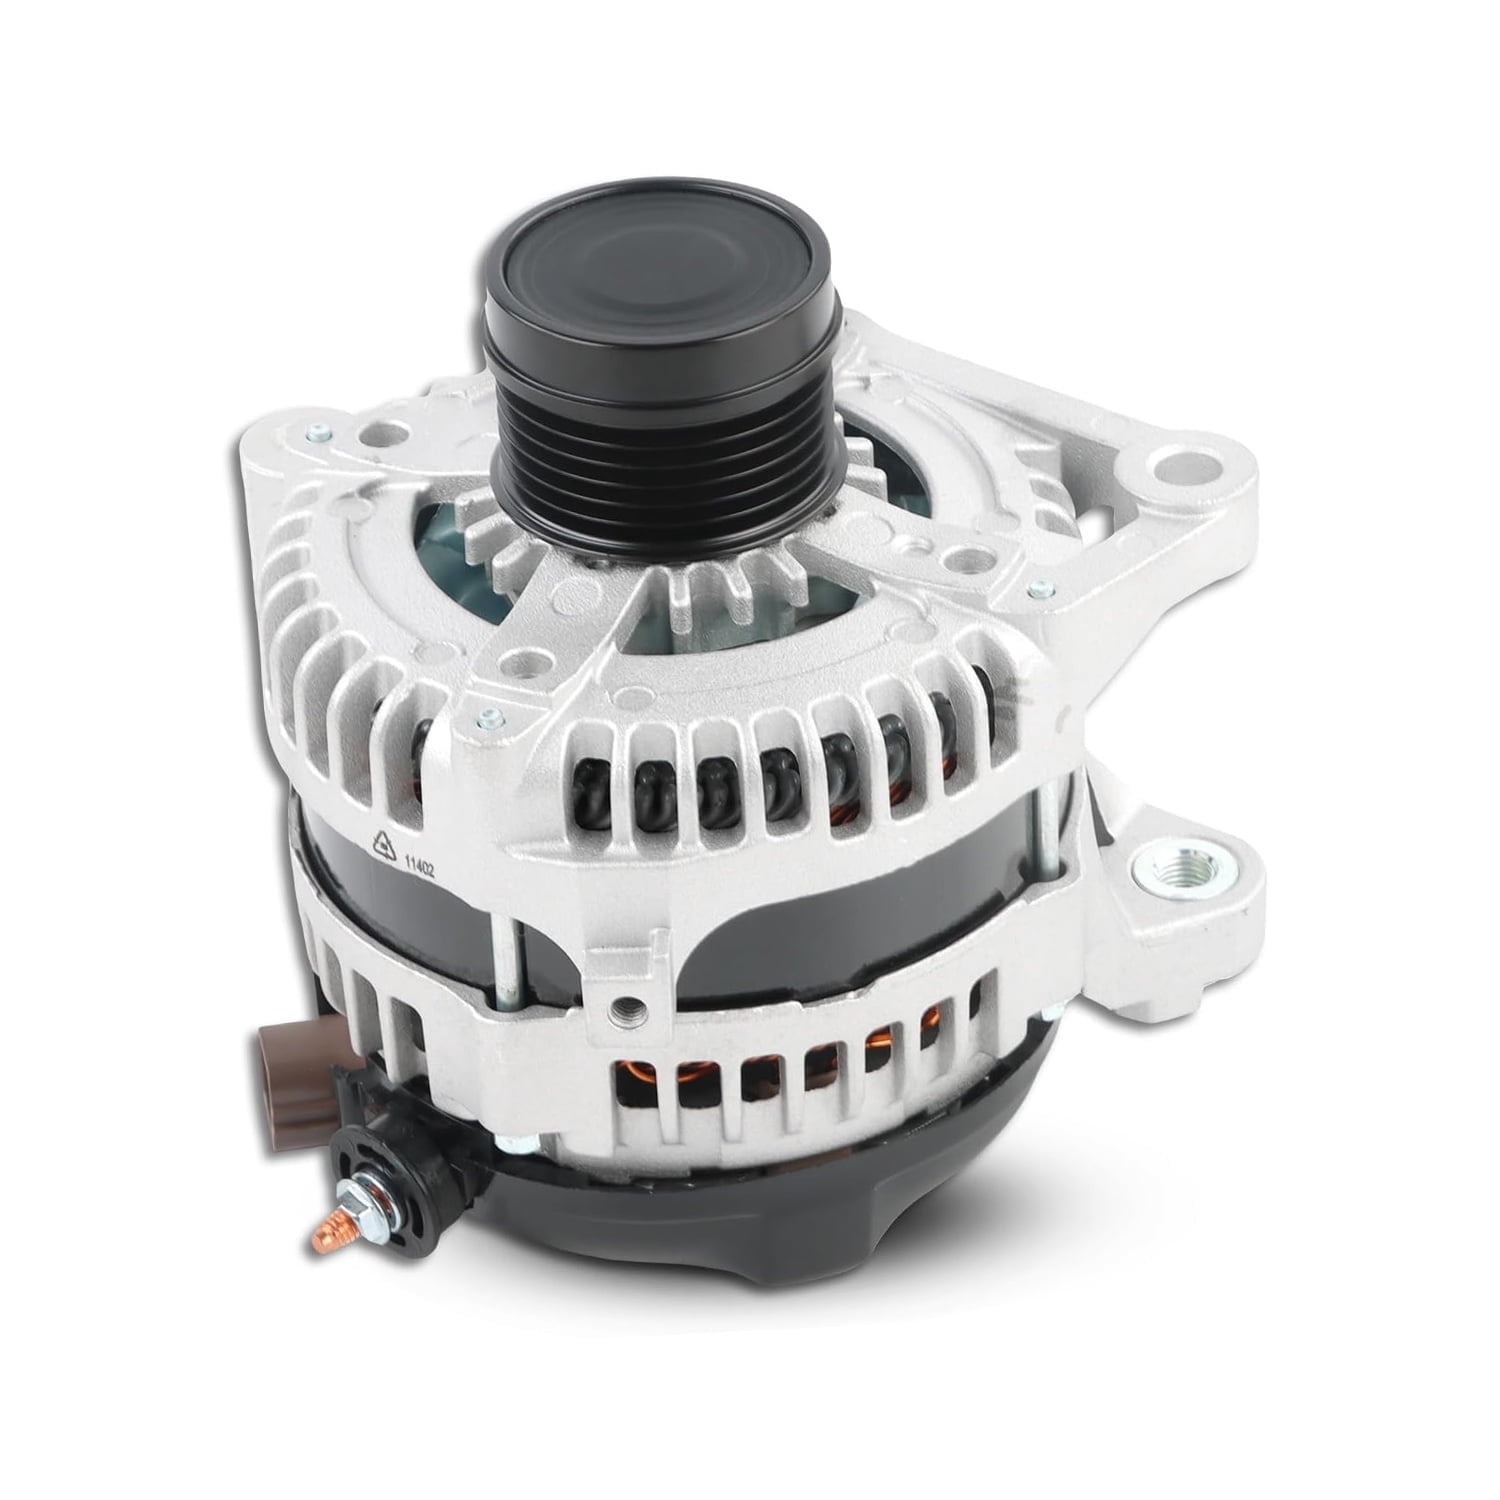
Replacing the alternator on a 2012 Toyota Camry involves disconnecting the negative battery terminal, loosening the serpentine belt via the tensioner pulley, and removing two to three mounting bolts. The process varies slightly between the 2.5L four-cylinder and 3.5L V6 engines but generally takes one to three hours with basic hand tools.
The 2012 Toyota Camry remains a staple of reliability on the road even in 2026, yet like any mechanical component, the alternator has a finite lifespan. Typically, these units last between 100,000 and 150,000 miles. As the heart of your vehicle's charging system, a failing alternator will not only prevent the battery from charging but can also cause erratic electronic behavior, dimming headlights, and eventual engine stalling. Understanding how to diagnose and replace this component can save you hundreds of dollars in labor costs and prevent you from being stranded.
Understanding the Role of the Alternator in the 2012 Camry
Before diving into the mechanical procedure, it is essential to understand what the alternator does within the 2012 Camry’s ecosystem. While many drivers believe the battery powers the car, the battery’s primary job is actually to provide the initial burst of energy required to engage the starter motor and turn over the engine. Once the engine is running, the alternator takes over.
The alternator is an electromagnetic device that converts mechanical energy from the engine's crankshaft (delivered via the serpentine belt) into alternating current (AC). An internal rectifier then converts this to direct current (DC) to power the vehicle's lights, infotainment system, and electronic control units (ECUs), while simultaneously replenishing the battery's charge. In the 2012 Camry, the alternator is often equipped with a decoupled pulley or a one-way clutch pulley designed to reduce vibrations and improve fuel efficiency—a detail that is vital when selecting a replacement part.
Symptoms of a Failing Alternator
A 2012 Camry will usually provide several warning signs before the alternator fails completely. Ignoring these symptoms can lead to a damaged battery, as the battery will be forced to discharge deeply to keep the car running, which is not what automotive "starting" batteries are designed for.
The Battery Warning Light
The most common indicator is the red battery icon on the dashboard. Contrary to popular belief, this light does not always mean the battery is bad; it signifies a "charging system failure." If the voltage output from the alternator drops below a certain threshold (typically around 13 volts), the ECU triggers this warning.
Dimming or Flickering Lights
Because the alternator provides the steady current needed for illumination, a failing unit will cause headlights and interior lights to dim or pulse. This is especially noticeable at idle. When you press the gas pedal and the engine RPMs increase, the lights may brighten momentarily as the alternator spins faster, but this inconsistency is a hallmark of a failing internal voltage regulator.
Unusual Noises
The alternator relies on internal bearings to spin smoothly at high speeds. If these bearings begin to wear out, you may hear a high-pitched whining or grinding noise coming from the front of the engine. Additionally, if the one-way clutch pulley on the 2012 Camry's alternator fails, it can create a "chirping" or rattling sound, particularly when the air conditioning is engaged or when shifting gears.
Electrical Malfunctions
Modern Toyotas are highly sensitive to voltage fluctuations. If the alternator is dying, you might experience "ghost" issues, such as the radio turning off unexpectedly, the power steering feeling heavy (if equipped with electronic power steering assists), or the instrument cluster needles dropping to zero while driving.
Required Tools and Parts
To perform this replacement successfully in 2026, you will need a standard set of automotive tools. Most of the fasteners on the 2012 Camry are metric, adhering to Toyota's manufacturing standards.
- Socket Set: 10mm, 12mm, and 14mm sockets are mandatory.
- Wrenches: A long 14mm wrench or a dedicated serpentine belt tool for the tensioner.
- Breaker Bar: Useful for gaining leverage on stubborn mounting bolts.
- Multimeter: Necessary for verifying the health of the new alternator after installation.
- Safety Gear: Work gloves and eye protection.
- Replacement Alternator: Ensure you have the correct amperage for your trim level (typically 100A or 130A).
Step-by-Step Replacement: 2.5L 4-Cylinder (2AR-FE)
The 2.5L engine is the most common configuration for the 2012 Camry (found in the L, LE, and SE trims). The alternator is located at the top passenger side of the engine bay, making it relatively accessible.
1. Safety First: Disconnect the Battery
Always begin by disconnecting the negative (black) battery terminal using a 10mm wrench. This prevents accidental short circuits. Since you will be handling the "B-terminal" wire on the alternator—which is directly connected to the battery—failing to skip this step could result in a massive spark, blown fuses, or electrical burns.
2. Remove the Serpentine Belt
Locate the belt tensioner pulley below the alternator. Use a 14mm wrench or serpentine belt tool to rotate the tensioner bolt clockwise (towards the firewall). This will compress the spring and release tension on the belt. Slip the belt off the alternator pulley. You do not need to remove the belt from the entire engine; just move it aside.
3. Disconnect Alternator Wiring
There are two main electrical connections on the back of the alternator.
- The Wiring Harness: Squeeze the plastic tab on the electrical connector and pull it out.
- The B-Terminal Cable: Pop off the protective rubber cap, then use a 12mm socket to remove the nut holding the heavy-gauge wire to the stud. Place the wire safely to the side.
4. Unbolt and Remove the Alternator
The alternator is held in place by two main bolts. The top bolt is usually a 12mm, while the lower mounting bolt is a long 14mm bolt. Remove these entirely. You may need a pry bar or a large flathead screwdriver to gently wiggle the alternator out of its mounting bracket, as the metal sleeves can create a very tight fit.
5. Install the New Unit
Slide the new alternator into the bracket. It is often helpful to lightly tap the mounting sleeves on the new alternator to give yourself a fraction of a millimeter more clearance for the install. Thread the bolts in by hand first to avoid cross-threading, then tighten them to approximately 18-25 ft-lbs. Reconnect the wiring and the B-terminal nut, ensuring the rubber boot is seated correctly.
6. Reinstall the Belt and Battery
Rotate the tensioner again to slip the belt back over the alternator pulley. Double-check that the belt is correctly seated in the grooves of all other pulleys. Finally, reconnect the negative battery terminal.
Step-by-Step Replacement: 3.5L V6 (2GR-FE)
The V6 model (found in SE and XLE trims) is more complex because the alternator is tucked lower in the engine bay, near the radiator.
- Gain Access: You may need to remove the passenger-side plastic splash shield or the radiator cooling fan assembly to create enough room to pull the alternator out.
- Tensioner Location: The V6 tensioner is harder to reach. Access it from the wheel well or from above with a long-reach serpentine belt tool.
- A/C Compressor Factor: On some V6 configurations, you may need to loosen the air conditioning compressor bolts (without disconnecting the refrigerant lines) to allow the alternator to clear the frame.
- Extraction: Once unbolted, the alternator usually has to be maneuvered out through the space between the engine and the radiator.
2026 Cost Comparison and Estimation
As of 2026, parts prices have stabilized, but labor rates vary significantly by region. For a 2012 Camry, you have the choice between a Brand New OEM part, a New Aftermarket part, or a Remanufactured unit.
| Component/Service | Estimated Cost (USD) | Notes |
|---|---|---|
| New OEM Alternator (Toyota) | $350 – $500 | Highest reliability; comes with a warranty. |
| Aftermarket Alternator | $180 – $280 | Brands like Denso (the original manufacturer) are recommended. |
| Remanufactured Alternator | $130 – $210 | Core charge usually applies (you get money back for your old one). |
| Labor (Independent Shop) | $150 – $300 | Typically 1.5 to 2.5 hours of work. |
| Labor (Dealership) | $250 – $450 | Higher hourly rates; includes multi-point inspection. |
Note: Prices reflect 2026 market averages and may vary based on local taxes and shipping.
Testing the Installation
Once the new alternator is installed, you must verify it is working correctly. Using a multimeter, follow these steps:
- Static Voltage: With the engine off, touch the multimeter leads to the battery terminals. A healthy battery should read about 12.6 volts.
- Running Voltage: Start the engine. The voltage should jump to between 13.8 and 14.4 volts. This indicates the alternator is successfully "pushing" a charge into the battery.
- Load Test: Turn on the high-beam headlights, the AC on max, and the rear defroster. The voltage might drop slightly but should stay above 13.2 volts. If it drops into the 12s, the new alternator may be defective or the belt may be slipping.
Common Mistakes to Avoid
- Not Disconnecting the Battery: This is the most common error. Shorting the B-terminal to the engine block can blow the 100A-140A "ALT" fuse, which is often bolted into the fuse box and is much harder to replace than the alternator itself.
- Improper Belt Routing: Always take a photo of the belt path before removal. If the belt is routed incorrectly, the water pump may spin backward, leading to rapid engine overheating.
- Over-tightening the B-Terminal Nut: The stud on the back of the alternator is made of relatively soft copper or brass. Excessive force can snap the stud, ruining a brand-new alternator instantly.
- Ignoring the Connector: Check the plastic wiring harness connector for signs of heat damage or corrosion. If the plastic is melted, the underlying issue might be a high-resistance connection rather than the alternator itself.
Frequently Asked Questions
Can I drive my 2012 Camry with a bad alternator?
It is not recommended. Once the alternator stops charging, the car relies solely on the battery. Depending on the battery's age and the electrical load (lights, wipers, etc.), the car will likely stall within 15 to 30 minutes. Furthermore, low voltage can cause the transmission to shift harshly or the engine to misfire, potentially causing secondary damage.
Should I replace the battery at the same time?
If your alternator failed and left you stranded, the battery likely suffered a deep discharge. Have the battery professionally load-tested after the new alternator is installed. In many cases, if the battery is more than three or four years old, the strain of a failing alternator is enough to warrant a preventative replacement.
Is a remanufactured alternator as good as a new one?
Quality remanufactured units from reputable brands (like Denso or Bosch) are generally excellent. They are stripped down, cleaned, and fitted with new bearings, brushes, and regulators. However, "budget" remanufactured units from generic auto parts stores have higher failure rates. For a 2012 Camry, which is known for longevity, sticking with an OEM or Denso unit is usually the best investment.
How long does an alternator replacement take?
For an experienced DIYer working on the 2.5L engine, the job takes about 45 minutes to an hour. For the V6 engine, due to the tighter space and potential need to move the fans, expect two to three hours.
Why is my battery light still on after replacement?
Check the "ALT-S" fuse in the engine bay fuse box. This fuse senses the battery's charge level; if it is blown, the alternator will not "know" to start charging. Also, ensure the multi-pin connector is clicked fully into place.
Next Steps for Owners
If you have confirmed your alternator is failing through a voltage test, your next action should be to source a high-quality replacement part. For the 2012 Camry, the Denso 210-0810 (for the 4-cylinder) is often the preferred choice as it is the Original Equipment Manufacturer (OEM) supplier for Toyota. After installation, ensure you drive the vehicle for at least 20 minutes to allow the ECU to relearn its idle parameters and to ensure the battery reaches a full state of charge.