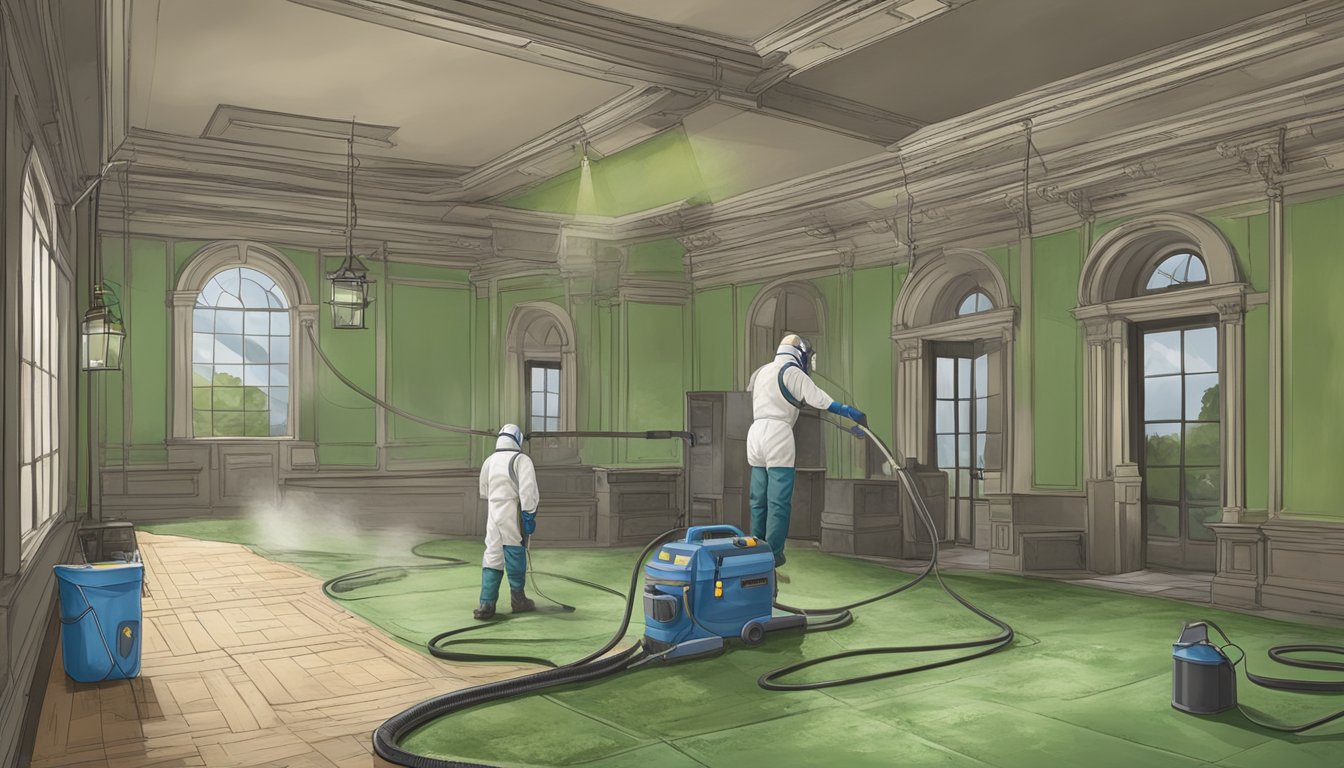
Managing mold in residential and commercial structures requires a rigorous three-stage lifecycle: professional assessment to identify moisture sources and spore concentrations, controlled remediation to physically remove contaminants, and independent verification to confirm the environment is restored to a "Condition 1" (normal fungal ecology) status. This process prevents structural damage and health risks.
The presence of mold in a building is rarely a standalone issue; it is a symptom of a systemic failure in moisture management. Whether caused by a sudden pipe burst, slow-acting seepage, or chronic high humidity, mold can compromise structural integrity and indoor air quality. As of 2026, the industry continues to follow the IICRC S520 Standard for Professional Mold Remediation, which emphasizes the physical removal of mold rather than simply "killing" it with chemicals. This guide details the technical requirements for assessing, remediating, and verifying mold to ensure long-term building health.
The Assessment Phase: Identifying the Scope and Source
The first step in any mold project is a comprehensive assessment. This phase is not merely about confirming that mold exists—which is often visible—but about determining the "why" and "how much." A professional mold assessment, typically performed by a Council-certified Indoor Environmental Consultant (CIEC) or an Industrial Hygienist, establishes the baseline for the entire project.
Visual Inspection and Moisture Mapping
A thorough visual inspection is the foundation of assessment. Experts look for visible fungal growth, water staining, and efflorescence on masonry. However, because mold often hides behind finishes, assessment professionals utilize advanced tools:
- Infrared Thermography: Thermal cameras detect temperature anomalies that suggest hidden moisture behind drywall or under flooring.
- Moisture Meters: Pin-style and non-invasive meters quantify the moisture content of building materials. Materials exceeding 15–20% moisture content are considered at risk for fungal colonization.
- Borescopes: These tiny cameras can be inserted into wall cavities through small holes to inspect for hidden growth without major demolition.
Environmental Sampling and Lab Analysis
While visual evidence is often sufficient to trigger remediation, sampling provides the data needed for a precise scope of work. Common sampling methods include:
- Air Sampling (Spore Traps): These measure the concentration of airborne spores. Professionals compare indoor samples with outdoor "control" samples to determine if an amplified fungal reservoir exists inside.
- Surface Sampling (Tape Lifts/Swabs): These identify the specific species of mold present on a surface, which helps determine the toxicity and the level of PPE required for workers.
- ERMI (Environmental Relative Moldiness Index): This DNA-based testing (MSQPCR) provides a historical perspective of mold in the building, though it is used more frequently in specialized health-related cases than in standard structural remediation.
Defining Fungal Conditions
The IICRC S520 classifies indoor environments into three conditions, which dictate the level of remediation needed:
- Condition 1 (Normal Fungal Ecology): An indoor environment that may contain settled spores but is similar to the outdoor environment.
- Condition 2 (Settled Spores): An area with an accumulation of mold spores that are settled but not actively growing.
- Condition 3 (Actual Growth): An area with active fungal growth and associated spores and fragments.
The Remediation Process: Systematic Removal and Cleaning
Once the assessment defines the scope, remediation begins. The primary goal of remediation is the physical removal of mold and the return of the building to a Condition 1 status. As of 2026, "encapsulation" (painting over mold) without removal is considered a failed practice in professional circles.
Engineering Controls and Containment
Before any moldy material is touched, the area must be isolated. This prevents cross-contamination to unaffected parts of the building.
- Critical Barriers: Using 6-mil polyethylene sheeting to seal off the work area.
- Negative Air Pressure: High-Efficiency Particulate Air (HEPA) air scrubbers are used to create a pressure differential. This ensures that when a door or flap is opened, air flows into the containment area, not out of it.
- Decontamination Chambers: Multi-stage airlocks for workers to change PPE and clean equipment before exiting the containment zone.
Material Removal and Cleaning Protocols
The approach to cleaning depends on the porosity of the affected material:
- Porous Materials (Drywall, Insulation, Carpet): These materials generally cannot be cleaned if they are in Condition 3. They must be removed, double-bagged, and disposed of. The removal should extend at least 2 feet beyond the visible growth to ensure "clean" margins.
- Semi-Porous Materials (Wood Framing, Concrete): These can often be salvaged. Remediation involves HEPA vacuuming, followed by "media blasting" (using dry ice or baking soda) or intensive wire brushing to remove the hyphae (roots) of the mold.
- Non-Porous Materials (Metal, Glass, Hard Plastics): These can be cleaned using a detergent solution and HEPA vacuuming.
HEPA Sandwich Technique
Professional remediators use a "HEPA sandwich" cleaning method to ensure no spores remain:
- HEPA Vacuum: Remove all loose debris and spores.
- Damp Wipe: Clean surfaces with an antimicrobial or detergent solution.
- HEPA Vacuum: A final vacuum pass once the surfaces are dry to catch any remaining particulates.
Post-Remediation Verification (PRV): The Clearance Process
The final and most critical phase is verification. To avoid a conflict of interest, the verification should be performed by a third-party professional who was not involved in the actual cleaning. This ensures the remediation was successful and the building is safe for re-occupancy.
Criteria for Clearance
A successful PRV consists of three distinct checks:
- Visual Inspection: The area must be free of all visible dust, debris, and fungal growth. If any "dust" is present, the area fails, as dust often contains spores.
- Odorous Check: There should be no musty or earthy odors (Microbial Volatile Organic Compounds or mVOCs) present in the containment area.
- Moisture Check: All materials must be dried to their "dry standard" (usually below 15% for wood). If the moisture source isn't fixed, the mold will return.
- Air Quality Testing: Post-remediation air samples must show that the indoor spore counts are lower than or significantly similar to the outdoor samples, and that "target" molds (like Stachybotrys or Chaetomium) are absent or extremely low.
| Feature | Assessment Phase | Remediation Phase | Verification (PRV) Phase |
|---|---|---|---|
| Primary Goal | Determine scope and moisture source. | Physically remove mold and dry materials. | Confirm space is safe for re-occupancy. |
| Key Personnel | Independent Consultant/Hygienist. | Remediation Contractor. | Independent Consultant/Hygienist. |
| Tools Used | IR Cameras, Moisture Meters, Lab Tests. | HEPA Scrubbers, Containment, Blasting. | Visual Inspection, Spore Trap Samples. |
| Standard Output | Scope of Work (SOW). | Waste disposal and cleaned structure. | Clearance Report/Certificate. |
| Requirement | Before work begins. | During active work. | After work, before reconstruction. |
Professional Standards and Safety Requirements
In 2026, worker safety remains a priority under OSHA (Occupational Safety and Health Administration) guidelines. Remediation is physically demanding and hazardous work.
Personal Protective Equipment (PPE)
- Respiratory Protection: N-95, R-95, or P-100 respirators are the minimum requirement. Full-face respirators are often used for extensive Condition 3 projects.
- Protective Clothing: Disposable Tyvek suits with hoods and booties to prevent spores from hitchhiking on workers' clothing.
- Hand and Eye Protection: Nitrile gloves (often double-gloved) and unvented goggles to prevent spores from entering the mucous membranes.
The Importance of the "Dry Standard"
Verification is impossible without achieving a dry standard. The dry standard is the moisture content of a material that is considered "normal" for that specific building in its climate. Remediation professionals use dehumidifiers (LGR - Low Grain Refrigerant) and high-velocity air movers to reach these standards before the clearance professional arrives.
Common Mistakes in Mold Management
- Using Bleach: Bleach is mostly water. While it can remove color from mold on non-porous surfaces, the water in the bleach can soak into porous materials like wood, actually feeding the mold roots that remain.
- Skipping Containment: Attempting to clean mold with a standard vacuum or a fan blowing in the room will aerosolize millions of spores, contaminating the entire building.
- Failing to Fix the Leak: Mold remediation without moisture control is a temporary fix. The underlying plumbing, roofing, or HVAC issue must be resolved first.
- Reconstruction Before Clearance: Never hang new drywall until an independent PRV report has been issued. If the area fails clearance, the new drywall will have to be torn out to re-clean the studs.
Cost and Timeline Considerations in 2026
The cost of managing mold varies based on the size of the affected area and the complexity of the containment. For a standard residential bathroom with localized growth, assessment and verification might cost between $800 and $1,500, while remediation could range from $2,500 to $5,000. Large-scale commercial projects can reach six figures due to the extensive HVAC duct cleaning and high-volume air filtration required.
Timeline-wise, most professional projects take between 3 and 7 days. This allows for:
- Day 1: Setup and containment.
- Day 2-3: Demolition and physical cleaning.
- Day 4-5: Structural drying (dehumidification).
- Day 6-7: Clearance testing and lab processing.
Frequently Asked Questions
Can I perform the mold assessment and remediation myself?
While small areas of mold (less than 10 square feet) can often be handled by homeowners using EPA guidelines, larger areas or commercial buildings require professional intervention. Professional remediators have the specialized HEPA equipment and containment expertise necessary to prevent the spread of spores, which is a significant risk during DIY attempts.
Why is an independent third party required for verification?
Using the same company for both remediation and verification creates a conflict of interest. An independent professional ensures that the cleaning was done to the required standard without the incentive to "pass" their own work. Many insurance companies and state regulations now mandate this separation of duties.
How do I know if the mold in my building is toxic?
"Toxic mold" is a bit of a misnomer; while some molds like Stachybotrys chartarum produce mycotoxins, many people are sensitive to common molds like Aspergillus or Penicillium. The goal of remediation is not just to remove "toxic" mold but to return the building to a normal fungal ecology, as even non-toxic molds can cause respiratory issues and structural decay.
Does air purification alone solve a mold problem?
No. Air purifiers can help reduce airborne spore counts temporarily, but they do not address the source of the mold (the moisture) or the fungal reservoir (the growth on the walls). Professional remediation focuses on "source removal," which is the only permanent solution for mold in buildings.
What should be included in a final clearance report?
A comprehensive clearance report should include a detailed visual inspection summary, a moisture map showing that materials are dry, lab results for air or surface samples, and a clear statement that the area has reached "Condition 1" status. This document is essential for property sales and insurance records.
Next Steps for Building Owners
If you suspect mold in your building, the first action is to stop the water source. Once the leak or humidity is controlled, contact a certified mold assessor (not a remediation company) to establish the initial scope of work. Ensure that any contractor you hire provides proof of pollution liability insurance, as standard general liability policies often exclude mold-related claims. Finally, keep all documentation from the assessment through the final verification to protect the value and safety of your property.
For more detailed technical standards, professionals should refer to the IICRC S520 Standard and the EPA's Mold Remediation in Schools and Commercial Buildings guidelines.