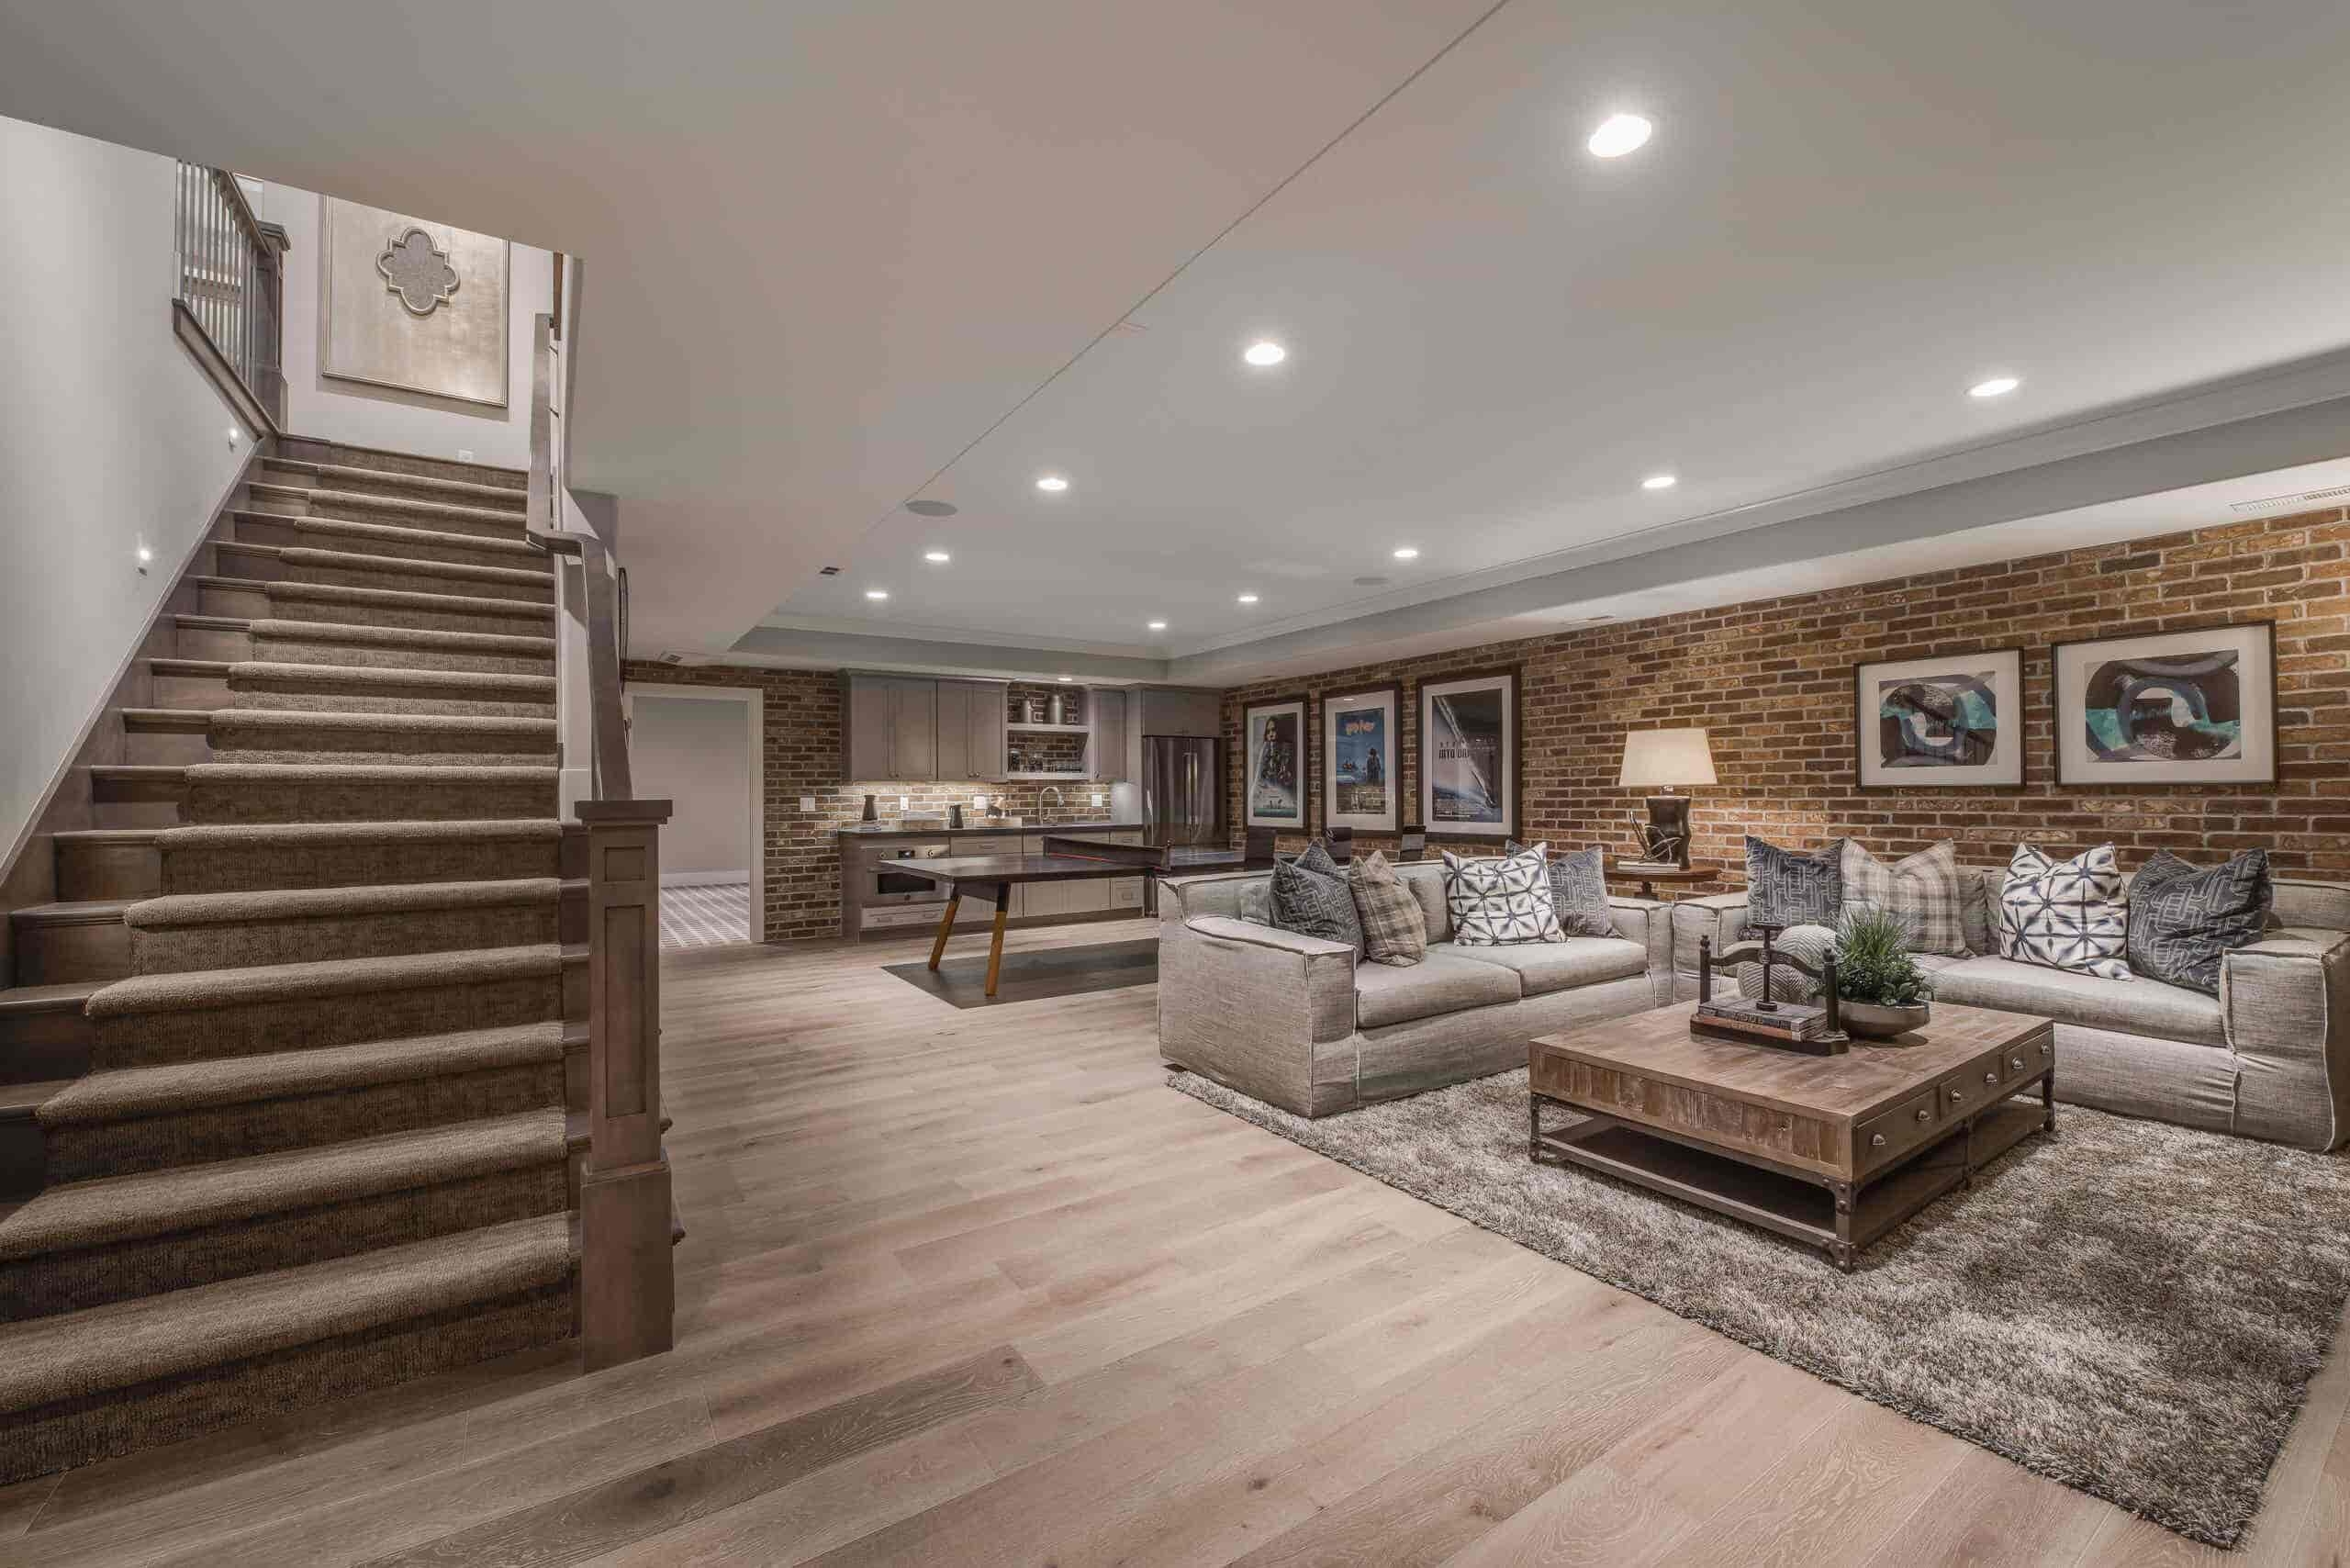
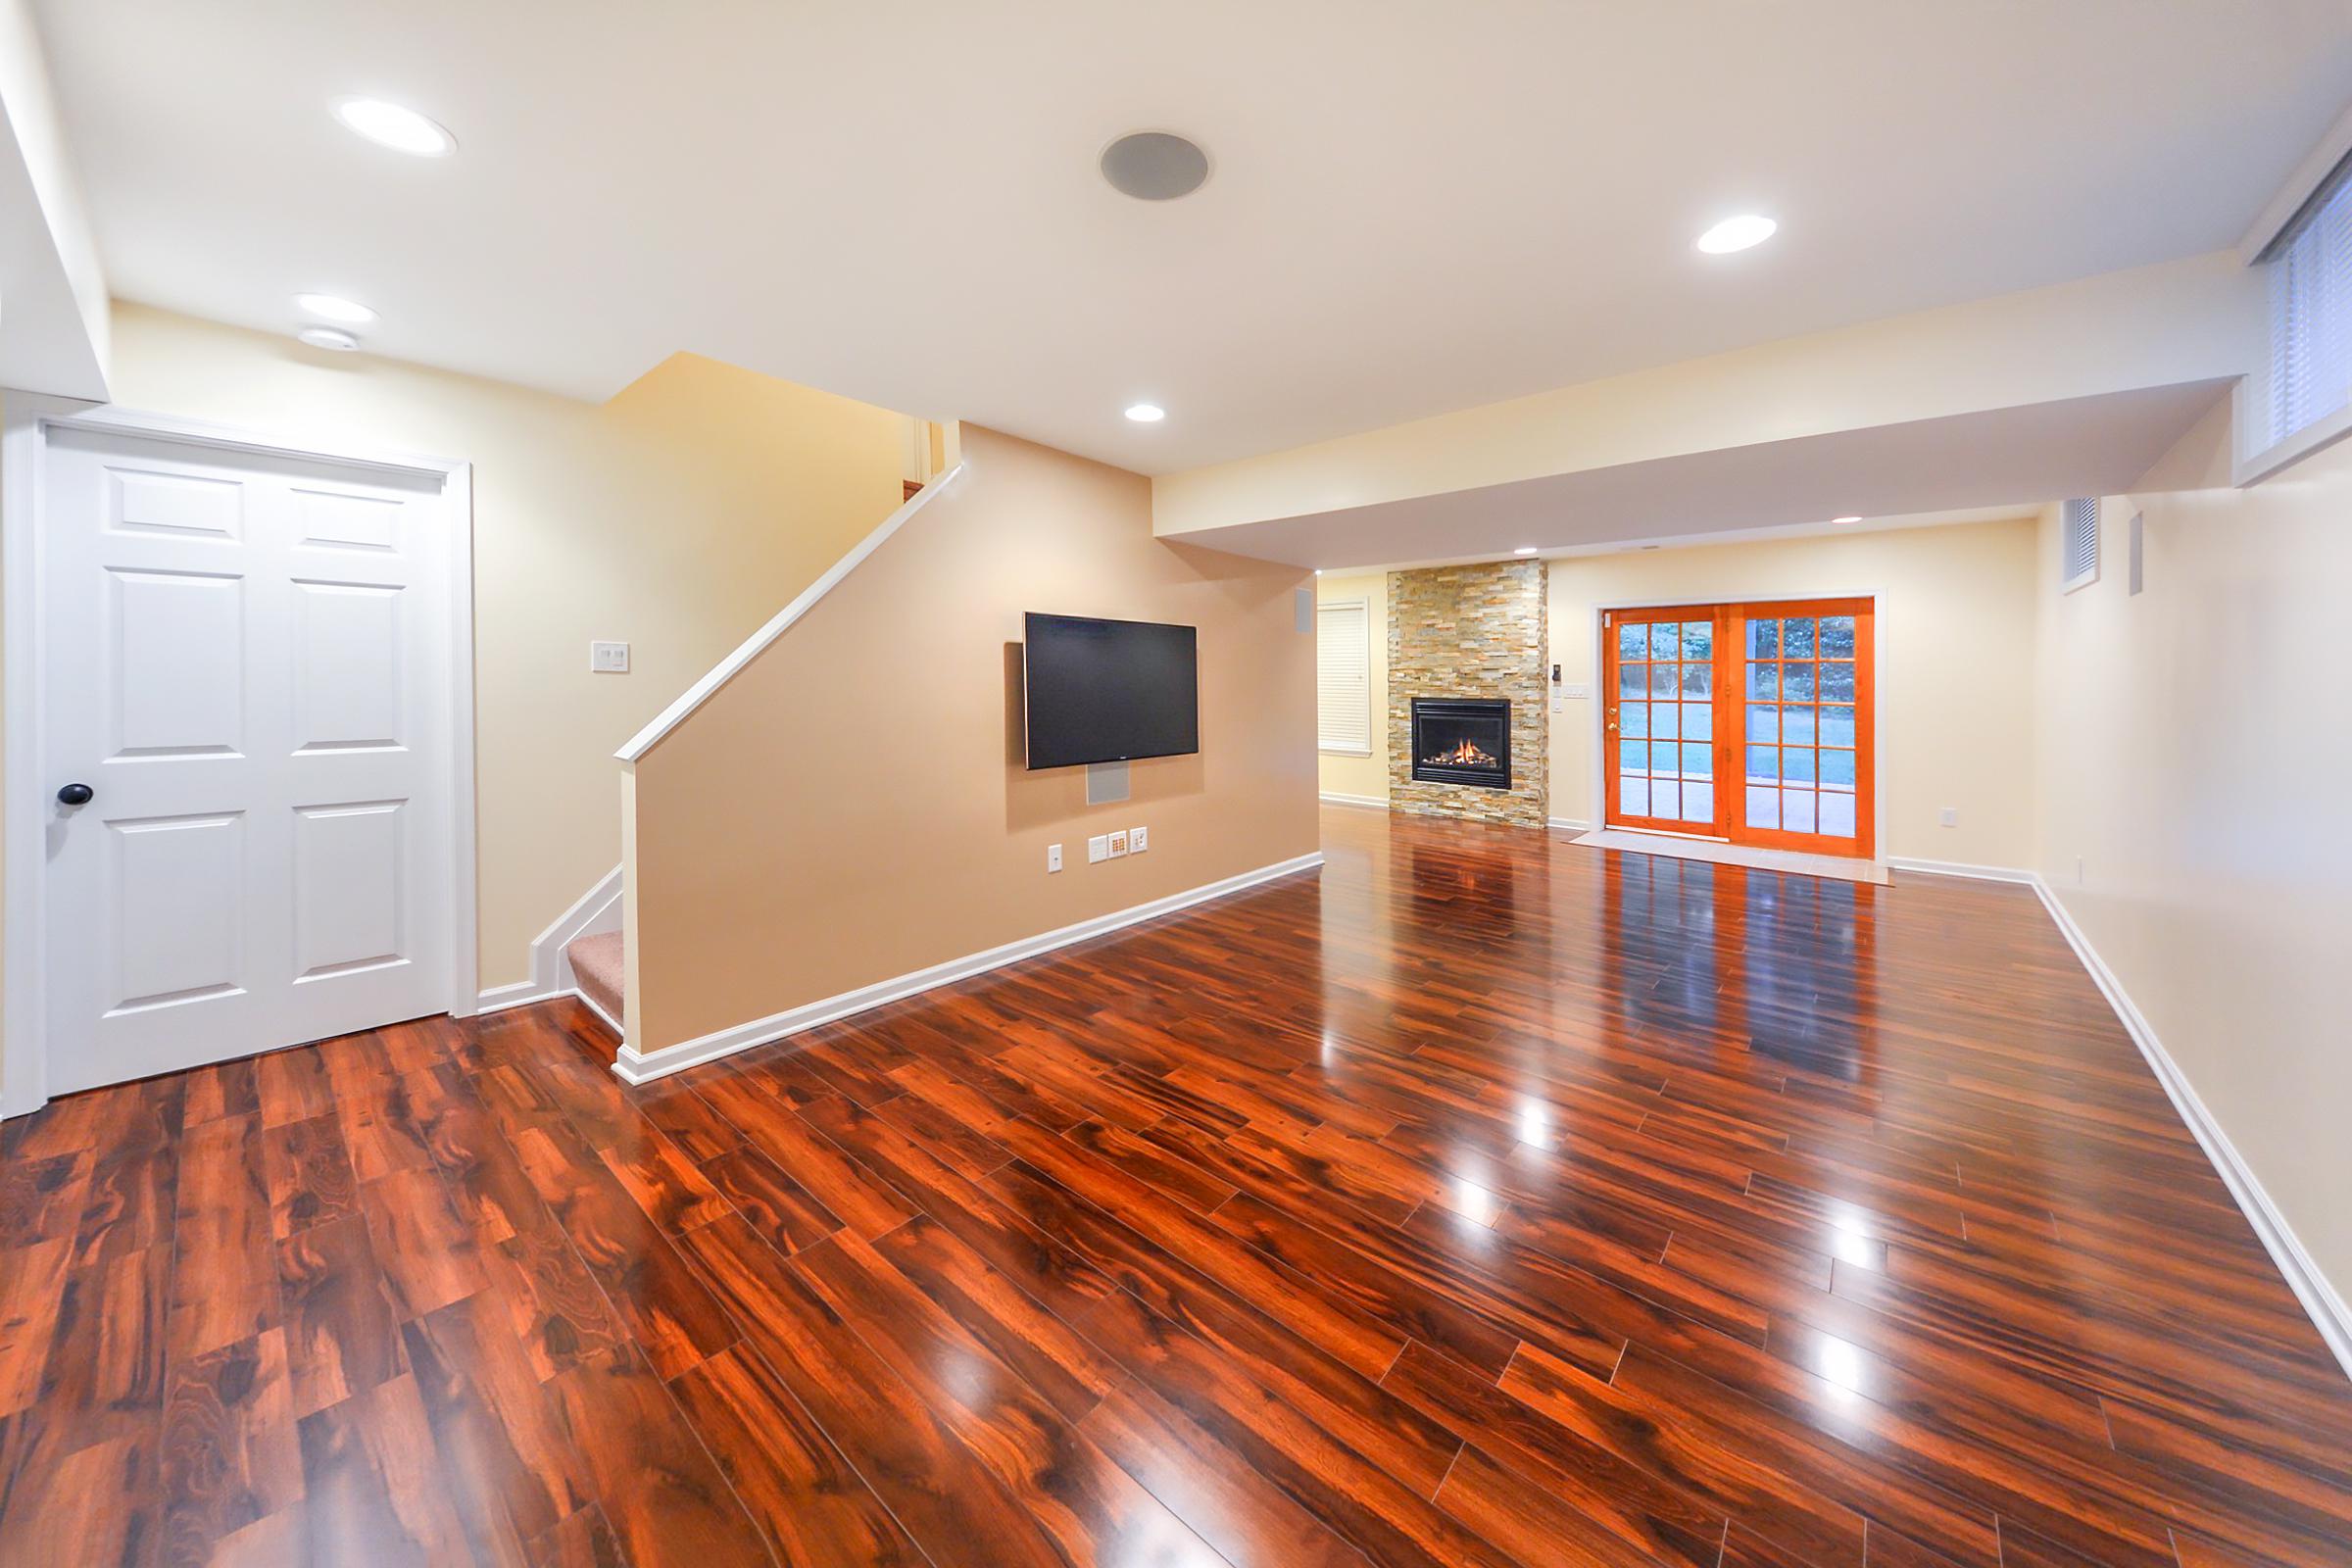
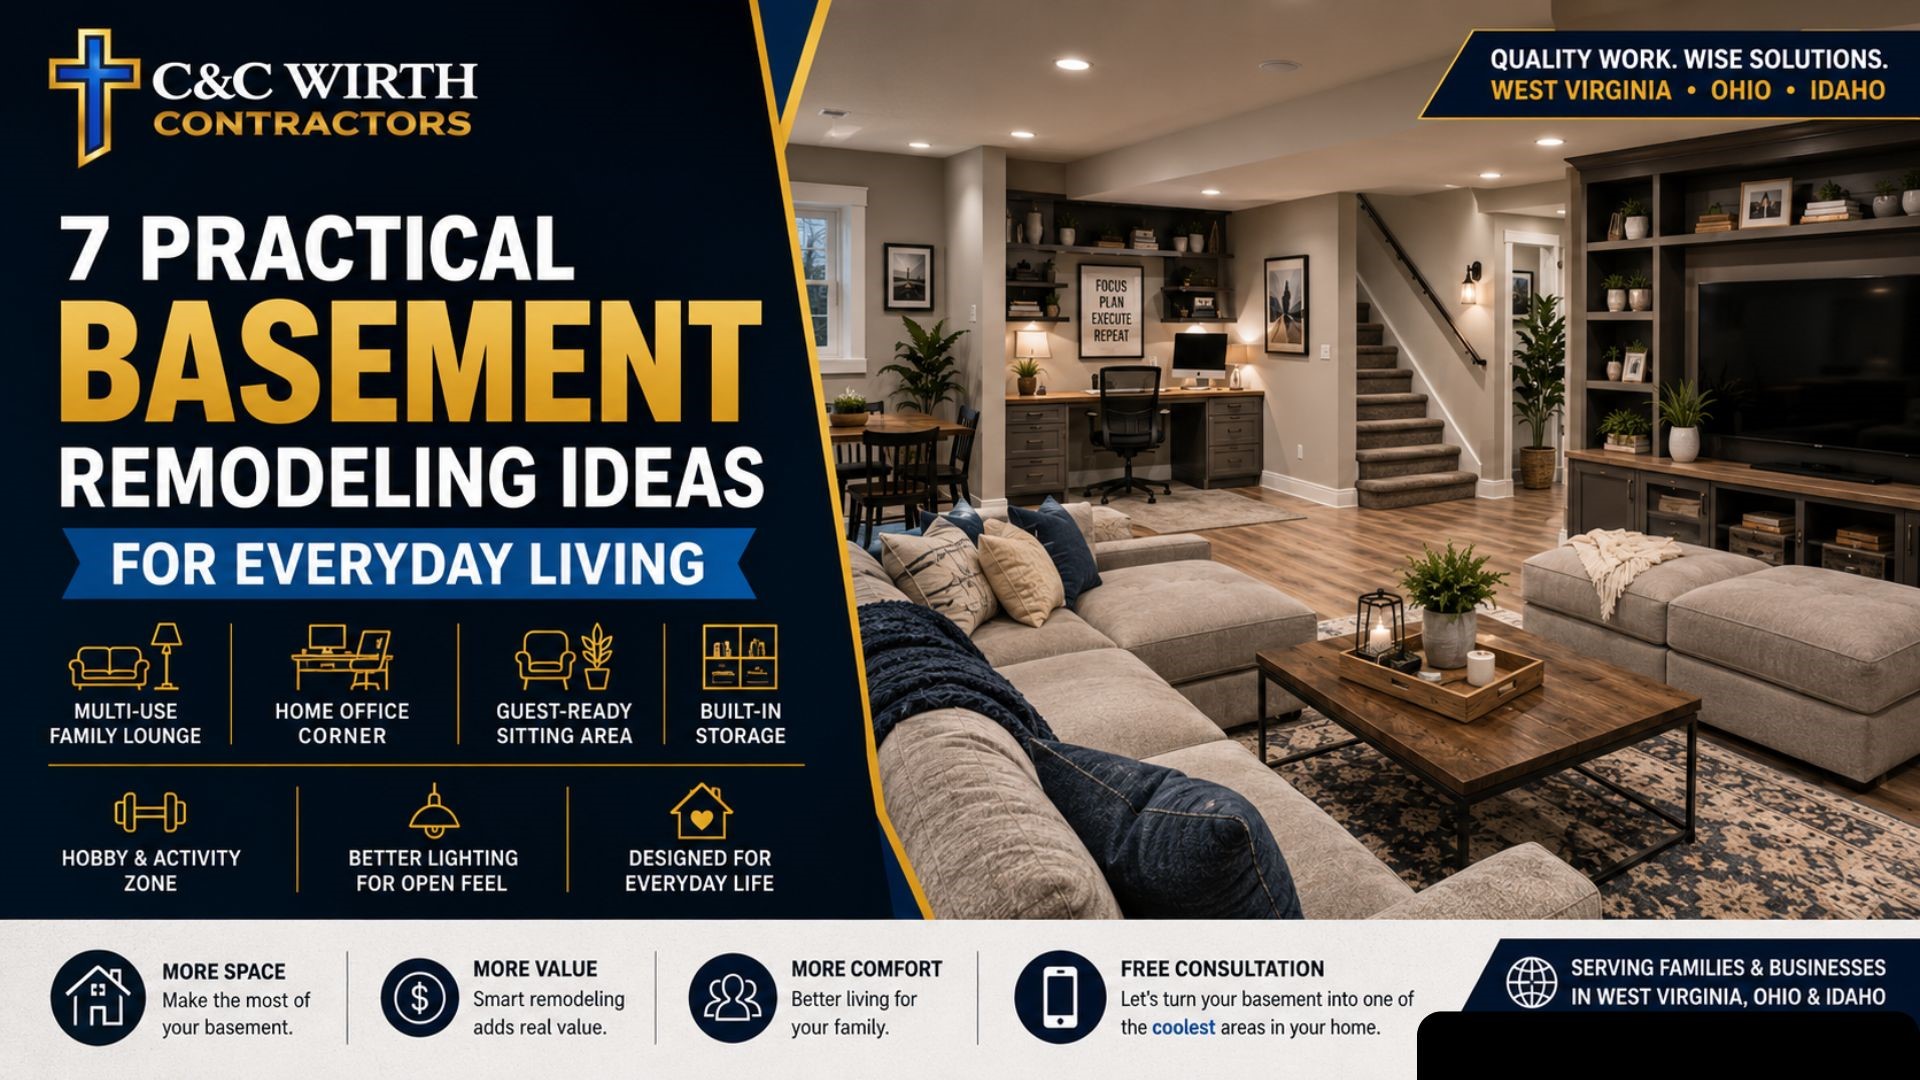
Transforming an unfinished or outdated lower level into functional living space does not require a six-figure luxury budget. A practical, budget-conscious basement remodel focuses on high-impact cosmetic upgrades, creative space planning, sweat equity, and rigorous moisture management to maximize return on investment while keeping overall expenditures minimal.
An inexpensive basement remodel centers on controlling moisture, utilizing cost-effective finishes like painted ceilings and exposed flooring, tackling labor-heavy tasks independently, and prioritizing layout efficiency to turn unused square footage into comfortable, habitable rooms without overcapitalizing.
1. Pre-Remodel Assessment and Moisture Mitigation
Before hanging a single sheet of drywall or selecting paint colors, the foundational condition of the basement must be evaluated. Moisture is the primary enemy of any subterranean renovation. Ignoring dampness, water seepage, or high relative humidity will result in premature mold growth, warped framing, and costly structural damage down the line.
Identifying and Testing for Moisture
Begin with a visual inspection of the foundation walls and floor slab. Look for efflorescence (a white, powdery mineral deposit), peeling paint, rust stains on metal support columns, or a musty odor.
- The Plastic Sheet Test: Tape a 2-foot by 2-foot square of clear plastic sheeting securely to the concrete floor and walls using duct tape. Leave it in place for 48 to 72 hours. If moisture accumulates on the underside of the plastic, water is vaporizing through the concrete. If moisture collects on the top side, ambient humidity is high and condensing on the cool surface.
- Addressing Seepage: Minor dampness can often be managed from the exterior by extending downspouts at least six feet away from the foundation, grading soil away from the house, and cleaning gutters. Persistent leaks require interior waterproofing measures, such as sealing masonry cracks with hydraulic cement or installing a sump pump and interior French drain system.
Understanding Building Codes and Permits
Even a budget-friendly DIY basement remodel must comply with local municipal building codes. Check with your local zoning and building department regarding regulations for ceiling height, emergency escape and rescue openings (egress windows), electrical circuits, and smoke/carbon monoxide detectors. Skipping required permits can create legal hurdles, complicate future home sales, and pose serious safety hazards.
2. Budgeting and Strategic Cost Reduction
A realistic budget acts as the operational guardrail for your project. Unforeseen expenses—such as unexpected electrical rewiring or hidden plumbing repairs—frequently derail low-cost renovations. Establishing a disciplined financial plan ensures funds are allocated efficiently.
Cost Breakdown Strategies
To keep expenses low, allocate your funds primarily to structural safety, moisture control, and systems (electrical and HVAC), while saving on decorative finishes.
- Allocate 30% to 40% for foundational requirements: waterproofing, insulation, and basic electrical rough-ins.
- Allocate 40% to 50% for materials: flooring, wall coverings, lighting fixtures, and trim.
- Keep a 15% to 20% Contingency Fund: Unforeseen structural quirks or material price fluctuations require a financial buffer.
Sweat Equity vs. Professional Labor
Knowing your limits is critical for staying on budget. While doing the work yourself saves significantly on labor costs, hiring professionals for specialized tasks prevents expensive mistakes.
| Project Phase | Suitable for DIY (Sweat Equity) | Recommended for Licensed Professionals |
|---|---|---|
| Demolition | Removing old paneling, tearing up old carpet, hauling debris. | Removing load-bearing walls, handling asbestos or lead paint. |
| Framing & Drywall | Building non-structural partition walls, hanging drywall. | Structural alterations, cutting new egress windows into concrete. |
| Electrical | Installing light fixtures, painting, running low-voltage wiring. | Tying into the main service panel, installing new circuits. |
| Flooring | Laying luxury vinyl plank (LVP) flooring, laying area rugs. | Pouring self-leveling concrete subfloors, complex tile work. |
3. Maximizing Visual Space Without Expensive Structural Changes
Basements often suffer from low ceilings, lack of natural light, and structural support posts positioned inconveniently in the middle of open rooms. Overcoming these limitations without expensive architectural interventions requires clever visual tricks and layout strategies.
Open-Concept vs. Partitioned Layouts
Constructing multiple small rooms in a basement restricts light flow and makes the space feel cramped. Instead, design an open-concept layout defined by furniture placement, area rugs, and lighting zones. If separate rooms are required—such as a home office or guest bedroom—use interior sliding barn doors or semi-permanent glass partitions to maintain an airy feel.
Ceiling Alternatives to Drop Ceilings
Traditional suspended drop ceilings reduce vertical clearance by several inches and can look commercial or dated. To preserve maximum headroom and reduce material costs:
- Exposed Ceiling (Industrial Look): Leave the joists, subfloor above, and ductwork exposed. Paint everything a uniform matte black, crisp white, or dark charcoal gray. This technique preserves maximum ceiling height, hides pipes and wires visually through shadow, and provides a modern, urban aesthetic.
- Painted Drywall Bulkheads: Box in unsightly low-hanging sewer pipes or main HVAC trunks with simple wood framing and drywall, leaving the rest of the ceiling open or finished minimally.
4. Walls and Insulation on a Budget
Proper wall treatment ensures thermal comfort and prevents condensation. Traditional wood-stud framing filled with fiberglass batts can consume valuable floor space and trap moisture against cold foundation walls if vapor barriers are installed incorrectly.
Cost-Effective Wall Options
- Direct-to-Masonry Rigid Foam Insulation: Install extruded polystyrene (XPS) or expanded polystyrene (EPS) rigid foam boards directly against the concrete wall, sealed with foam adhesive and concrete anchors. Cover with mold-resistant drywall. This method provides high R-value insulation, acts as a moisture vapor retarder, and takes up minimal interior space.
- Paneling and Alternative Surfacing: Instead of standard drywall that requires taping, mudding, and sanding (a skill-intensive process), consider vertical wainscoting, beadboard panels, or primed MDF planks. These materials offer texture and character while often being easier to install for a DIYer.
Managing Condensation and Thermal Bridging
Basement walls are consistently cold. When warm, humid indoor air contacts these cold surfaces, it condenses into liquid water. Using closed-cell spray foam or continuous rigid foam insulation breaks the thermal bridge, preventing warm air from reaching the cold concrete and eliminating the primary cause of hidden mold behind basement walls.
5. Flooring Solutions for Subterranean Environments
Traditional wall-to-wall carpeting is generally a poor choice for inexpensive basement remodels. If a minor plumbing leak, foundation seepage, or high humidity occurs, carpet absorbs moisture, fosters mold growth, and must be completely discarded.
Durable, Budget-Friendly Flooring Materials
- Luxury Vinyl Plank (LVP): LVP is currently the gold standard for basement flooring. It is 100% waterproof, highly durable, mimics the look of hardwood or stone, and can be installed as a floating floor over minor subfloor irregularities. Click-lock planks make this an exceptionally DIY-friendly project.
- Epoxy or Painted Concrete: If the concrete slab is structurally sound and relatively flat, grinding, acid-etching, and applying a heavy-duty epoxy coating or specialized concrete paint is an extremely inexpensive option. It creates a seamless, modern, easy-to-clean surface that cannot be damaged by moisture.
- Interlocking Rubber Tiles or Foam Mats: Excellent for home gyms or children's play areas, these tiles provide warmth, cushioning, and easy replacement if a single section is damaged. Pair with washable area rugs to add warmth and color to seating areas.
6. Lighting and Electrical Upgrades
Basements are notoriously dark. Relying solely on a single central overhead light fixture or floor lamps creates harsh shadows and a cave-like atmosphere. Brightening the space cost-effectively transforms it from a dark cellar into an inviting living area.
Strategic Lighting Design
- Recessed LED Slim Panel Lights: Unlike traditional housing cans that require deep ceiling clearance and complex wiring boxes, ultra-thin LED panel lights fit directly into shallow ceiling spaces, making them ideal for basements with low clearance.
- Layered Lighting: Combine ambient overhead lighting with task lighting (desk lamps, under-cabinet lighting for a wet bar) and accent lighting (wall sconces or LED strip lights tucked behind architectural bulkheads) to make the space feel larger and more dynamic.
Electrical Safety
Always consult a licensed electrician or adhere strictly to local electrical codes when adding new circuits. Basements require Ground Fault Circuit Interrupter (GFCI) protection for all receptacles to prevent electrical shock in damp environments. If you are adding multiple heavy-load appliances, ensure your main electrical panel has the capacity to handle the additional amperage.
Frequently Asked Questions
Can I finish my basement without framing the walls?
Yes. You can apply rigid foam insulation and mold-resistant drywall directly to the masonry using masonry adhesives and concrete fasteners, or use specialized basement finishing systems. However, direct mounting prevents you from easily running electrical wiring and plumbing inside the wall cavities.
How do I prevent my basement from smelling musty after a remodel?
Musty odors are caused by mold and mildew thriving in damp, poorly ventilated environments. Combat this by running a continuous-drain dehumidifier to keep relative humidity below 50%, ensuring proper vapor barriers are installed behind walls, and incorporating ceiling fans or HVAC supply registers to maintain airflow.
What is the cheapest flooring option for an unfinished concrete basement?
Painting or sealing the concrete floor with a quality masonry paint or DIY epoxy kit is the least expensive option. If you prefer a warmer feel underfoot, click-lock luxury vinyl plank (LVP) flooring offers the best balance of low cost, waterproof durability, and ease of DIY installation.
Do I need a permit for a budget basement remodel?
Generally, yes. Most municipal building departments require permits for electrical work, plumbing modifications, structural alterations, and creating egress windows. Cosmetic updates like painting, laying flooring, or hanging non-structural wall panels may be exempt in certain jurisdictions, but it is vital to verify local laws before beginning work.
How much does an inexpensive DIY basement remodel typically cost?
A budget-conscious, DIY-heavy basement remodel typically costs between $10 and $25 per square foot for materials, depending on the finishes chosen. For a standard 500-square-foot basement, total material expenses can range from $5,000 to $12,500, compared to professional contractor rates that often exceed $30,000 to $60,000 for the same footprint.
Conclusion and Next Actions
Executing a practical, inexpensive basement remodel requires careful planning, disciplined budgeting, and a realistic assessment of your DIY capabilities. Begin by performing thorough moisture tests and confirming local building code requirements. Once the foundation is proven dry and sound, prioritize cost-effective moisture management, open ceilings, durable luxury vinyl plank flooring, and layered LED lighting. By focusing sweat equity on high-impact cosmetic and organizational tasks while bringing in professionals only for complex electrical and structural work, you can successfully turn an underutilized cellar into a comfortable, high-value living space without overspending.