Finding an attic leak involves tracing moisture from the interior drip point up the rafters to the highest entry point on the roof deck. Most leaks stem from failing vent boots, damaged flashing, or aged shingles. Repairs typically involve replacing localized materials or applying high-grade roofing sealants to restore the building envelope’s integrity.
The Critical First Step: Safety and Preparation in the Attic
Before attempting to locate a leak, you must understand that the attic environment presents unique hazards. In 2026, building codes and safety standards emphasize the importance of personal protective equipment (PPE) and structural awareness. The attic is often a "non-habitable" space, meaning the floor—your ceiling—is likely not designed to support your weight between the joists.
Essential Safety Gear
When entering an attic to investigate a leak, you are likely to encounter disturbed insulation, dust, and potentially mold. At a minimum, you should wear an N95 or P100 respirator to prevent the inhalation of fiberglass or mineral wool fibers. Eye protection is equally vital, as roofing nails often protrude through the roof deck, creating a "minefield" of sharp points at eye level.
Navigating the Joists
One of the most common home repair accidents involves a foot slipping off a ceiling joist and punching through the drywall below. To prevent this, use "crawling boards"—sturdy pieces of plywood laid across at least three joists—to create a stable platform. Never step on the insulation or the drywall, as neither will support a human's weight. Furthermore, ensure the attic is well-lit; a high-lumen LED headlamp is preferable to a handheld flashlight, as it keeps your hands free for stability and inspection.
Tracing the Path: How to Find the Leak Source
Water is a master of deception. Because of the laws of physics and the design of modern roofing systems, the spot where water drips onto your attic floor is rarely directly beneath the hole in the roof. Gravity pulls water down the slope of the roof, often allowing it to travel several feet along a rafter or a piece of plywood sheathing before it finally falls.
The "Follow the Water" Method
To find the source, start at the visible damp spot on the attic floor and look straight up. If you see a wet rafter, follow that rafter "up-slope" toward the peak of the roof. You are looking for water stains, dark "tide marks" on the wood, or actual dripping. In 2026, many homeowners use affordable thermal imaging cameras, which can detect temperature differences between dry and damp insulation, making it easier to see the hidden path of a leak even if the surface looks dry.
The Sunny Day Inspection
Ironically, one of the best times to find a roof leak is on a bright, sunny day. Turn off all the lights in the attic and wait for your eyes to adjust to the darkness. Look for "pinpricks" of daylight. Any spot where light can get in, water can get in. Focus your attention on "penetrations"—places where things like vent pipes, chimneys, or attic fans go through the roof.
The Garden Hose Test
If you cannot find the leak during a dry spell, you may need to simulate rain. This requires two people: one on the roof with a garden hose and one in the attic with a radio or phone. The person on the roof should start low, spraying water just above the gutters and around the lowest penetrations. Wait several minutes at each spot before moving higher. The person in the attic must watch carefully for the first sign of moisture. If you start spraying at the top of the roof first, the water will run down and hide the exact location of the hole.
Common Culprits: Why Your Attic is Leaking
While every roof is different, most attic leaks originate from a handful of common failure points. Understanding these components helps you narrow your search significantly.
1. Plumbing Vent Boots
The most frequent cause of attic leaks is the rubber "boot" or flashing around the PVC plumbing vent pipes. In 2026, many homes built during the construction booms of the early 2000s are seeing these rubber seals fail. The rubber becomes brittle due to UV exposure and extreme temperature fluctuations, leading to cracks. When it rains, water runs down the pipe and straight into the attic.
2. Chimney and Wall Flashing
Flashing is the metal (usually aluminum or copper) used to waterproof the "seams" of your roof—where the roof meets a wall or a chimney. Over time, the sealant (caulk) used at the top of the flashing can dry out and pull away. Additionally, "step flashing," which is woven into the shingles, can rust or be knocked out of place by high winds.
3. Roof Valleys
A valley is where two roof slopes meet, forming a "V" shape. These areas handle a massive volume of water during a storm. If the valley lining (either metal or a specific type of heavy shingle) is improperly installed or becomes clogged with debris like pine needles or leaves, water can "back up" under the shingles and penetrate the roof deck.
4. Damaged or Aged Shingles
Asphalt shingles have a finite lifespan. By 2026, many "30-year" shingles installed in the late 90s are reaching the end of their functional life. Look for shingles that are "cupping" (edges turning up), "clawing" (edges turning down), or missing entirely. When the protective granules wear off, the underlying fiberglass mat becomes exposed to the sun and quickly disintegrates, creating a porous surface.
| Leak Source | Difficulty to Locate | Common Repair Method | Estimated Pro Cost (2026) |
|---|---|---|---|
| Plumbing Vent Boot | Low | Replace rubber boot or install collar | $250 - $500 |
| Chimney Flashing | Medium | Re-caulking or replacing step flashing | $600 - $1,500 |
| Roof Valley | High | Replacing valley lining and surrounding shingles | $1,000 - $2,500 |
| Nill Popped Nails | High | Removing nail and sealing with roofing cement | $200 - $400 |
| Ice Dams | Medium | Improving attic insulation and ventilation | $1,500 - $4,000 |
The "Phantom Leak": Condensation vs. Roof Leaks
Not every wet spot in an attic is caused by a hole in the roof. "Phantom leaks" are actually caused by condensation. This is particularly common in 2026 as homes become more airtight and energy-efficient. If moist, warm air from your bathroom, kitchen, or laundry room escapes into the attic, it will hit the cold underside of the roof deck and turn into liquid water.
How to Identify Condensation
If the moisture is widespread across the rafters rather than localized to one spot, or if you see "frost" on the tips of roofing nails during the winter, you likely have a ventilation problem. Check to see if your bathroom exhaust fans are venting directly into the attic instead of through the roof. Also, ensure that your soffit vents (at the edges of the roof) are not blocked by insulation, which prevents the "cross-breeze" necessary to keep the attic dry.
Step-by-Step DIY Repair Guide
If you have identified the source and feel comfortable working on a ladder, some repairs are manageable for a dedicated DIYer. However, if your roof is steep (greater than a 6/12 pitch) or higher than two stories, you should hire a professional.
Repairing a Vent Boot
- Remove Shingles: Carefully use a pry bar to lift the shingles covering the base of the vent boot. You don't need to remove them entirely, just loosen the nails.
- Remove the Old Boot: Pull the nails holding the flange (the flat part) of the boot to the roof. Slide the old boot up and off the pipe.
- Clean the Area: Clear away any old roofing cement or debris.
- Install the New Boot: Slide the new boot over the pipe. Apply a bead of high-quality roofing sealant (like a polyurethane or silicone-based roofing caulk) to the underside of the flange.
- Secure and Reseal: Nail the flange down with galvanized roofing nails and slide the shingles back over the top and sides of the flange. Leave the bottom of the flange exposed so water can run off.
Fixing a "Nail Pop"
Sometimes, a single roofing nail backs out of the wood, lifting the shingle and allowing water to seep underneath.
- Locate the Shingle: Lift the shingle where the leak is suspected.
- Reset or Replace: If the nail is still there, pull it out.
- Seal: Squirt a small amount of roofing cement into the hole.
- New Nail: Drive a new nail about an inch away from the old hole.
- Cap: Cover the new nail head and the old hole with a dab of roofing cement and press the shingle back down.
When to Call a Professional
While small repairs are possible, certain scenarios require the expertise of a licensed roofing contractor. According to industry standards in 2026, structural integrity is non-negotiable.
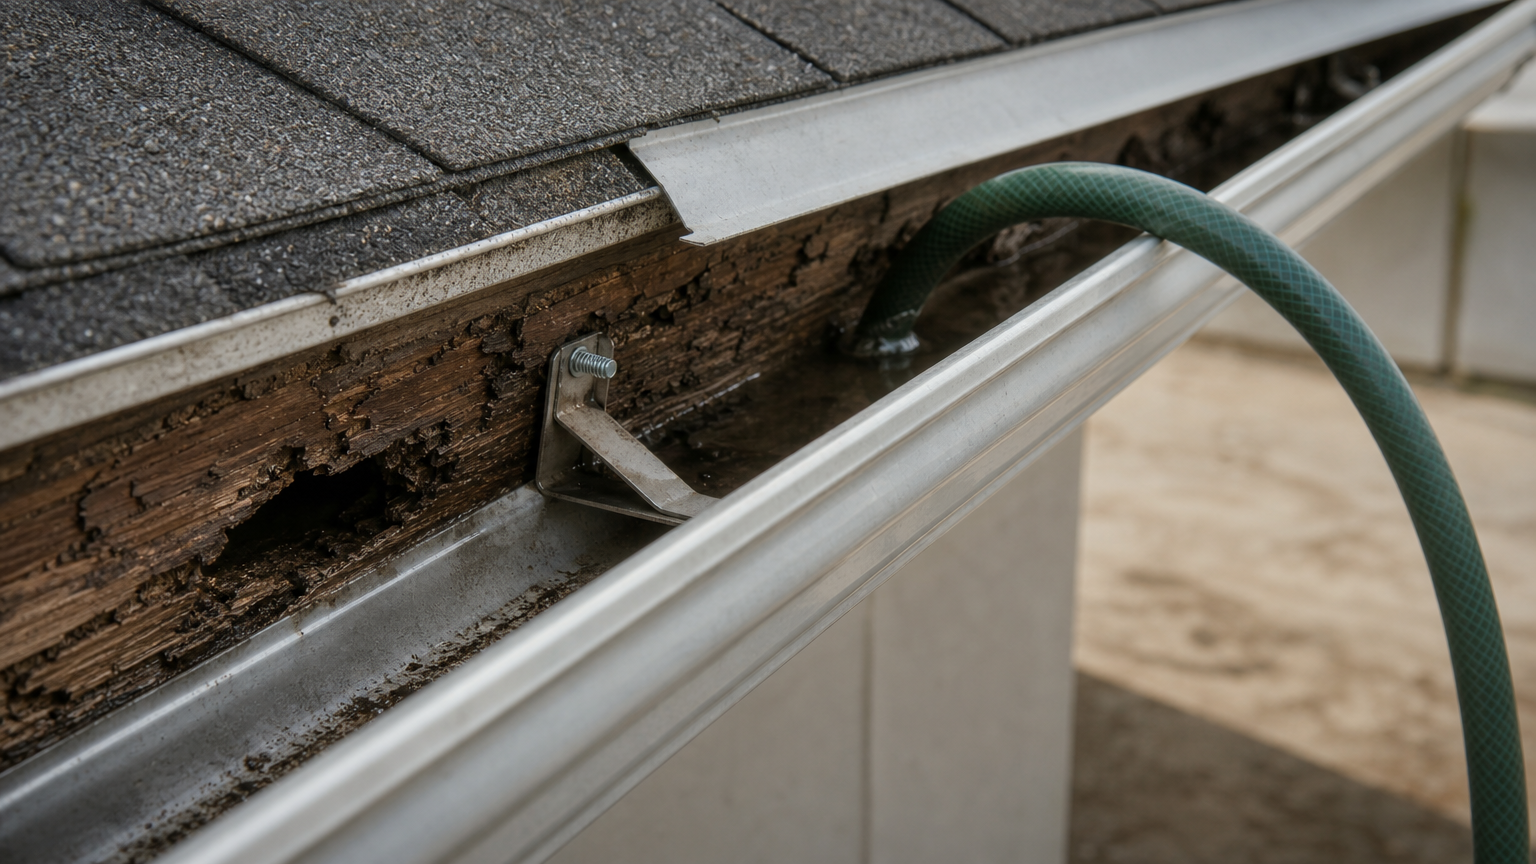
- Rotted Wood: If the plywood sheathing or rafters feel soft, spongy, or crumble when poked with a screwdriver, the wood has rotted. This requires removing a large section of the roof to replace the structural components.
- Widespread Damage: If you find more than three or four distinct leak points, the roofing material has likely reached the end of its service life. Patching will only delay the inevitable and may cost more in the long run than a full replacement.
- Complex Flashing: Repairs involving dormers, skylights, or complex roof intersections require specialized metalwork that is difficult to execute without professional tools and experience.
Long-Term Prevention and Maintenance
Preventing an attic leak is significantly cheaper than repairing the resulting water damage, mold, and structural rot. Implement a biannual inspection routine—once in the spring and once in the autumn.
Gutter Maintenance
Clogged gutters are a primary cause of "ice dams" in colder climates. When water cannot flow off the roof, it pools at the edge, freezes, and forces liquid water back up under the shingles. Keep your gutters clear of debris and ensure downspouts are directing water at least six feet away from the foundation.
Professional Inspections
In 2026, many roofing companies offer "roof tunes-ups" or maintenance packages. For a few hundred dollars, a pro will walk the roof, reseal any suspicious flashing, and check for loose shingles. This can extend the life of your roof by 5 to 10 years, providing a high return on investment.
Frequently Asked Questions
Does homeowners insurance cover attic leaks?
Homeowners insurance typically covers attic leaks if they are caused by a "sudden and accidental" event, such as a fallen tree or hail damage. However, leaks caused by "wear and tear," lack of maintenance, or the age of the roof are usually excluded from coverage. If you discover a leak after a major storm, document the damage immediately and contact your agent.
How much does it cost to fix an attic leak in 2026?
The cost varies significantly based on the source. A simple vent boot replacement might cost between $250 and $500. However, if the leak is in a valley or involves complex chimney flashing, costs can range from $1,000 to $2,500. If structural rot is discovered, the price can escalate quickly as it involves both roofing and carpentry labor.
Can a leaking attic cause mold?
Yes. Mold can begin to grow on organic materials like wooden rafters and paper-faced insulation within 24 to 48 hours of moisture exposure. Even if you stop the leak, you must ensure the area is completely dried out. If you see black or green fuzzy growth, you may need professional mold remediation to ensure the air quality in your home remains safe.
Is it okay to use a tarp as a temporary fix?
Yes, a heavy-duty tarp is an excellent temporary measure to prevent further damage while waiting for a contractor. Ensure the tarp goes over the "peak" of the roof so water cannot run under the top edge of the plastic. Secure the tarp with 2x4 wooden strips (battens) screwed into the roof; never use bricks or heavy objects, as they can slide off and cause injury.
Why does my attic leak only when it rains hard?
Small holes or cracks often don't leak during light rain because the surface tension of the water allows it to "bridge" the gap. During heavy downpours, the volume and pressure of the water break that tension, forcing it into the crack. Additionally, heavy rain can cause gutters to overflow, pushing water into areas of the roof that aren't usually submerged.
Practical Recommendation
If you discover an attic leak, the first priority is to contain the water to prevent it from reaching the living spaces below. Place a bucket under the drip and, if the water is running along a rafter, tack a piece of string to the rafter and let it hang into the bucket. The water will follow the string, acting as a "wick" to guide the moisture safely into the container. Once the immediate threat is contained, use the "up-slope" method to find the source and determine if it is a simple seal-and-patch job or a sign that your roof system requires professional intervention.