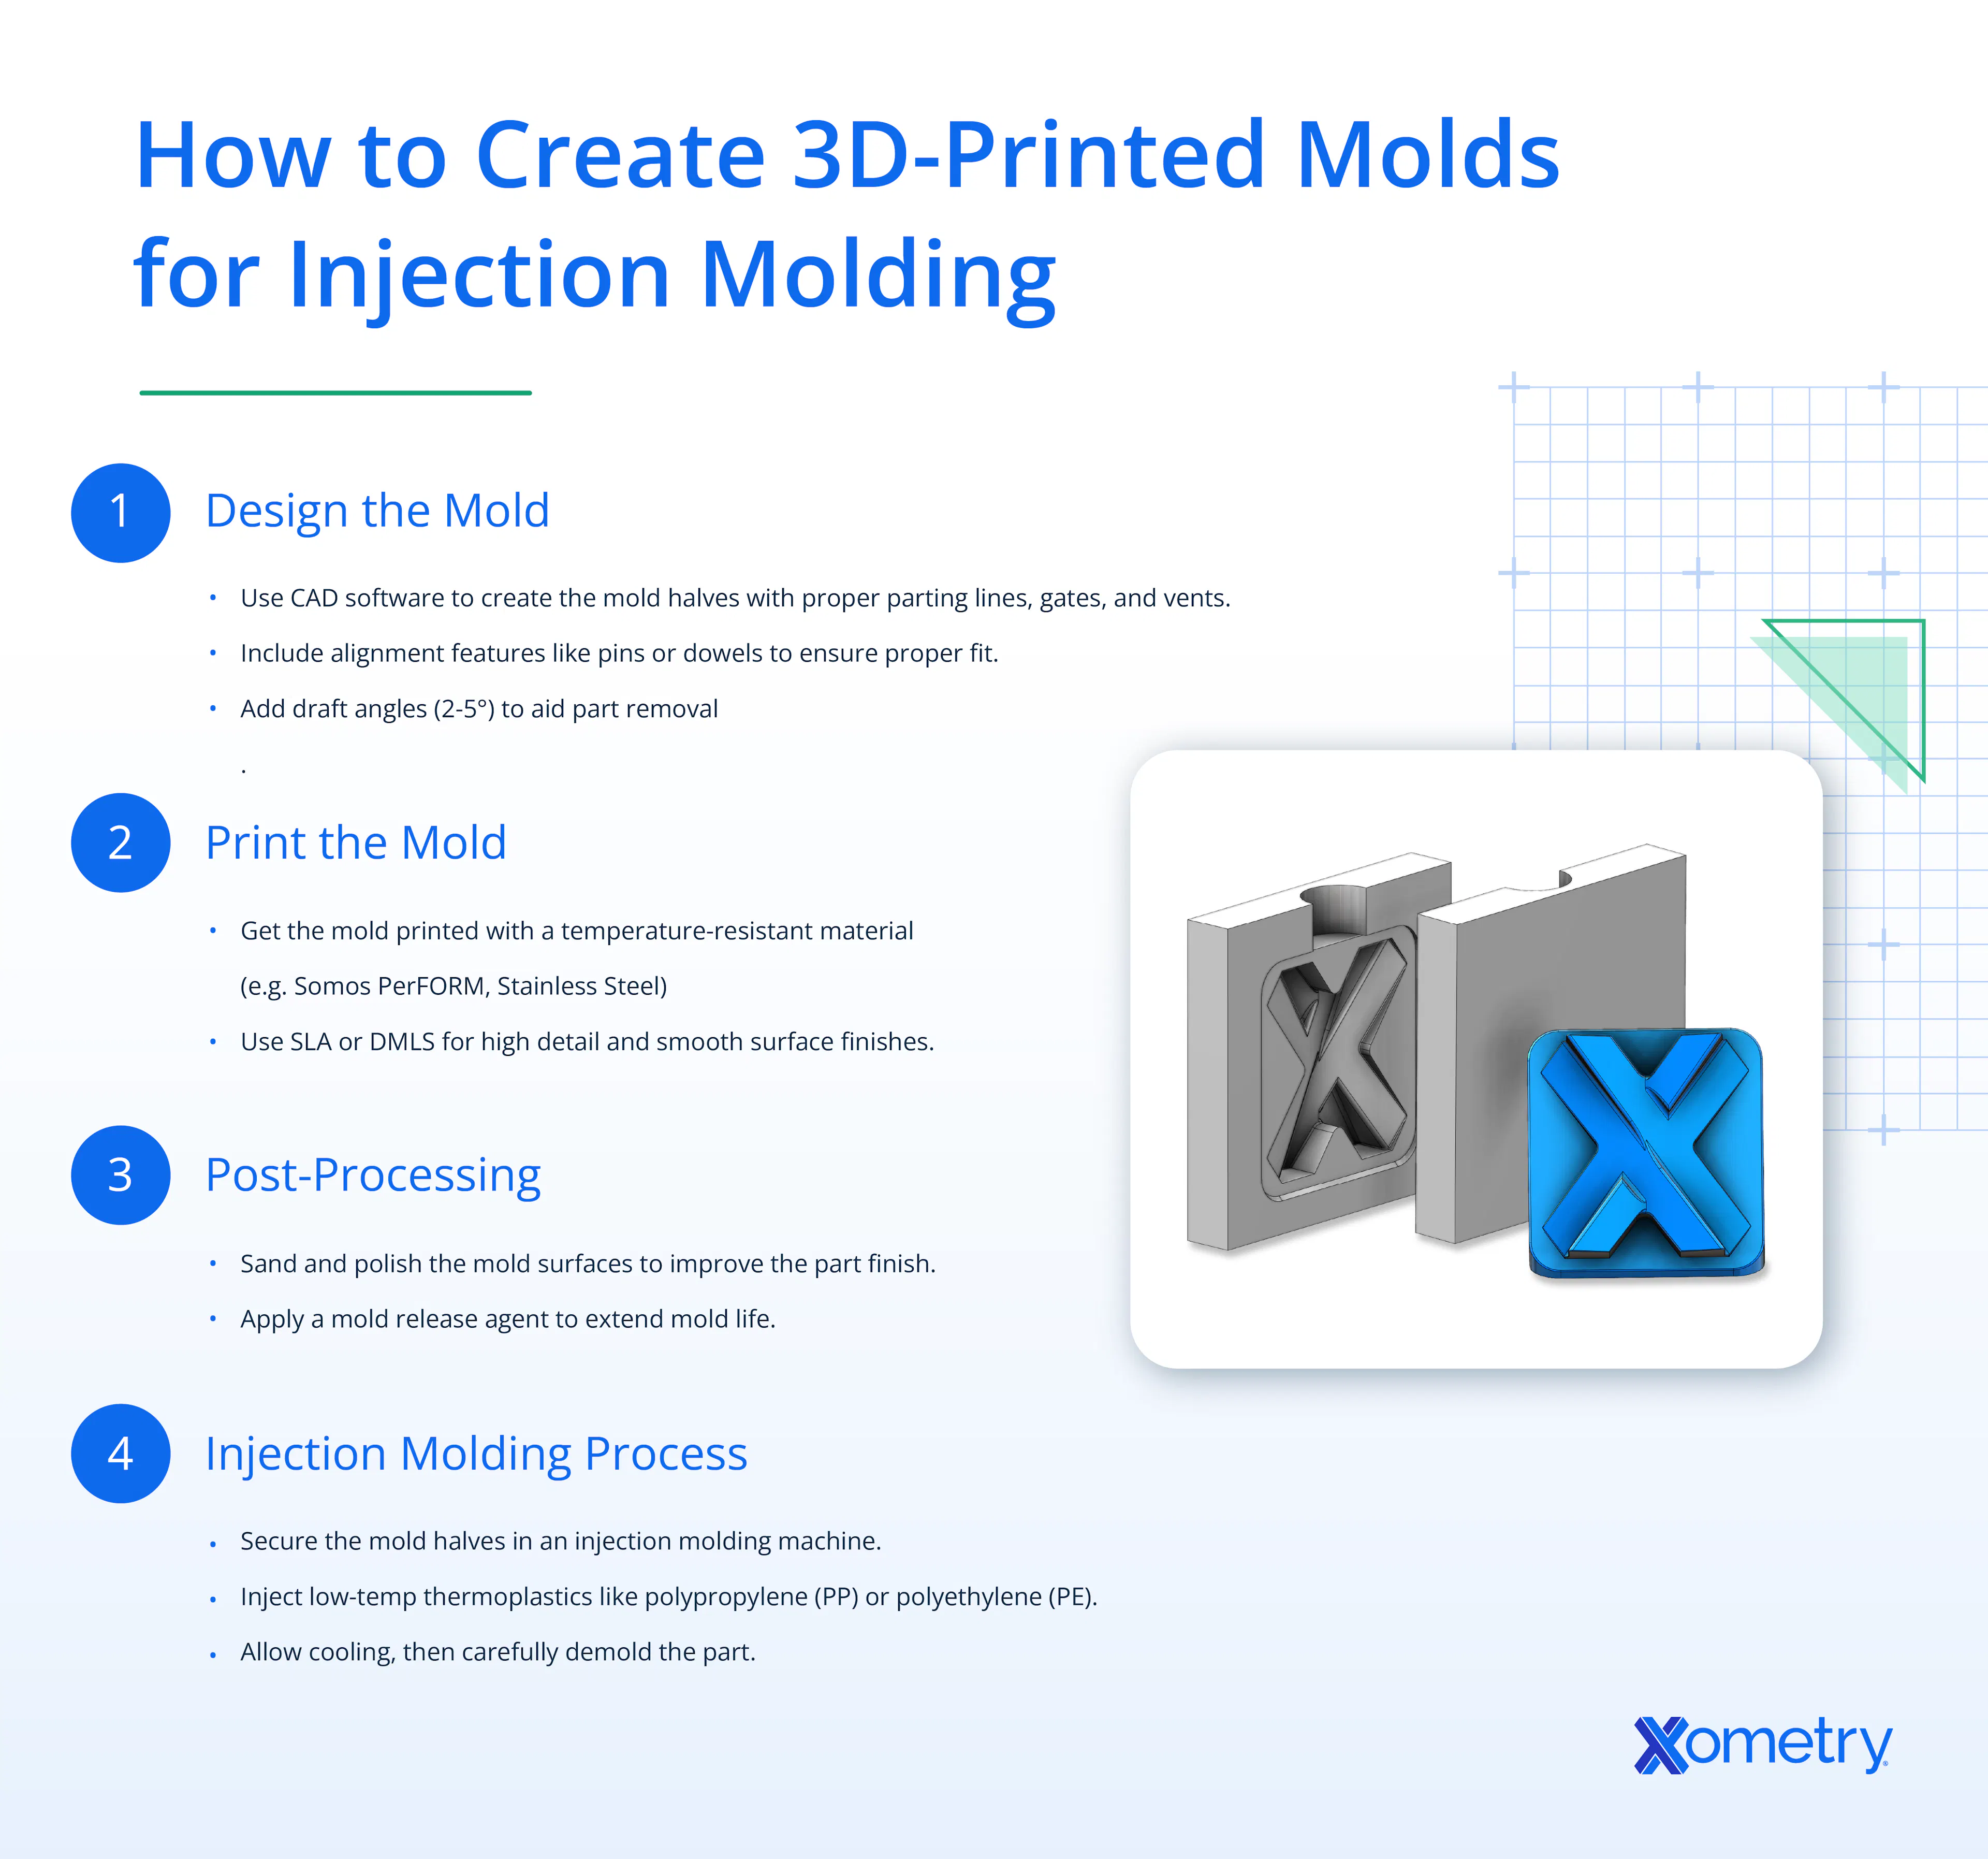
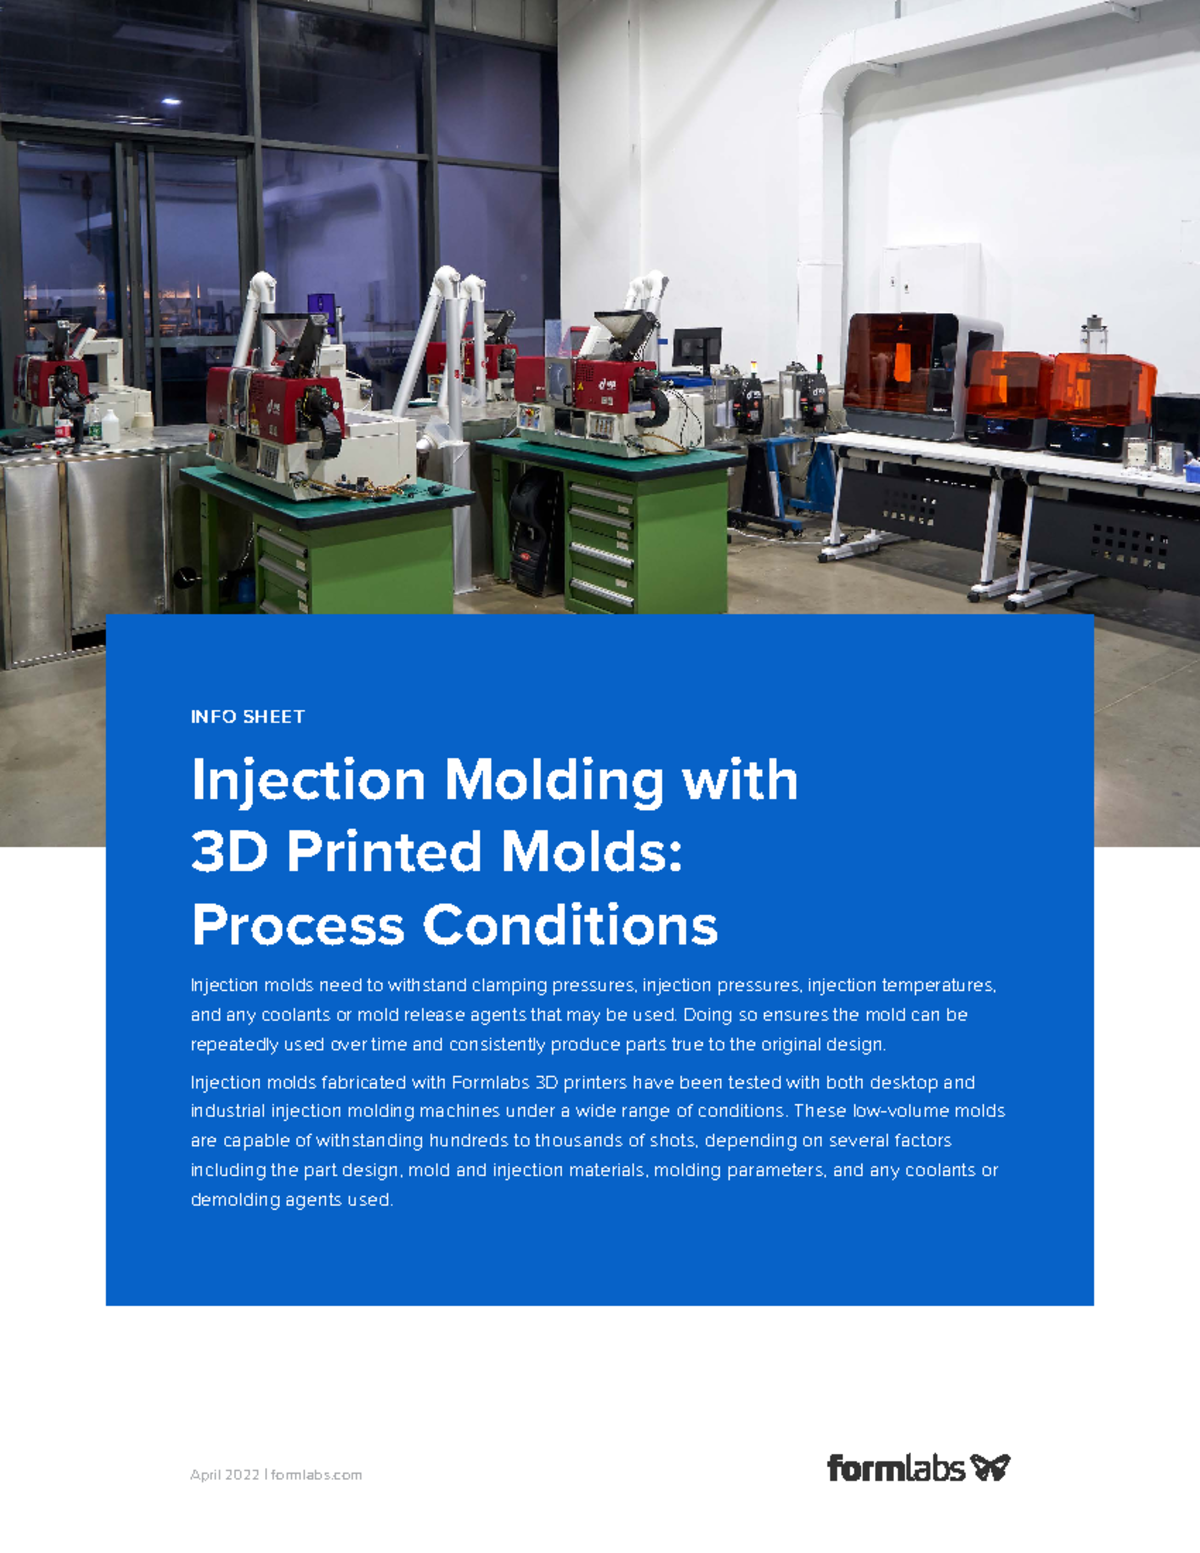
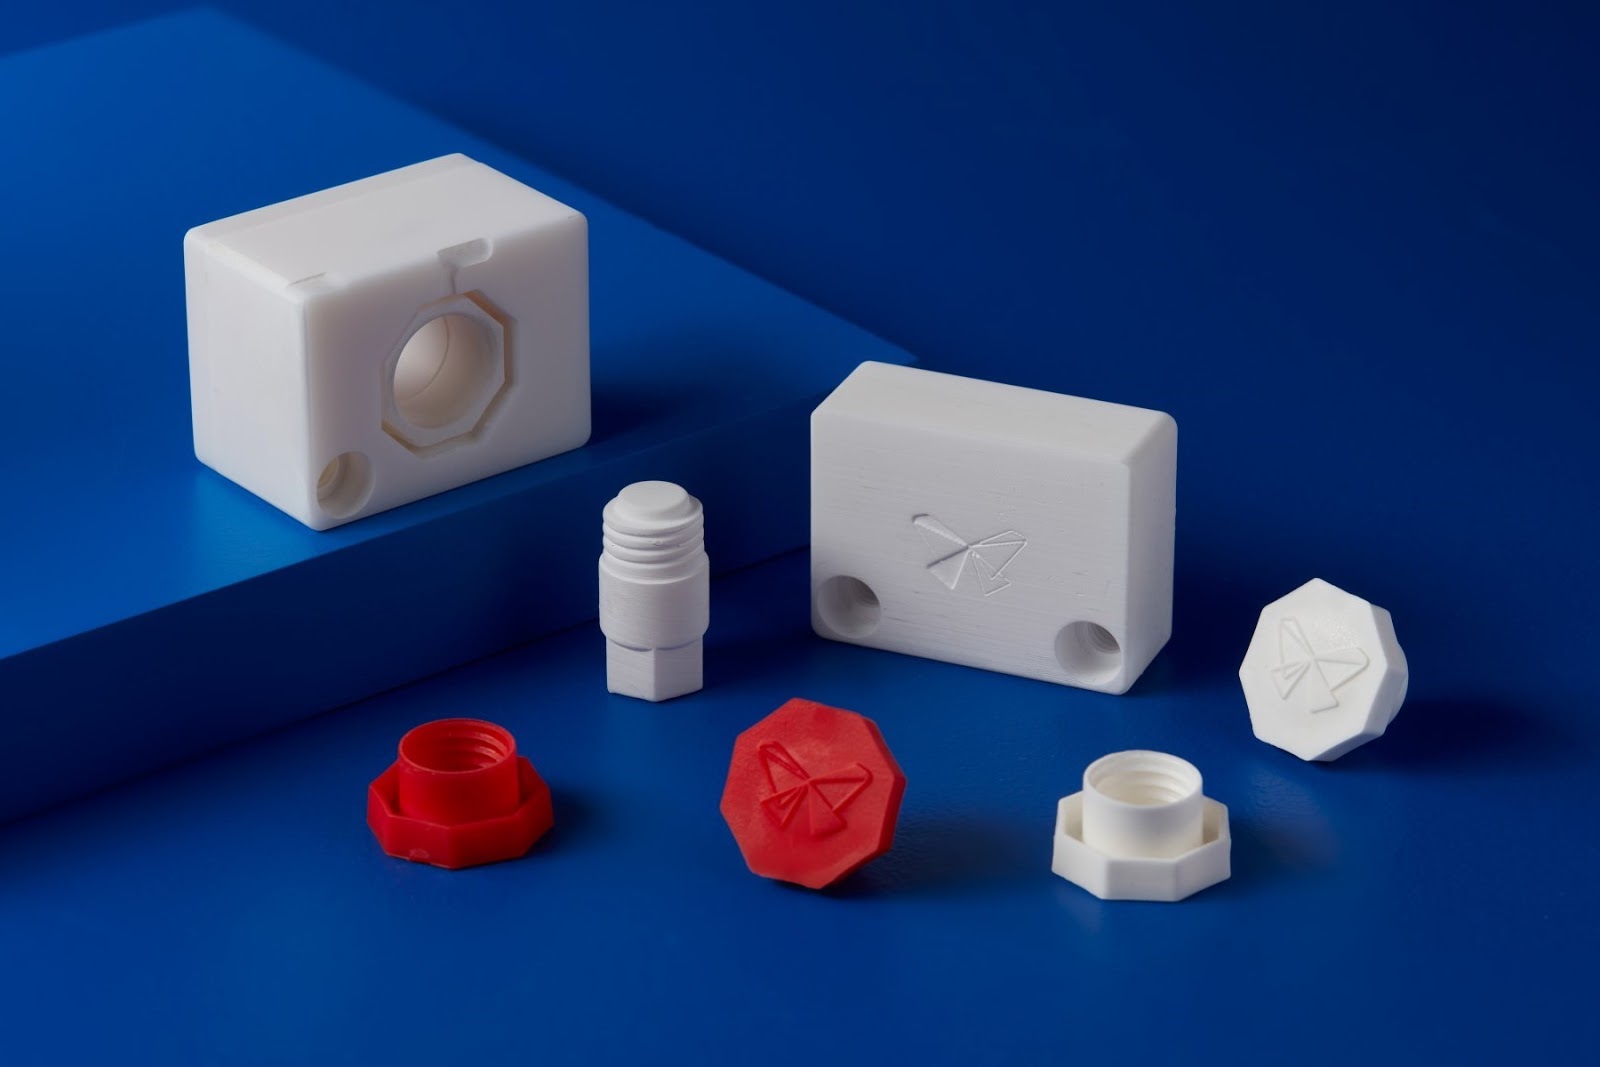
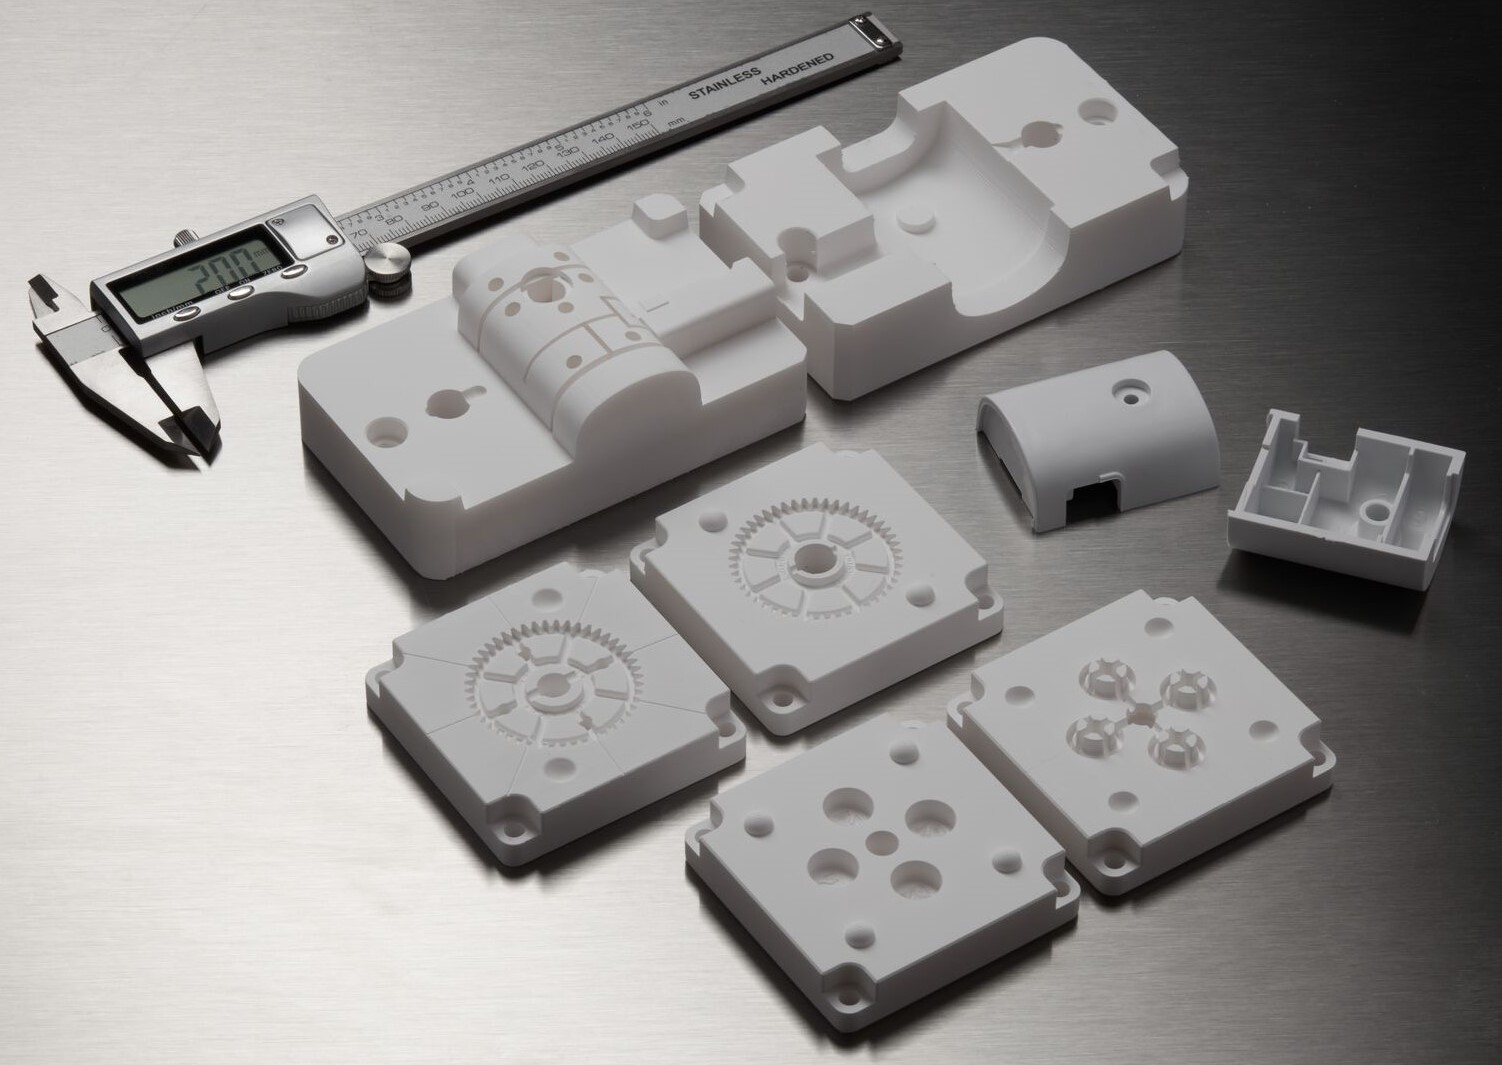
Producing functional prototypes or small-batch end-use parts through traditional steel tooling can be cost-prohibitive and slow, making 3d printed molds for injection molding a viable alternative for low-volume manufacturing using desktop or benchtop machines.
Injection molding has long stood as the gold standard for high-volume polymer manufacturing, capable of producing millions of identical components with exceptional precision and mechanical consistency. However, traditional production-grade steel and aluminum tooling comes with a major financial hurdle. Machining metal molds often costs thousands or even tens of thousands of dollars and requires weeks or months of lead time. For product developers, engineers, and small-business owners looking to test functional prototypes, validate designs, or manufacture low-volume end-use components in quantities under one thousand, standard metal tooling is frequently impractical.
To bridge this gap, additive manufacturing has emerged as a disruptive force. By leveraging advanced polymer 3D printing technologies, makers can design, print, and test custom injection molds in a matter of hours for a fraction of the cost. Utilizing 3D-printed tooling allows for rapid design iterations, enabling engineers to discover flaws, test snap-fits, and evaluate material performance before committing to expensive production tooling. Understanding the ten most effective approaches, material classifications, and technological frameworks for 3D printed molds for injection molding helps ensure successful short-run manufacturing operations.
Understanding the Fundamentals of 3D Printed Injection Molds
Before selecting a specific manufacturing method or material, it is vital to understand how 3D-printed molds interact with the extreme pressures and temperatures of a standard injection molding machine. Unlike traditional metal tooling, which can withstand clamping forces of dozens or hundreds of tons and injection pressures exceeding 20,000 PSI, polymers and resins used in 3D printing possess vastly different mechanical properties.
When molten plastic is forced into a mold cavity, it transfers thermal energy to the mold walls while exerting massive hydraulic pressure to push the tool apart. If a printed mold lacks sufficient tensile strength, thermal resistance, or layer adhesion, it will deform, crack, or flash—allowing molten plastic to seep between the parting lines. Therefore, successful rapid tooling relies heavily on matching the material properties of the print to the thermal and mechanical demands of the injected thermoplastic, such as low-melting-point polymers like polyethylene (PE) and polypropylene (PP), rather than high-temperature engineering resins like polycarbonate (PC) or polyetheretherketone (PEEK).
1. Stereolithography (SLA) Photopolymer Molds
Stereolithography (SLA) is one of the most popular additive manufacturing technologies for creating high-detail injection molds. SLA printers use a ultraviolet laser to cure liquid photopolymer resin layer by layer, resulting in exceptionally smooth surface finishes and fine geometric tolerances.
- Material Selection: Standard clear resins are typically inadequate due to low heat deflection temperatures (HDT). Instead, specialized high-temperature, glass-reinforced, or ceramic-filled photopolymers—such as Formlabs High Temp Resin or Somos PerFORM—are required. These materials offer HDT values exceeding 230°C (446°F) under load.
- Best Applications: Ideal for short runs (10 to 50 parts) of low-melting-point thermoplastics like low-density polyethylene (LDPE) and thermoplastic elastomers (TPE).
- Advantages: Exceptional surface finish straight off the print bed, highly intricate detail reproduction, and minimal post-processing required.
- Limitations: Photopolymers are inherently brittle. Under repeated thermal cycling and high clamping pressures, SLA molds are prone to sudden catastrophic failure rather than gradual wear.
2. Digital Light Processing (DLP) High-Speed Resin Molds
Digital Light Processing (DLP) shares similarities with SLA in that it cures liquid photopolymers using light, but instead of a point-by-point laser, a DLP projector flashes a single complete image of each layer onto the resin vat simultaneously. This allows for significantly faster print times, making it an attractive option for rapid prototyping loops.
- Material Selection: High-temperature engineering resins designed for rapid prototyping and dental or industrial casting applications work best.
- Best Applications: Rapid prototyping of small consumer goods, gaskets, seals, and flexible elastomer components.
- Advantages: Rapid print speeds enable same-day mold iteration; isotropic mechanical properties reduce directional weakness in the mold halves.
- Limitations: Build volume limitations restrict mold sizes; resin shrinkage during post-curing must be meticulously compensated for in the CAD design phase.
3. Fused Deposition Modeling (FDM) Direct-Print Molds
Fused Deposition Modeling (FDM) builds parts by extruding thermoplastic filament through a heated nozzle. While standard FDM prints often exhibit visible layer lines and internal porosity, industrial-grade FDM printers utilizing high-performance engineering thermoplastics offer a robust and affordable tooling solution.
- Material Selection: High-temperature filaments such as Polycarbonate (PC), Polyetherimide (PEI/Ultem), or carbon-fiber-reinforced PEEK/PEKK.
- Best Applications: Low-pressure manual injection molding, silicone pouring, and short runs of rigid thermoplastics.
- Advantages: Low material cost, large build volumes available on industrial machines, and toughness that prevents brittle shattering under stress.
- Limitations: Layer lines transfer directly to the molded part, requiring extensive sanding, sealing, or vapor smoothing. Porosity can also trap air, causing surface blemishes on the molded parts.
4. Selective Laser Sintering (SLS) Polymer Powder Molds
Selective Laser Sintering (SLS) uses a high-powered laser to fuse small particles of polymer powder—typically Nylon (Polyamide 12)—together. Because the surrounding unsintered powder acts as a natural support structure, SLS allows for complex internal cooling channels that are impossible to machine in traditional metal tooling.
- Material Selection: Glass-filled or carbon-filled Polyamide 12 (PA12) powders provide the necessary rigidity and thermal stability.
- Best Applications: Molds requiring conformal cooling channels to regulate cycle times for small-to-medium production runs.
- Advantages: Excellent durability, high impact resistance, and freedom from physical support structures during printing.
- Form Factor Note: Nylon is porous by nature. Molds printed via SLS must often be epoxy-sealed or impregnated to prevent molten plastic from leaking into the microscopic interstitial voids of the tool.
5. Binder Jetting Metal Molds (Direct Tooling)
Moving beyond pure polymers, Binder Jetting is a metal additive manufacturing process where a liquid binding agent is selectively deposited onto a bed of metal powder. The resulting "green" part is then sintered in a furnace and bronze-infiltrated to achieve full density.
- Material Selection: Stainless steel-bronze composites (e.g., 316L stainless steel infiltrated with bronze).
- Best Applications: Mid-volume production runs (100 to 1,000+ parts), complex multi-cavity tooling, and production environments requiring high clamping forces.
- Advantages: Offers mechanical strength and thermal conductivity approaching traditional machined tool steel, drastically reducing cycle times.
- Limitations: High initial machine and processing costs; requires specialized thermal management and post-processing finishing.
6. Direct Metal Laser Sintering (DMLS / SLM) Molds
Direct Metal Laser Sintering (DMLS) and Selective Laser Melting (SLM) utilize high-powered fiber lasers to fully melt and fuse fine metal powders layer by layer. This represents the pinnacle of high-performance rapid tooling, yielding fully dense metal molds with mechanical properties identical to wrought metals.
- Material Selection: Maraging Steel (such as 1.2709 / MS1), H13 Tool Steel, and Cobalt Chrome.
- Best Applications: High-volume bridge tooling, production injection molding inserts, and complex tooling requiring intricate conformal cooling loops.
- Advantages: Extreme hardness, wear resistance, and longevity. Maraging steel molds can easily withstand hundreds of thousands of injection cycles when properly maintained.
- Limitations: High capital expense, lengthy build times, and the absolute necessity for post-machining of critical mating surfaces and parting lines.
7. Hybrid Molds (Additive Cores in Machined Bases)
One of the most economically efficient strategies in modern tooling is the hybrid approach. Rather than printing an entire mold block from scratch, engineers machine a standardized, reusable aluminum or steel master mold base and utilize 3D printing exclusively for the complex internal core and cavity inserts.
- Material Selection: High-temp SLA resins, DMLS maraging steel, or metal-filled FDM filaments depending on the budget and expected volume.
- Best Applications: Products featuring complex organic geometries, internal undercuts, or intricate textures that are difficult to CNC mill.
- Advantages: Drastically reduces print time and material consumption while utilizing the structural rigidity of a metal master base to handle machine clamping forces.
- Limitations: Requires precise design tolerances to ensure the 3D printed insert seats securely inside the master base without shifting under injection pressure.
8. Silicone Master Molds via 3D Printed Patterns
While not a direct mold for injection, creating a master pattern via high-resolution 3D printing to cast a high-temperature RTV (Room Temperature Vulcanization) silicone or polyurethane mold is a classic rapid-tooling workflow.
- Material Selection: High-resolution stereolithography master patterns coupled with industrial platinum-cure high-temp silicones.
- Best Applications: Casting low-melting resins, urethanes, waxes, and low-temp thermoplastics in ultra-low volumes (1 to 20 parts).
- Advantages: Extremely low setup cost; highly forgiving of minor undercuts if flexible silicone is utilized.
- Limitations: Silicone molds degrade rapidly under the heat of thermoplastic injection, limiting this method primarily to urethane casting or very low-temp plastics like Polycaprolactone (PCL).
9. Ceramic-Filled Composite Filament Molds
With the advent of desktop metal and composite printing, filaments embedded with high percentages of ceramic, copper, or bronze particles have entered the market. When printed using FDM technology, these filaments provide enhanced thermal conductivity compared to standard unfilled polymers.
- Material Selection: Copper-filled or ceramic-reinforced PLA and nylon filaments.
- Best Applications: Educational projects, proof-of-concept testing, and manual benchtop injection presses (such as the Babyplast or manual extrusion setups).
- Advantages: Improved heat dissipation allows the mold to cool faster between cycles, slightly increasing production efficiency.
- Limitations: Brittleness can increase depending on the particulate load; layer adhesion may be compromised compared to pure engineering thermoplastics.
10. Digital Composite Molds with Aluminum Reinforcement
To combine the geometric freedom of 3D printing with the structural load-bearing capacity of metal, advanced manufacturers utilize composite design strategies where a 3D-printed outer shell or core framework is structurally reinforced with solid aluminum backing plates or support ribs.
- Material Selection: Industrial-grade carbon-fiber-reinforced polymers (CF-Nylon or CF-PEEK) combined with structural 6061 aluminum plates.
- Best Applications: Structural components requiring high injection pressures where pure polymer molds would deflect.
- Advantages: Prevents mold bowing and flash formation by transferring clamping loads directly to the metal reinforcement plates.
- Limitations: Complex multi-part assembly required; demands advanced CAD modeling and precise alignment to prevent parting line mismatch.
Comparative Matrix of 3D Printed Injection Mold Technologies
To help evaluate which mold type fits your specific production volume, budget, and material requirements, refer to the comparative matrix below.
| Mold Technology | Typical Material | Max Recommended Cycles | Ideal Thermoplastics | Primary Advantage | Main Limitation |
|---|---|---|---|---|---|
| 1. SLA Photopolymer | High-Temp Resin | 10 – 50 | LDPE, TPE, PP | Excellent surface finish | Brittle, prone to sudden failure |
| 2. DLP Resin | Engineering Resin | 15 – 60 | LDPE, EVA, TPE | Fast print speeds | Small build volume |
| 3. FDM Filament | Ultem / PC | 5 – 25 | PP, LDPE | Low cost, tough | Requires post-smoothing |
| 4. SLS Powder | Glass-Filled Nylon | 25 – 100 | PP, HDPE, LDPE | Conformal cooling capability | Porous, requires sealing |
| 5. Binder Jetting Metal | Stainless Steel-Bronze | 100 – 1,000+ | ABS, PP, POM | Near-metal strength | Sintering shrinkage management |
| 6. DMLS / SLM Metal | Maraging Steel | 10,000+ | All engineering plastics | Production-grade durability | High capital cost |
| 7. Hybrid Inserts | Varies (Resin/Metal) | 50 – 500 | PP, PE, ABS | Balances cost and strength | Requires precise frame fit |
| 8. Silicone / RTV | Platinum Silicone | 1 – 15 | Urethanes, Waxes | Extremely low setup cost | Degradation under heat |
| 9. Ceramic-Filled | Copper/Ceramic PLA | 10 – 40 | LDPE, PCL | Better thermal transfer | Lower impact resistance |
| 10. Reinforced Composite | CF-Nylon + Aluminum | 50 – 200 | PP, ABS, PE | High pressure resistance | Complex multi-part assembly |
Operational Best Practices for 3D Printed Molds
Maximizing the lifespan and performance of a 3D-printed injection mold requires adhering to strict operational parameters. Neglecting these guidelines often results in ruined molds and damaged injection molding equipment.
- Draft Angles: Incorporate a minimum draft angle of 2 to 5 degrees on all vertical walls. Because 3D-printed surfaces exhibit microscopic layer friction, parts will grip the mold much tighter than polished steel surfaces.
- Injection Pressure and Speed: Lower the injection speed and reduce injection pressure to the absolute minimum required to fill the cavity. High-velocity plastic injection can erode polymer mold walls within a few cycles.
- Clamping Force Management: Calibrate your injection molding machine's clamp tonnage carefully. Excessive clamping force can crush polymer or resin mold halves, especially around thin edges and parting lines.
- Thermal Management and Cooling: Allow adequate dwell time between cycles. Polymer molds act as thermal insulators; if heat accumulates faster than it can dissipate, the mold will soften, warp, or melt during operation.
Common Mistakes to Avoid
Even experienced engineers occasionally stumble when transitioning from traditional steel tooling to additive rapid tooling. Avoiding these frequent pitfalls saves time and resources:
- Ignoring Polymer Shrinkage: Different thermoplastics shrink at varying rates upon cooling (e.g., Polypropylene shrinks up to 2%, while ABS shrinks around 0.5%–0.7%). Failing to scale the CAD model to account for material shrinkage will result in out-of-spec parts.
- Skipping Mold Release Agents: Always apply a suitable mold release spray (such as silicone or PTFE-based sprays) before every cycle when working with resin or polymer tools to prevent parts from permanently adhering to the mold cavity.
- Using High-Temperature Plastics Too Early: Attempting to inject high-melting-point engineering plastics like Nylon or Polycarbonate into a polymer-based 3D printed mold will instantly destroy the tool. Reserve polymer molds exclusively for low-melting polymers.
Frequently Asked Questions
What is the lifespan of a 3D printed injection mold?
The lifespan varies drastically based on the printing technology and material used. Standard SLA and FDM polymer molds typically yield anywhere from 5 to 50 parts before degradation occurs. Conversely, direct metal laser-sintered (DMLS) steel molds can last for thousands or tens of thousands of cycles, functioning essentially like traditional production tooling.
Which plastics can be molded using 3D printed polymer molds?
Low-melting-point thermoplastics are the safest and most effective choices. This includes Low-Density Polyethylene (LDPE), High-Density Polyethylene (HDPE), Polypropylene (PP), Thermoplastic Elastomers (TPE), and Ethylene-Vinyl Acetate (EVA). Avoid engineering resins that require high melt temperatures unless using metal-printed tooling.
Do 3D printed molds require post-processing?
Yes. Most polymer molds require some degree of post-processing. SLA and FDM molds often benefit from light sanding, polishing, or clear-coating to eliminate layer lines and prevent surface texture from transferring to the molded part. SLS and composite molds frequently require epoxy impregnation to seal microscopic pores against plastic leakage.
How do you prevent a 3D printed mold from breaking under clamping pressure?
To prevent structural failure, design the mold with a thick wall profile, reinforce critical stress points, and use a metal backing plate or master mold frame to distribute the clamping load evenly across the 3D-printed inserts rather than clamping directly onto unsupported polymer walls.
Conclusion and Next Actions
Leveraging 3D printed molds for injection molding transforms how engineers approach rapid prototyping, functional testing, and low-volume manufacturing. By carefully aligning your production requirements—such as part volume, material choice, and budget—with the appropriate additive technology, you can drastically reduce lead times and tool fabrication costs. To get started, evaluate your part geometry, select a high-temperature photopolymer or reinforced composite material, design with generous draft angles, and test your first batch on a low-pressure benchtop injection press.