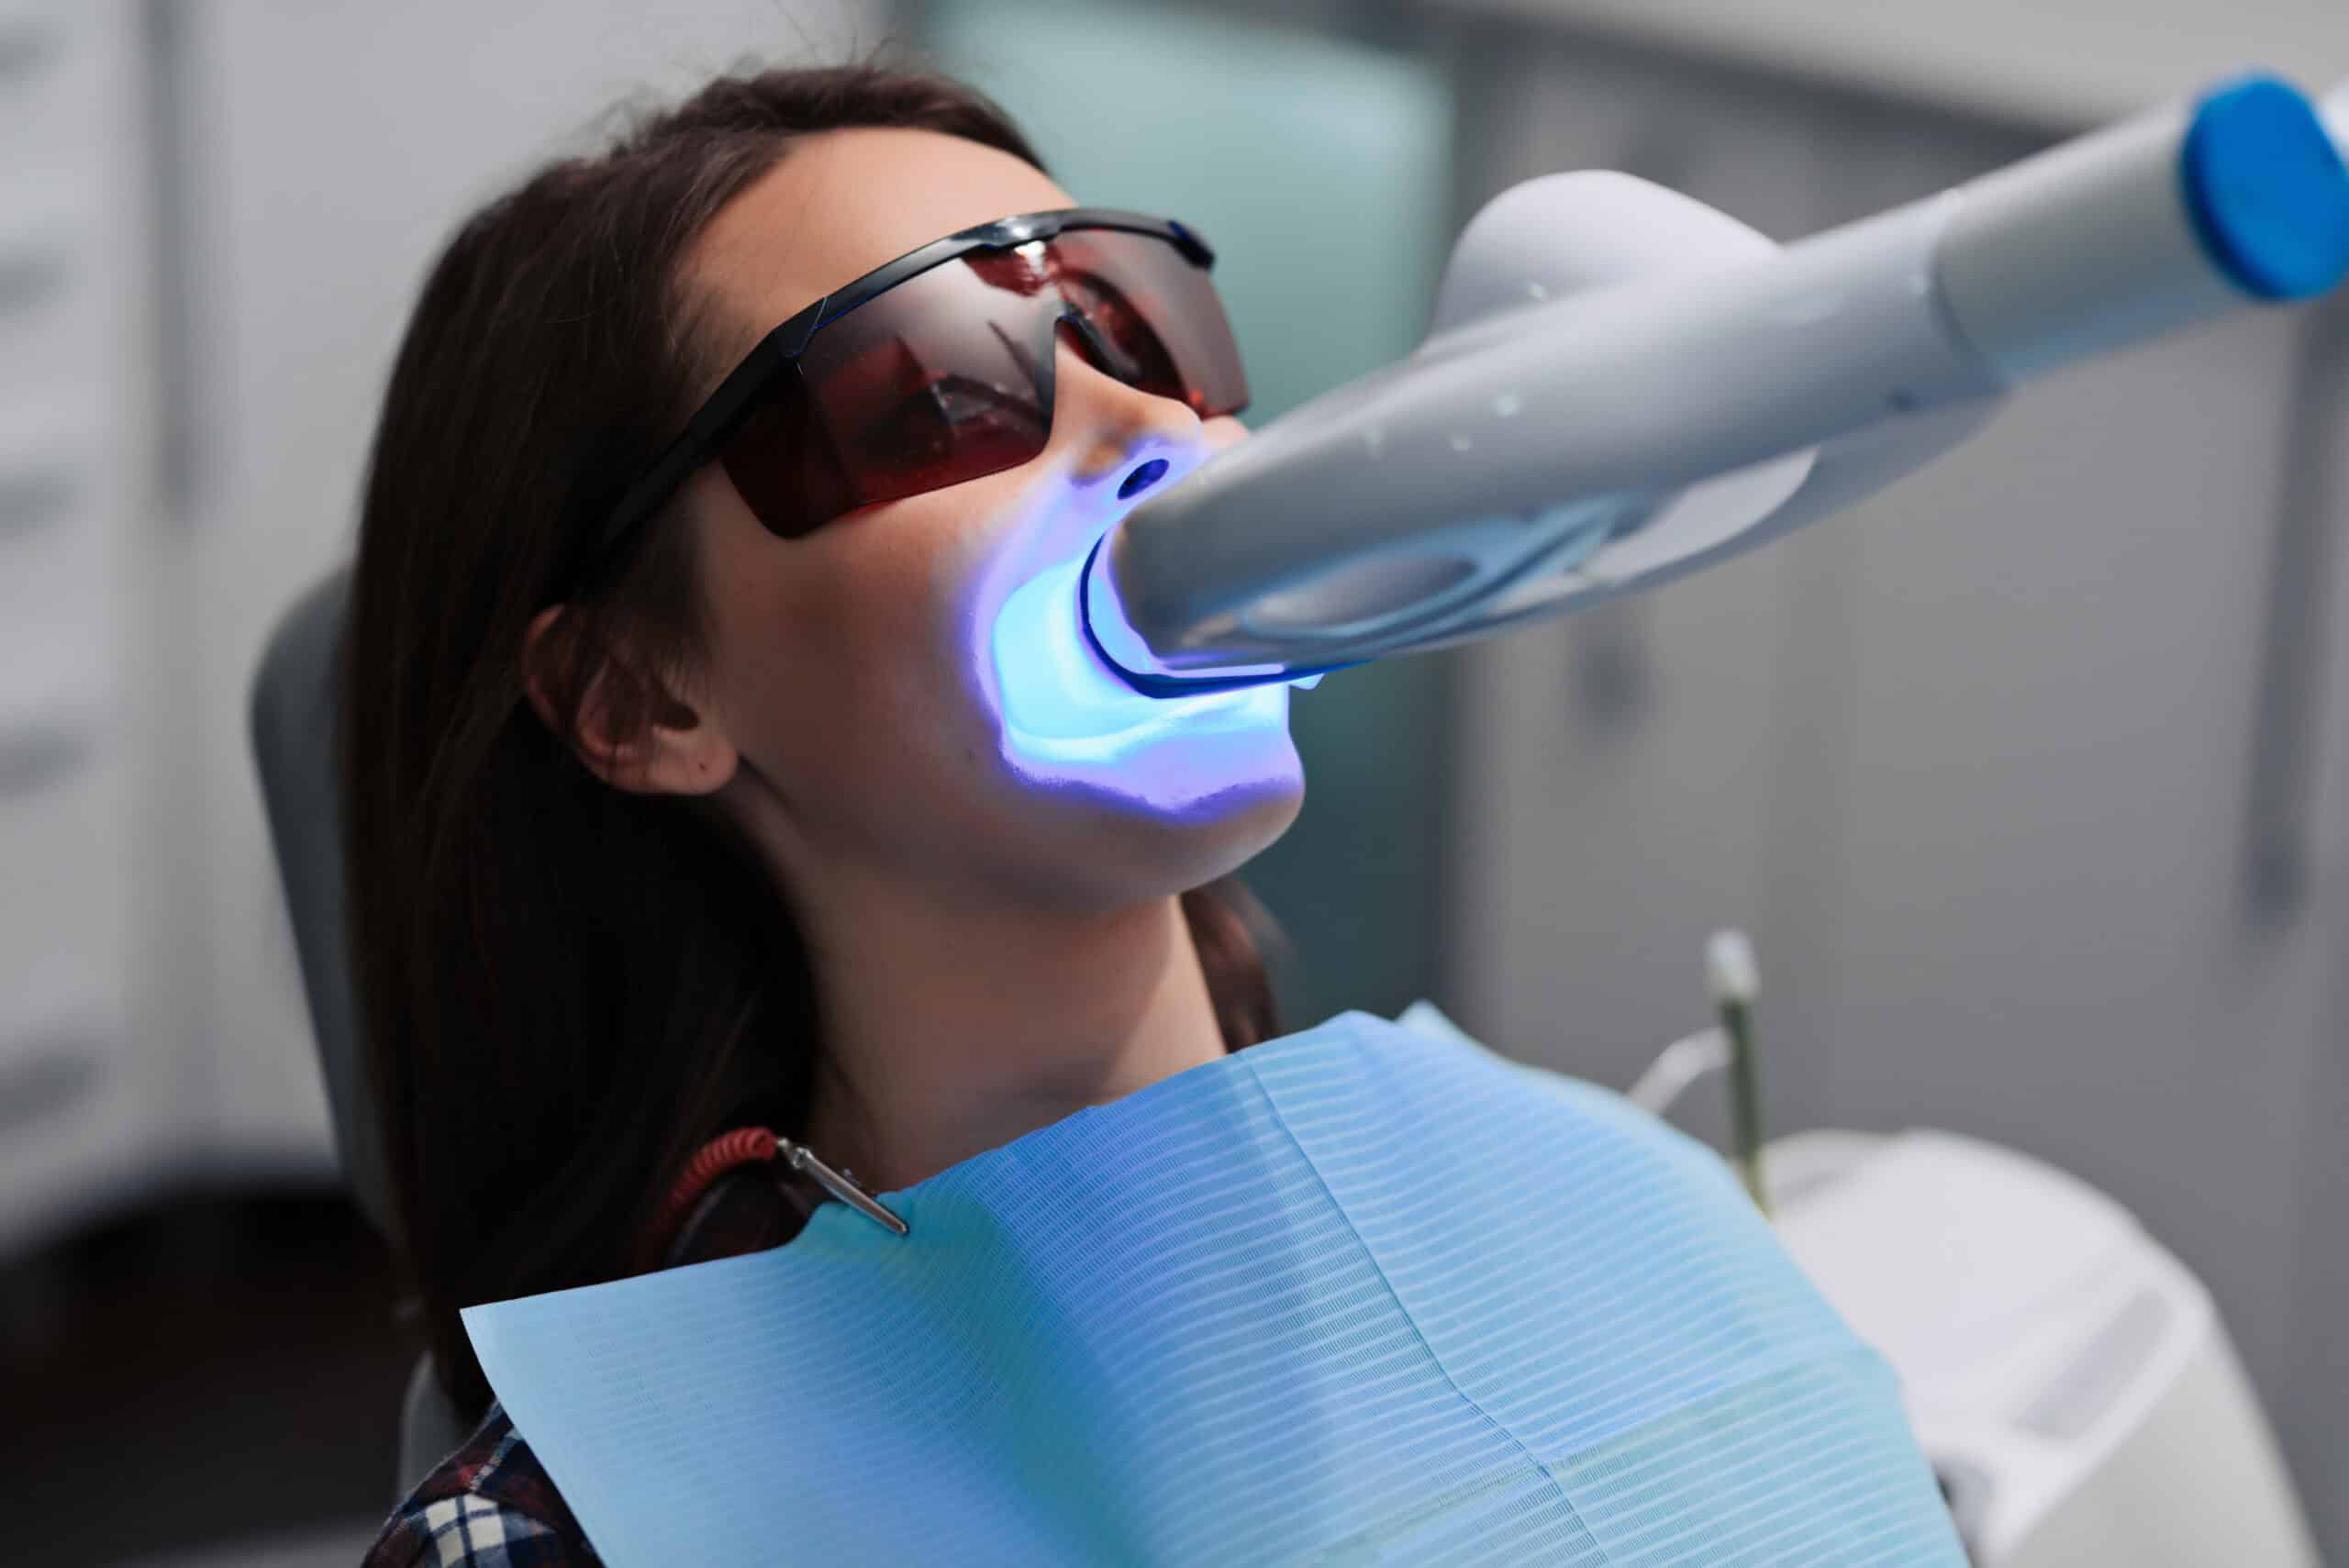
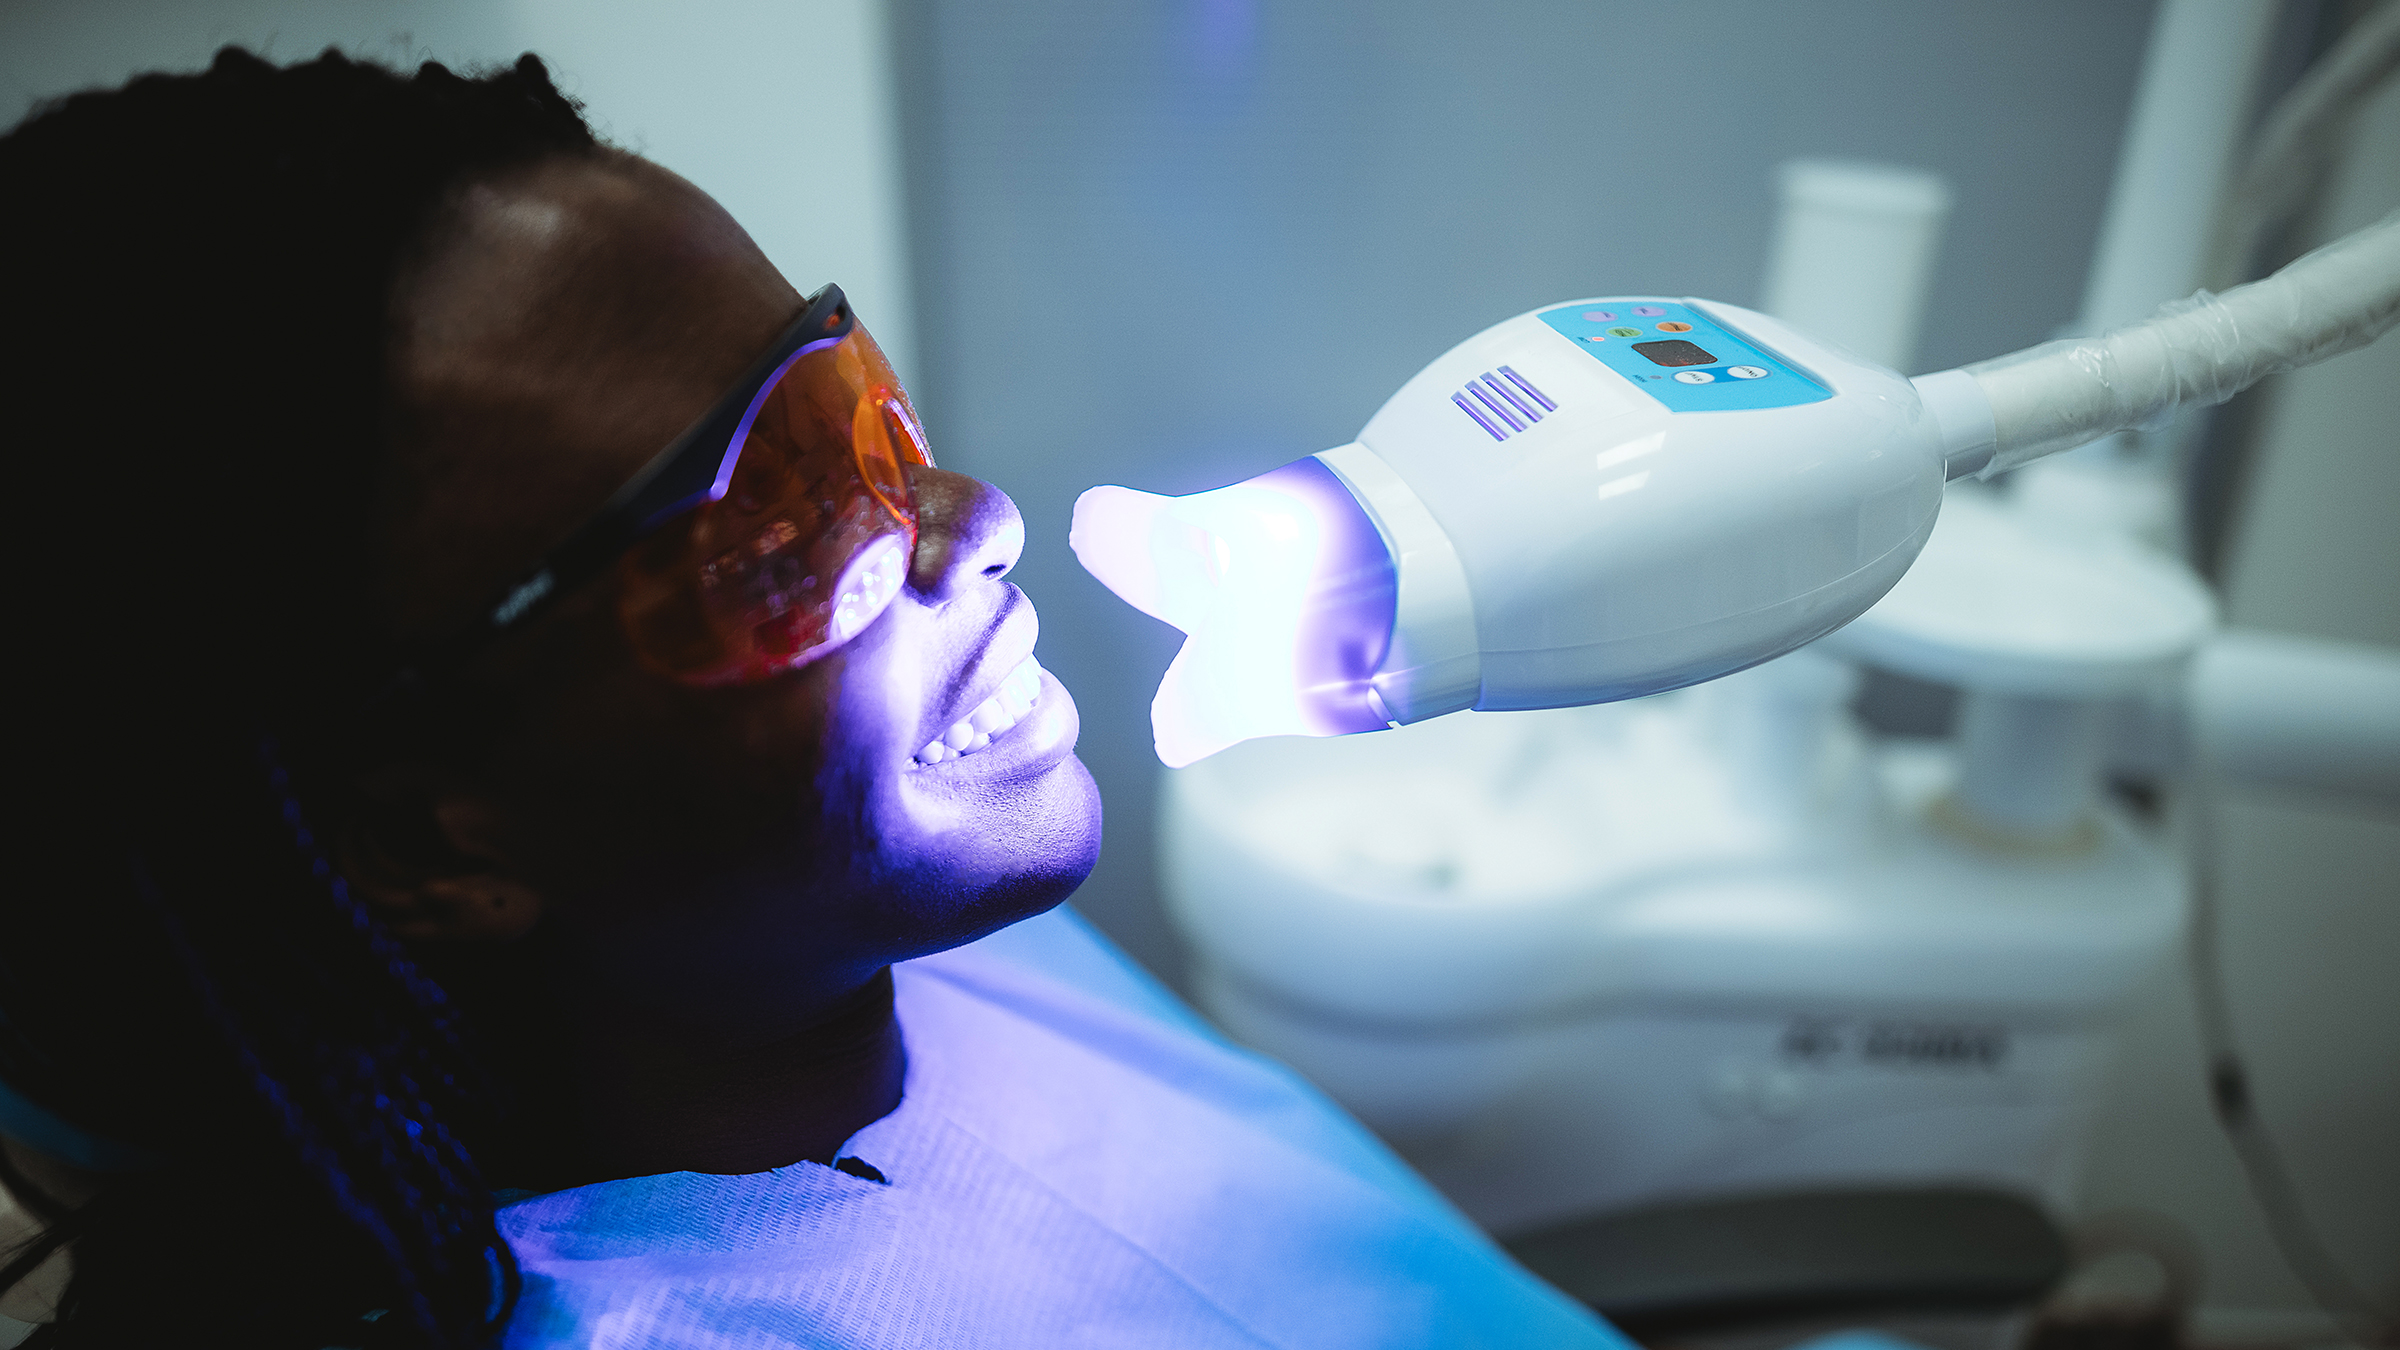
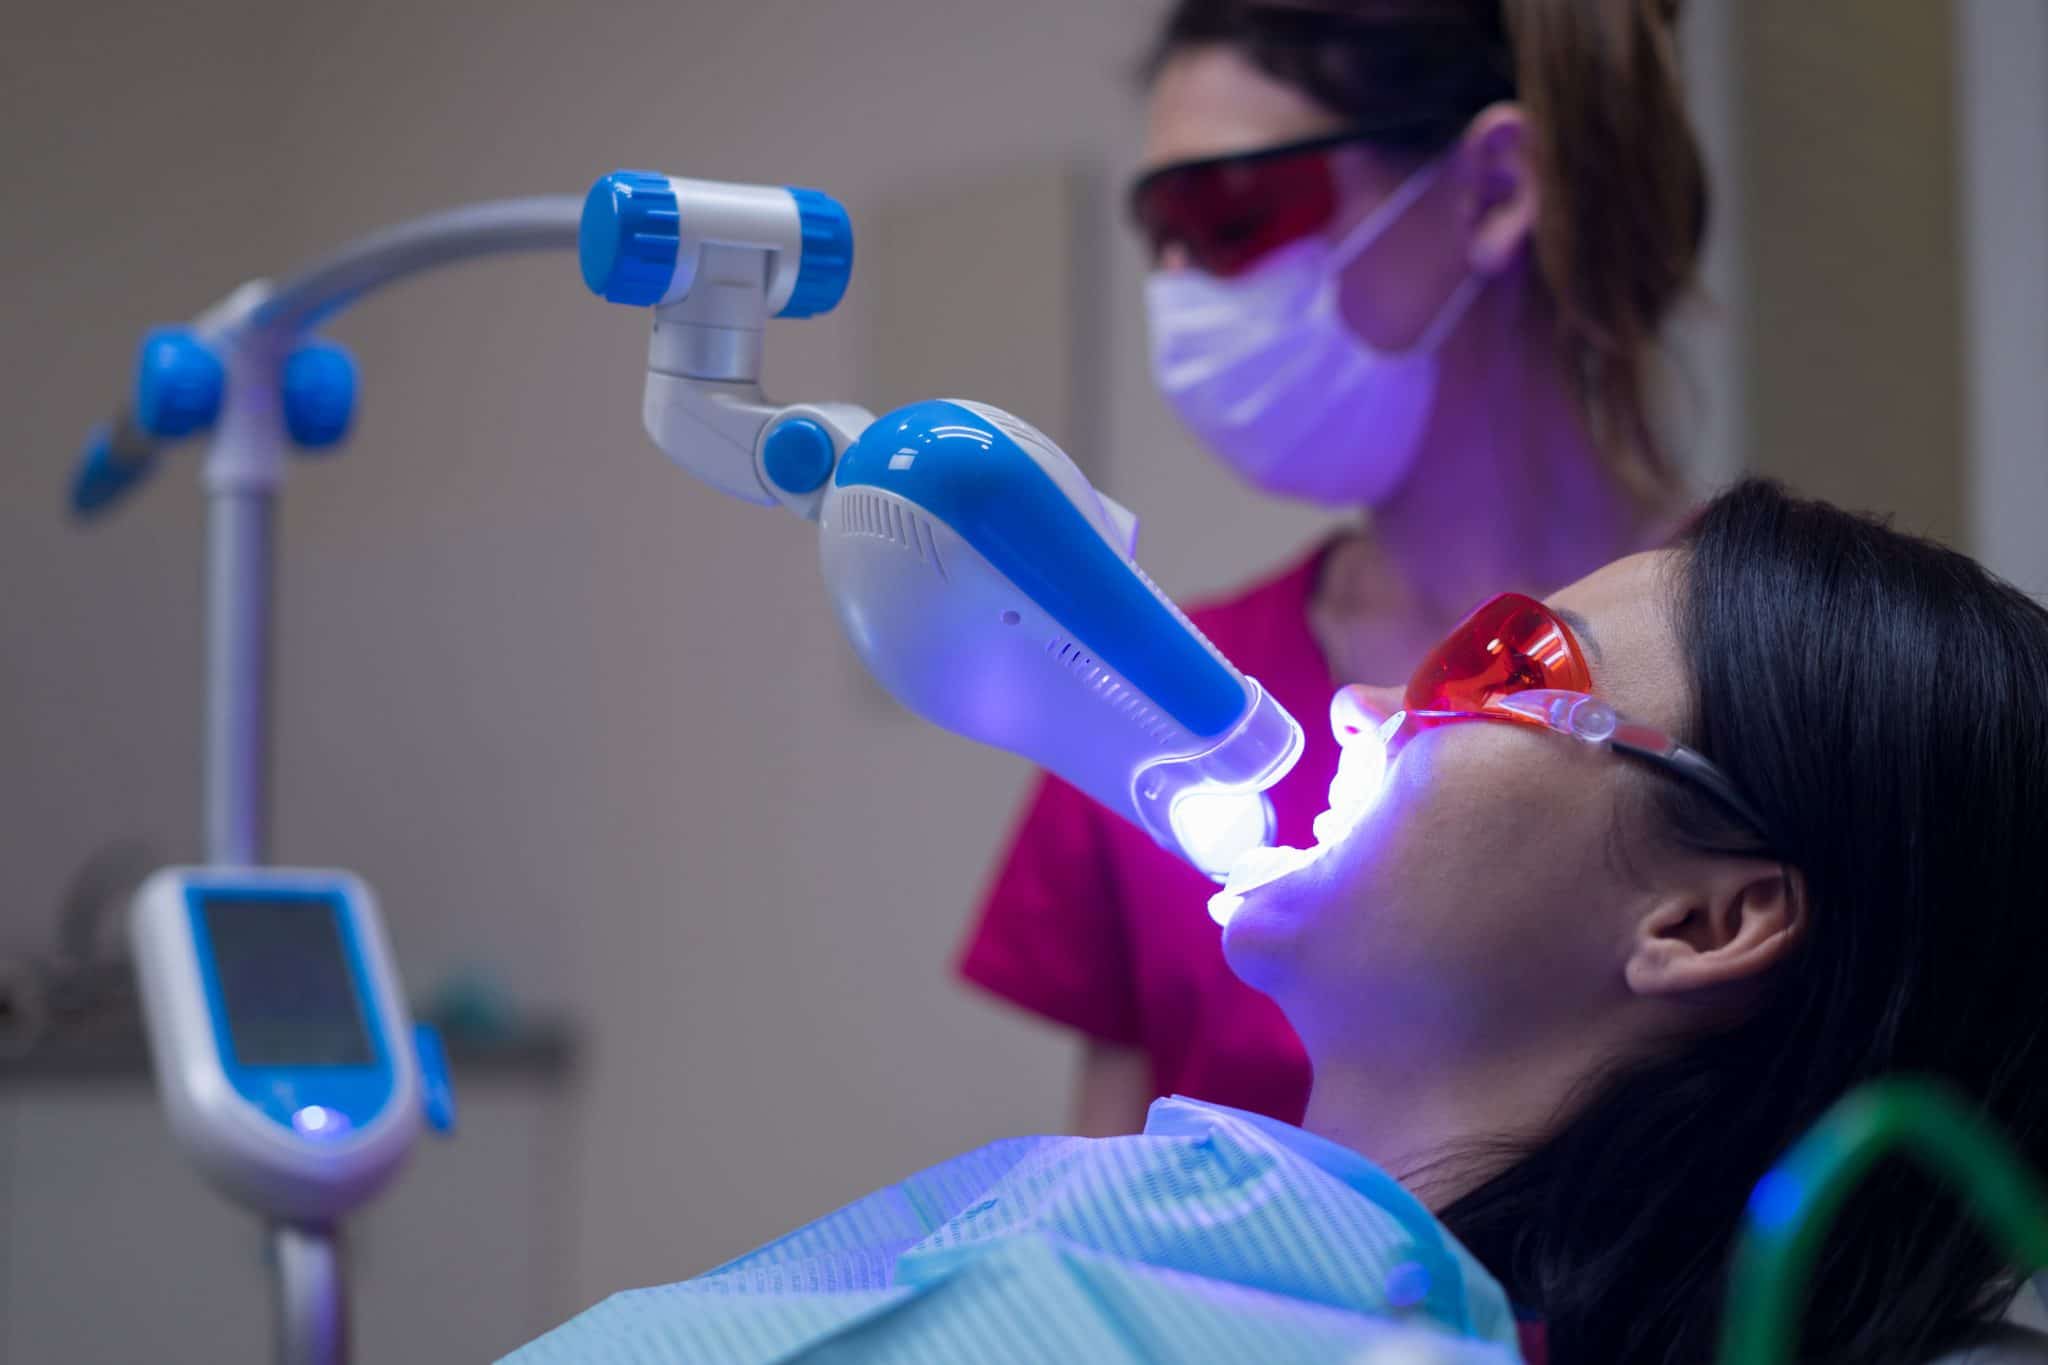
At-home laser teeth whitening kits use LED light technology to accelerate chemical bleaching agents, typically hydrogen or carbamide peroxide, to remove deep-seated stains. While true medical lasers remain exclusive to dental offices, these high-intensity LED systems provide a convenient, cost-effective way to achieve professional-level brightness from home.
For decades, the quest for a "Hollywood smile" was confined to expensive dental chairs. However, as of 2026, technology has bridged the gap between professional treatments and consumer convenience. The term "at-home laser teeth whitening" has become a popular shorthand for light-accelerated bleaching systems. While technically utilizing Light Emitting Diodes (LED) rather than true coherent laser beams, these systems are designed to catalyze whitening gels, providing faster and more dramatic results than traditional whitening strips or toothpastes.
This guide explores the mechanics, safety, costs, and efficacy of at-home whitening systems to help you determine if this technology is the right investment for your oral health and aesthetic goals.
Understanding the Technology: Laser vs. LED
The most common point of confusion for consumers is the distinction between a "laser" and the "blue light" devices found in home kits. In a clinical setting, a dentist may use a true laser (such as an Argon or CO2 laser) which emits a concentrated, monochromatic beam of light to generate heat and trigger the whitening gel almost instantly. These lasers are powerful and require professional calibration to avoid overheating the tooth pulp.
At-home kits, conversely, use LED (Light Emitting Diode) technology. LEDs produce a specific wavelength of blue light—usually between 450 and 490 nanometers—that mimics some of the catalytic properties of a laser without the dangerous heat levels. In 2026, these devices have become significantly more efficient, often featuring "cool light" technology that minimizes the risk of thermal sensitivity while maximizing the oxidation of the whitening gel.
The light itself does not whiten the teeth. Instead, it acts as a catalyst. When the light hits the whitening gel (usually containing hydrogen peroxide), it accelerates the breakdown of the chemical, releasing oxygen radicals more rapidly. These radicals penetrate the porous enamel to break apart the molecular bonds of chromogens—the compounds responsible for tooth discoloration.
The Chemistry of Whitening Gels
The efficacy of any at-home laser system depends heavily on the active ingredient in the gel. In 2026, two primary compounds dominate the market:
- Hydrogen Peroxide (HP): This is the "gold standard" for fast results. It breaks down quickly and releases a high concentration of whitening power in a short period. Most at-home "laser" kits use concentrations between 6% and 12%. Because it works fast, treatment times are often shorter (10 to 20 minutes).
- Carbamide Peroxide (CP): This is a more stable form of peroxide that breaks down into hydrogen peroxide and urea. It works more slowly and is often found in kits designed for longer wear times or for users with high tooth sensitivity. A 35% CP gel is roughly equivalent to a 10% HP gel in terms of final potency, but it is released over a longer duration.
- PAP+ (Phthalimidoperoxycaproic acid): A significant development in the mid-2020s, PAP+ is a non-peroxide alternative. It oxidizes stains without releasing the free radicals that can cause tooth sensitivity or gum irritation. Many modern LED kits now offer PAP+ options for consumers who cannot tolerate traditional peroxide.
Prerequisites: Are You a Candidate for At-Home Whitening?
Before initiating any whitening regimen, it is essential to assess your oral health. Whitening is a cosmetic procedure that should only be performed on a healthy foundation.
Dental Health Status
You should not use a whitening kit if you have untreated cavities, exposed roots, or active gum disease (gingivitis or periodontitis). The whitening gel can penetrate decayed areas or exposed dentin, reaching the nerve of the tooth and causing intense, sharp pain known as "zingers."
Existing Dental Work
It is a common misconception that whitening gels will brighten all surfaces in the mouth. Peroxide-based bleaches only work on natural tooth enamel. They will not change the color of porcelain veneers, composite resin fillings, crowns, or dentures. If you have a visible filling on a front tooth, whitening the surrounding enamel may result in a color mismatch, requiring you to replace the dental work to match your new shade.
Age and Pregnancy
Most dental associations, including the American Dental Association (ADA), recommend that whitening treatments be avoided by children whose pulp chambers are still developing. Similarly, while there is no definitive evidence of harm, most manufacturers advise against whitening during pregnancy or breastfeeding as a precautionary measure.
Comparing Whitening Methods
To understand the value of an at-home laser kit, it is helpful to compare it against other common whitening modalities available in 2026.
| Feature | At-Home LED/Laser Kit | Professional In-Office Laser | Whitening Strips | Whitening Toothpaste |
|---|---|---|---|---|
| Active Ingredient | 6-12% Hydrogen Peroxide | 25-40% Hydrogen Peroxide | 5-10% Hydrogen Peroxide | Abrasives / Low Peroxide |
| Light Source | Consumer-grade LED | Medical-grade Laser/Halogen | None | None |
| Treatment Time | 10–30 mins/day (1-2 weeks) | 60–90 mins (Single session) | 30 mins/day (2 weeks) | Ongoing daily use |
| Shade Improvement | 4–8 shades | 8–12 shades | 2–4 shades | 1–2 shades (surface only) |
| Cost (approx.) | $100 – $250 | $500 – $1,200 | $30 – $60 | $5 – $15 |
| Longevity | 6–12 months | 1–3 years | 3–6 months | Temporary |
Step-by-Step Guide to Using an At-Home Laser Kit
For optimal results and safety, follow a standardized protocol. Always refer to the specific manufacturer's instructions, as gel concentrations and light intensities vary.
Step 1: Preparation
Brush and floss your teeth thoroughly before application. Removing plaque and food debris ensures that the gel makes direct contact with the enamel. Avoid using a fluoride-heavy mouthwash immediately before whitening, as it can sometimes create a barrier on the tooth surface.
Step 2: Application of the Gel
Apply a thin, even layer of the whitening gel to the mouth tray. Alternatively, some kits use a "pen" applicator to paint the gel directly onto the teeth. It is crucial to avoid getting the gel on your gums (gingival tissue). Peroxide is caustic and can cause chemical burns, leading to white spots or soreness on the gums.
Step 3: The Light Treatment
Insert the tray and activate the LED device. Most 2026 models are rechargeable or powered by your smartphone via a USB-C or Lightning connection. Ensure the light is positioned closely against the teeth. Most devices feature an automatic timer that will shut off after the programmed duration (usually 10, 15, or 20 minutes).
Step 4: Post-Treatment Care
Remove the tray and rinse your mouth with lukewarm water. Avoid extremely hot or cold water immediately after treatment, as your teeth may be temporarily sensitive to temperature. Rinse the mouth tray thoroughly and store it in a dry place to prevent bacterial growth.
Managing Side Effects and Sensitivity
The most common side effect of at-home laser whitening is dentinal hypersensitivity. This occurs when the peroxide opens the microscopic tubules in the enamel, allowing stimuli to reach the nerve.
- Sensitivity Management: If you experience discomfort, reduce the frequency of treatments (e.g., every other day instead of daily). Using a desensitizing toothpaste containing potassium nitrate for two weeks prior to and during your whitening regimen can significantly reduce discomfort.
- Gum Irritation: If your gums turn white or feel painful, you are likely using too much gel. This is a temporary chemical burn that usually heals within 24 to 48 hours. Use a cotton swab to wipe away excess gel from the gum line immediately after inserting the tray in future sessions.
- Dehydration Spots: Immediately after whitening, you may notice bright white spots on your teeth. These are often caused by temporary dehydration of the enamel. They typically disappear within a few hours as the teeth rehydrate from saliva.
Longevity and Maintenance of Results
Whitening is not a permanent solution. The longevity of your results depends heavily on your lifestyle and post-whitening habits.
The "White Diet"
For the first 48 hours after a whitening session, your teeth are particularly porous and susceptible to restaining. Dentists recommend the "White Diet," which involves avoiding dark-colored foods and beverages such as red wine, coffee, tea, balsamic vinegar, and berries. If you must consume staining liquids, use a straw to minimize contact with your front teeth.
Maintenance Products
In 2026, many users maintain their LED results using "purple shampoo for teeth"—color-correcting serums that use violet hues to neutralize yellow undertones. While these do not bleach the teeth, they provide a temporary optical brightening effect between full whitening cycles.
Routine Touch-ups
Most at-home laser kits are designed for an initial intensive "boost" (5 to 10 days) followed by monthly touch-up sessions. Over-whitening can lead to a translucent, grayish appearance of the enamel, so it is important to follow the recommended schedule and not exceed the manufacturer’s guidelines.
Frequently Asked Questions
1. Can at-home laser kits damage my tooth enamel?
When used as directed, peroxide-based whitening kits do not damage enamel. Enamel is the hardest substance in the human body. However, overuse or using kits with unapproved, highly acidic formulas can lead to enamel erosion. Always look for products that maintain a neutral pH and follow the recommended treatment durations.
2. How many shades whiter can I expect my teeth to get?
Results vary based on the starting shade and the type of stains. Most users see an improvement of 4 to 8 shades over a full course of treatment. Note that yellow-toned stains (often from aging or coffee) respond much better to whitening than grayish stains (often caused by certain medications like tetracycline or internal tooth trauma).
3. Is the LED light actually necessary, or is it just a marketing gimmick?
While the whitening gel will work on its own, studies have shown that specific wavelengths of blue light accelerate the chemical reaction. This allows for shorter wear times and can produce more dramatic results in a shorter period compared to using the gel alone. However, the light does not "create" the whitening; it only speeds up the peroxide's action.
4. Are these kits safe for people with sensitive teeth?
Yes, provided you choose the right formula. People with high sensitivity should look for kits that use Carbamide Peroxide or PAP+ and include a desensitizing gel (often containing potassium nitrate or calcium phosphate). Starting with shorter sessions can also help your teeth acclimate to the treatment.
5. Can I use an at-home laser kit if I have braces?
It is generally recommended to wait until after your braces are removed to whiten your teeth. Whitening with braces will result in uneven color, as the gel cannot reach the enamel beneath the brackets, leaving dark squares on your teeth once the braces are taken off.
Final Recommendation
At-home laser teeth whitening remains one of the most effective cosmetic enhancements available for home use in 2026. For the best balance of safety and efficacy, select a kit that offers a custom-molded or flexible tray to ensure even gel distribution and an LED device with a proven wavelength output. If you have significant dental restorations or history of severe sensitivity, consult with your dentist before beginning a regimen. For most users, a consistent 10-day program will yield a noticeably brighter smile that can be maintained with simple lifestyle adjustments and monthly touch-ups.