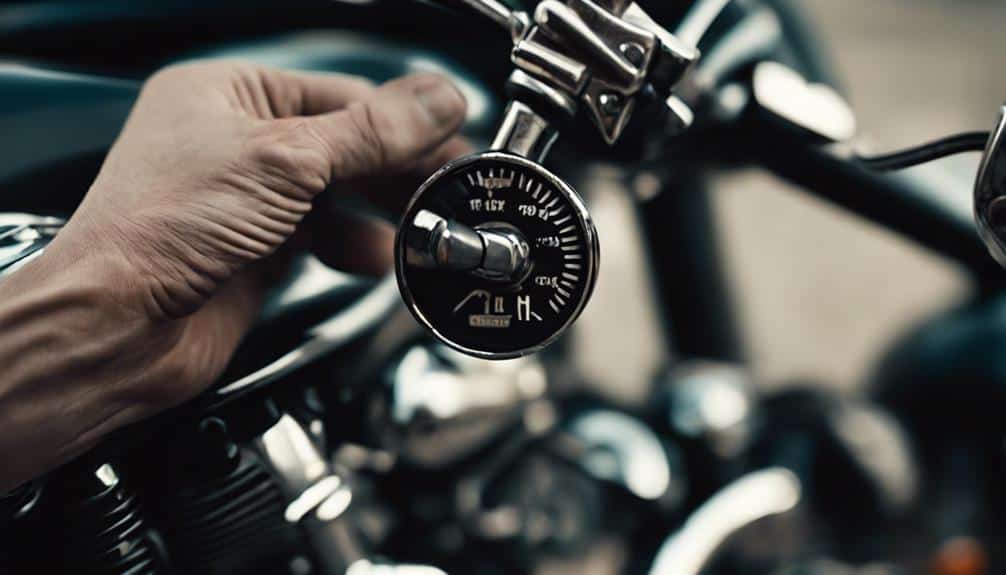
To adjust a Harley-Davidson clutch, you must perform a two-step process: first, adjust the internal release mechanism behind the derby cover, and second, set the cable free play. This must be done on a stone-cold engine to ensure that thermal expansion does not result in an inaccurate, overly tight setting.
Proper clutch maintenance is a fundamental skill for any Harley-Davidson owner. Because Harley-Davidson motorcycles utilize a multi-plate wet clutch system (in most Big Twin and Sportster models), the mechanical interface between the handlebar lever and the internal clutch hub relies on precise tolerances. Over time, as the friction plates wear down and the clutch cable stretches, the "friction zone" begins to wander, shifting may become "clunky," and finding neutral can become an exercise in frustration.
In 2026, while some newer Grand American Touring models have experimented with hydraulic systems, the vast majority of Harleys on the road—including the ubiquitous Softail, Sportster, and older Touring lineups—rely on the classic cable-actuated system. Understanding how to calibrate this system not only saves money on dealership service visits but also ensures the longevity of your transmission and primary drive components.
Understanding the Harley-Davidson Clutch Mechanism
Before picking up a wrench, it is essential to understand what is happening inside the primary chaincase. The Harley-Davidson clutch is a "normally engaged" system. Heavy-duty springs apply pressure to a stack of steel and friction plates, locking them together to transfer power from the primary chain to the transmission input shaft.
When you pull the clutch lever, you are pulling a cable that rotates a ball-and-ramp mechanism located inside the right-side transmission end cover (on Big Twins) or the primary cover (on Sportsters). This rotation pushes a pushrod through the center of the transmission, which in turn pushes against the clutch pressure plate, compressing the springs and allowing the plates to spin freely.
Adjustment is required because as the friction material on the clutch plates wears away, the plates become thinner. This actually causes the pressure plate to move closer to the pushrod, reducing the clearance in the system. If this clearance (often called "free play") disappears entirely, the pushrod may constantly apply slight pressure to the clutch pack, leading to "clutch slip" and premature failure. Conversely, if there is too much slack, the plates will not separate fully when the lever is pulled, leading to "clutch drag," hard shifting, and the "creeping" sensation at stoplights.
Essential Tools and Preparation
Adjusting a clutch is a straightforward mechanical task, but it requires specific tools to avoid damaging fasteners. Harley-Davidson is notorious for using Torx-head bolts on derby covers, which are easily stripped if the wrong size or a low-quality bit is used.
Required Tool List
- Torx T27 Driver: Most Harley-Davidson derby covers use T27 bolts. Do not use a T25, as it will feel like it fits but will likely strip the head under torque.
- 9/16" and 1/2" Open-End Wrenches: These are typically used for the cable adjuster locknuts.
- 11/16" Deep Socket or Box-End Wrench: For the internal clutch hub locknut.
- Flathead Screwdriver: A long, sturdy screwdriver is needed to turn the internal adjuster screw.
- Fresh Derby Cover Gasket: Depending on your model, this may be a large O-ring or a flat quad-seal.
- Torque Wrench: Capable of measuring in inch-pounds (in-lbs) for the derby cover screws.
- Motorcycle Stand or Wheel Chock: While you can do this on the jiffy stand (kickstand), having the bike upright prevents primary fluid from leaking out when the derby cover is removed.
Preparation: The Cold Engine Rule
You must perform this adjustment when the motorcycle is completely cold. Ideally, the bike should have sat overnight. As the engine and primary components heat up, the metal in the clutch plates and the pushrod expands. If you adjust the clutch while it is warm, the tolerances will tighten up significantly once the bike cools down, leading to a clutch that won't fully engage or disengage correctly.
Phase 1: Collapsing the Cable Tension
The first actual step in the adjustment process is to create as much slack as possible in the clutch cable. This ensures that the cable is not "tugging" on the release mechanism while you are trying to set the internal gap.
- Locate the long, accordion-style rubber boot on the clutch cable, usually positioned on the front frame downtube.
- Slide the boot up to reveal the threaded cable adjuster and the jam nut.
- Hold the adjuster with one wrench and loosen the jam nut with the other.
- Thread the adjuster pieces toward each other (collapsing the length of the housing) until the clutch lever at the handlebar becomes completely limp and touches the grip.
At this point, the cable is no longer influencing the internal mechanism, allowing for an accurate "zero-point" calibration inside the primary.
Phase 2: Internal Clutch Hub Adjustment
This is the most critical part of the process. It defines the physical gap between the release bearing and the pressure plate.
- Remove the Derby Cover: Using your T27 Torx bit, remove the screws holding the large circular cover on the primary chaincase. Remove them in a "star" pattern to prevent warping the cover.
- Inspect the Fluid: While the cover is off, take a moment to look at the primary fluid. If it smells burnt or looks like metallic silver paint, your clutch plates may already be significantly worn.
- Loosen the Locknut: In the center of the clutch basket, you will see a nut (usually 11/16") surrounding a flathead screw. Use your socket or wrench to loosen this nut. You do not need to remove it; just back it off a few turns.
- Find the "Bottom": Insert your flathead screwdriver into the center screw. Turn it clockwise until you feel it make contact. Caution: Do not tighten this screw hard. You are looking for the exact moment the screw "seats" against the pushrod. Turn it in and out a few times to find that precise "zero" point where resistance begins.
- The "Back-Off": Once you have found the seat, turn the screw counter-clockwise (outward). For most Big Twins, the standard is 1/2 to 1 full turn. For Sportsters, it is typically 1/4 to 1/2 turn. This creates the necessary "air gap" for the parts to expand as they get hot without putting pressure on the clutch.
- Lock it Down: While holding the flathead screw perfectly still with your screwdriver, tighten the 11/16" locknut. It is vital that the screw does not rotate while you tighten the nut.
Phase 3: Setting the Cable Free Play
Now that the internal gap is set, you must return to the cable to set the "feel" at the handlebar.
- Go back to the cable adjuster on the frame downtube.
- Expand the adjuster (threading the pieces away from each other) until the slack at the handlebar lever begins to disappear.
- Measure the Gap: Pull the clutch lever slightly away from the bracket. You are looking for a gap of approximately 1/16" to 1/8" (about the thickness of a nickel) between the lever and the perch before the cable starts to pull tight.
- Verify Steering Clearance: Turn the handlebars all the way to the left and right. Ensure the cable does not tighten up and eliminate the free play when the bars are turned. If it does, you may need to add a tiny bit more slack.
- Tighten the Jam Nut: Once the gap is correct, tighten the cable adjuster jam nut and slide the rubber boot back into place.
Final Assembly and Torque Specifications
Before replacing the derby cover, ensure the mounting surface is clean. If your Harley uses the flat "quad-seal" style gasket, it is often best to replace it to prevent primary leaks. If it uses the large O-ring, inspect it for tears or flattening.
| Fastener / Measurement | Specification (General Big Twin) | Importance |
|---|---|---|
| Derby Cover Screws | 84–108 in-lbs (7–9 ft-lbs) | Prevents stripping and leaks |
| Internal Locknut | 120–144 in-lbs (10–12 ft-lbs) | Ensures adjustment stays set |
| Cable Free Play | 1/16" to 1/8" (1.6mm - 3.2mm) | Prevents clutch slip |
| Internal Screw Back-off | 1/2 to 1 full turn | Allows for thermal expansion |
When tightening the derby cover, always use a torque wrench. These fasteners are small and go into aluminum threads; over-tightening is the primary cause of stripped primary housings, a very expensive mistake to fix.
Troubleshooting Common Clutch Issues
Even after a careful adjustment, you may encounter specific performance issues. Here is how to diagnose them:
Hard to Find Neutral
If you have adjusted the clutch but still struggle to find neutral while the engine is running, the clutch may be "dragging" (not fully disengaging). This is often caused by using primary fluid that is too thick or by not backing the internal screw out far enough. Double-check your "back-off" measurement and ensure your primary chain tension is also within spec, as a loose chain can mimic clutch issues.
Clutch Slipping Under Heavy Acceleration
If the engine RPMs rise but the bike’s speed does not increase proportionally when you "crack the throttle" in a high gear, the clutch is slipping. This usually means there is no free play in the system. The pushrod is constantly "pre-loading" the clutch. Check your cable slack first; if you have slack at the lever and it still slips, the friction plates are likely worn beyond their service limit and need replacement.
The "Clunk" When Shifting Into First
A loud "clunk" when shifting from neutral to first gear is a hallmark of the Harley-Davidson Big Twin. While a properly adjusted clutch will minimize this, it will never eliminate it entirely due to the sheer mass of the rotating gears in the transmission. However, if the bike tries to "jump" forward when you shift into first with the lever pulled in, your adjustment is too loose.
FAQ: Frequently Asked Questions
How often should I adjust my Harley clutch?
Under normal riding conditions, Harley-Davidson recommends checking the clutch adjustment every 5,000 miles (8,000 km), coinciding with standard oil change intervals. However, if you do a lot of stop-and-go city riding or "friction zone" work (such as low-speed maneuvers), you may need to adjust it more frequently.
Can I use synthetic oil in my primary?
Yes, but with a caveat. You must use a synthetic oil specifically rated for wet clutches (JASO MA or MA2). Avoid "Energy Conserving" automotive oils, as they contain friction modifiers that will cause the clutch plates to slip. Many riders prefer Harley-Davidson Formula+ or specialized primary lubricants like AMSOIL V-Twin Primary Fluid for the best shift quality.
Do I need to drain the oil to adjust the clutch?
No. If the motorcycle is standing upright (using a center stand or a wheel chock), the primary fluid level is below the bottom of the derby cover opening. If the bike is on its side stand, a small amount of fluid may weep out, so keep a rag or drain pan handy.
Why is my clutch lever suddenly very hard to pull?
A stiff lever usually indicates a failing clutch cable rather than an adjustment issue. The inner steel cable can fray inside the housing, creating immense friction. Lubricating the cable with a dedicated cable-lube tool can help, but a fraying cable should be replaced immediately before it snaps.
What happens if I don't back off the internal screw?
If you bottom out the screw and lock it down without backing it off (the 1/2 to 1 turn), the clutch will slip as soon as the engine warms up. This will burn the friction plates very quickly, potentially ruining the clutch pack in a single ride.
Practical Recommendation
After completing your adjustment, perform a "dry run" before starting the engine. With the bike in gear and the engine off, pull the clutch lever and see if you can roll the bike forward. There will be some resistance due to the "cold stiction" of the oil between the plates, but the bike should move.
Once you start the bike, let it warm up and take a short test ride. Pay close attention to where the friction zone starts. It should ideally begin about one-third of the way out from the grip. If the bike feels perfect when cold but starts to act up when hot, revisit the internal adjustment and ensure you gave it the full recommended "back-off" turn. Regular attention to these tolerances is the simplest way to ensure your Harley-Davidson remains reliable and smooth-shifting well into the 2030s.