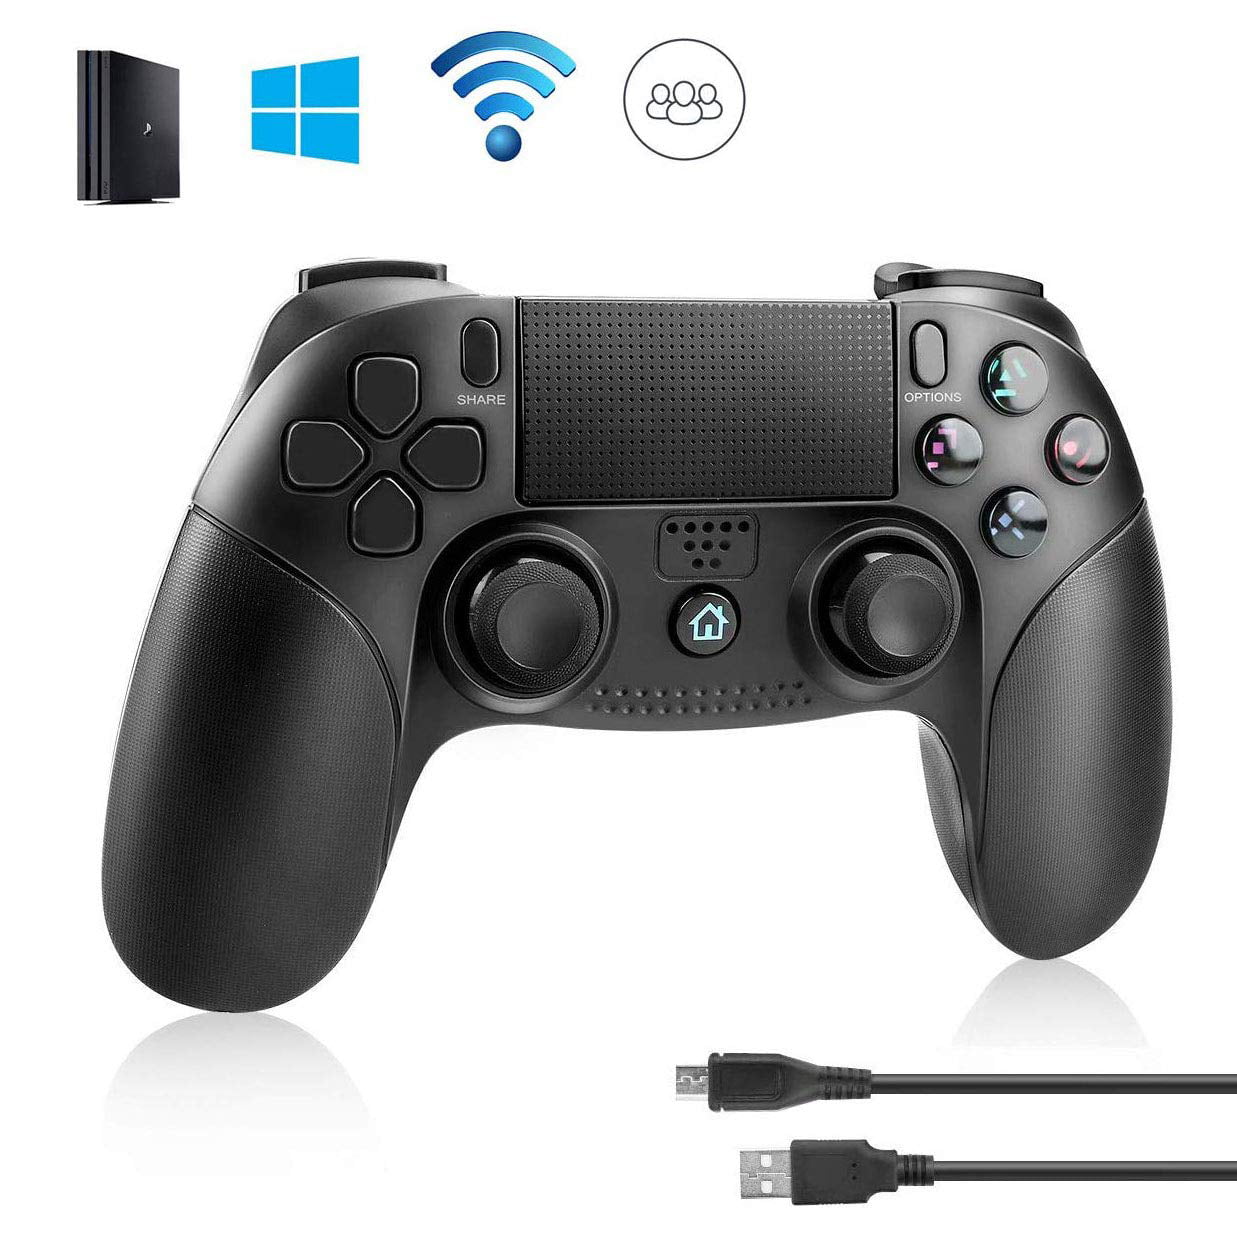
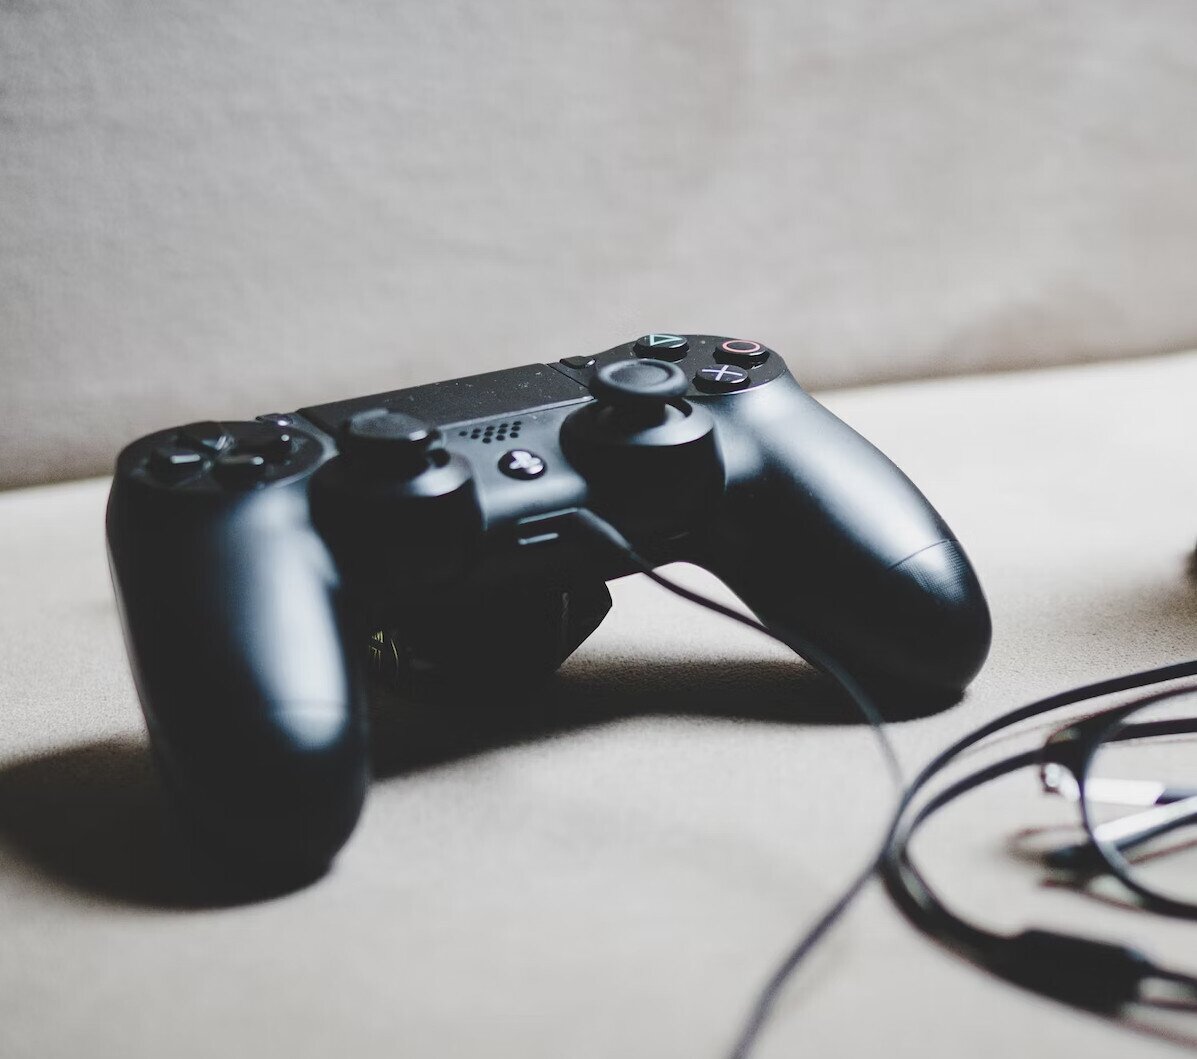
Syncing a DualShock 4 controller to a PlayStation 4 console requires connecting the device via a compatible micro-USB data cable and pressing the PlayStation button to pair the Bluetooth signal. This straightforward physical link instantly bridges hardware communication, allowing users to navigate the system interface, launch games, and manage multimedia applications without tethered restrictions once the handshake completes.
Understanding the DualShock 4 Hardware and Connectivity Architecture
The PlayStation 4 console relies on a dual-communication architecture to support its input devices. While players commonly associate console gaming with wireless freedom, every standard DualShock 4 wireless controller requires an initial wired handshake to establish its secure Bluetooth profile with the specific hardware motherboard inside the PlayStation 4 console. Understanding how this system works prevents unnecessary frustration when hardware fails to respond or when setting up replacement peripherals bought secondhand or borrowed from another setup.
At the core of this hardware ecosystem is the Bluetooth module housed within the PlayStation 4 system. When a controller is brand new, out of the box, or previously paired to a completely different console—such as a friend's PlayStation 4 or a PC using third-party mapping software—its internal memory holds a digital security key that does not match your current console. Without a direct physical data bridge, the two pieces of hardware cannot exchange the cryptographic keys required to trust one another over a wireless radio frequency.
Furthermore, many consumer-grade micro-USB cables included with smartphones or charging stations are engineered strictly for power delivery rather than data transmission. These charge-only cables lack the internal data wires (Data Plus and Data Minus) necessary for the PlayStation 4 to recognize the controller digitally. Therefore, ensuring you have a genuine data-capable micro-USB cable is just as important as following the physical button sequences. Recognizing these underlying technological constraints guarantees a higher success rate during the synchronization process.
Essential Prerequisites Before You Begin
Before attempting to sync your DualShock 4 controller, preparing your physical environment and verifying your hardware components will save valuable time. Missing a single foundational requirement can stall the pairing process entirely, leading to false assumptions about broken hardware.
The primary prerequisite is a verified, functional micro-USB cable capable of transferring data. If your controller fails to respond after being plugged in, swapping out the cable for one known to carry data to a PC or external hard drive is the fastest diagnostic step. Additionally, ensuring that your PlayStation 4 console is powered on—either manually via the physical power button on the console chassis or through an auxiliary method—is mandatory because an unpowered console cannot listen for incoming USB or Bluetooth initialization signals.
Another critical factor is the current battery charge of the DualShock 4 controller. While plugging the controller into the console via a micro-USB cable supplies a baseline trickle charge, a completely depleted lithium-ion battery may occasionally fail to boot the internal controller board sufficiently to broadcast its Bluetooth identifier. If the controller's light bar flashes orange briefly and then goes completely dark, letting the controller charge while plugged into the console for fifteen to thirty minutes before attempting the synchronization sequence is strongly recommended.
Step-by-Step Guide: 5 Steps to Sync a PS4 Controller to a PS4
Executing the physical synchronization sequence requires precise timing and adherence to the correct sequence of actions. Below is the comprehensive, step-by-step procedure to link your DualShock 4 controller to any standard PlayStation 4, PlayStation 4 Slim, or PlayStation 4 Pro console.
Step 1: Power On Your PlayStation 4 Console
Locate the physical power button on the front face of your PlayStation 4 console chassis. Press it firmly until you hear a mechanical beep and see the LED indicator light turn solid blue, followed by solid white. Avoid trying to turn on the system via a wireless controller that has not yet been synced, as it cannot transmit a wireless power-on signal to this specific console. If the console is already running, proceed directly to the next step.
Step 2: Connect the Controller with a Micro-USB Cable
Take one end of your data-capable micro-USB cable and insert it securely into the micro-USB port located on the top edge of the DualShock 4 controller, positioned directly between the L2 and R2 trigger buttons. Take the opposing USB-A end of the cable and plug it firmly into one of the available USB ports on the front face of the PlayStation 4 console. Ensure both connections are fully seated without loose wiggle room.
Step 3: Press the PlayStation Button on the Controller
With the physical tether established, locate the circular PlayStation (PS) button situated centrally between the left and right analog sticks on the face of the controller. Press this button down firmly once. This action wakes up the controller's internal microprocessor, prompting it to initiate a handshake protocol across the physical USB data lines with the connected PlayStation 4 operating system.
Step 4: Verify the Light Bar Color Indicator
Observe the LED light bar running along the top edge of the DualShock 4 controller's touch pad. Upon a successful handshake, the light bar will flash a specific color—such as white, blue, red, or green, depending on user profile assignments—before settling into a solid color. A solid light bar indicates that the controller has successfully authenticated with the console and is now actively communicating.
Step 5: Unplug and Test Wireless Functionality
Once the light bar remains solid and you can use the D-pad or analog sticks to navigate the PlayStation 4 dashboard menus, gently disconnect the micro-USB cable from both the controller and the console. The controller should remain connected wirelessly via Bluetooth, allowing you to move freely around the room. Test the connection by pressing buttons and verifying that the cursor on screen responds instantly without latency or dropouts.
Comparison of Connection Methods and Troubleshooting States
| Connection State | Physical Indicator | Operational Capability | Common Cause of Failure |
|---|---|---|---|
| Wired Data Mode | Solid Light Bar (USB Connected) | Full navigation, audio passthrough, data sync | Charge-only cable used |
| Wireless Bluetooth Mode | Solid Light Bar (USB Disconnected) | Full wireless play, motion controls | Unpaired security keys, low battery |
| Charging State Only | Pulsing Orange Light Bar | Battery recharging only, no data | Faulty USB port, dead battery cell |
| Unsynced / Pairing Mode | Slow White Flashing Light | Searching for paired host console | Controller memory linked to another device |
Advanced Troubleshooting and Resetting the Controller
When standard synchronization steps fail, the DualShock 4 controller may have encountered a corrupted Bluetooth cache or a temporary firmware glitch. Resolving these deeper technical issues requires utilizing the hardware reset switch built into every official controller manufactured by Sony.
To perform a hard reset, locate the tiny hardware reset hole on the back panel of the DualShock 4 controller, positioned near the upper-right screw hole close to the L2 trigger. Take a straightened paperclip, a SIM card ejector tool, or another thin, rigid object, and insert it gently into the hole. Press down and hold the internal button for approximately three to five seconds. This action completely cycles power to the controller's internal logic board, wiping out temporary memory caches and restoring factory default pairing settings.
Following a hardware reset, you must reconnect the controller to the PlayStation 4 console using the wired micro-USB data cable and press the PlayStation button once more to re-establish a clean Bluetooth pairing profile. If the controller still refuses to connect after a hardware reset, testing the controller on a secondary PlayStation 4 console or a Windows PC via USB can help isolate whether the fault lies within the controller's internal Bluetooth antenna or the console's receiving hardware.
Managing Multiple Controllers and User Profiles
In standard multiplayer environments, households often manage multiple DualShock 4 controllers simultaneously. Each controller must be paired individually using the five-step wired method outlined above if it has been synced to a different console or PC since its last use on your primary system.
When you press the PlayStation button on a newly synced controller, the PlayStation 4 operating system will prompt you on-screen to select a local user profile. Linking a specific controller to a specific user profile prevents profile conflicts during local multiplayer sessions. If a controller's light bar displays an unexpected color—such as red for player two, green for player three, or pink for player four—this indicates that the console has successfully assigned a multi-controller channel index based on the order in which the controllers were activated.
Frequently Asked Questions
Can I sync a PS4 controller without a USB cable?
No. An initial wired connection using a data-capable micro-USB cable is strictly required to sync a DualShock 4 controller to a PlayStation 4 console for the first time or after it has been paired to another device. The console and controller must exchange cryptographic security keys over a physical data bridge before Bluetooth wireless pairing can take place.
Why does my PS4 controller flash orange and refuse to connect?
A flashing orange light bar indicates that the controller is currently in a low-power charging state while the console is in Rest Mode, or that the battery lacks sufficient charge to complete the Bluetooth booting sequence. Plug the controller into an active console power port and allow it to charge uninterrupted for at least twenty minutes before attempting to press the PlayStation button again.
Will any micro-USB cable work for syncing my controller?
No. Many standard micro-USB cables found in households are designed exclusively for charging mobile devices and lack the internal copper wiring required for data transmission. To successfully sync your controller, you must use a micro-USB cable that explicitly supports data transfer, such as the original cable supplied with the console or a certified replacement data cable.
How do I fix a PS4 controller that keeps disconnecting wirelessly?
Wireless dropouts are typically caused by physical Bluetooth interference from nearby Wi-Fi routers, microwaves, or other electronic devices, or by a low controller battery. Ensure your console is placed in an open, well-ventilated area away from heavy interference sources, perform a hard reset using the button on the back of the controller, and re-pair the device using a certified data cable.
Can I use a PS5 DualSense controller on a PS4 console?
Officially, the standard PlayStation 5 DualSense wireless controller is not natively compatible with the PlayStation 4 console hardware ecosystem for native PS4 game titles. While some third-party USB adapter dongles claim to bridge cross-generational peripheral compatibility, native support is restricted to the DualShock 4 and officially licensed third-party PS4 peripherals.
Practical Recommendation
To avoid recurring synchronization issues, designate a single, verified data-capable micro-USB cable strictly for controller management and store it near your PlayStation 4 console. Regularly check your controller battery levels and perform a hardware reset immediately if your peripheral begins exhibiting erratic input latency or pairing dropouts, ensuring seamless gaming sessions without hardware interruptions.